

Multi-space
This feature is provided by the plugin «Multi-space», included in Professional Edition and above commercial editionsIntroduction
The Multi-space plugin allows for the creation of multiple independent data spaces through logical isolation within a single application instance.
Use Cases
- Multiple stores or factories: Business processes and system configurations are highly consistent, such as unified inventory management, production planning, sales strategies, and report templates, but it is necessary to ensure that the data of each business unit does not interfere with each other.
- Multi-organization or subsidiary management: Multiple organizations or subsidiaries under a group company share the same platform, but each brand has independent customer, product, and order data.
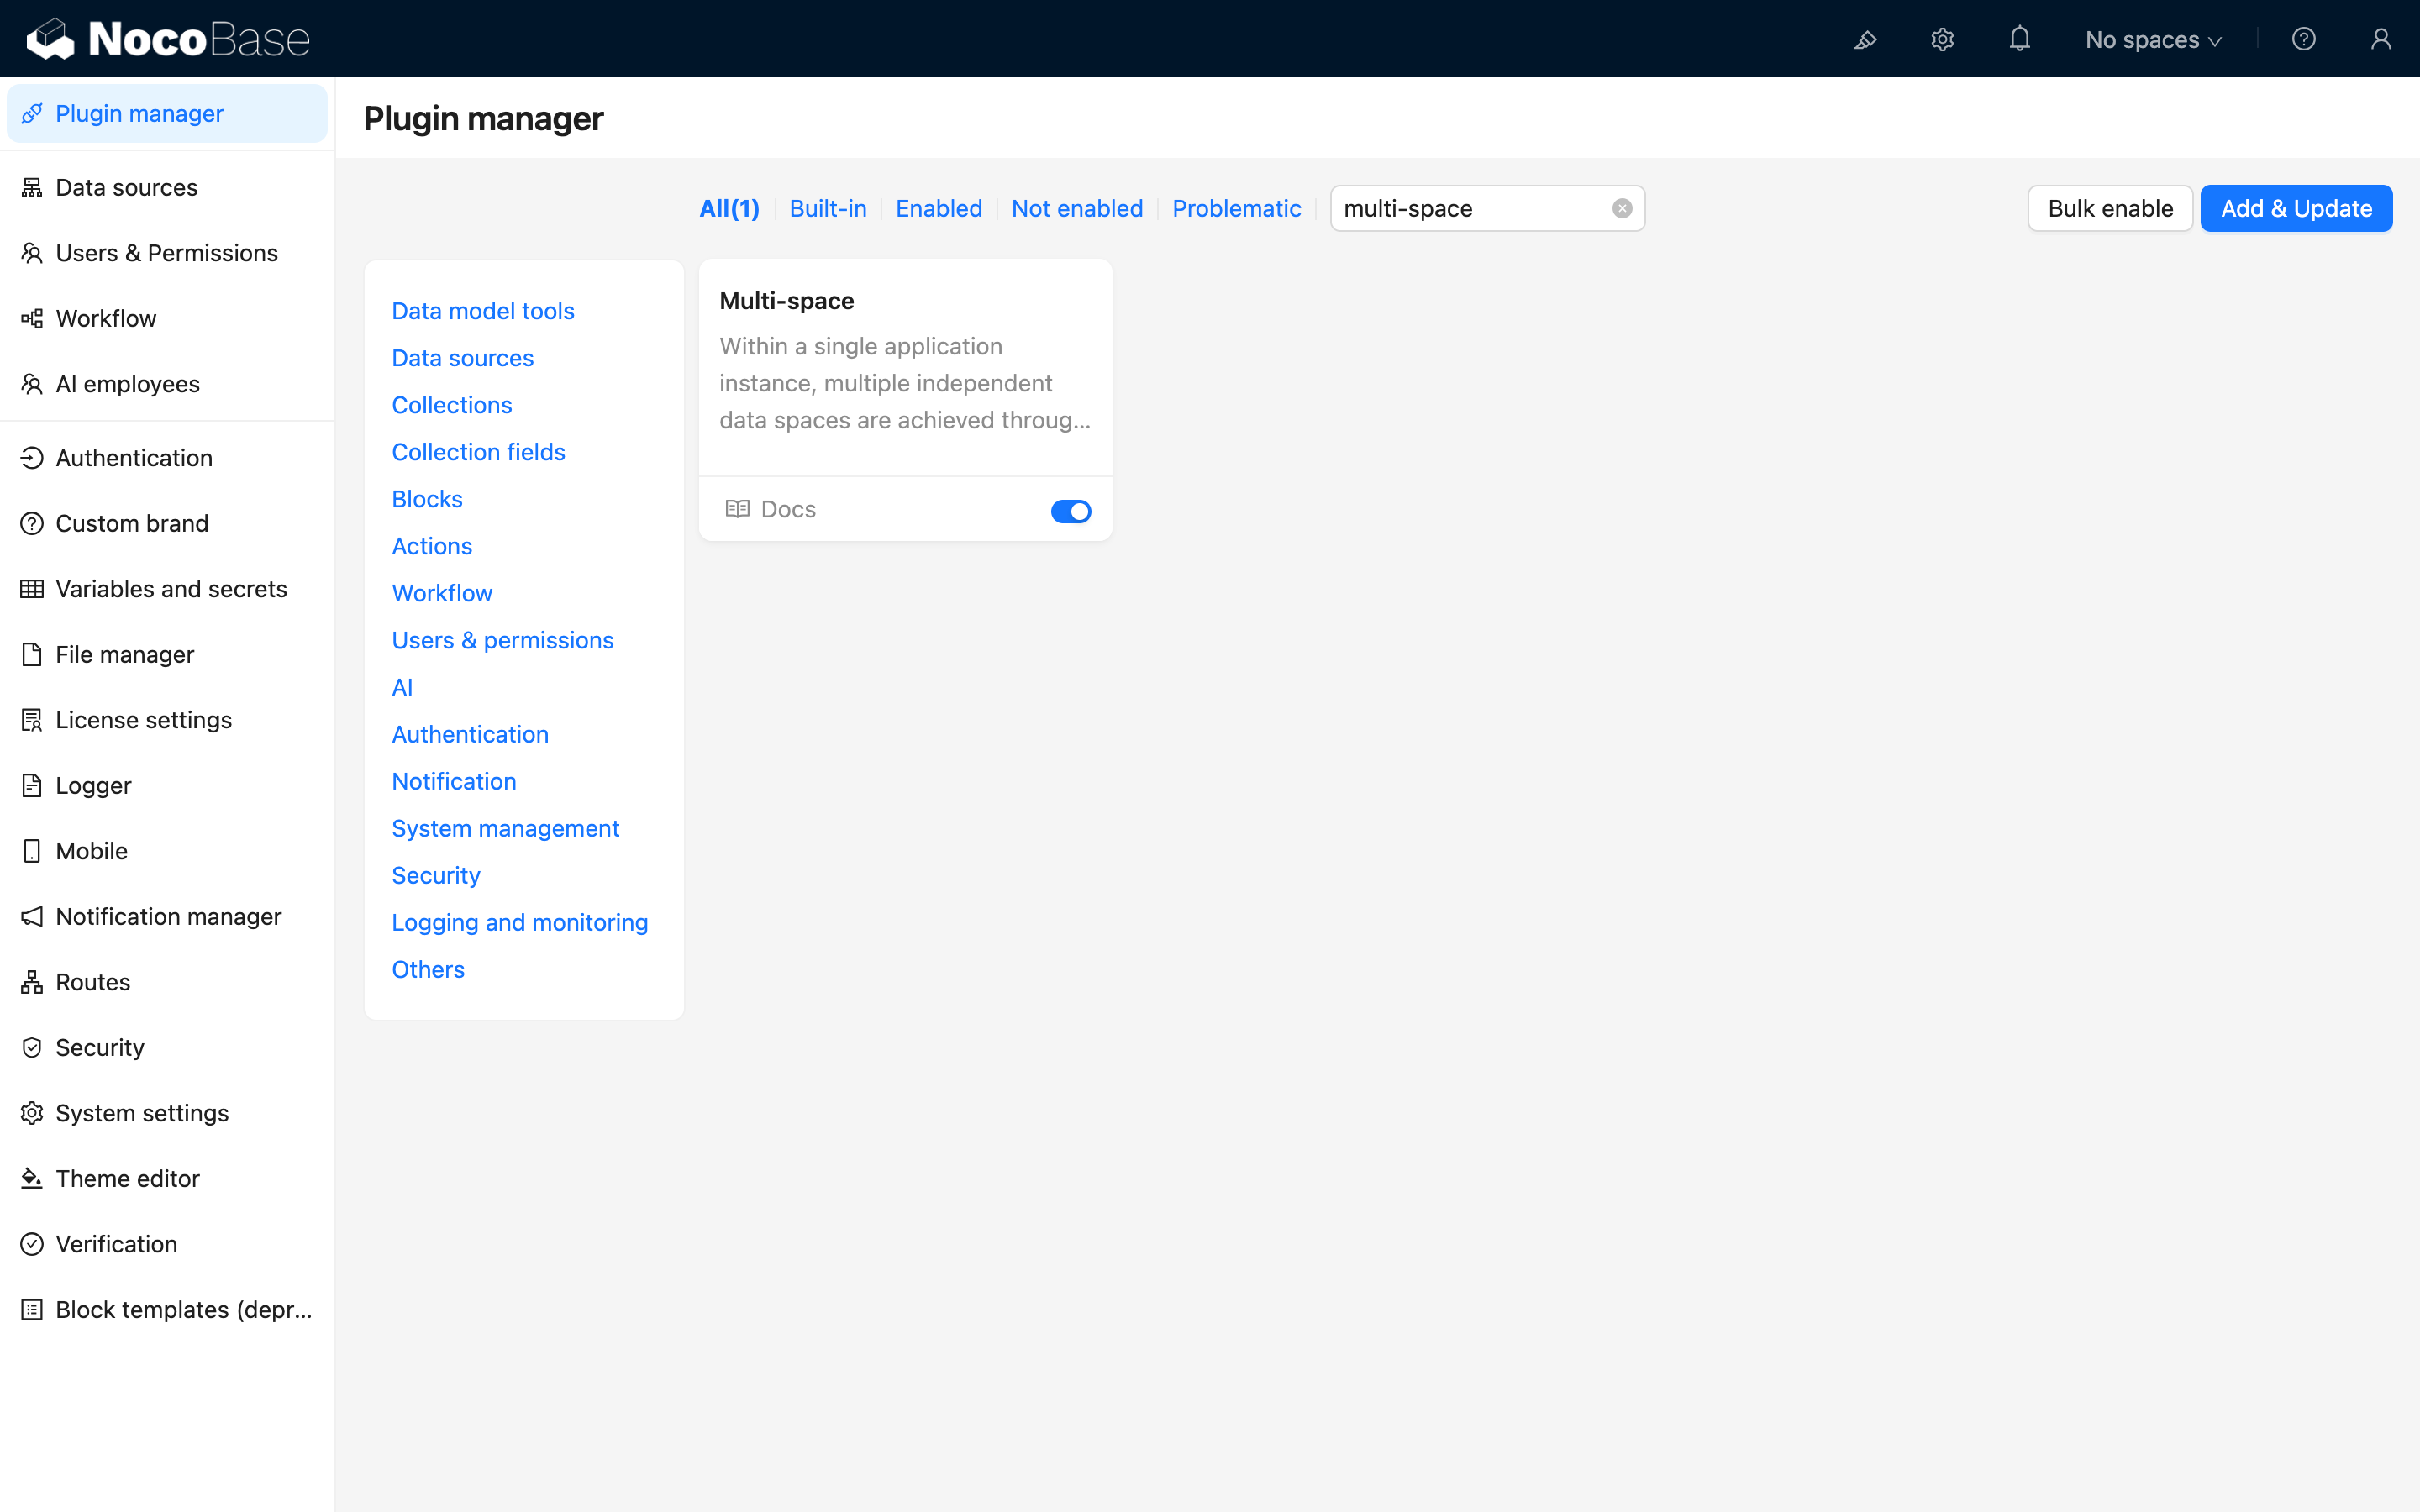
Installation
In the plugin manager, find the Multi-Space plugin and enable it.
User Manual
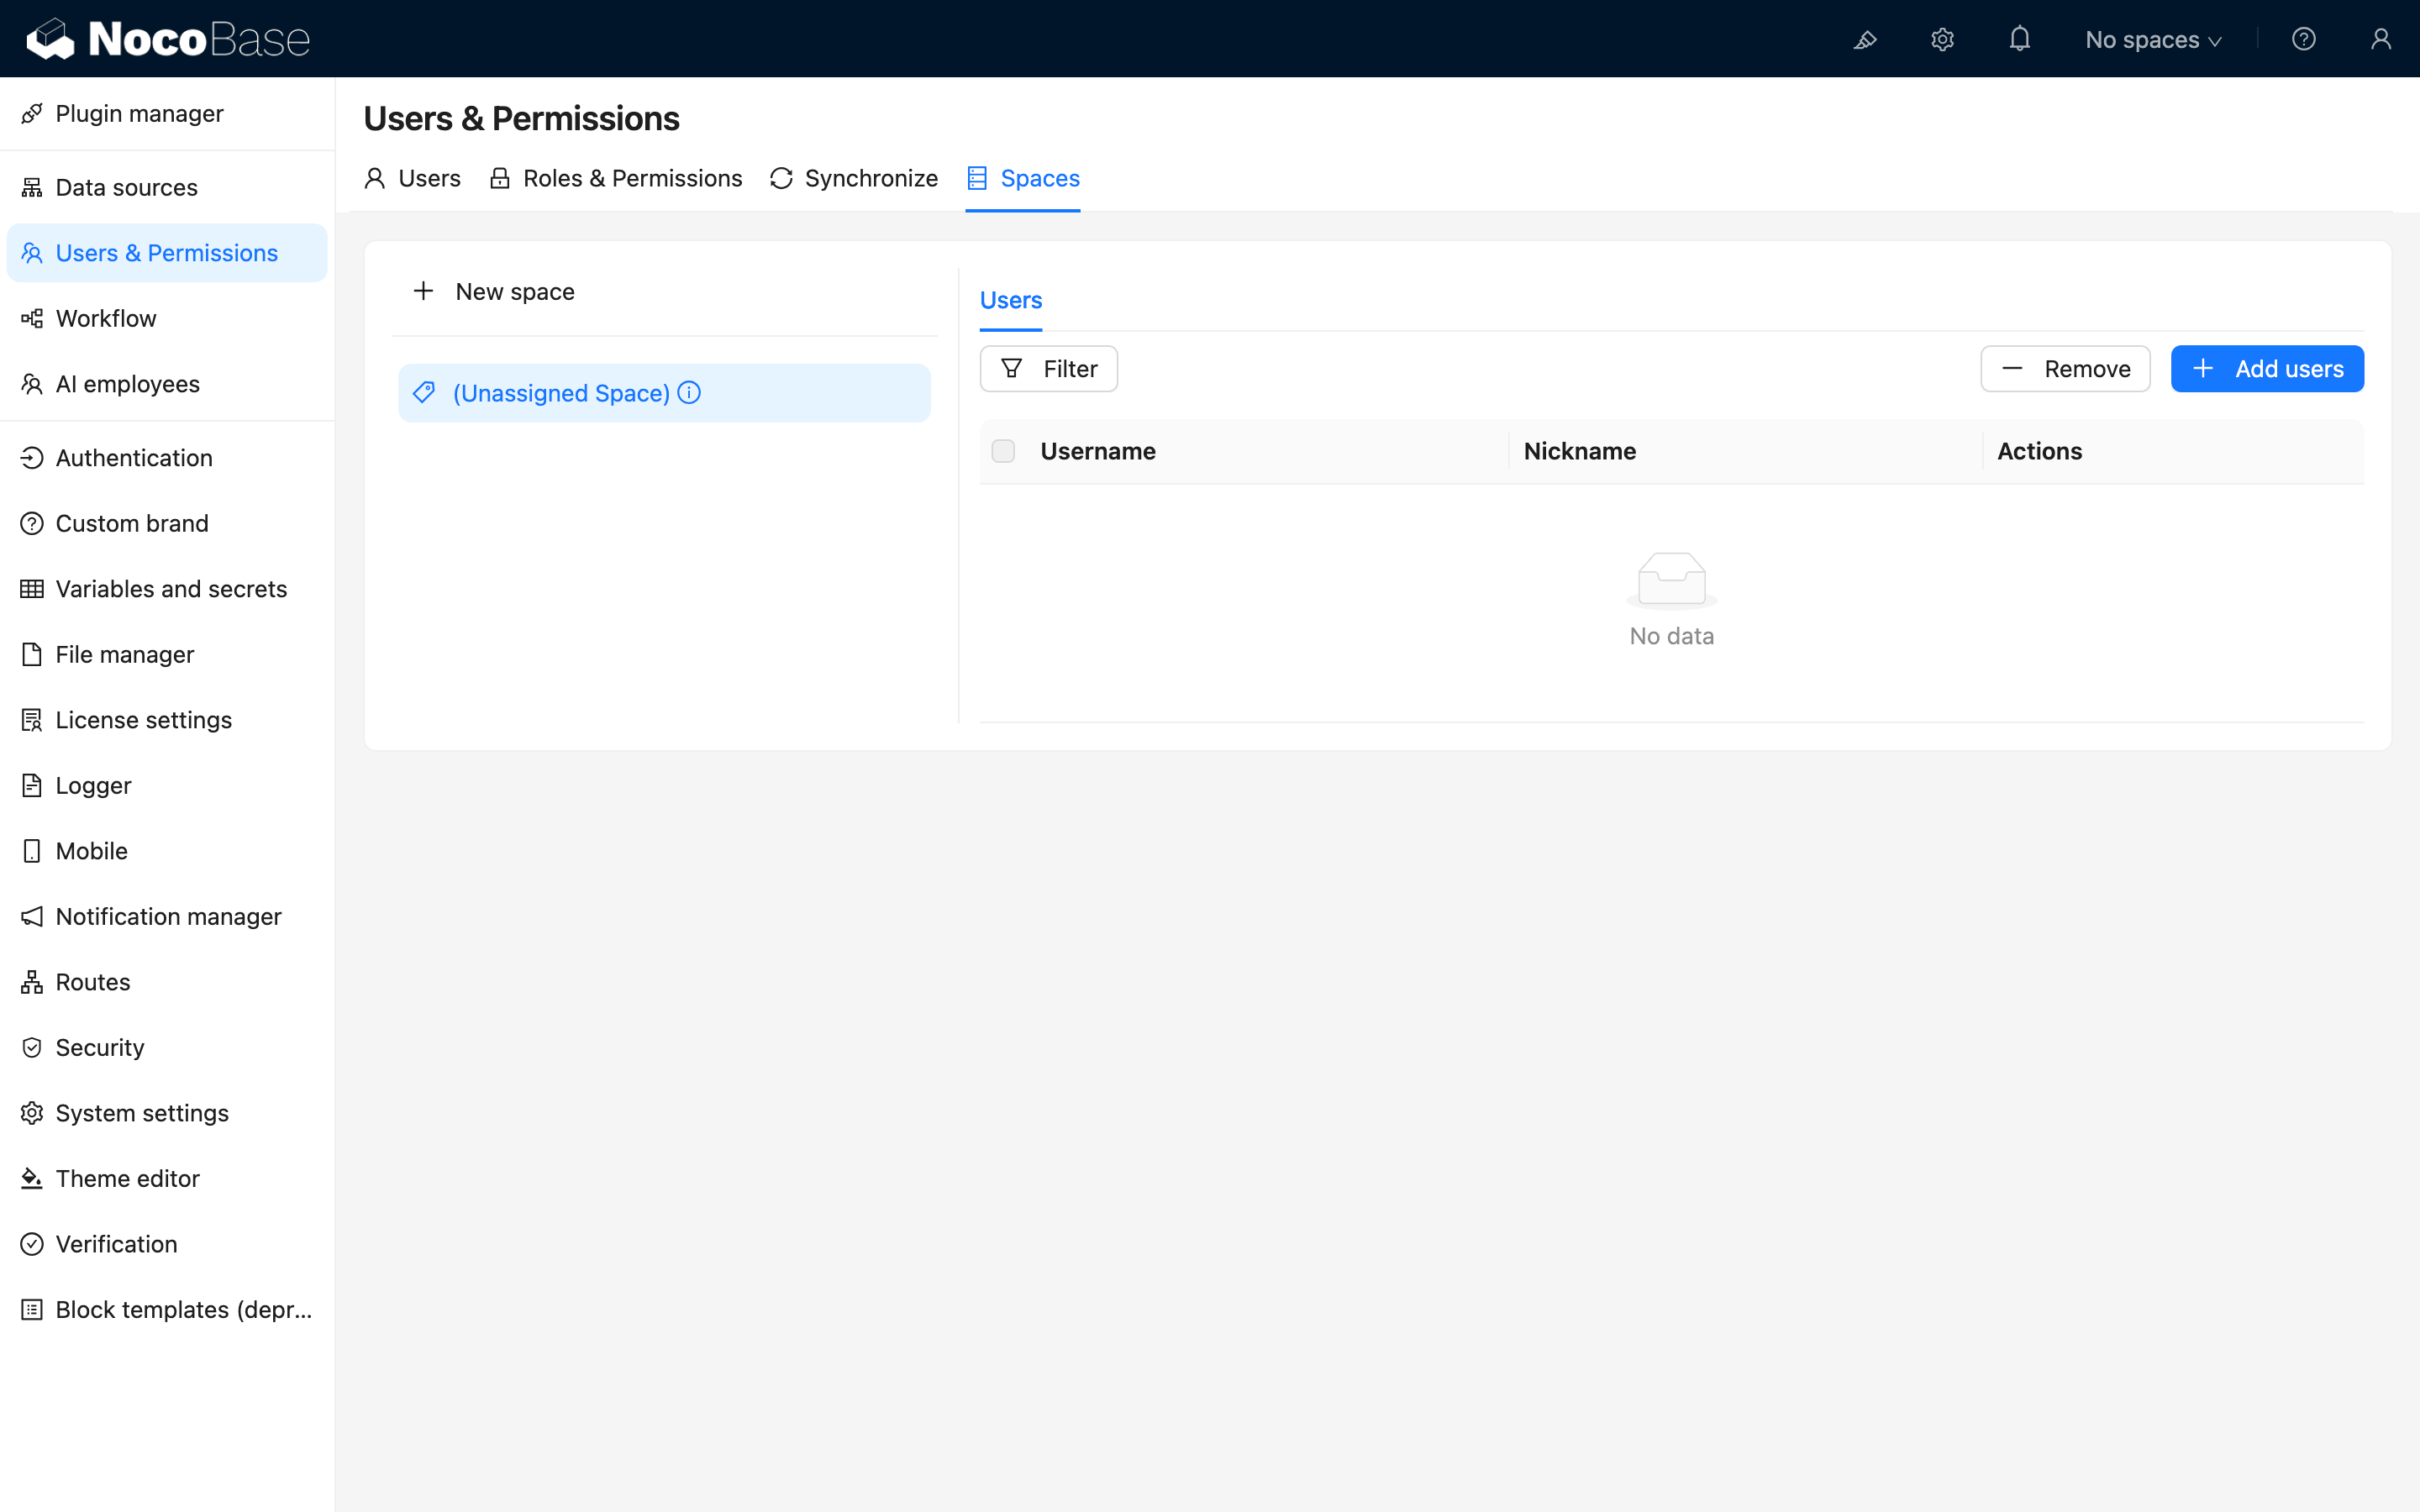
Multi-space Management
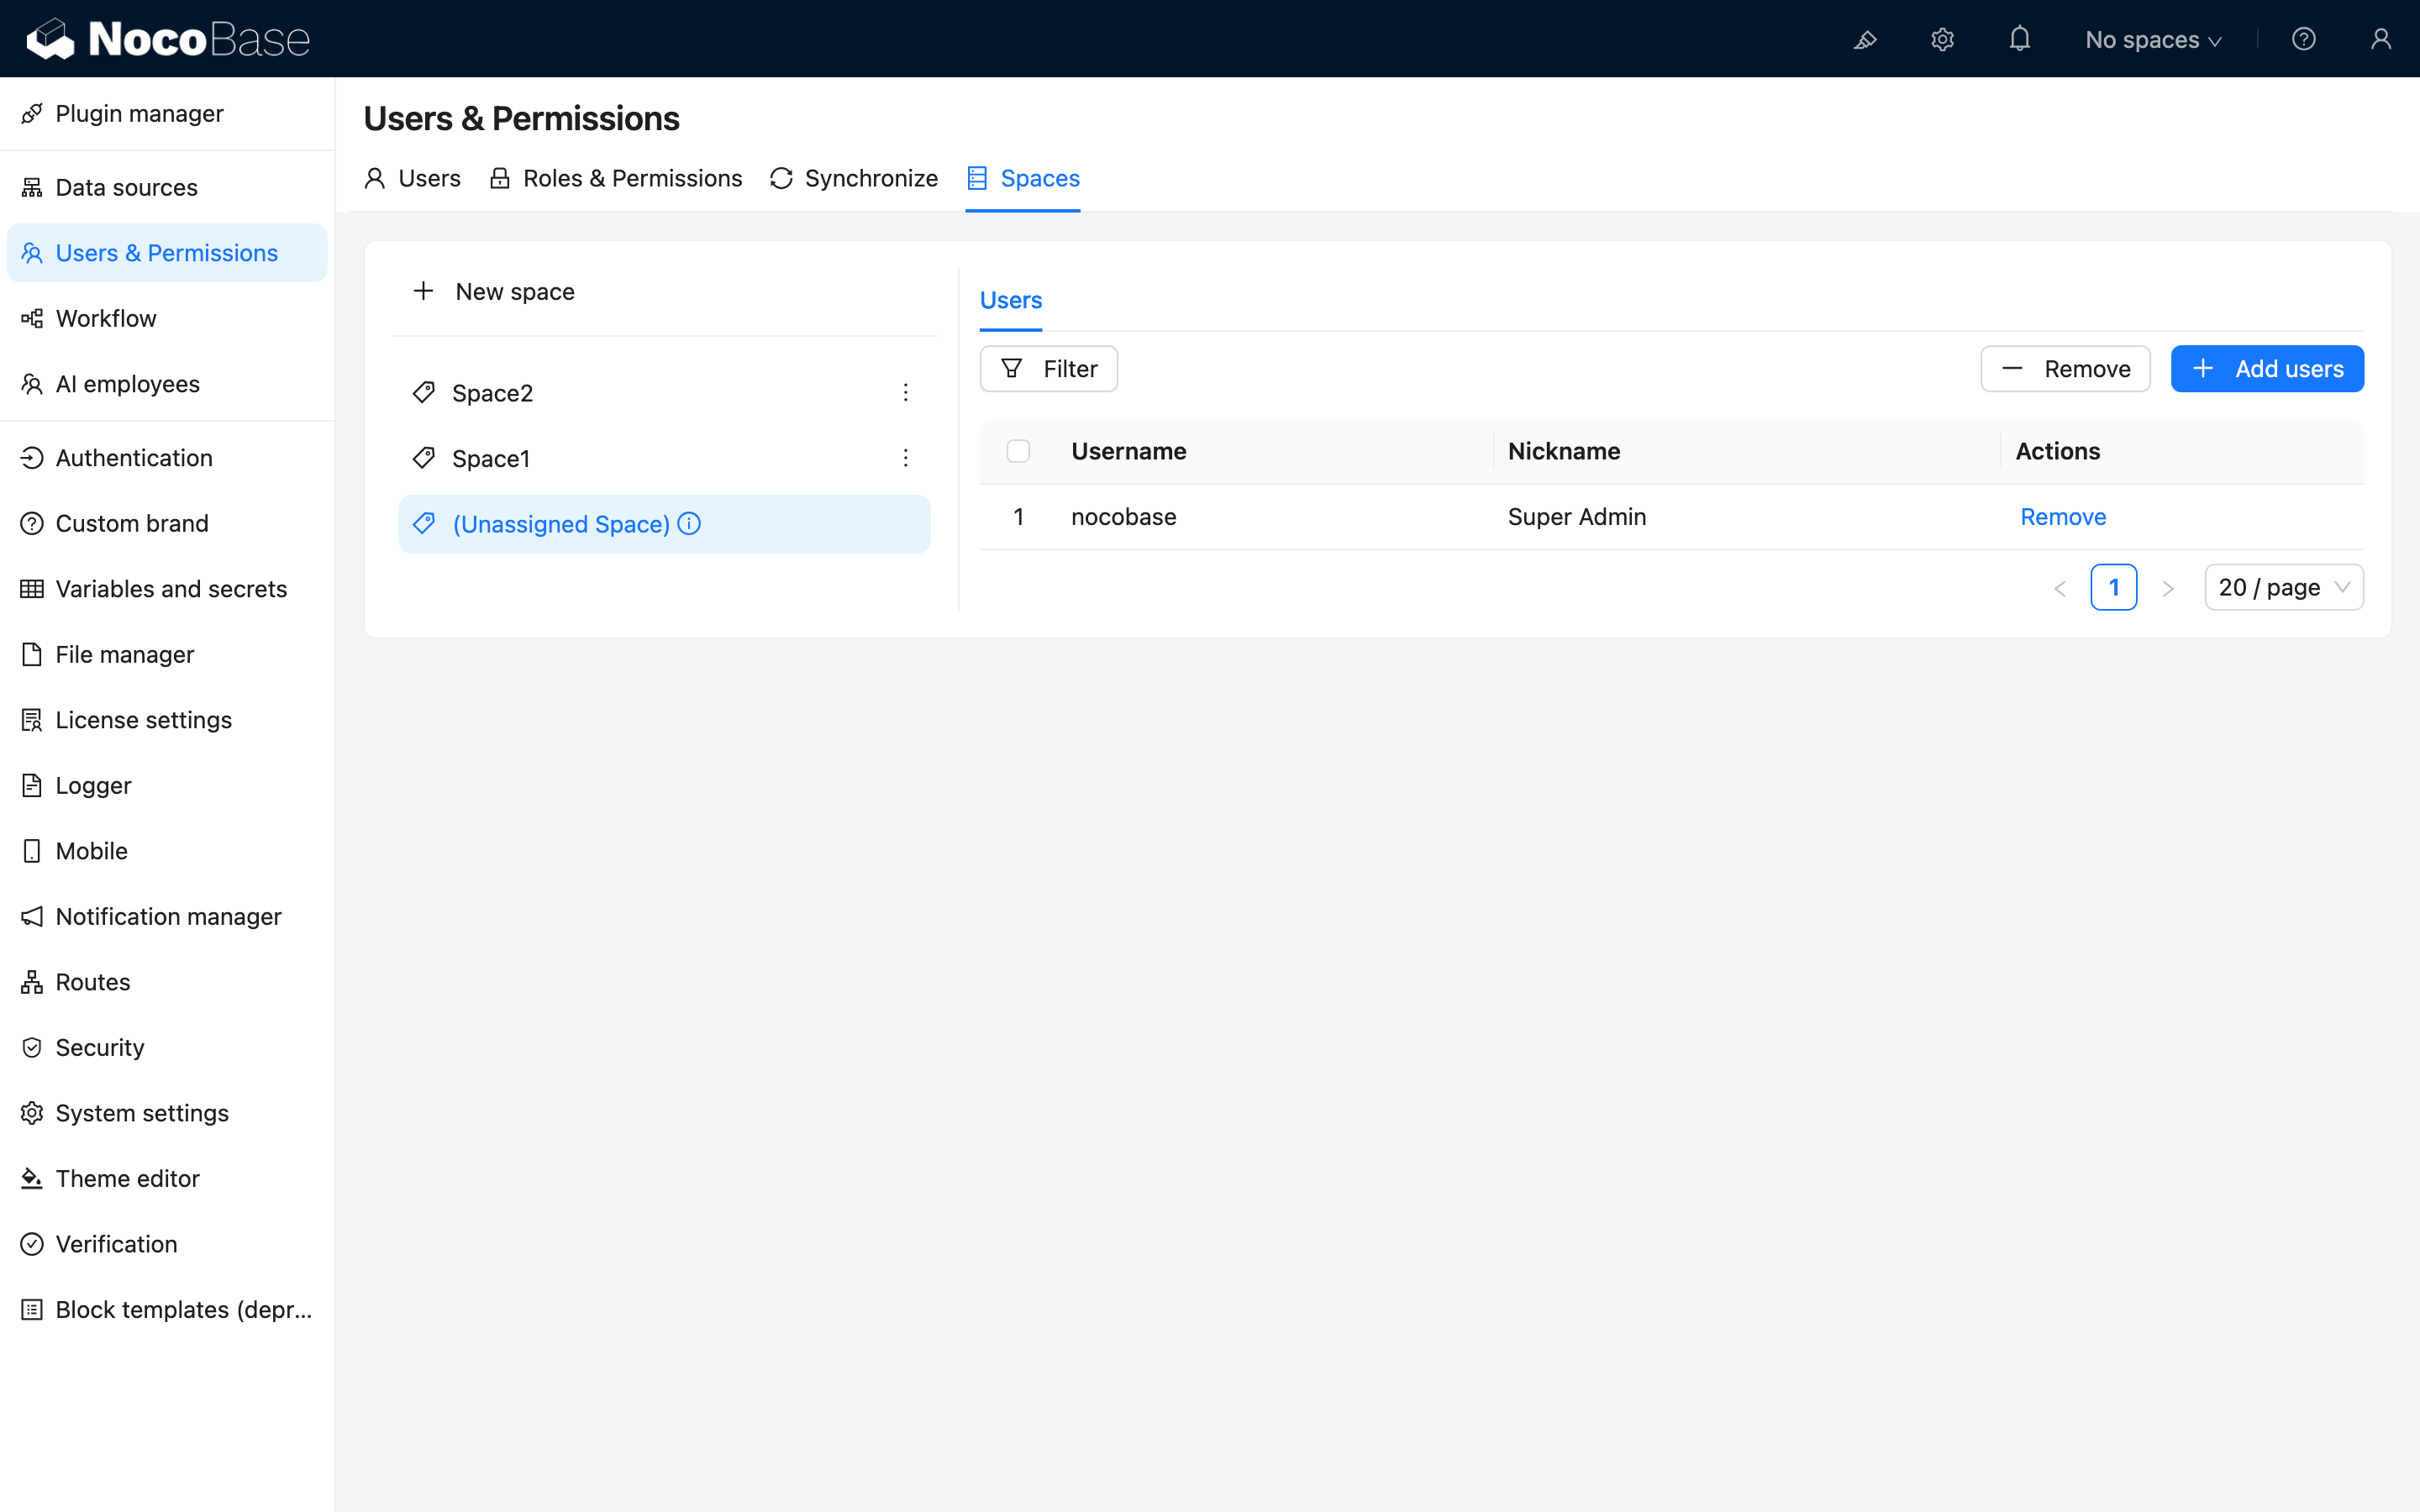
After enabling the plugin, go to the "Users & Permissions" settings page and switch to the Spaces panel to manage spaces.
Initially, there is a built-in Unassigned Space, which is mainly used to view old data that is not associated with any space.
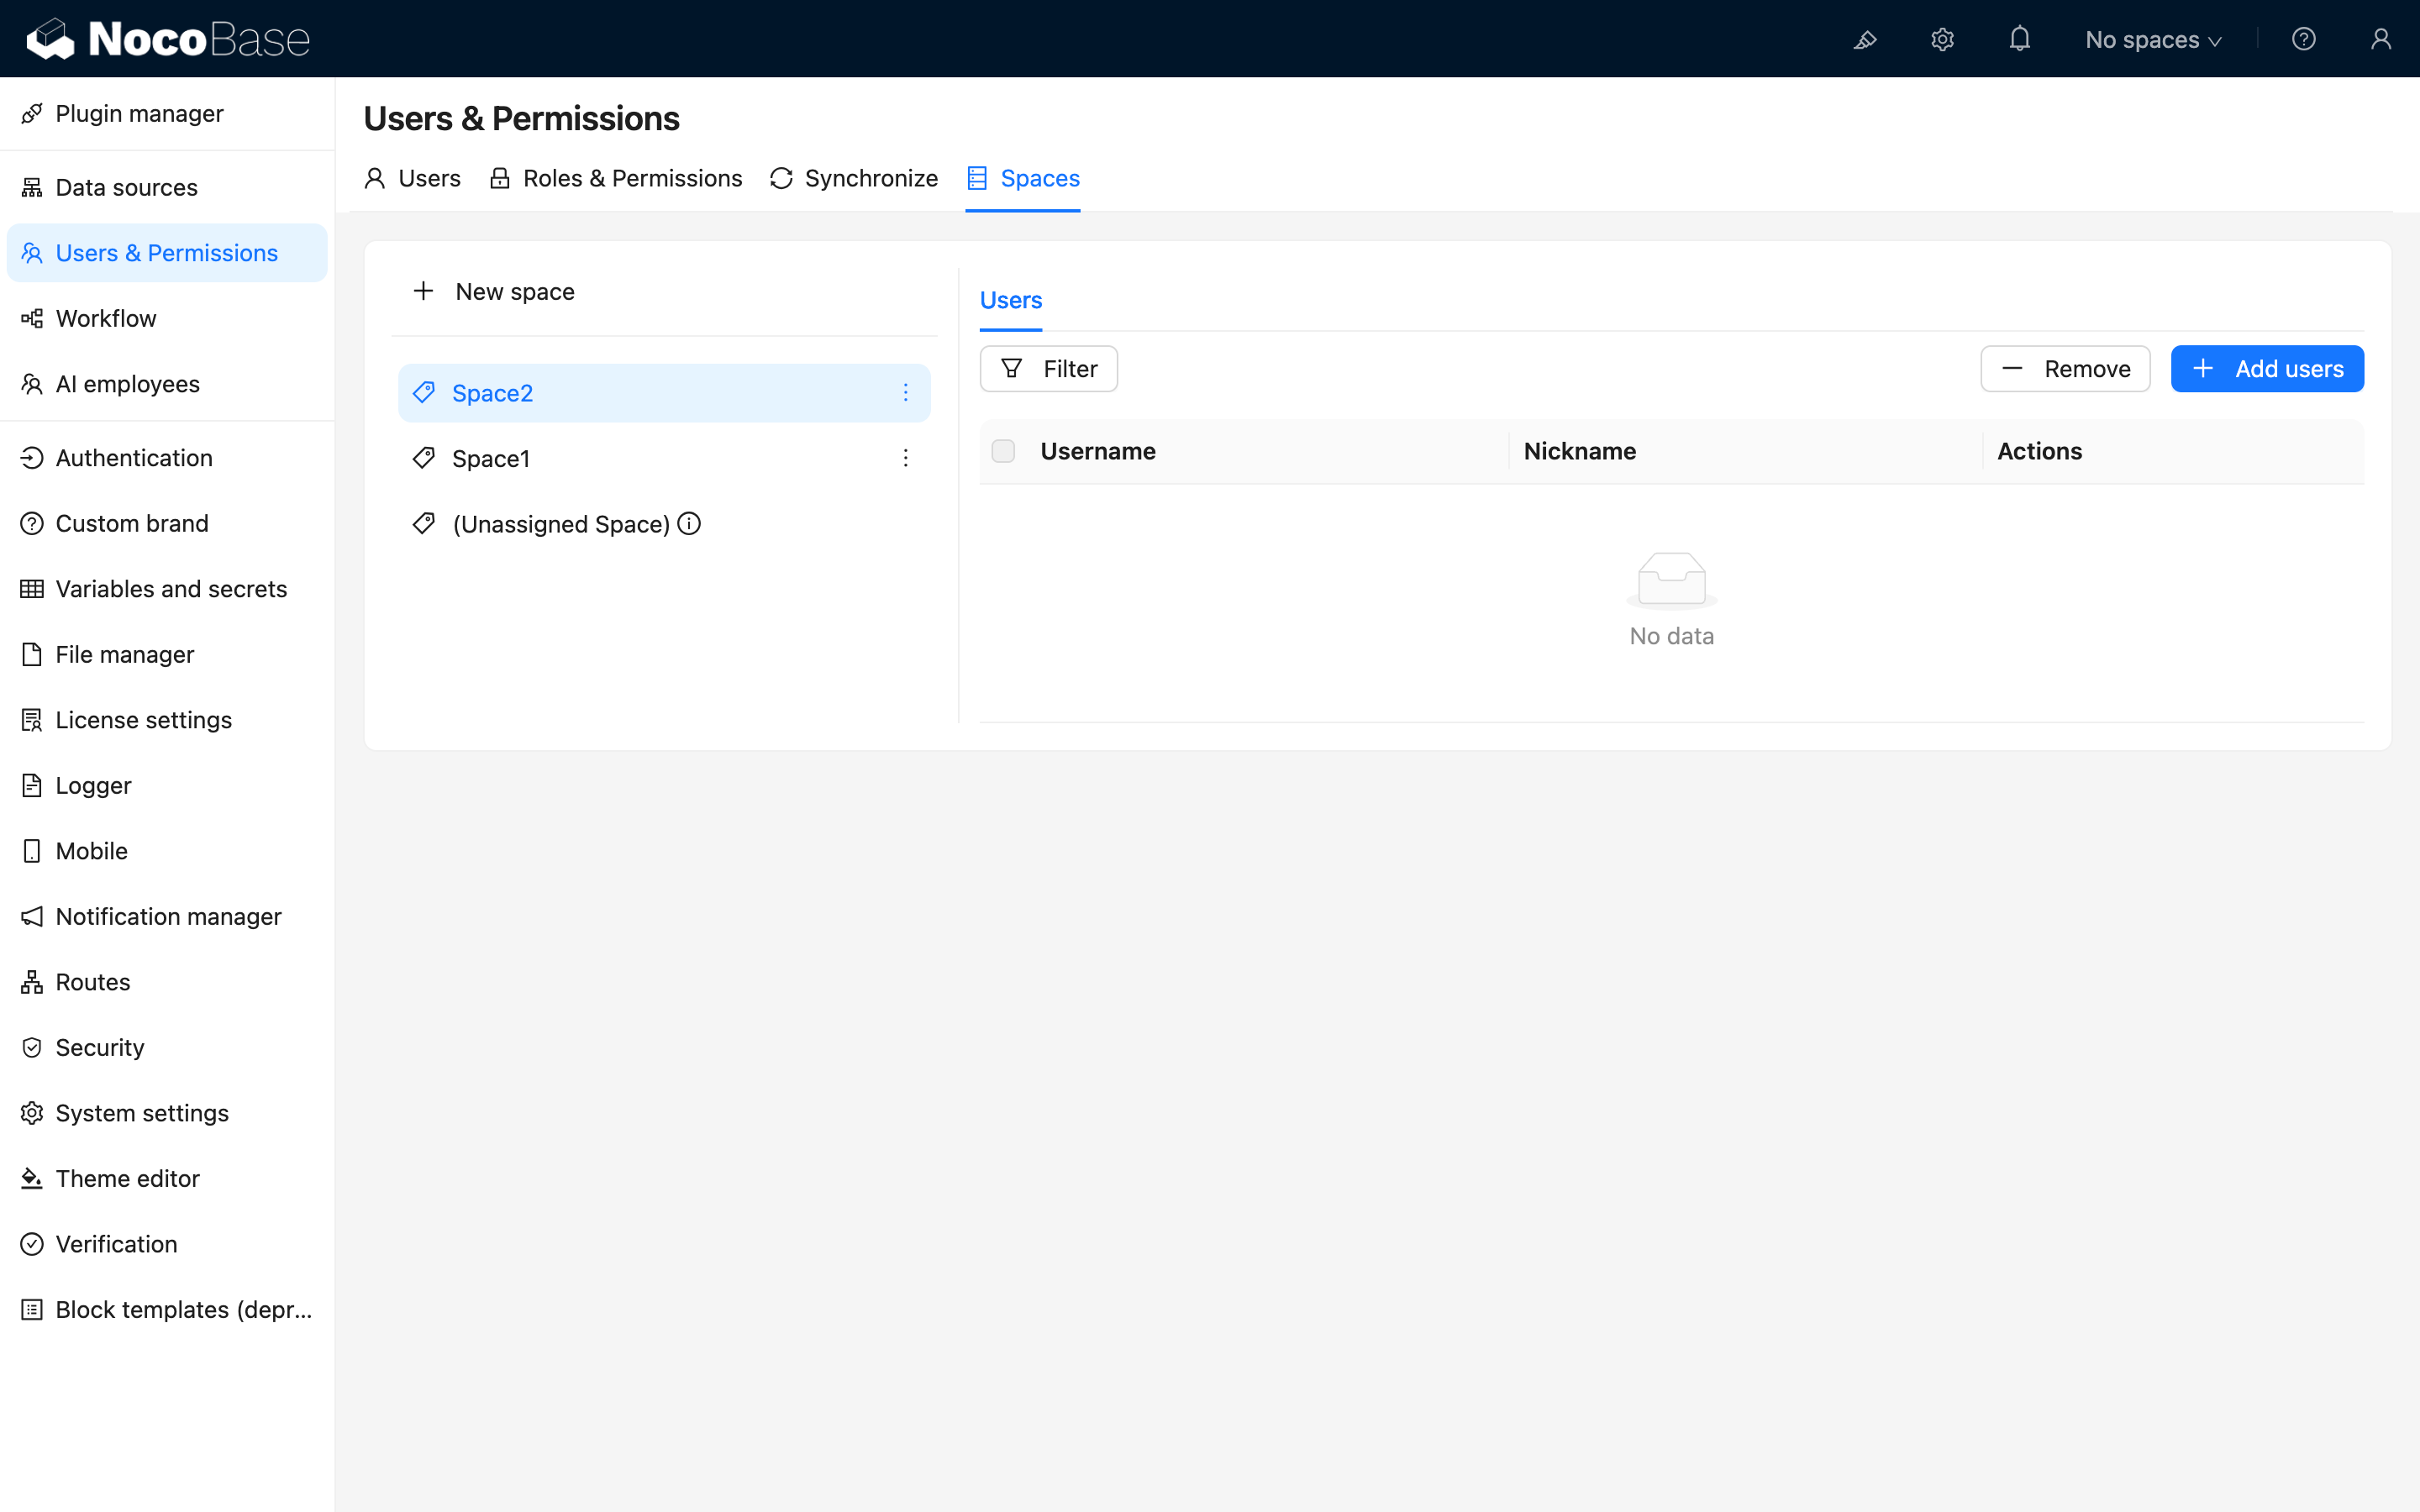
Create a Space
Click the "Add space" button to create a new space:
 .png)
Assign Users
After selecting a created space, you can set the users belonging to that space on the right side:
Tip: After assigning users to a space, you need to manually refresh the page for the space switching list in the upper right corner to update and display the latest space.
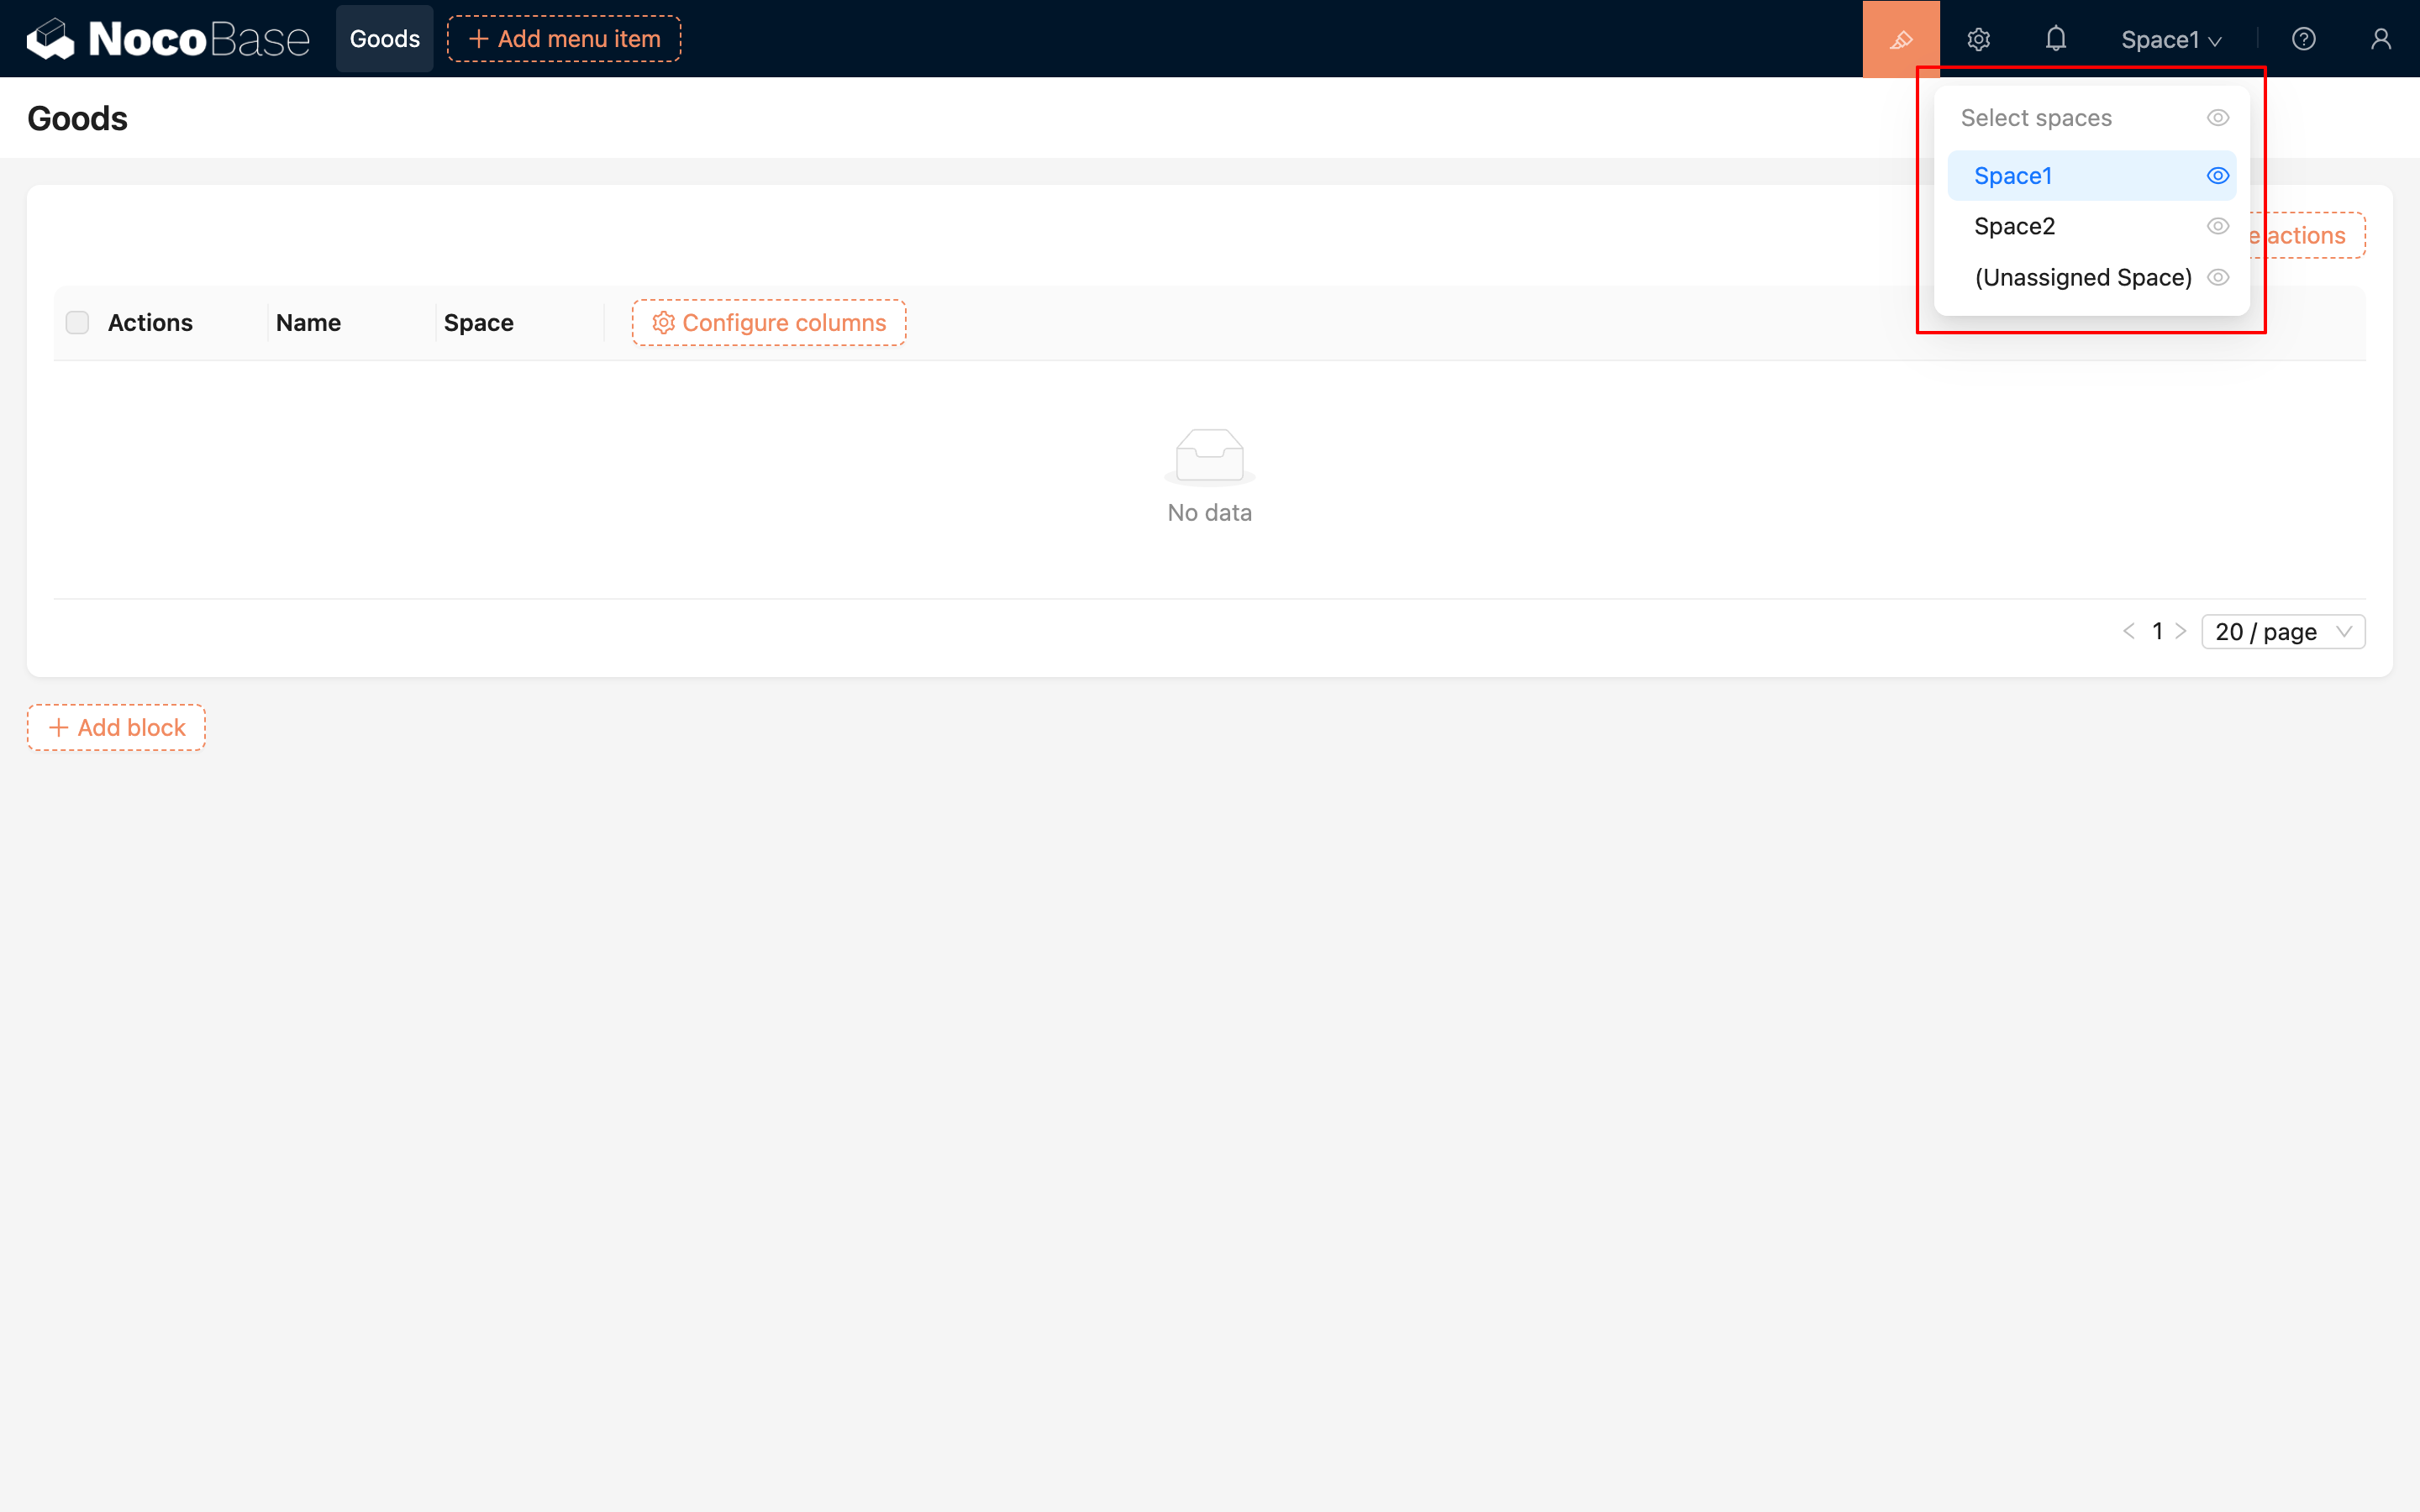
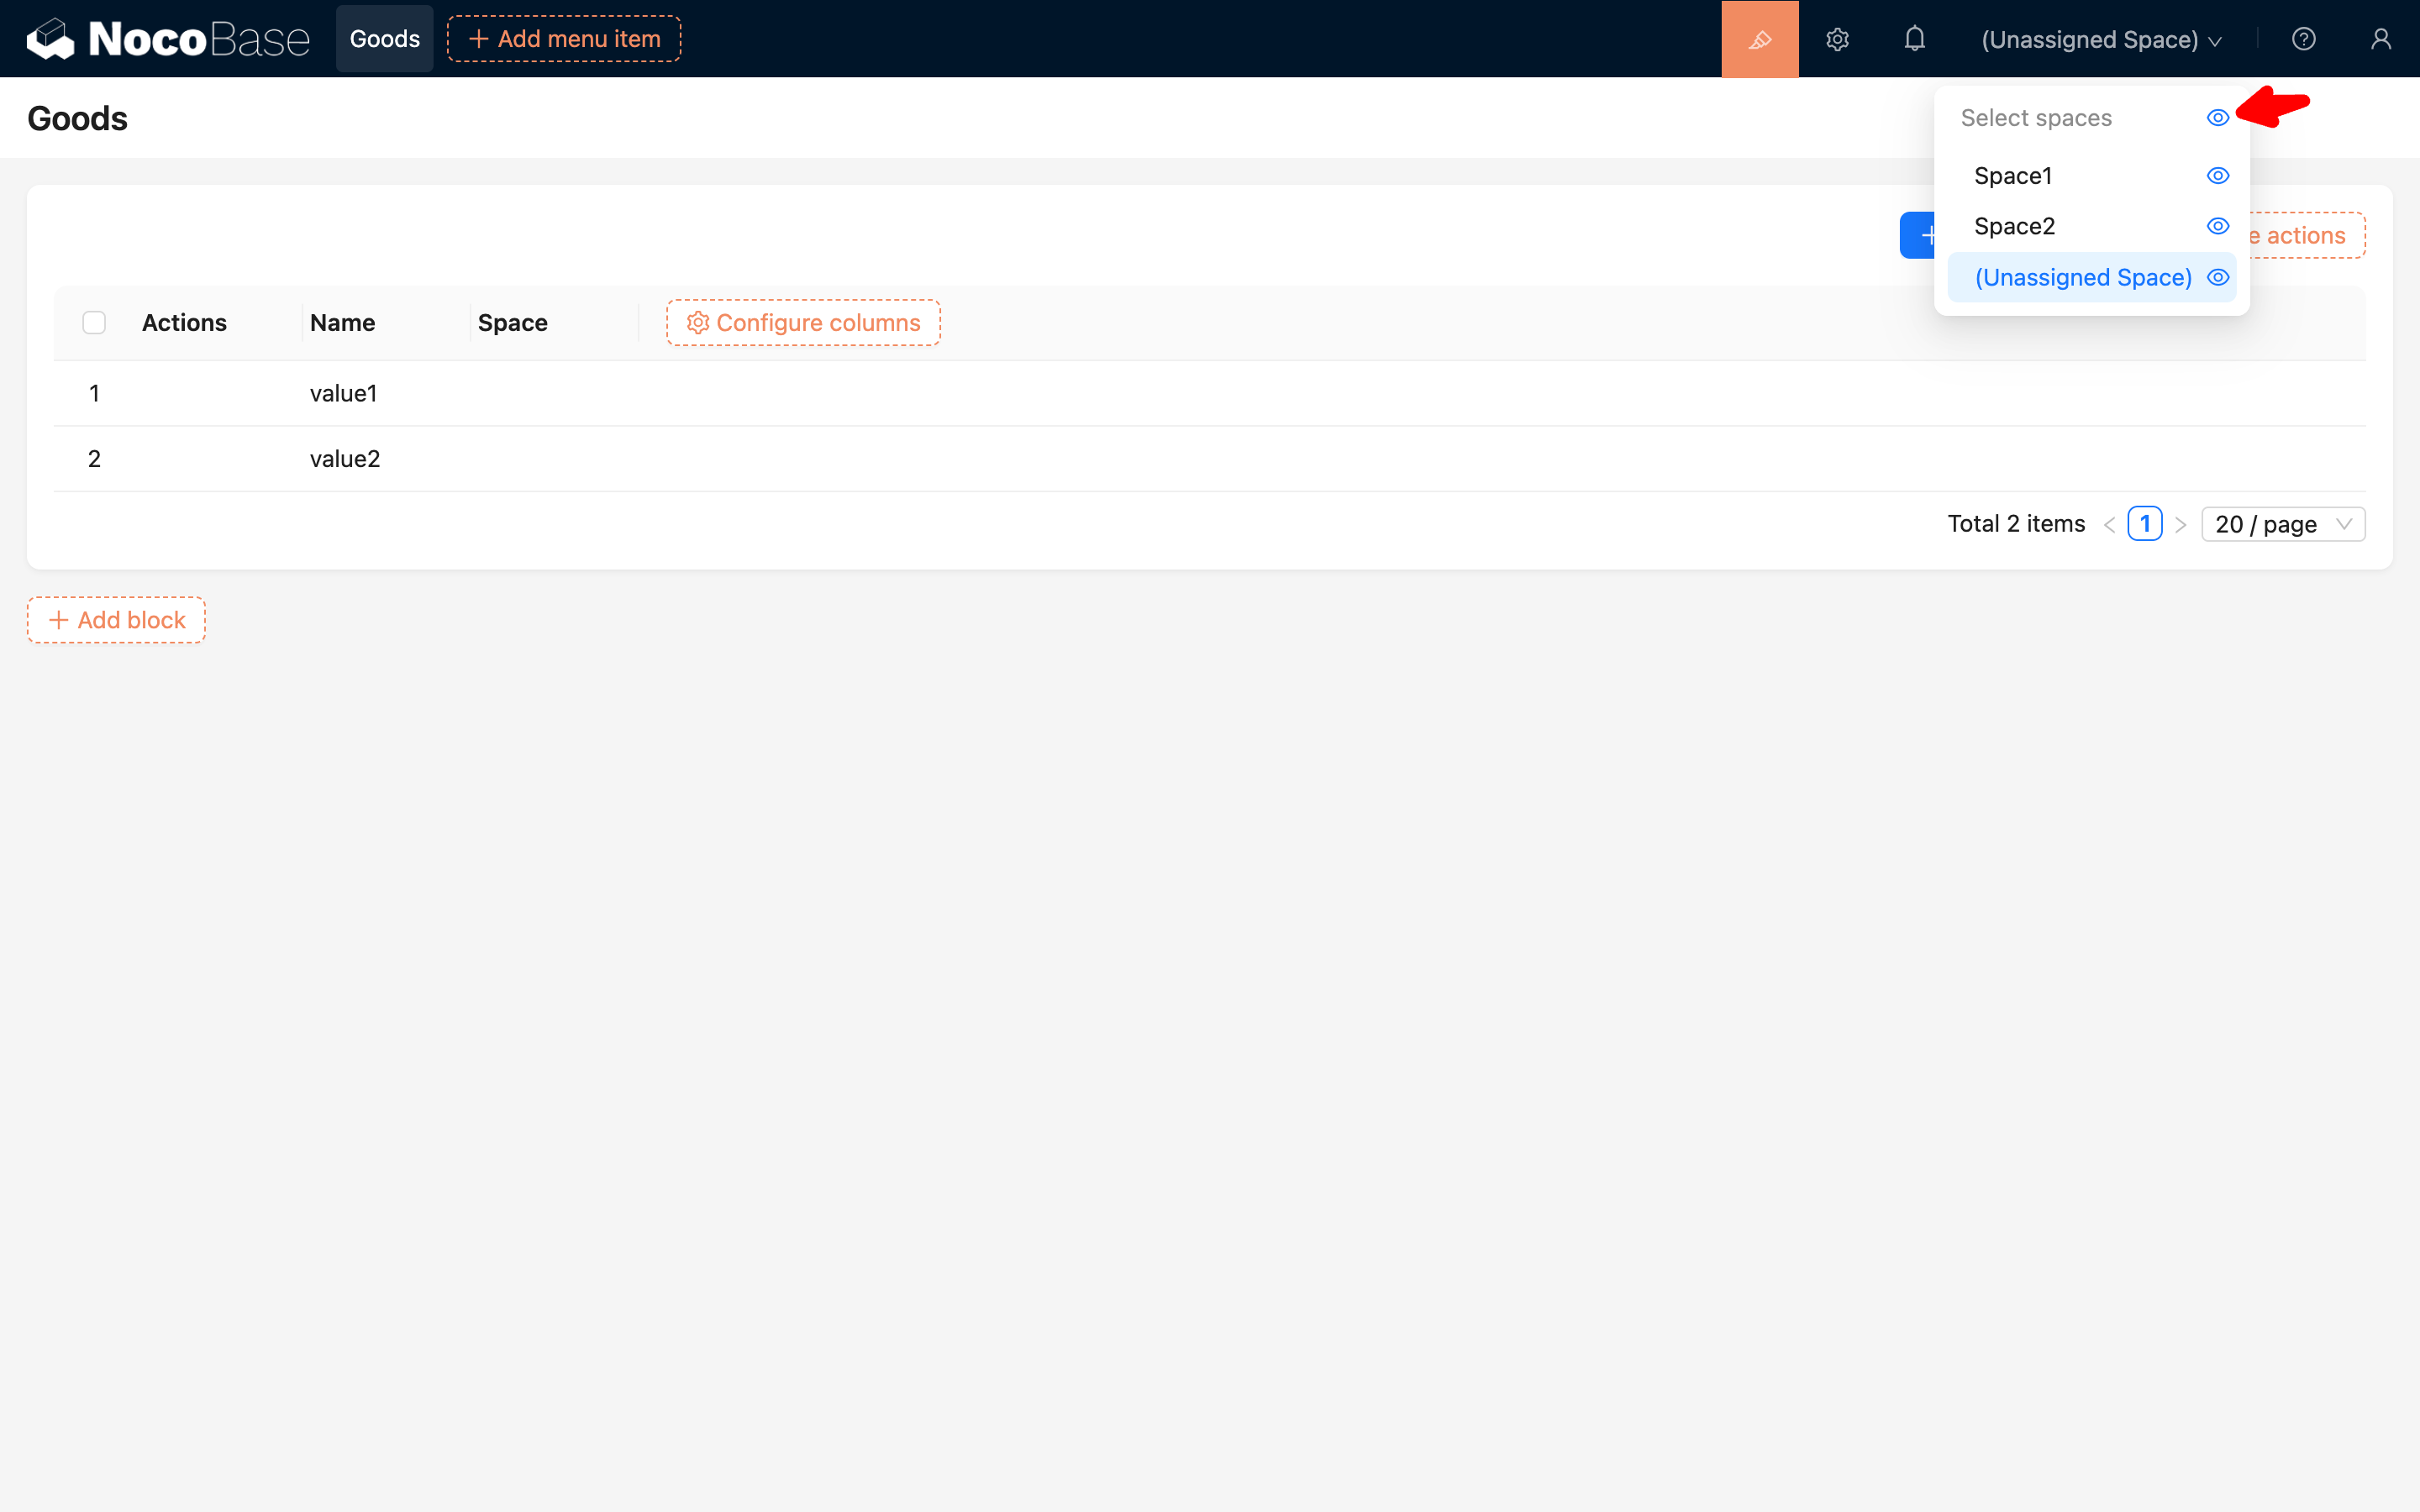
Switching and Viewing Multi-space
You can switch the current space in the upper right corner. When you click the eye icon on the right (in its highlighted state), you can view data from multiple spaces simultaneously.
Multi-space Data Management
After enabling the plugin, the system will automatically add a Space field when creating a collection. Only collections that contain this field will be included in the space management logic.
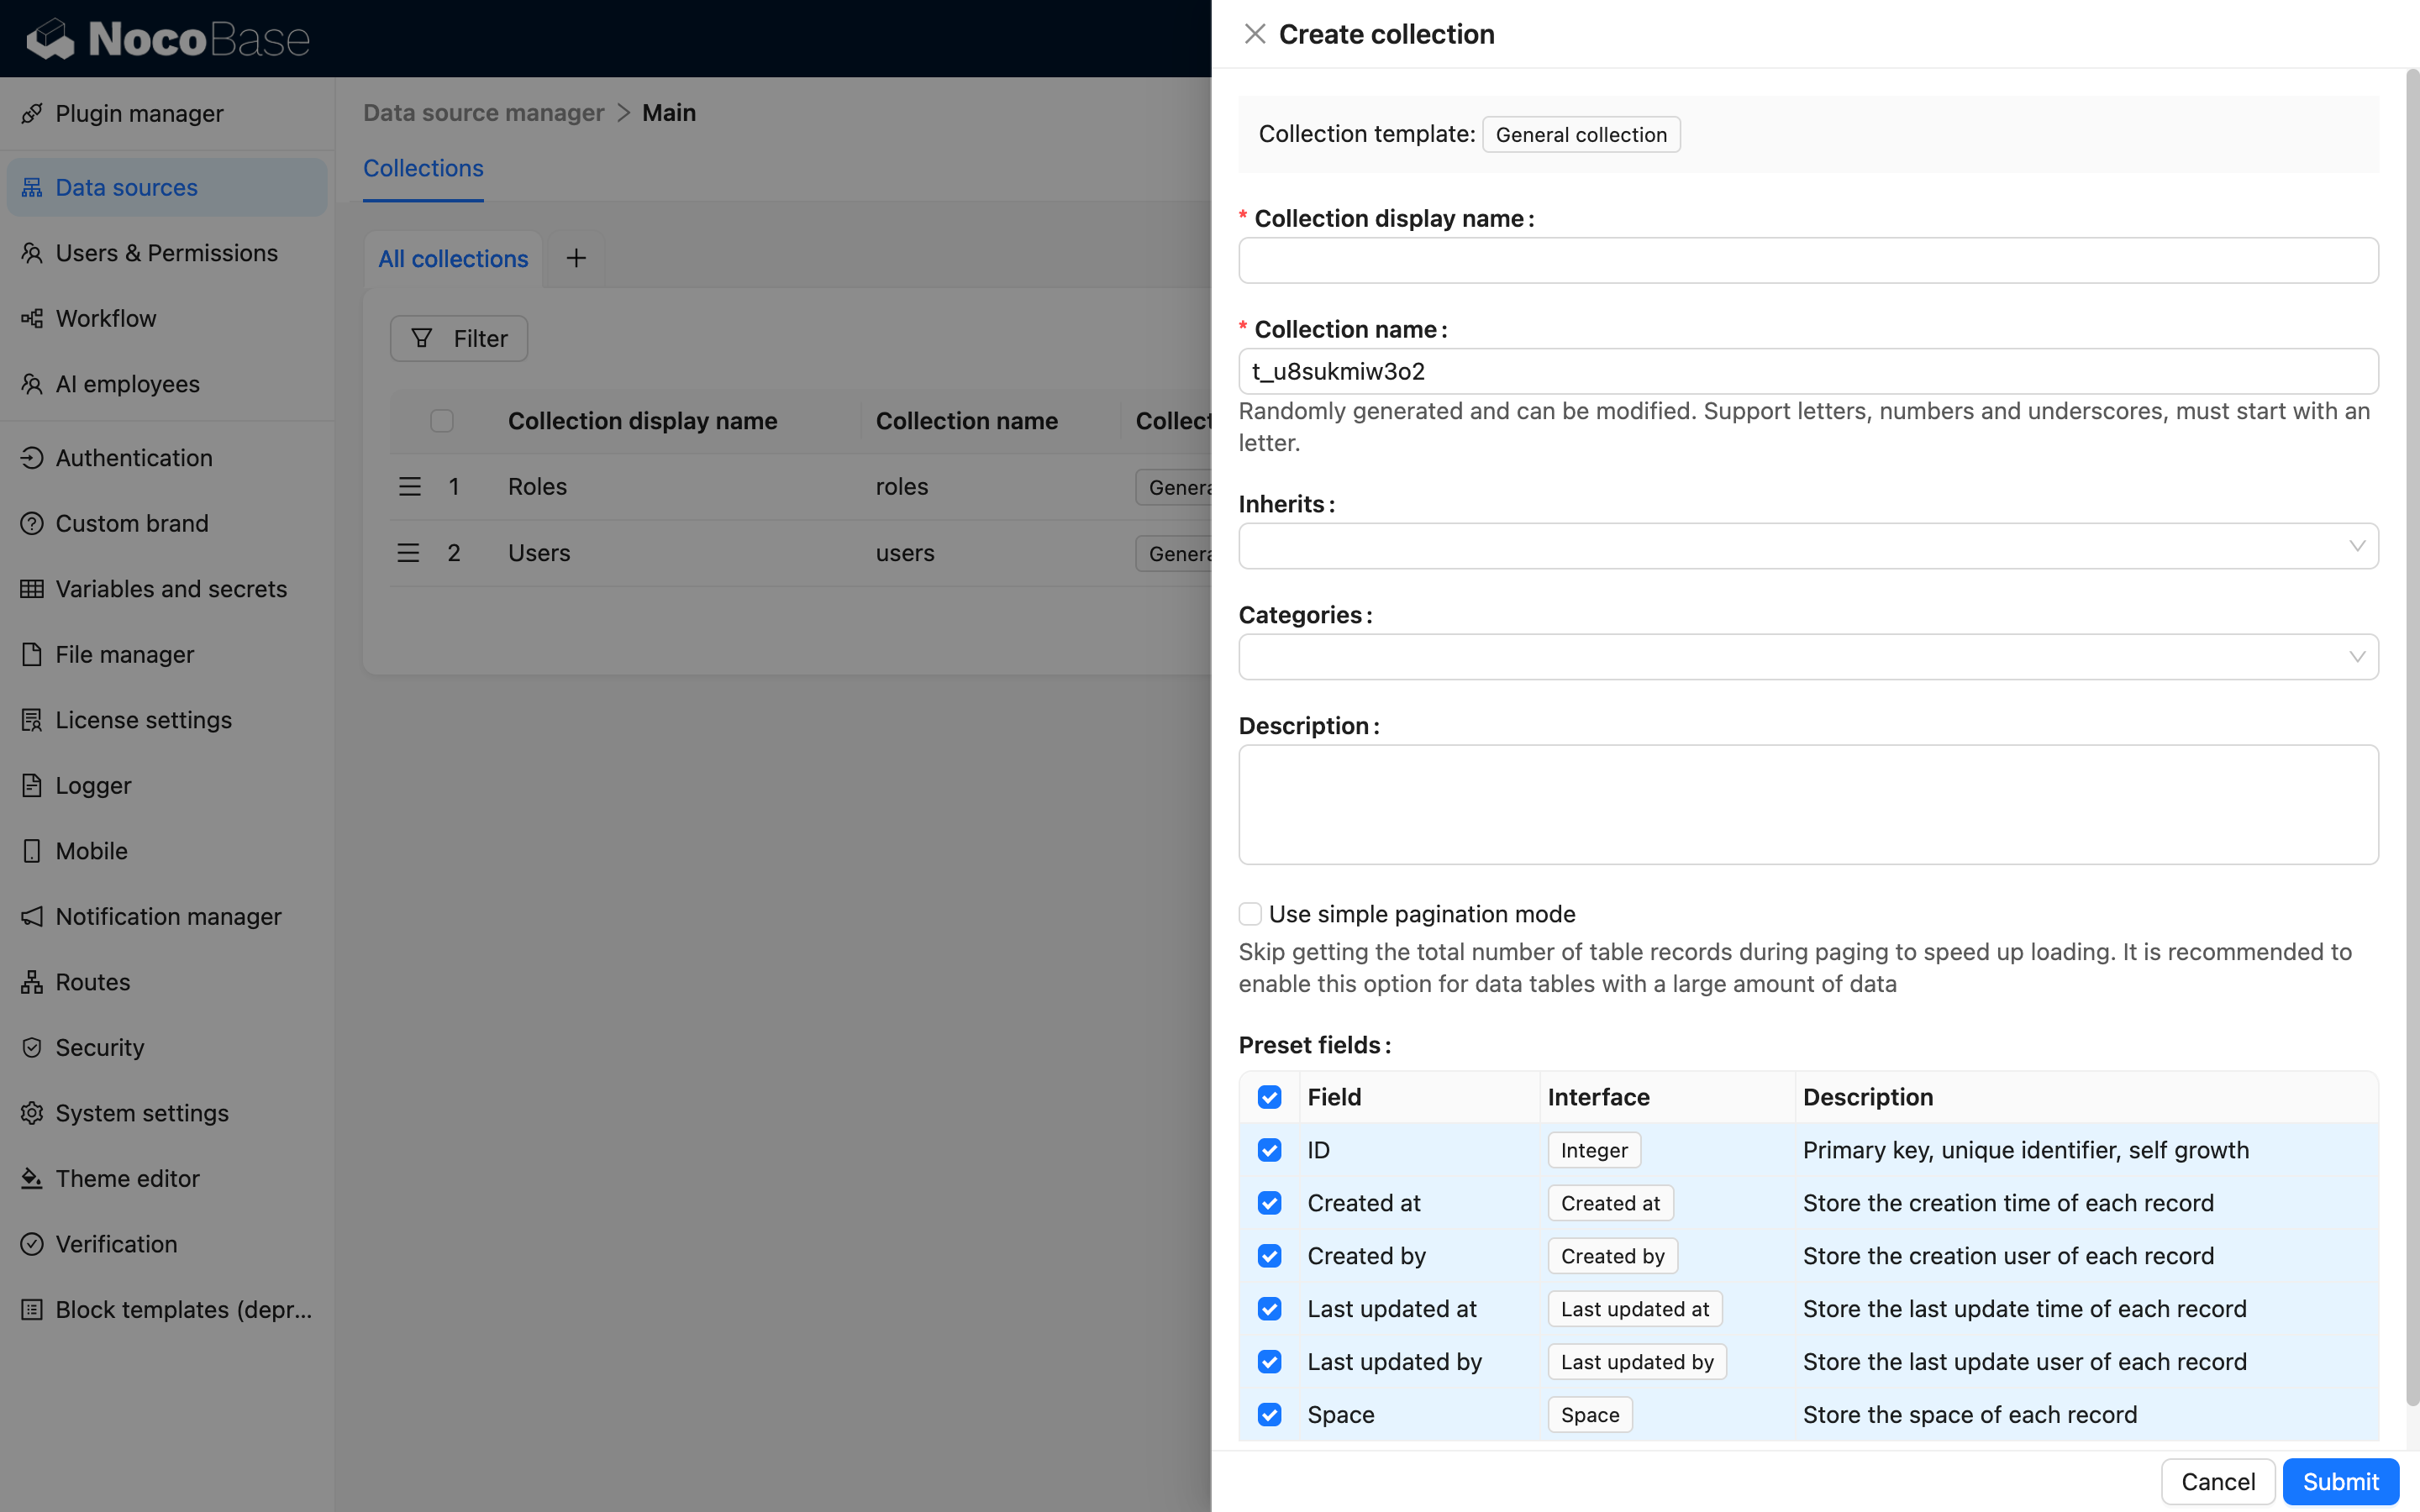
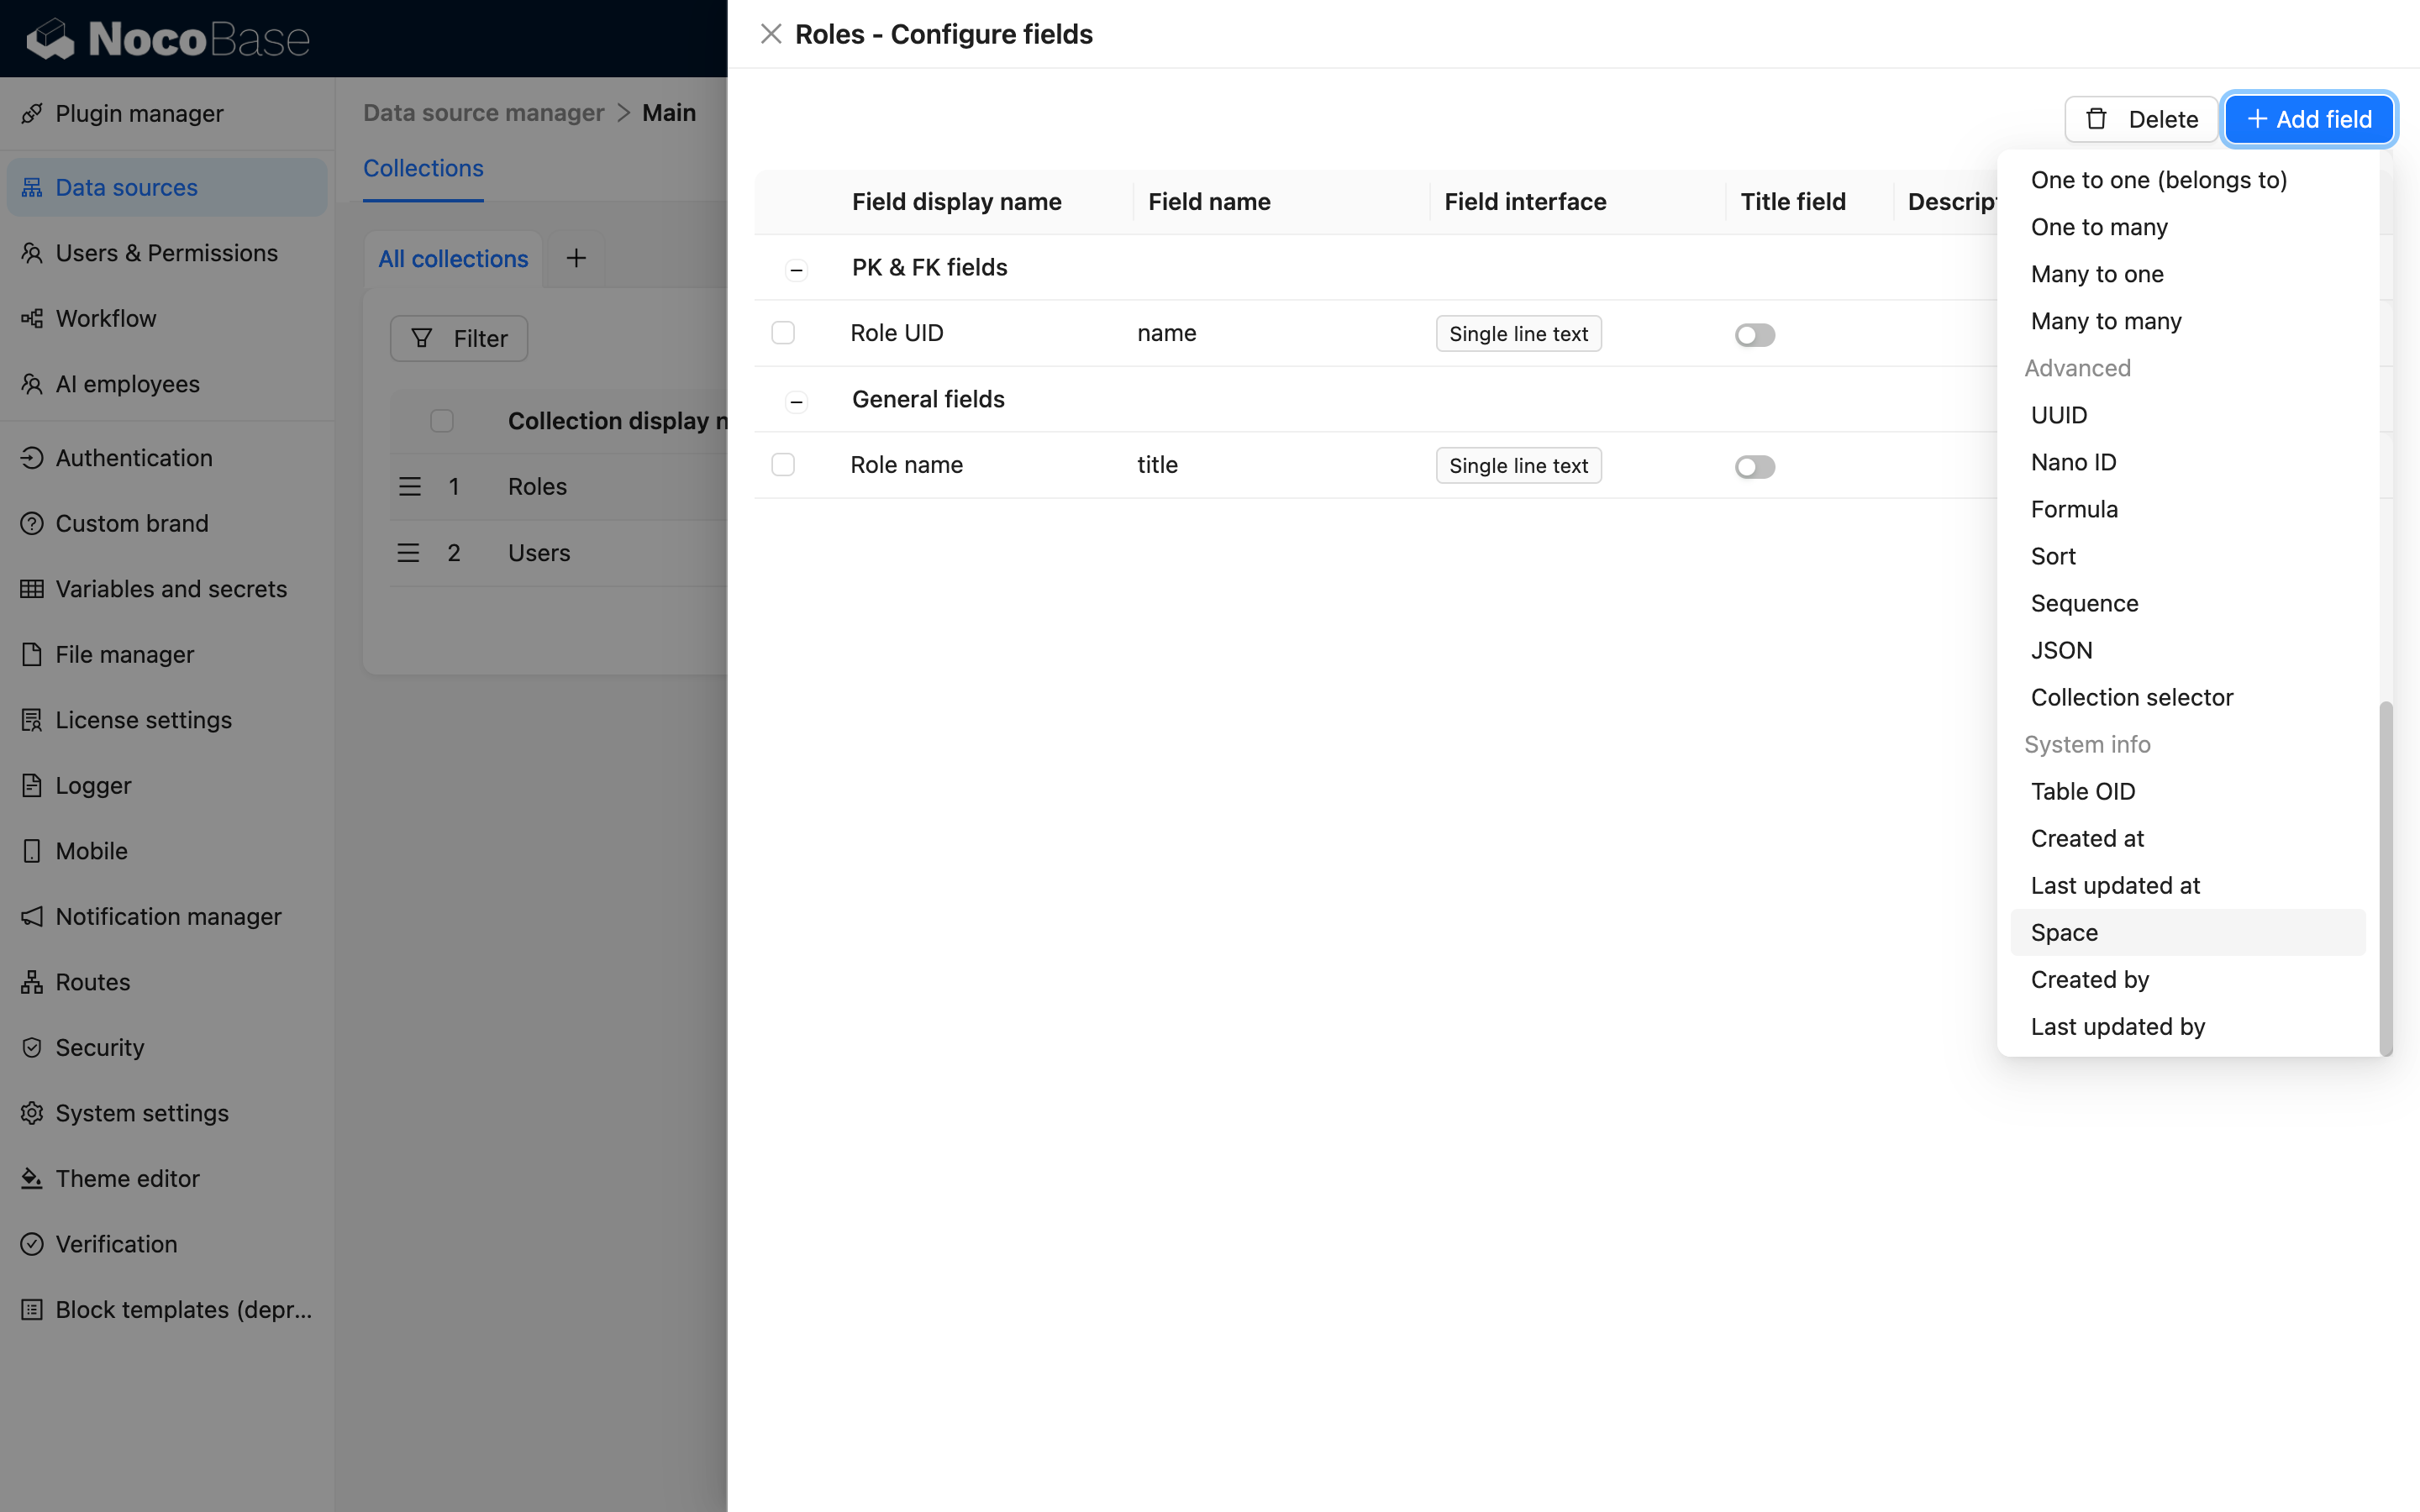
For existing collections, you can manually add a Space field to enable space management:
Default Logic
In collections that contain the Space field, the system will automatically apply the following logic:
- When creating data, it is automatically associated with the currently selected space;
- When filtering data, it is automatically limited to the data of the currently selected space.
Classifying Old Data into Multi-space
For data that existed before the Multi-space plugin was enabled, you can classify it into spaces through the following steps:
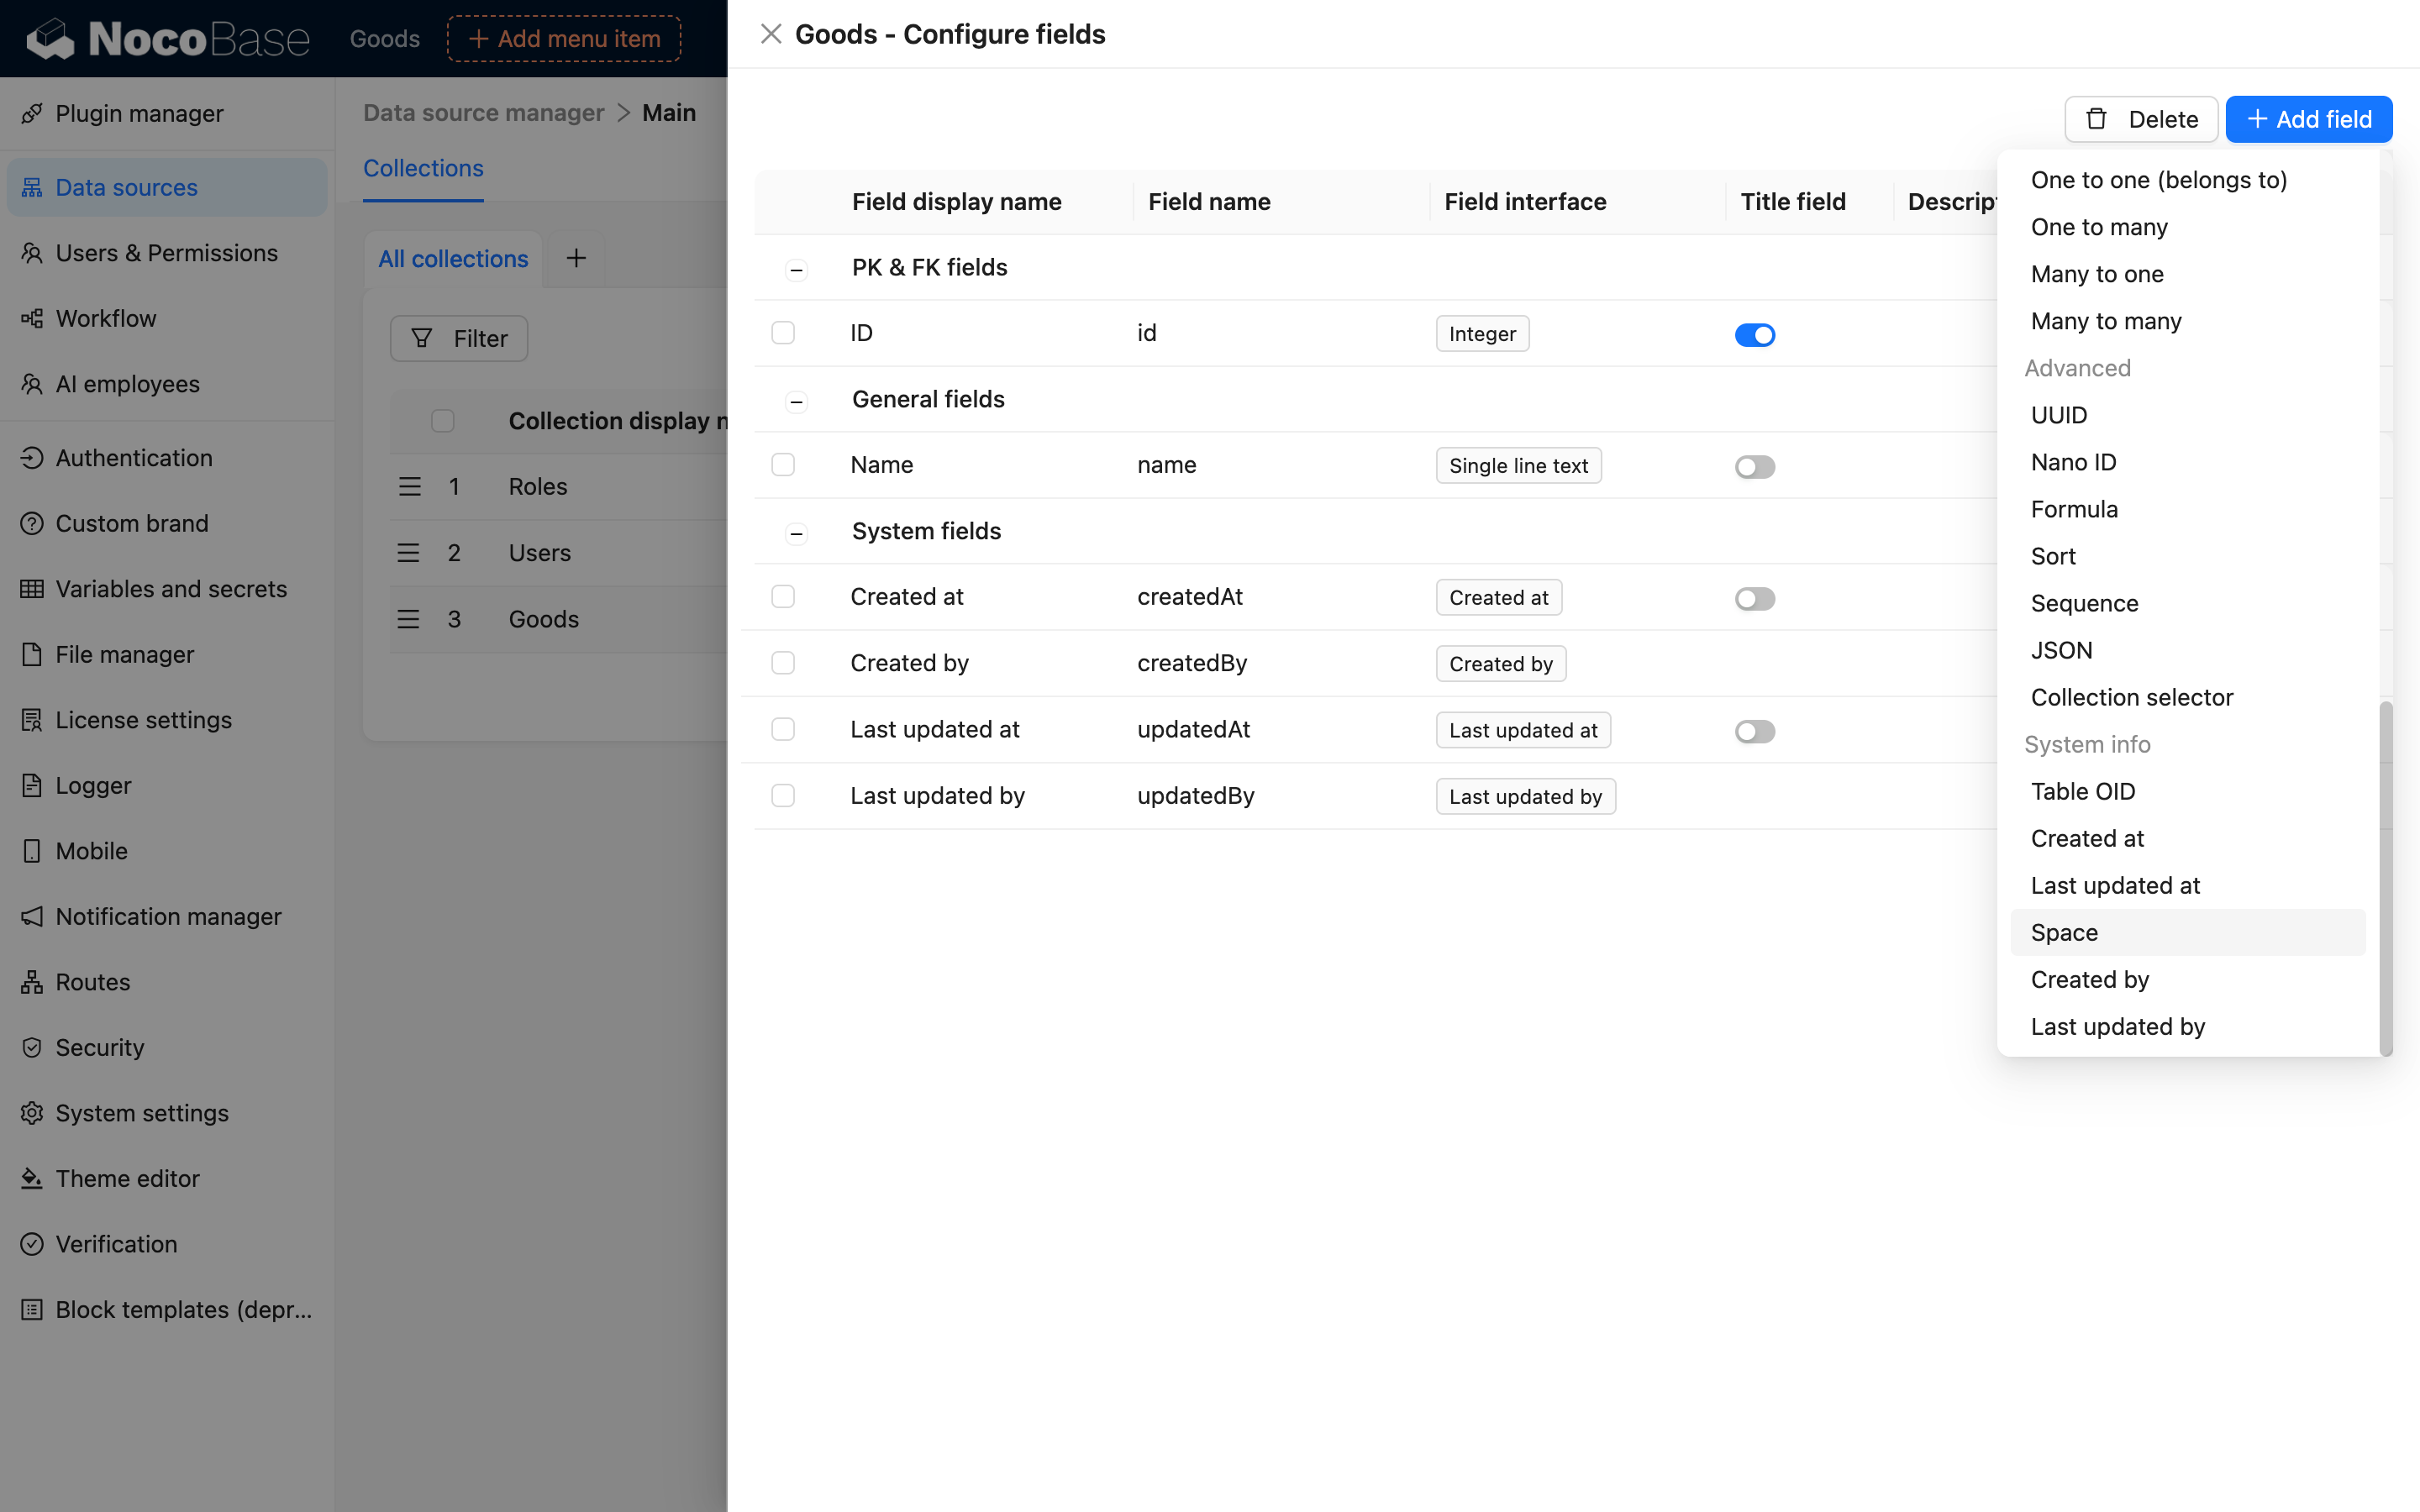
1. Add the Space field
Manually add the Space field to the old collection:
2. Assign users to the Unassigned Space
Associate the user who manages the old data with all spaces, including the Unassigned Space, to view data that has not yet been assigned to a space:
3. Switch to view all space data
At the top, select to view data from all spaces:
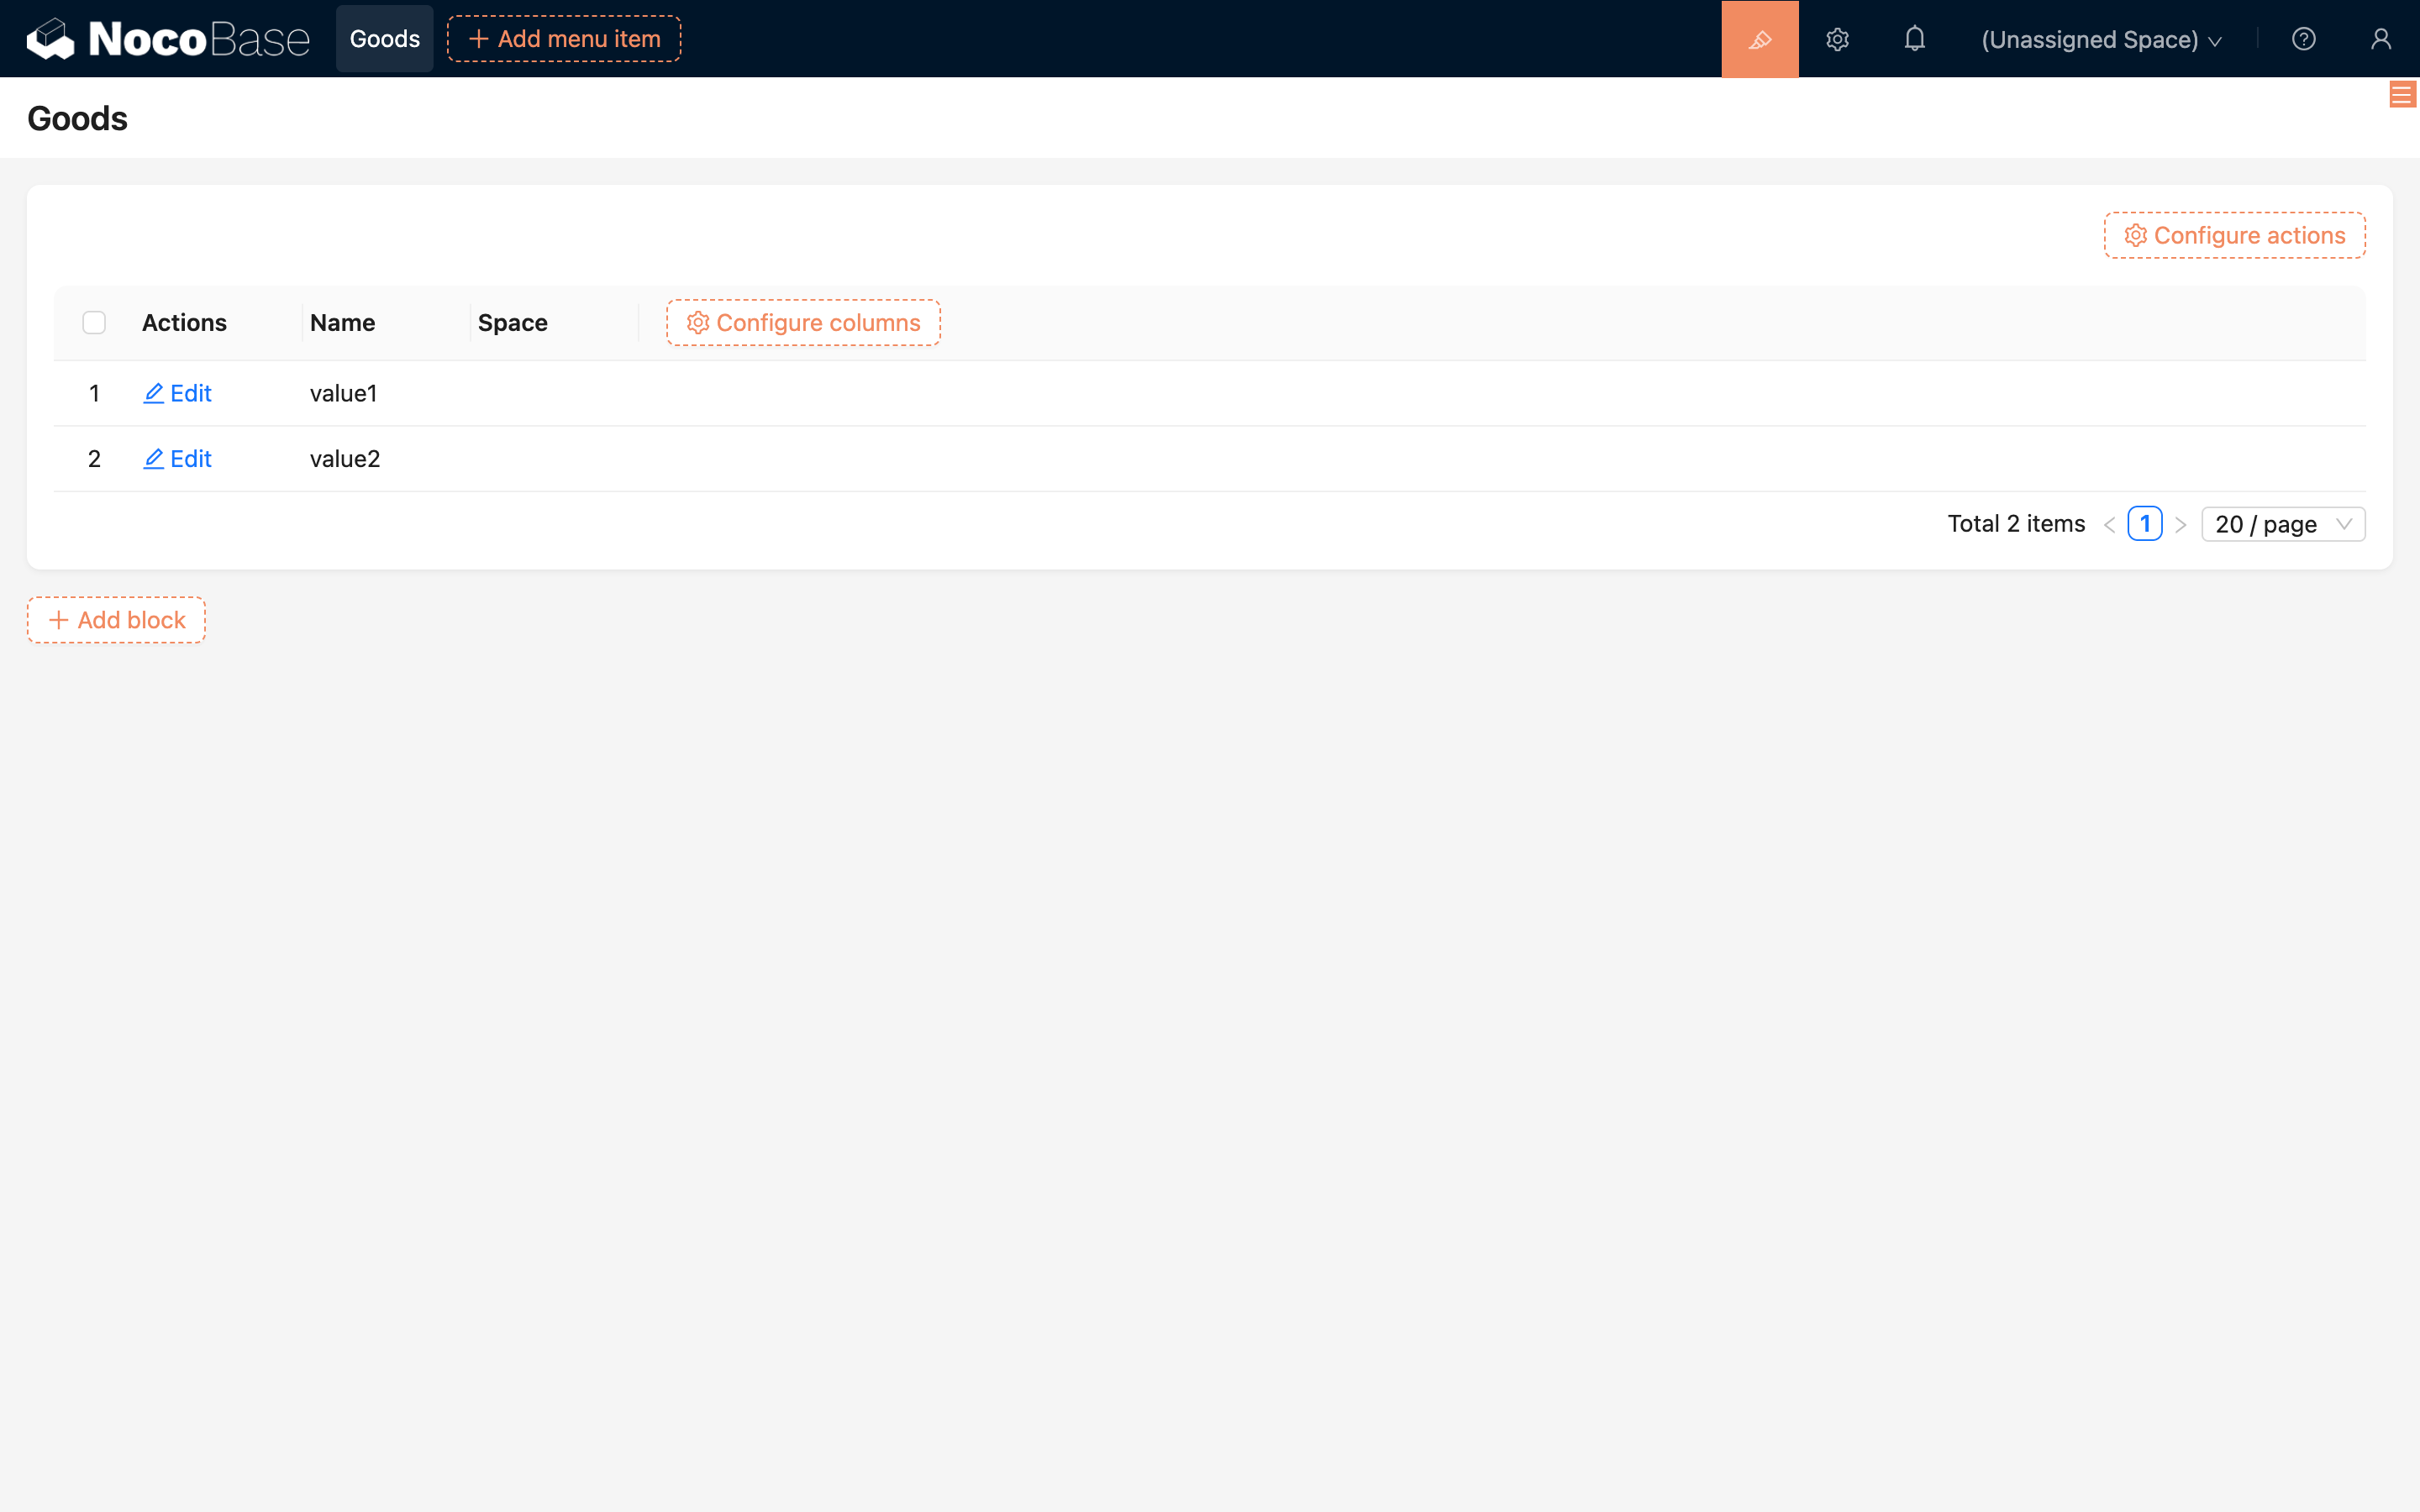
4. Configure a page for old data assignment
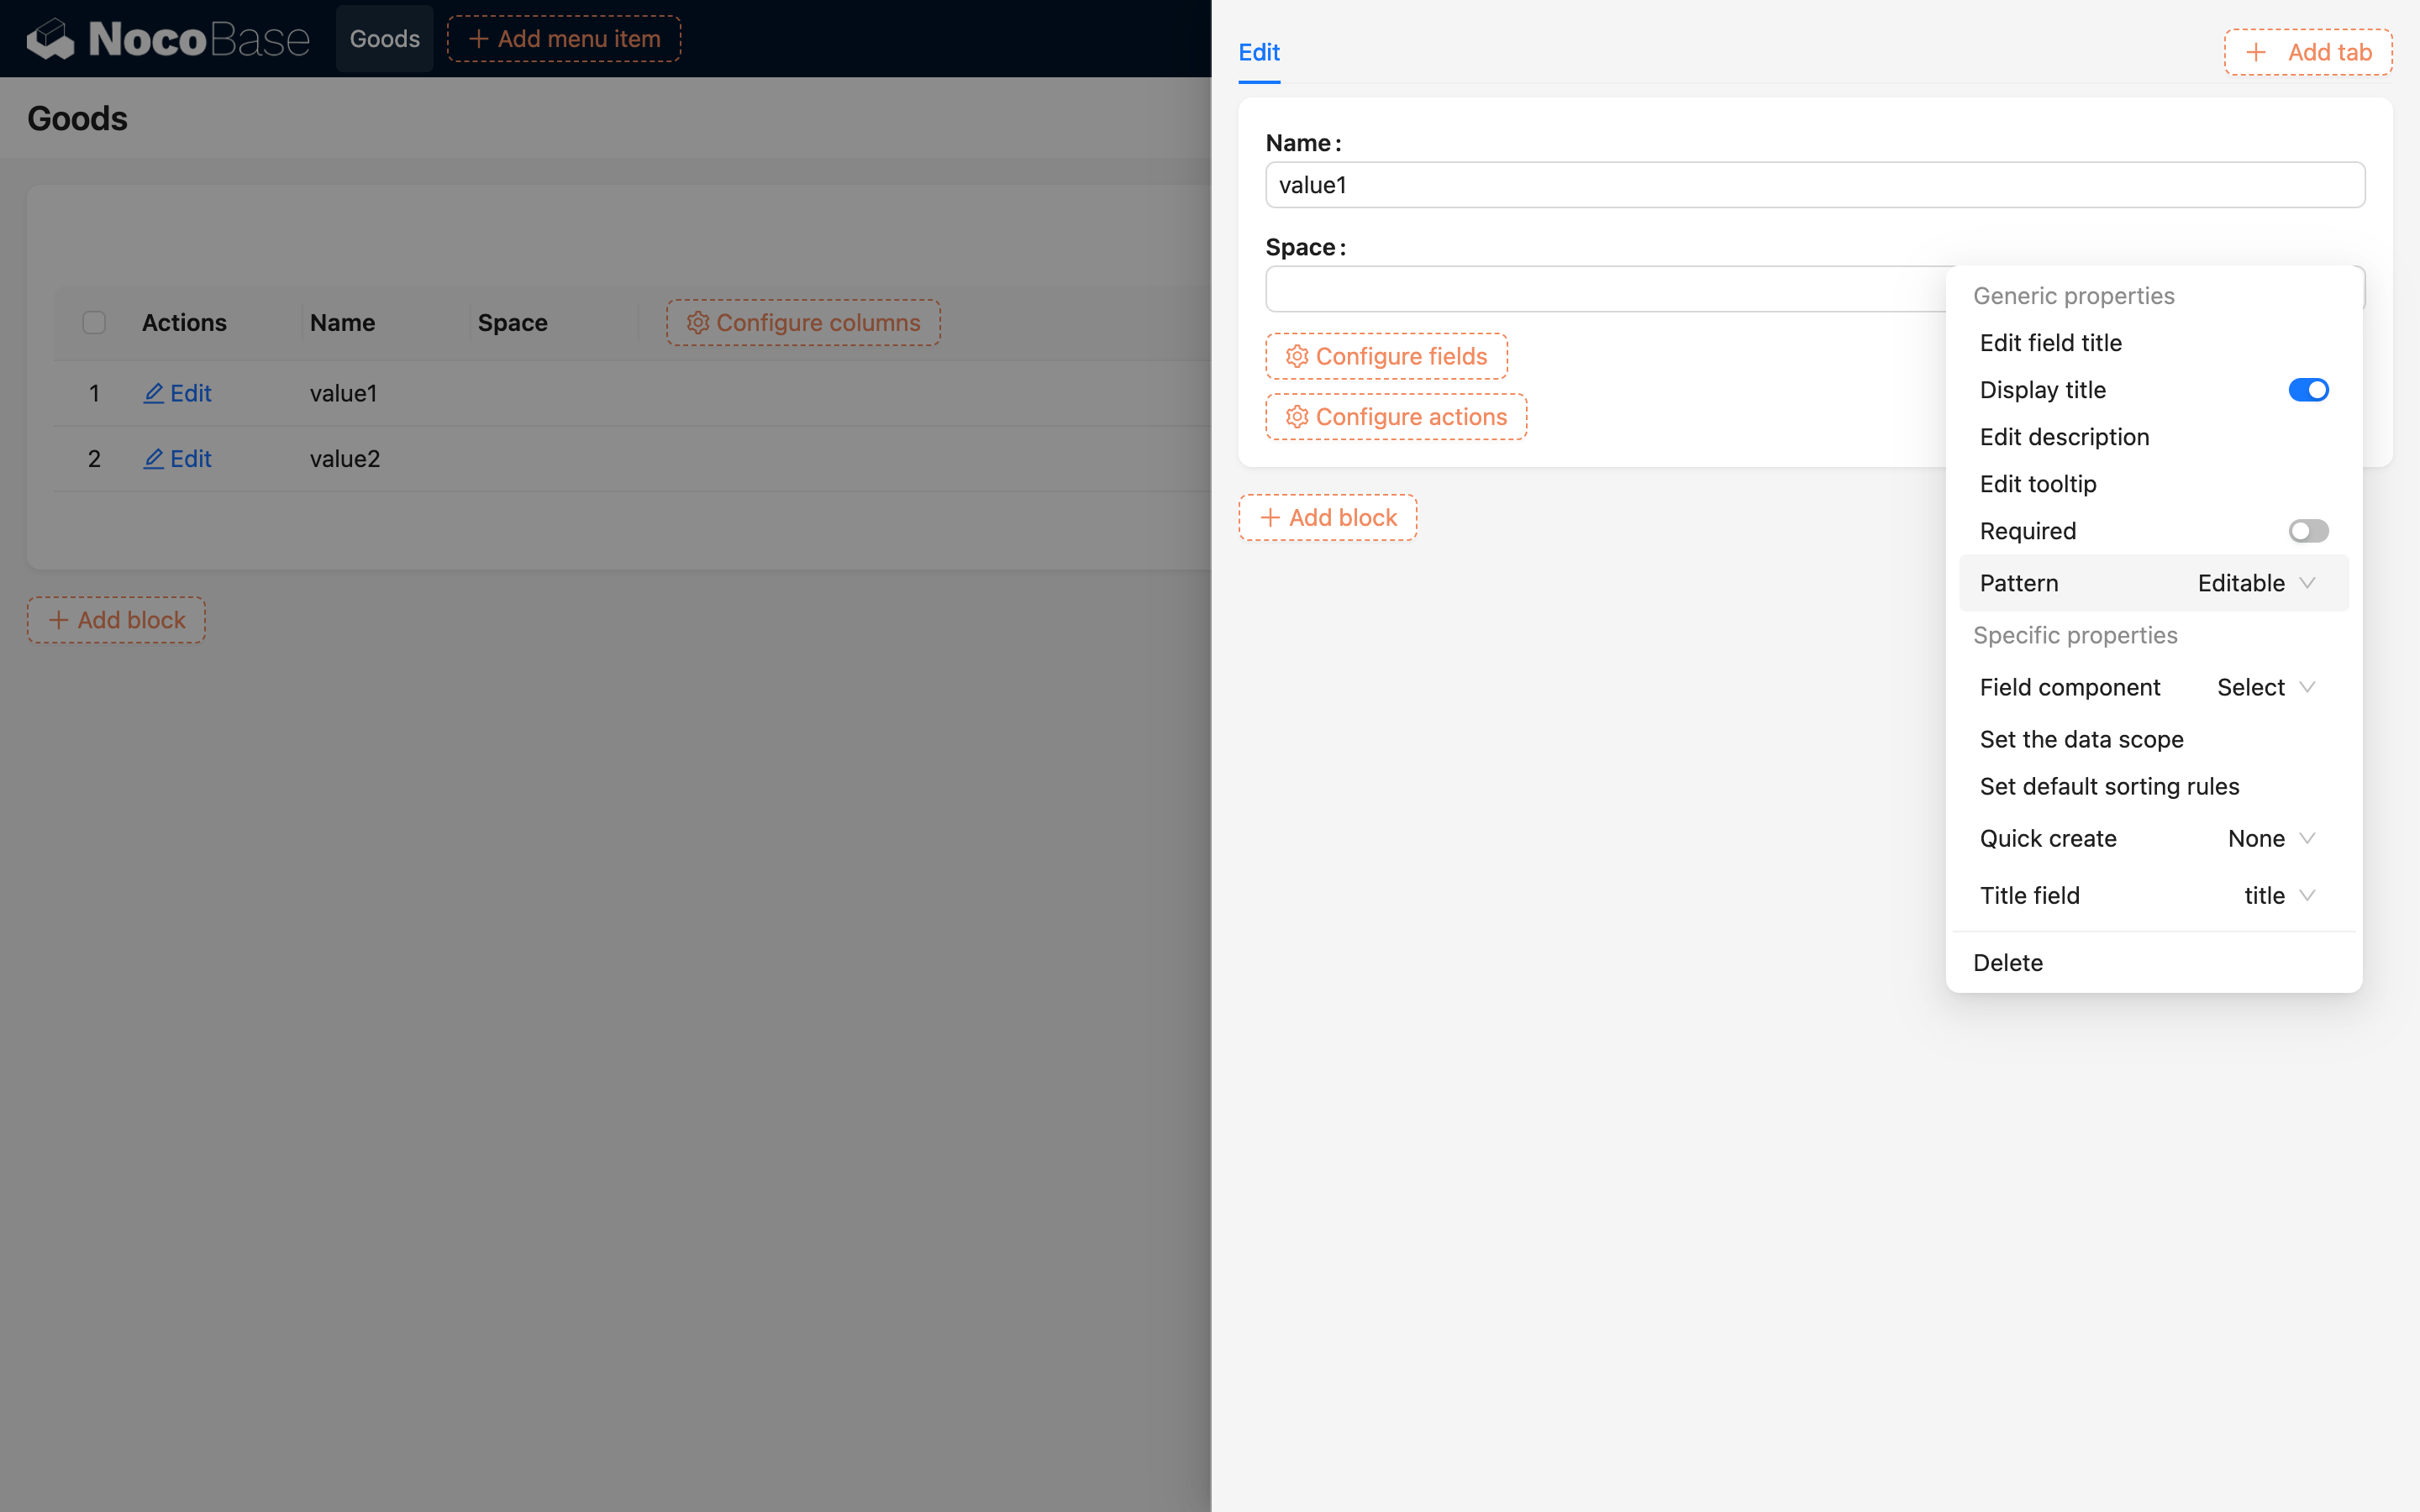
Create a new page for old data assignment. Display the "Space field" on the list page and edit page to manually adjust the space assignment.
Make the Space field editable
5. Manually assign data to spaces
Through the page created above, manually edit the data to gradually assign the correct space to the old data (you can also configure bulk editing yourself).