

Workflow HTTP Request Integration
The HTTP Request node enables NocoBase workflows to proactively send requests to any HTTP service, facilitating data exchange and business integration with external systems.
Overview
The HTTP Request node is a core integration component in workflows, allowing you to call third-party APIs, internal service interfaces, or other web services during workflow execution to retrieve data or trigger external operations.
Typical Use Cases
Data Retrieval
- Third-Party Data Queries: Fetch real-time data from weather APIs, exchange rate APIs, etc.
- Address Resolution: Call mapping service APIs for address parsing and geocoding
- Enterprise Data Sync: Retrieve customer, order data from CRM, ERP systems
Business Triggers
- Message Push: Call SMS, email, WeCom services to send notifications
- Payment Requests: Initiate payments, refunds with payment gateways
- Order Processing: Submit waybills, query logistics status with shipping systems
System Integration
- Microservice Calls: Call other service APIs in microservice architectures
- Data Reporting: Report business data to analytics platforms, monitoring systems
- Third-Party Services: Integrate AI services, OCR recognition, speech synthesis
Automation
- Scheduled Tasks: Periodically call external APIs to sync data
- Event Response: Automatically call external APIs when data changes
- Approval Workflows: Submit approval requests via approval system APIs
Features
Complete HTTP Support
- Supports all HTTP methods: GET, POST, PUT, PATCH, DELETE
- Custom request headers
- Multiple data formats: JSON, form data, XML
- Various parameter types: URL parameters, path parameters, request body
Flexible Data Processing
- Variable References: Dynamically construct requests using workflow variables
- Response Parsing: Automatically parse JSON responses and extract data
- Data Transformation: Transform request and response data formats
- Error Handling: Configure retry strategies, timeout settings, error handling logic
Security Authentication
- Basic Auth: HTTP basic authentication
- Bearer Token: Token authentication
- API Key: Custom API key authentication
- Custom Headers: Support for any authentication method
Usage Steps
1. Verify Plugin is Enabled
The HTTP Request node is a built-in feature of the Workflow plugin. Ensure the Workflow plugin is enabled.
2. Add HTTP Request Node to Workflow
- Create or edit a workflow
- Add an HTTP Request node at the desired position
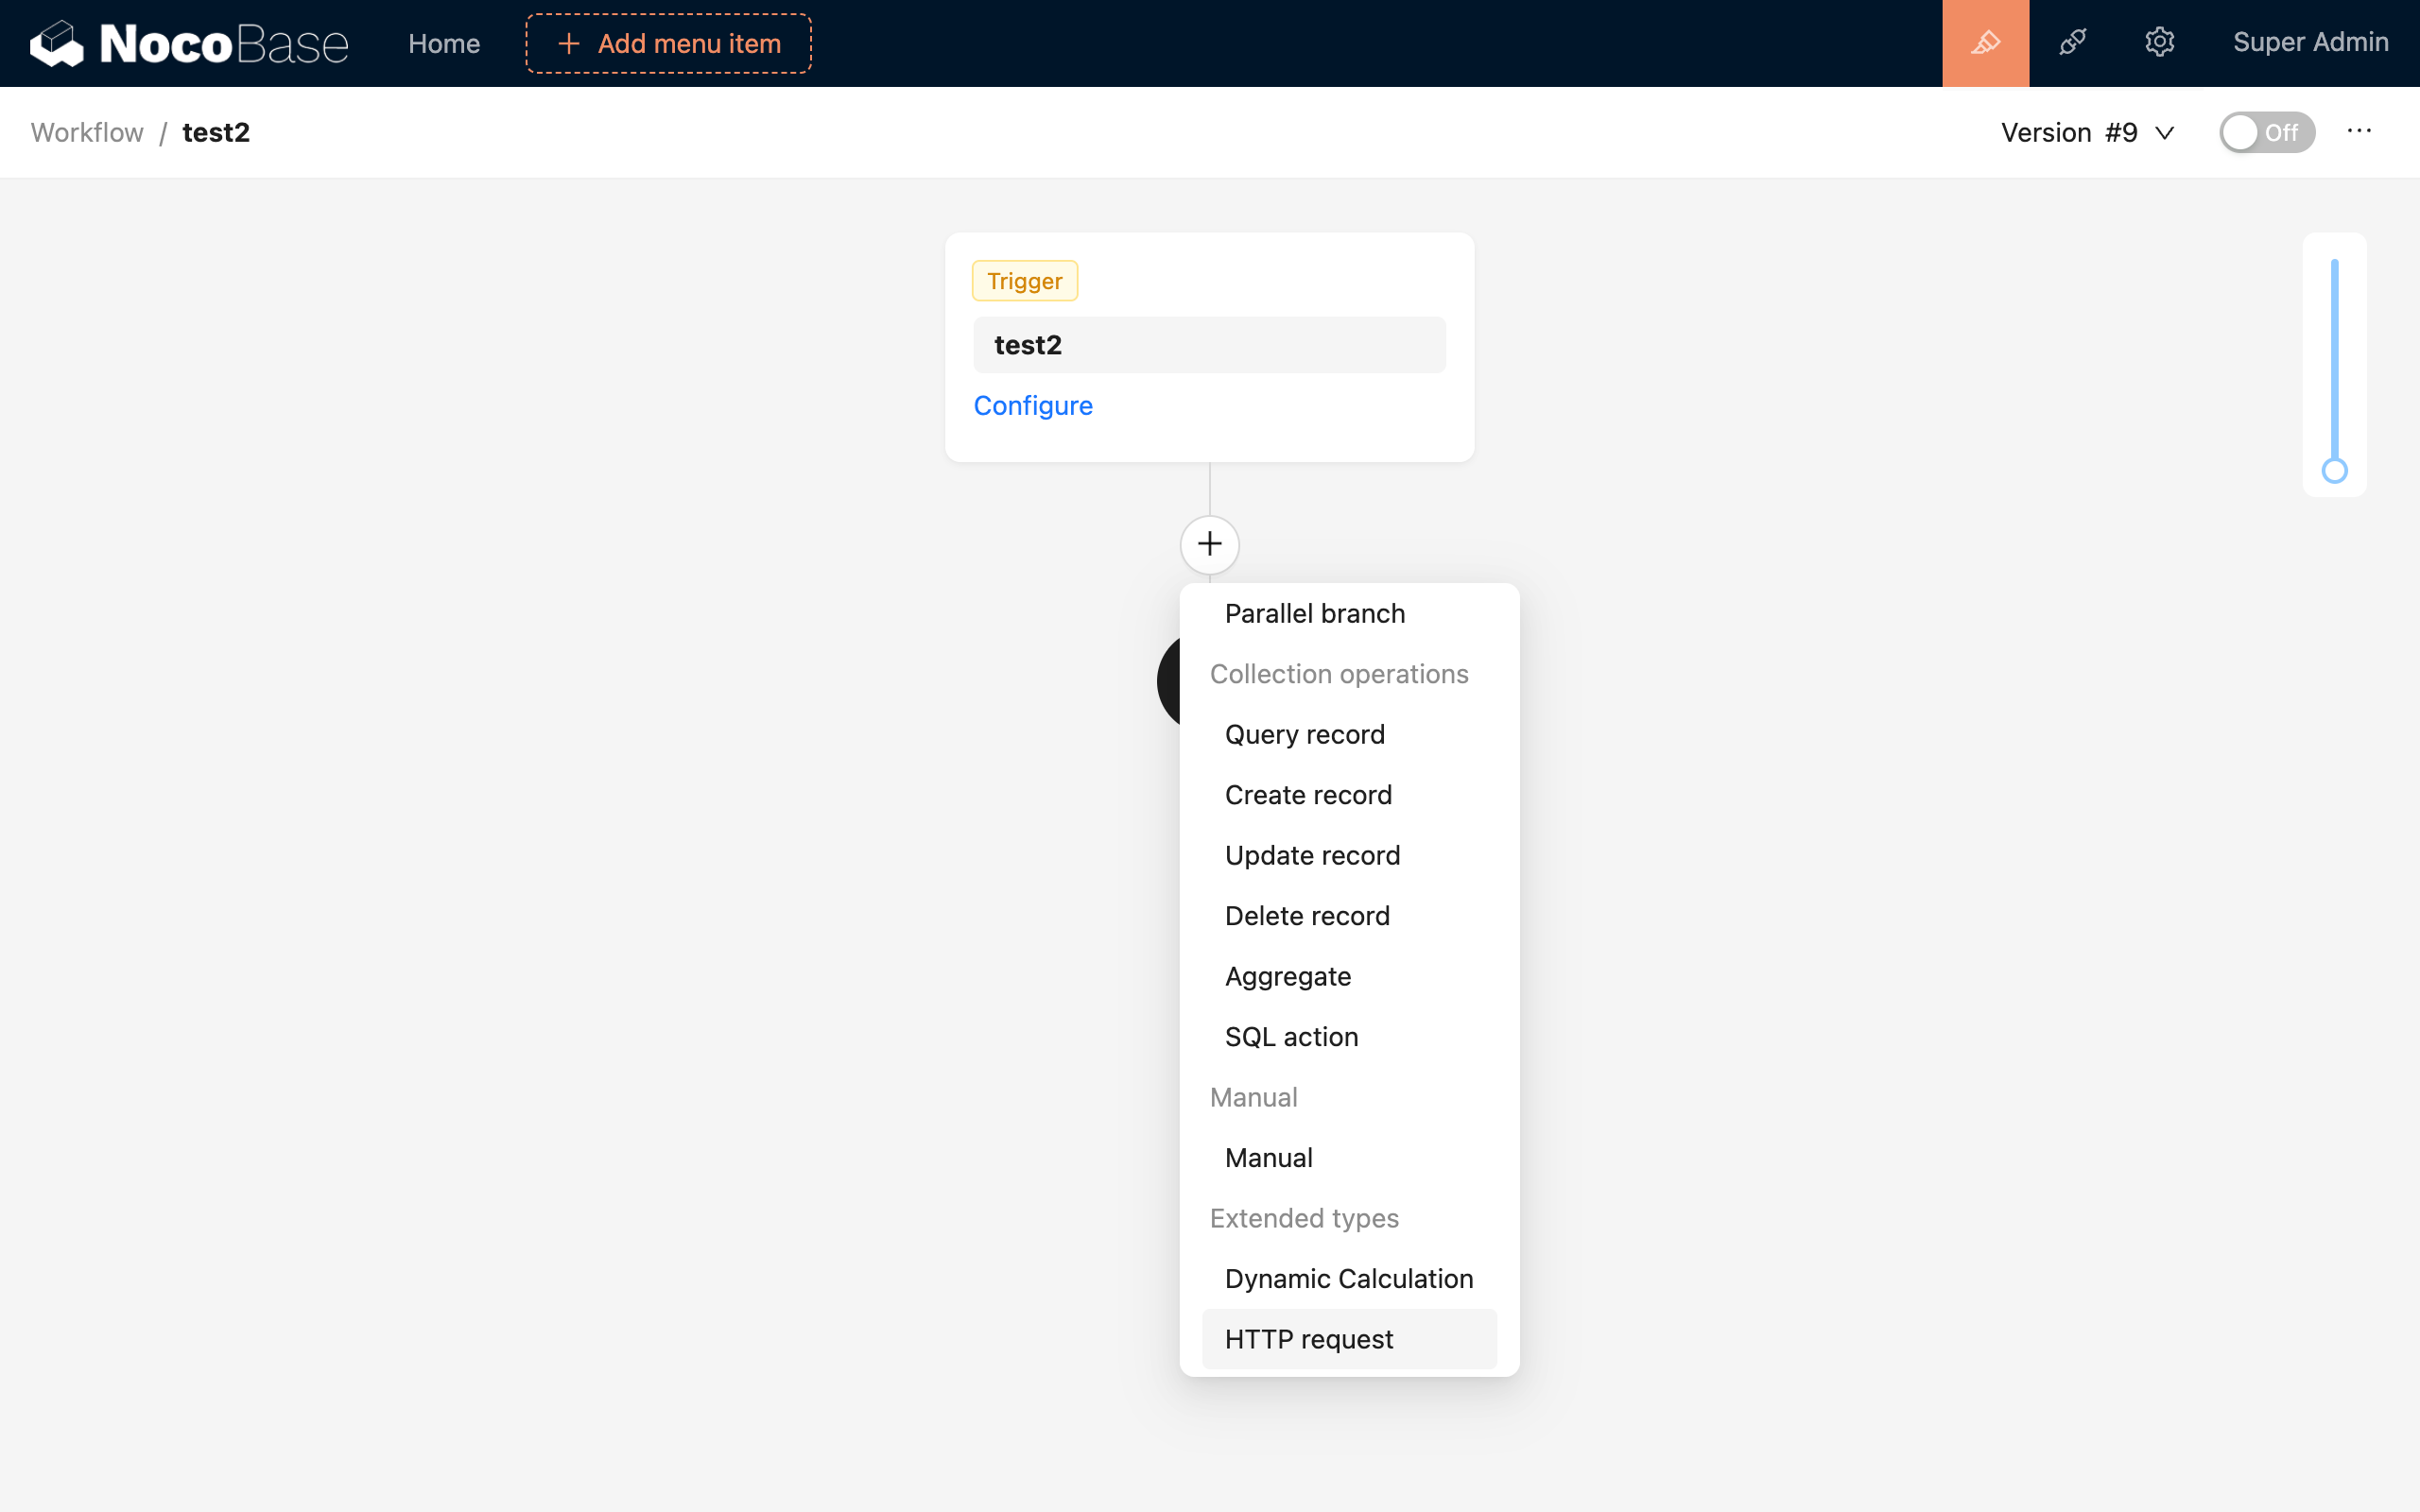
- Configure request parameters
3. Configure Request Parameters
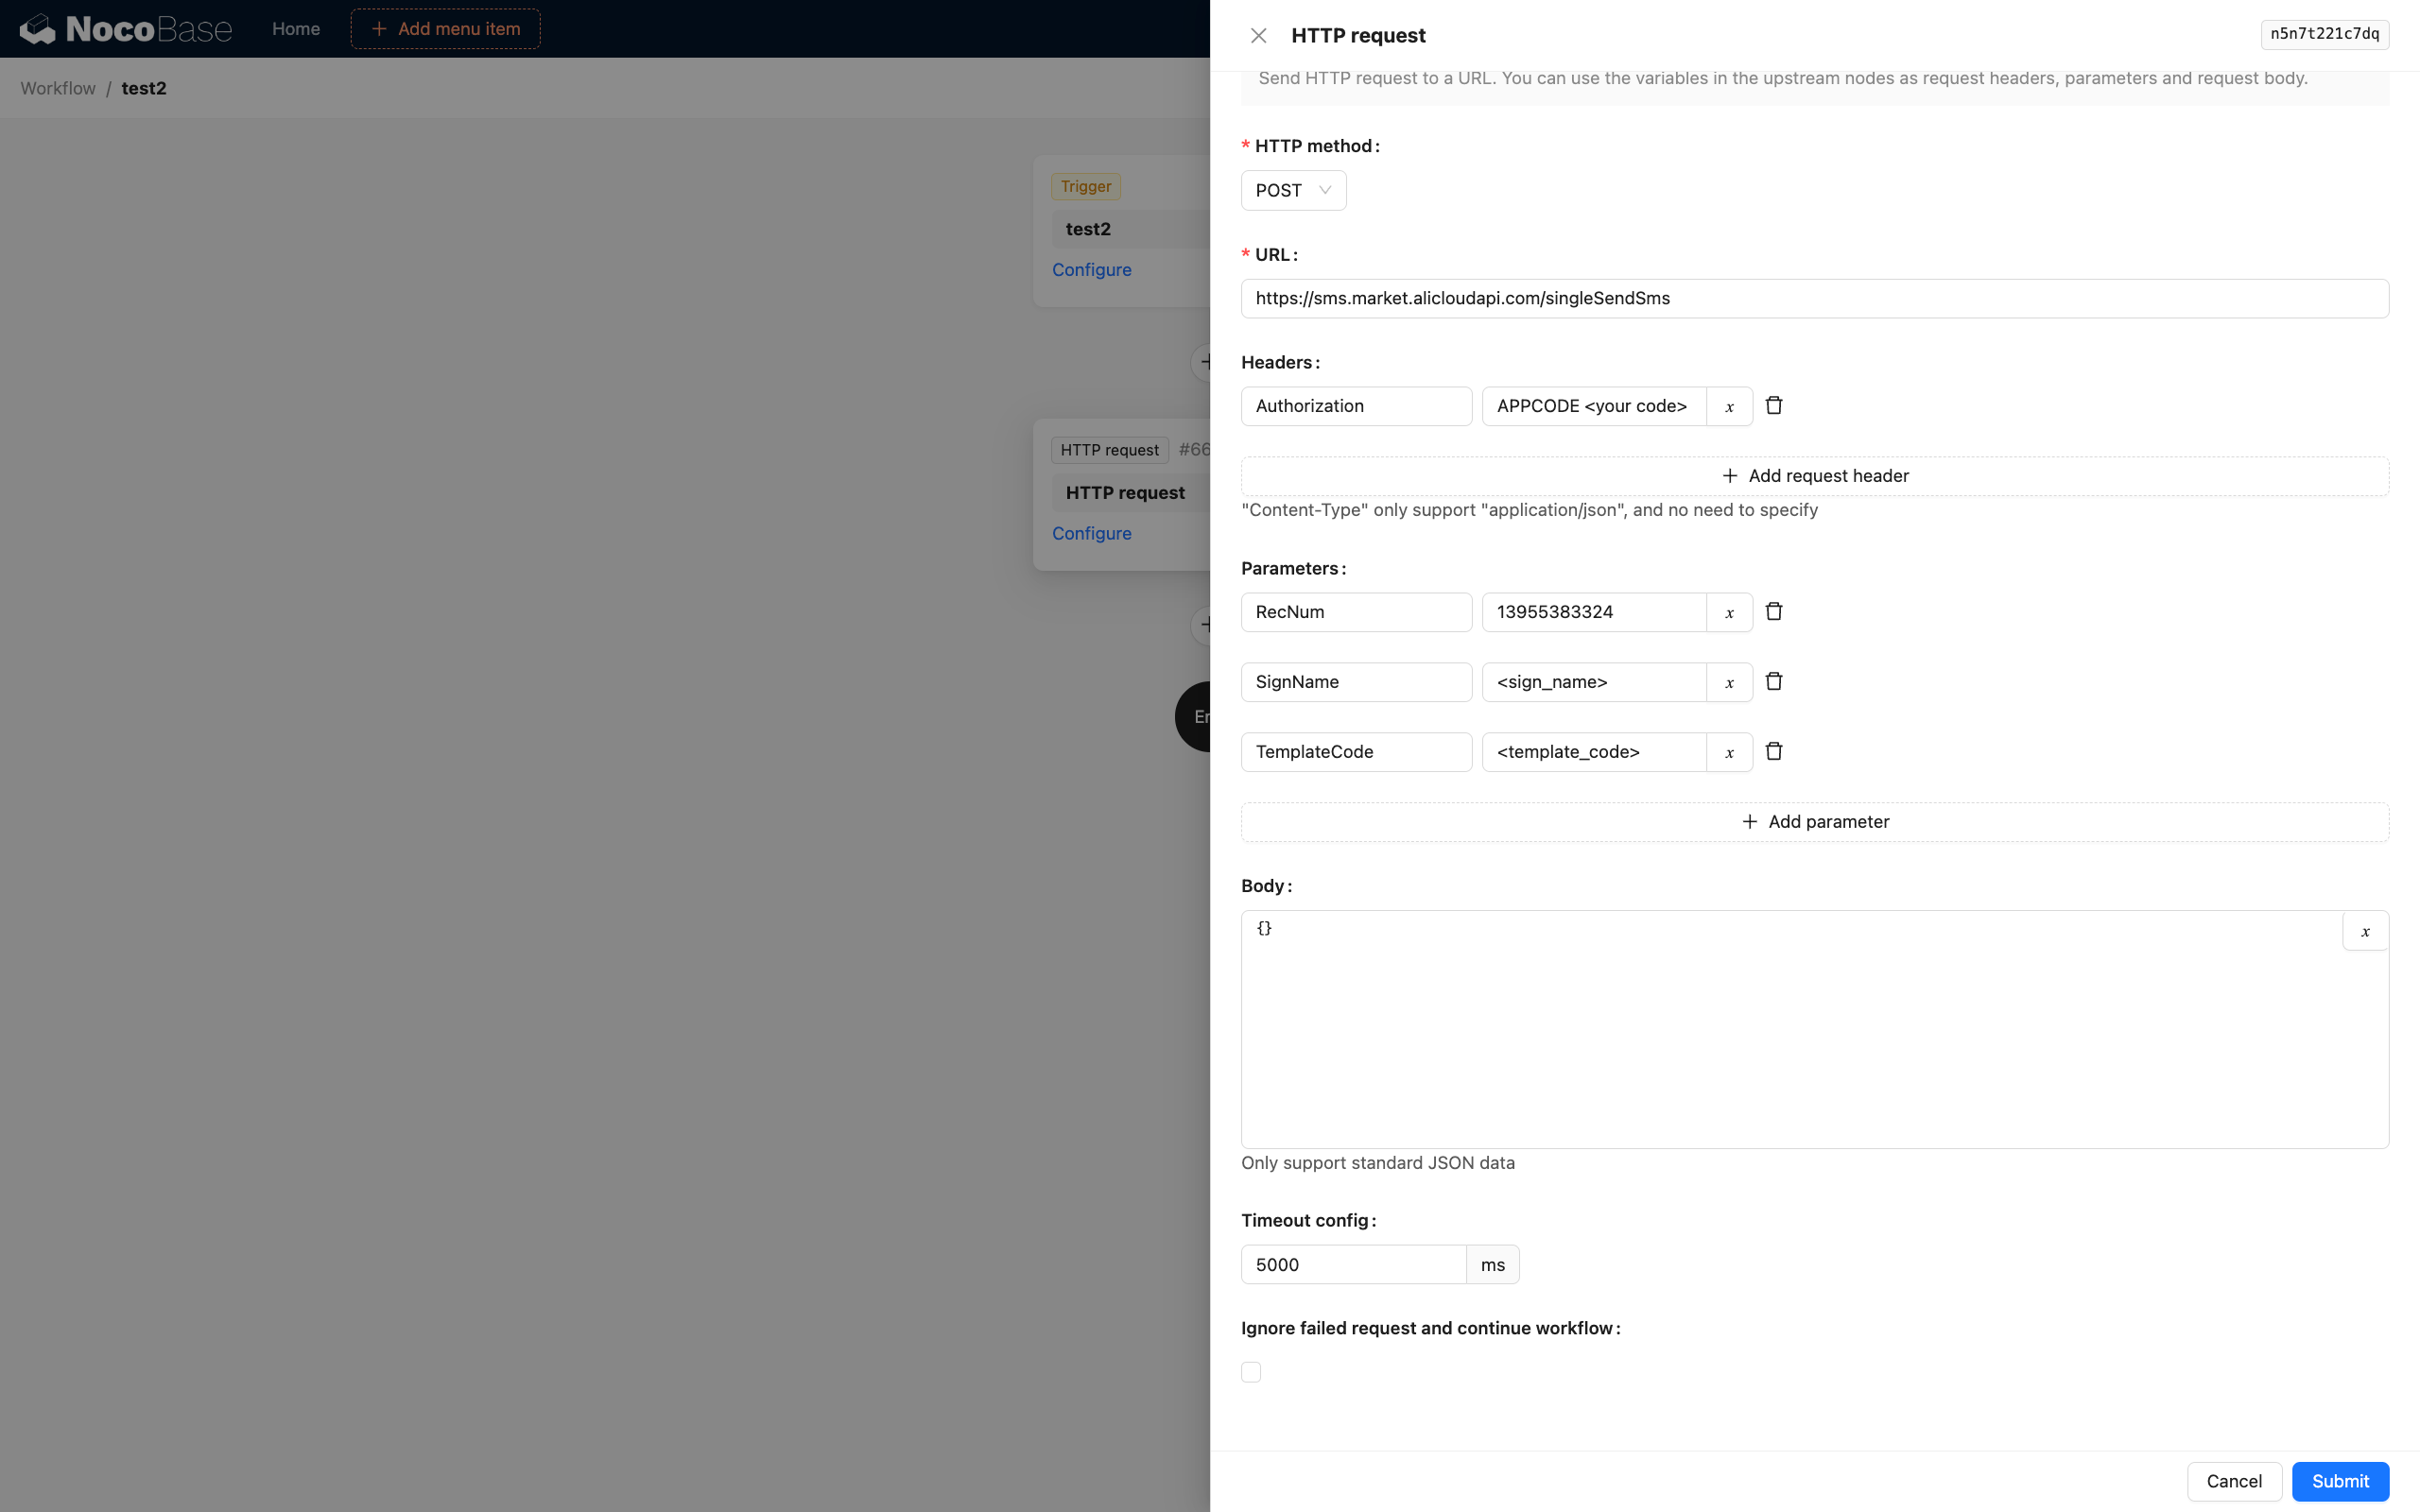
Basic Configuration
-
Request URL: Target API address, supports variables
-
Request Method: Select GET, POST, PUT, DELETE, etc.
-
Request Headers: Configure HTTP Headers
-
Request Parameters:
- Query Parameters: URL query parameters
- Body Parameters: Request body data (POST/PUT)
Advanced Configuration
- Timeout: Set request timeout (default 30 seconds)
- Retry on Failure: Configure retry count and interval
- Ignore Failure: Continue workflow even if request fails
- Proxy Settings: Configure HTTP proxy (if needed)
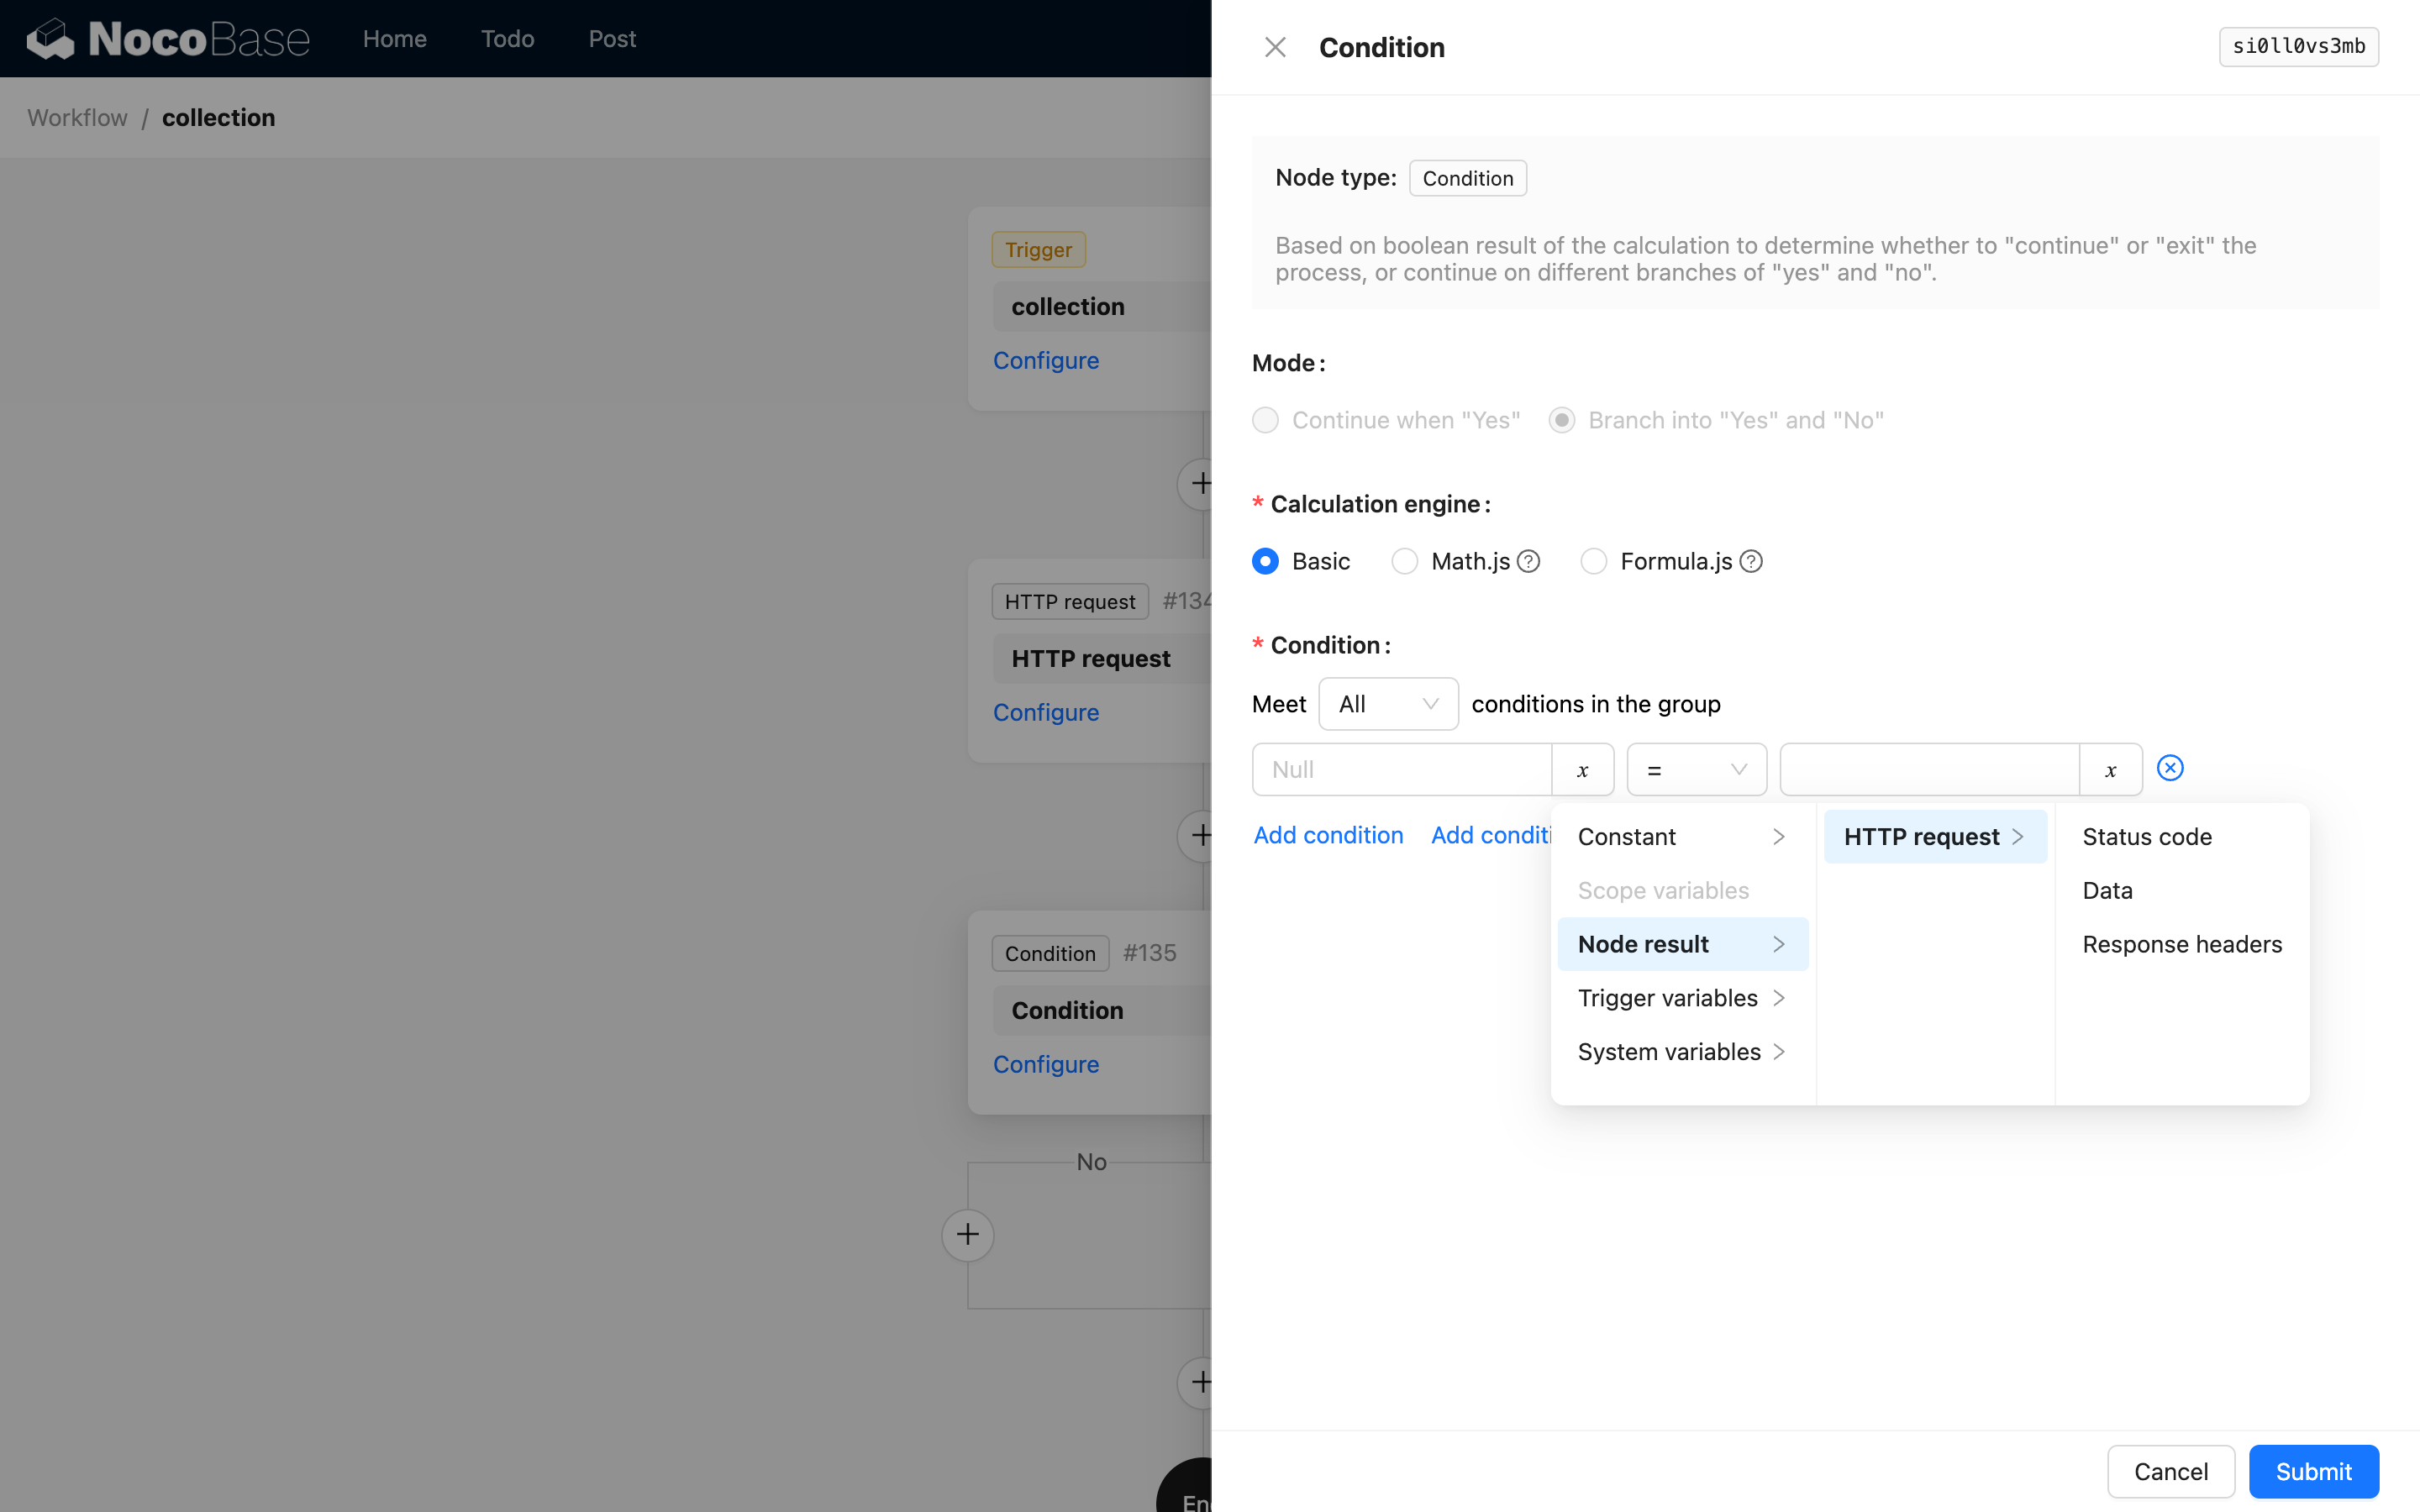
4. Use Response Data
After HTTP Request node execution, response data can be used in subsequent nodes:
{{$node.data.status}}: HTTP status code{{$node.data.headers}}: Response headers{{$node.data.data}}: Response body data{{$node.data.error}}: Error message (if request failed)
Example Scenarios
Example 1: Get Weather Information
Example 2: Send WeCom Message
Example 3: Query Payment Status
Example 4: Sync Data to CRM
Authentication Configuration
Basic Authentication
Bearer Token
API Key
OAuth 2.0
First obtain access_token, then use:
Error Handling and Debugging
Common Errors
- Connection Timeout: Check network connection, increase timeout
- 401 Unauthorized: Verify authentication credentials
- 404 Not Found: Check URL is correct
- 500 Server Error: Check API provider's service status
Debugging Tips
-
Use Log Nodes: Add log nodes before and after HTTP requests to record request and response data
-
Check Execution Logs: Workflow execution logs contain detailed request and response information
-
Testing Tools: Test API first using Postman, cURL, etc.
-
Error Handling: Add conditional logic to handle different response statuses
Performance Optimization
1. Use Asynchronous Processing
For requests that don't require immediate results, consider using asynchronous workflows.
2. Configure Reasonable Timeouts
Set timeouts based on actual API response times to avoid excessive waiting.
3. Implement Caching Strategies
For infrequently changing data (configurations, dictionaries), consider caching responses.
4. Batch Processing
If making multiple calls to the same API, consider using batch endpoints (if supported).
5. Error Retry
Configure reasonable retry strategies, but avoid excessive retries that may cause rate limiting.
Security Best Practices
1. Protect Sensitive Information
- Don't expose sensitive information in URLs
- Use HTTPS for encrypted transmission
- Store API keys and sensitive data in environment variables or configuration management
2. Validate Response Data
3. Rate Limiting
Respect third-party API rate limits to avoid being blocked.
4. Log Sanitization
When logging, sanitize sensitive information (passwords, keys, etc.).
Comparison with Webhook
| Feature | HTTP Request Node | Webhook Trigger |
|---|---|---|
| Direction | NocoBase calls external | External calls NocoBase |
| Timing | During workflow execution | When external event occurs |
| Purpose | Fetch data, trigger external operations | Receive external notifications, events |
| Typical Scenarios | Call payment API, query weather | Payment callbacks, message notifications |
These two features complement each other to build a complete system integration solution.