Plugin Development Overview
NocoBase adopts a microkernel architecture, where the core is only responsible for plugin lifecycle scheduling, dependency management, and basic capability encapsulation. All business functions are provided as plugins. Therefore, understanding the plugin's organizational structure, lifecycle, and management approach is the first step in customizing NocoBase.
Core Concepts
- Plug and Play: Plugins can be installed, enabled, or disabled as needed, allowing flexible combination of business functions without modifying code.
- Full-stack Integration: Plugins typically include both server-side and client-side implementations, ensuring consistency between data logic and UI interactions.
Basic Plugin Structure
Each plugin is an independent npm package, typically containing the following directory structure:
Directory Conventions and Loading Order
NocoBase scans the following directories by default to load plugins:
packages/plugins: Used for local plugin development, supporting real-time compilation and debugging.storage/plugins: Stores compiled plugins, such as commercial editions or third-party plugins.
Plugin Lifecycle and States
A plugin typically goes through the following stages:
- Create: Create a plugin template via CLI.
- Pull: Download the plugin package locally, but it is not yet written to the database.
- Enable: On its first enablement, it executes "register + initialize"; subsequent enablements only load the logic.
- Disable: Stop the plugin from running.
- Remove: Completely remove the plugin from the system.
TIP
pullonly downloads the plugin package; the actual installation process is triggered by the firstenable.- If a plugin is only
pulled but not enabled, it will not be loaded.
CLI Command Examples
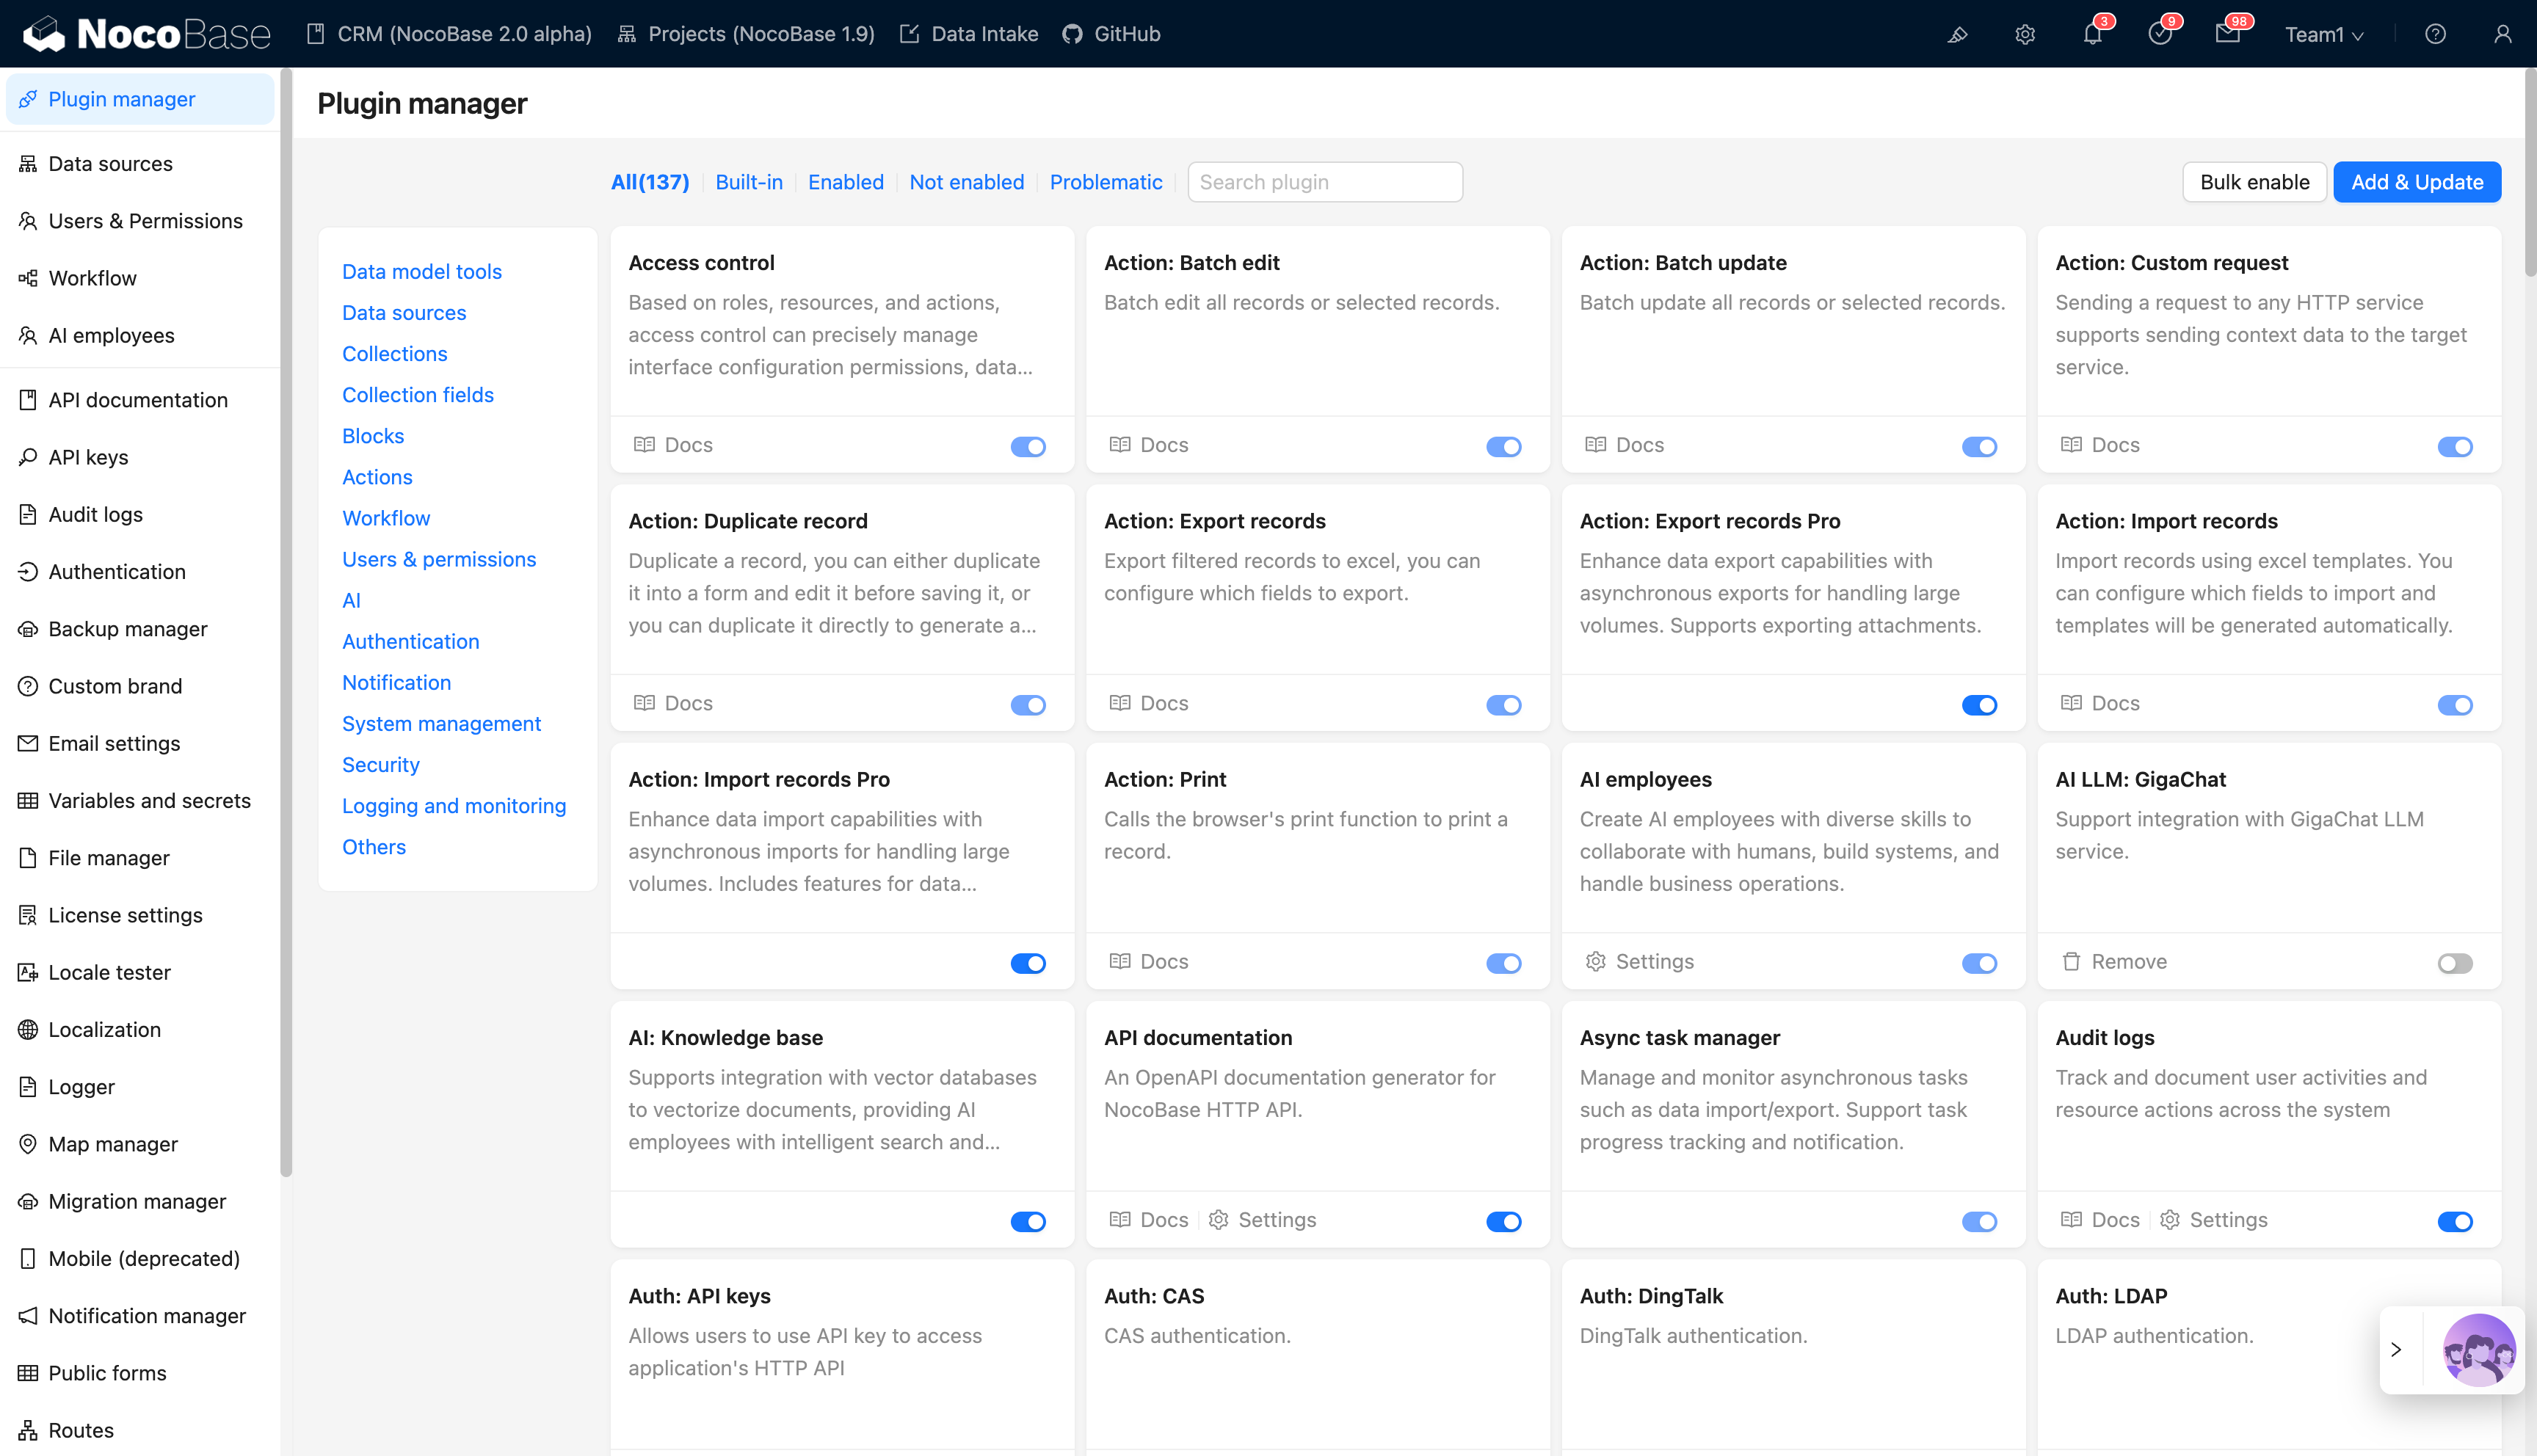
Plugin Management Interface
Access the plugin manager in the browser to view and manage plugins intuitively:
Default URL: http://localhost:13000/admin/settings/plugin-manager