

Extend Authentication Type
Overview
NocoBase supports extending user authentication types as needed. User authentication generally falls into two types: one is to determine user identity within the NocoBase application itself, such as password login, SMS login, etc.; the other is to have third-party services determine user identity and notify the NocoBase application of the result through callbacks, such as OIDC, SAML, and other authentication methods. The authentication process for these two different types of authentication methods in NocoBase is basically as follows:
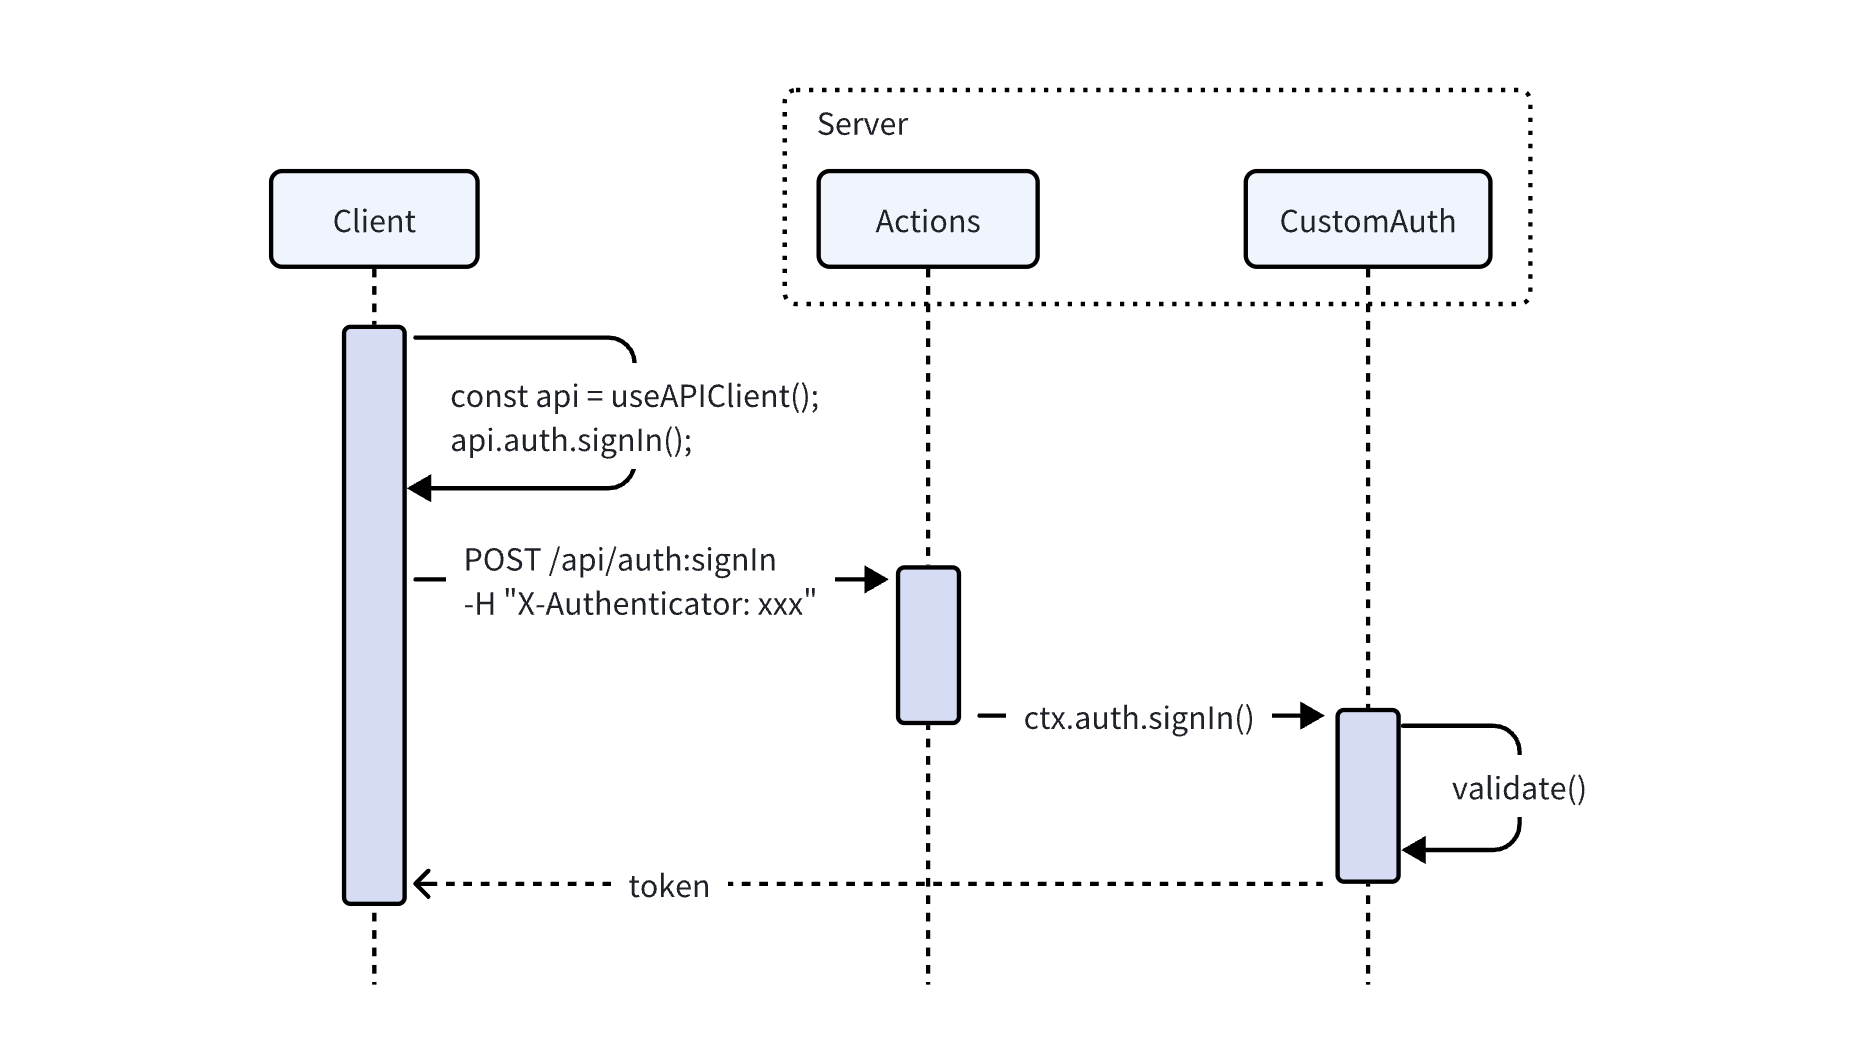
No Third-party Callbacks are required
- The client uses the NocoBase SDK to call the login interface
api.auth.signIn(), requesting the login interfaceauth:signIn, while carrying the current authenticator identifier through the request headerX-Authenticatorto the backend. - The
auth:signIninterface forwards to the corresponding authentication type based on the authenticator identifier in the request header, and thevalidatemethod in the registered authentication class of that authentication type performs the corresponding logical processing. - The client retrieves user information and authentication token from the
auth:signIninterface response, saves the token to Local Storage, and completes the login. This step is automatically handled internally by the SDK.
Dependent on Third-party Callbacks
- The client obtains the third-party login URL through its own registered interface (such as
auth:getAuthUrl), and carries information such as the application name and authenticator identifier according to the protocol. - Redirect to the third-party URL to complete the login. The third-party service calls the callback interface of the NocoBase application (which needs to be registered by itself, such as
auth:redirect), returns the authentication result, and returns information such as the application name and authenticator identifier. - In the callback interface method, parse the parameters to obtain the authenticator identifier, obtain the corresponding authentication class through
AuthManager, and actively call theauth.signIn()method. Theauth.signIn()method will call thevalidate()method to handle the authentication logic. - After the callback method obtains the authentication token, it redirects back to the frontend page with a 302 status code, and carries the
tokenand authenticator identifier in the URL parameters,?authenticator=xxx&token=yyy.

Next, we'll discuss how to register server-side interfaces and client-side user interfaces.
Server
Authentication Interface
The NocoBase kernel provides registration and management for extending authentication types. The core logic processing of extending the login plugin requires inheriting the Auth abstract class of the kernel and implementing the corresponding standard interfaces.
For the complete API, see Auth.
The kernel also registers basic resource operations related to user authentication.
| API | Description |
|---|---|
auth:check | Check if user is logged in |
auth:signIn | Sign in |
auth:signUp | Sign up |
auth:signOut | Sign out |
In most cases, the extended user authentication type can also use the existing JWT authentication logic to generate the credential for the user to access the API. The BaseAuth class in the kernel has done the basic implementation of the Auth abstract class, see BaseAuth. Plugins can directly inherit the BaseAuth class to reuse part of the logic code and reduce development costs.
User Data
When implementing user authentication logic, it usually involves handling user data. In a NocoBase application, the related collections are defined by default as:
| Collections | Description | Plugin |
|---|---|---|
users | Store user information, such as email, nickname, and password | User Plugin (@nocobase/plugin-users) |
authenticators | Store authenticator (authentication type entity) information, corresponding to authentication type and configuration | User Authentication Plugin (@nocobase/plugin-auth) |
usersAuthenticators | Associates users and authenticators, saves user information under the corresponding authenticator | User Authentication Plugin (@nocobase/plugin-auth) |
In general, extended login methods use users and usersAuthenticators to store corresponding user data. Only in special cases do you need to add a new Collection yourself.
The main fields of usersAuthenticators are
| Field | Description |
|---|---|
uuid | Unique identifier for this type of authentication, such as a phone number or a third-party service user ID |
meta | JSON field, other information to be saved |
userId | User ID |
authenticator | Authenticator name (unique identifier) |
For user query and creation operations, the authenticators data model AuthModel also encapsulates several methods that can be used in the CustomAuth class via this.authenticator[methodName]. For the complete API, see AuthModel.
Authentication Type Registration
The extended authentication method needs to be registered with the authentication management module.
Client
The client user interface is registered through the interface registerType provided by the user authentication plugin client:
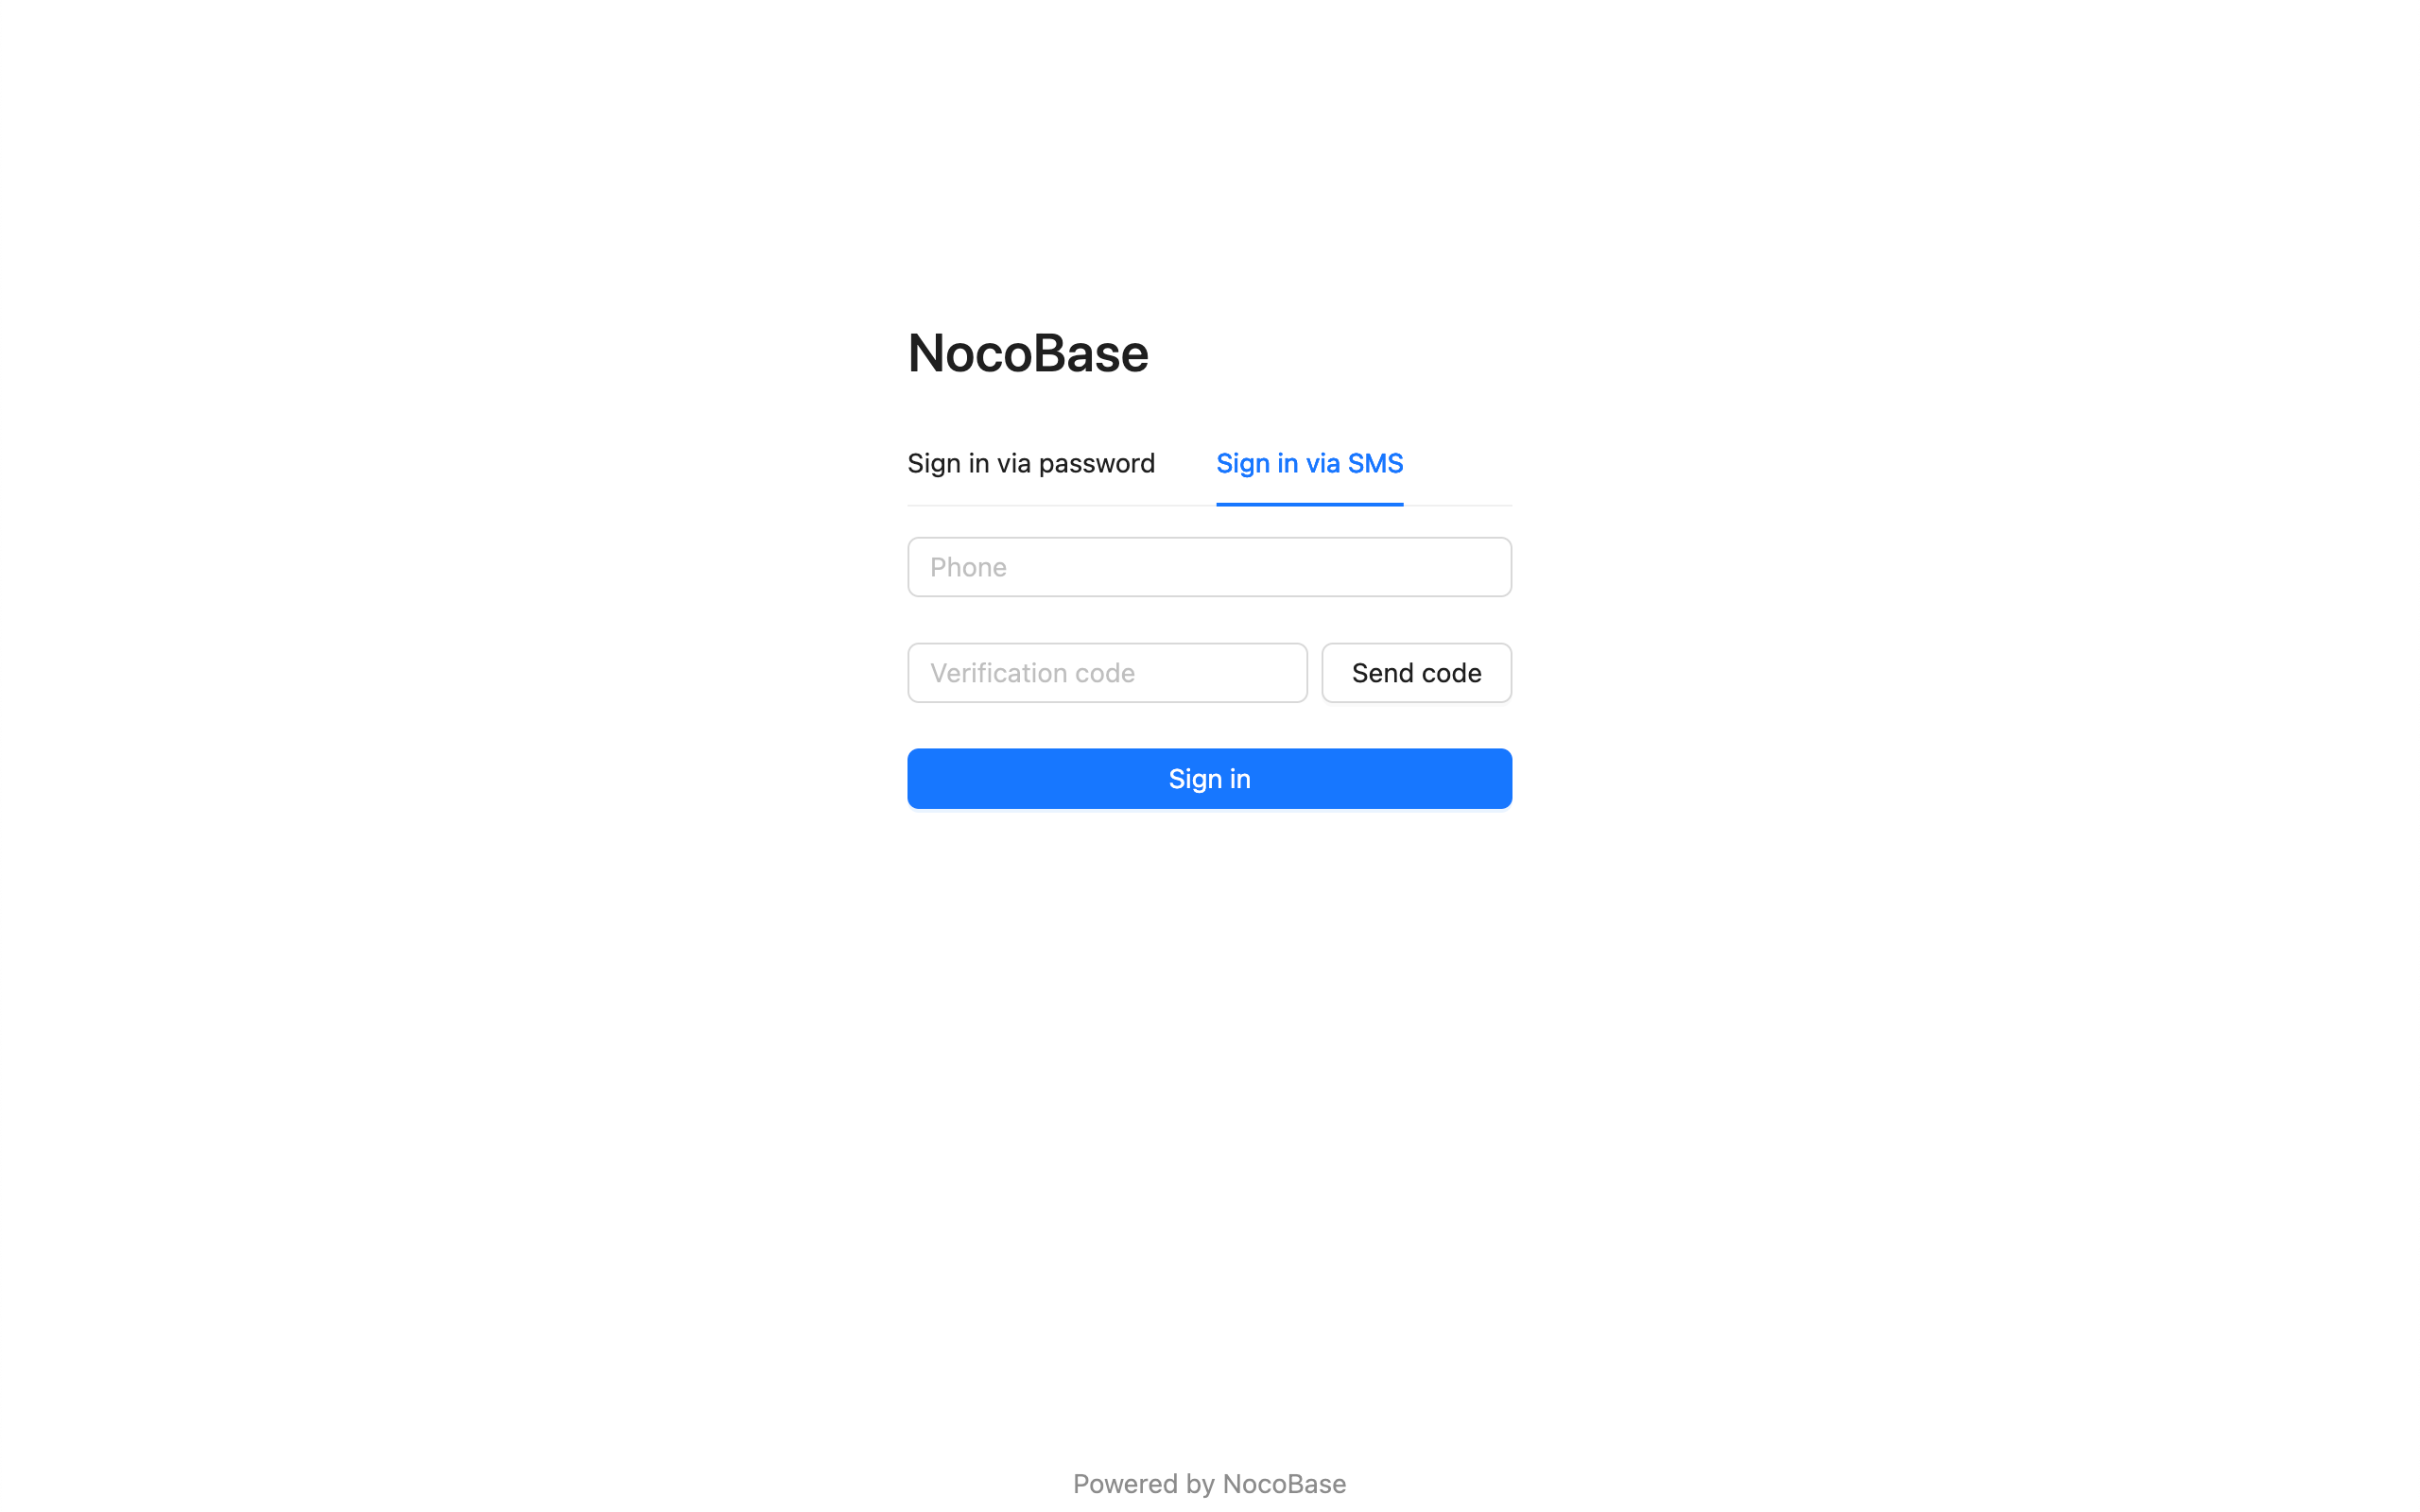
Sign In Form
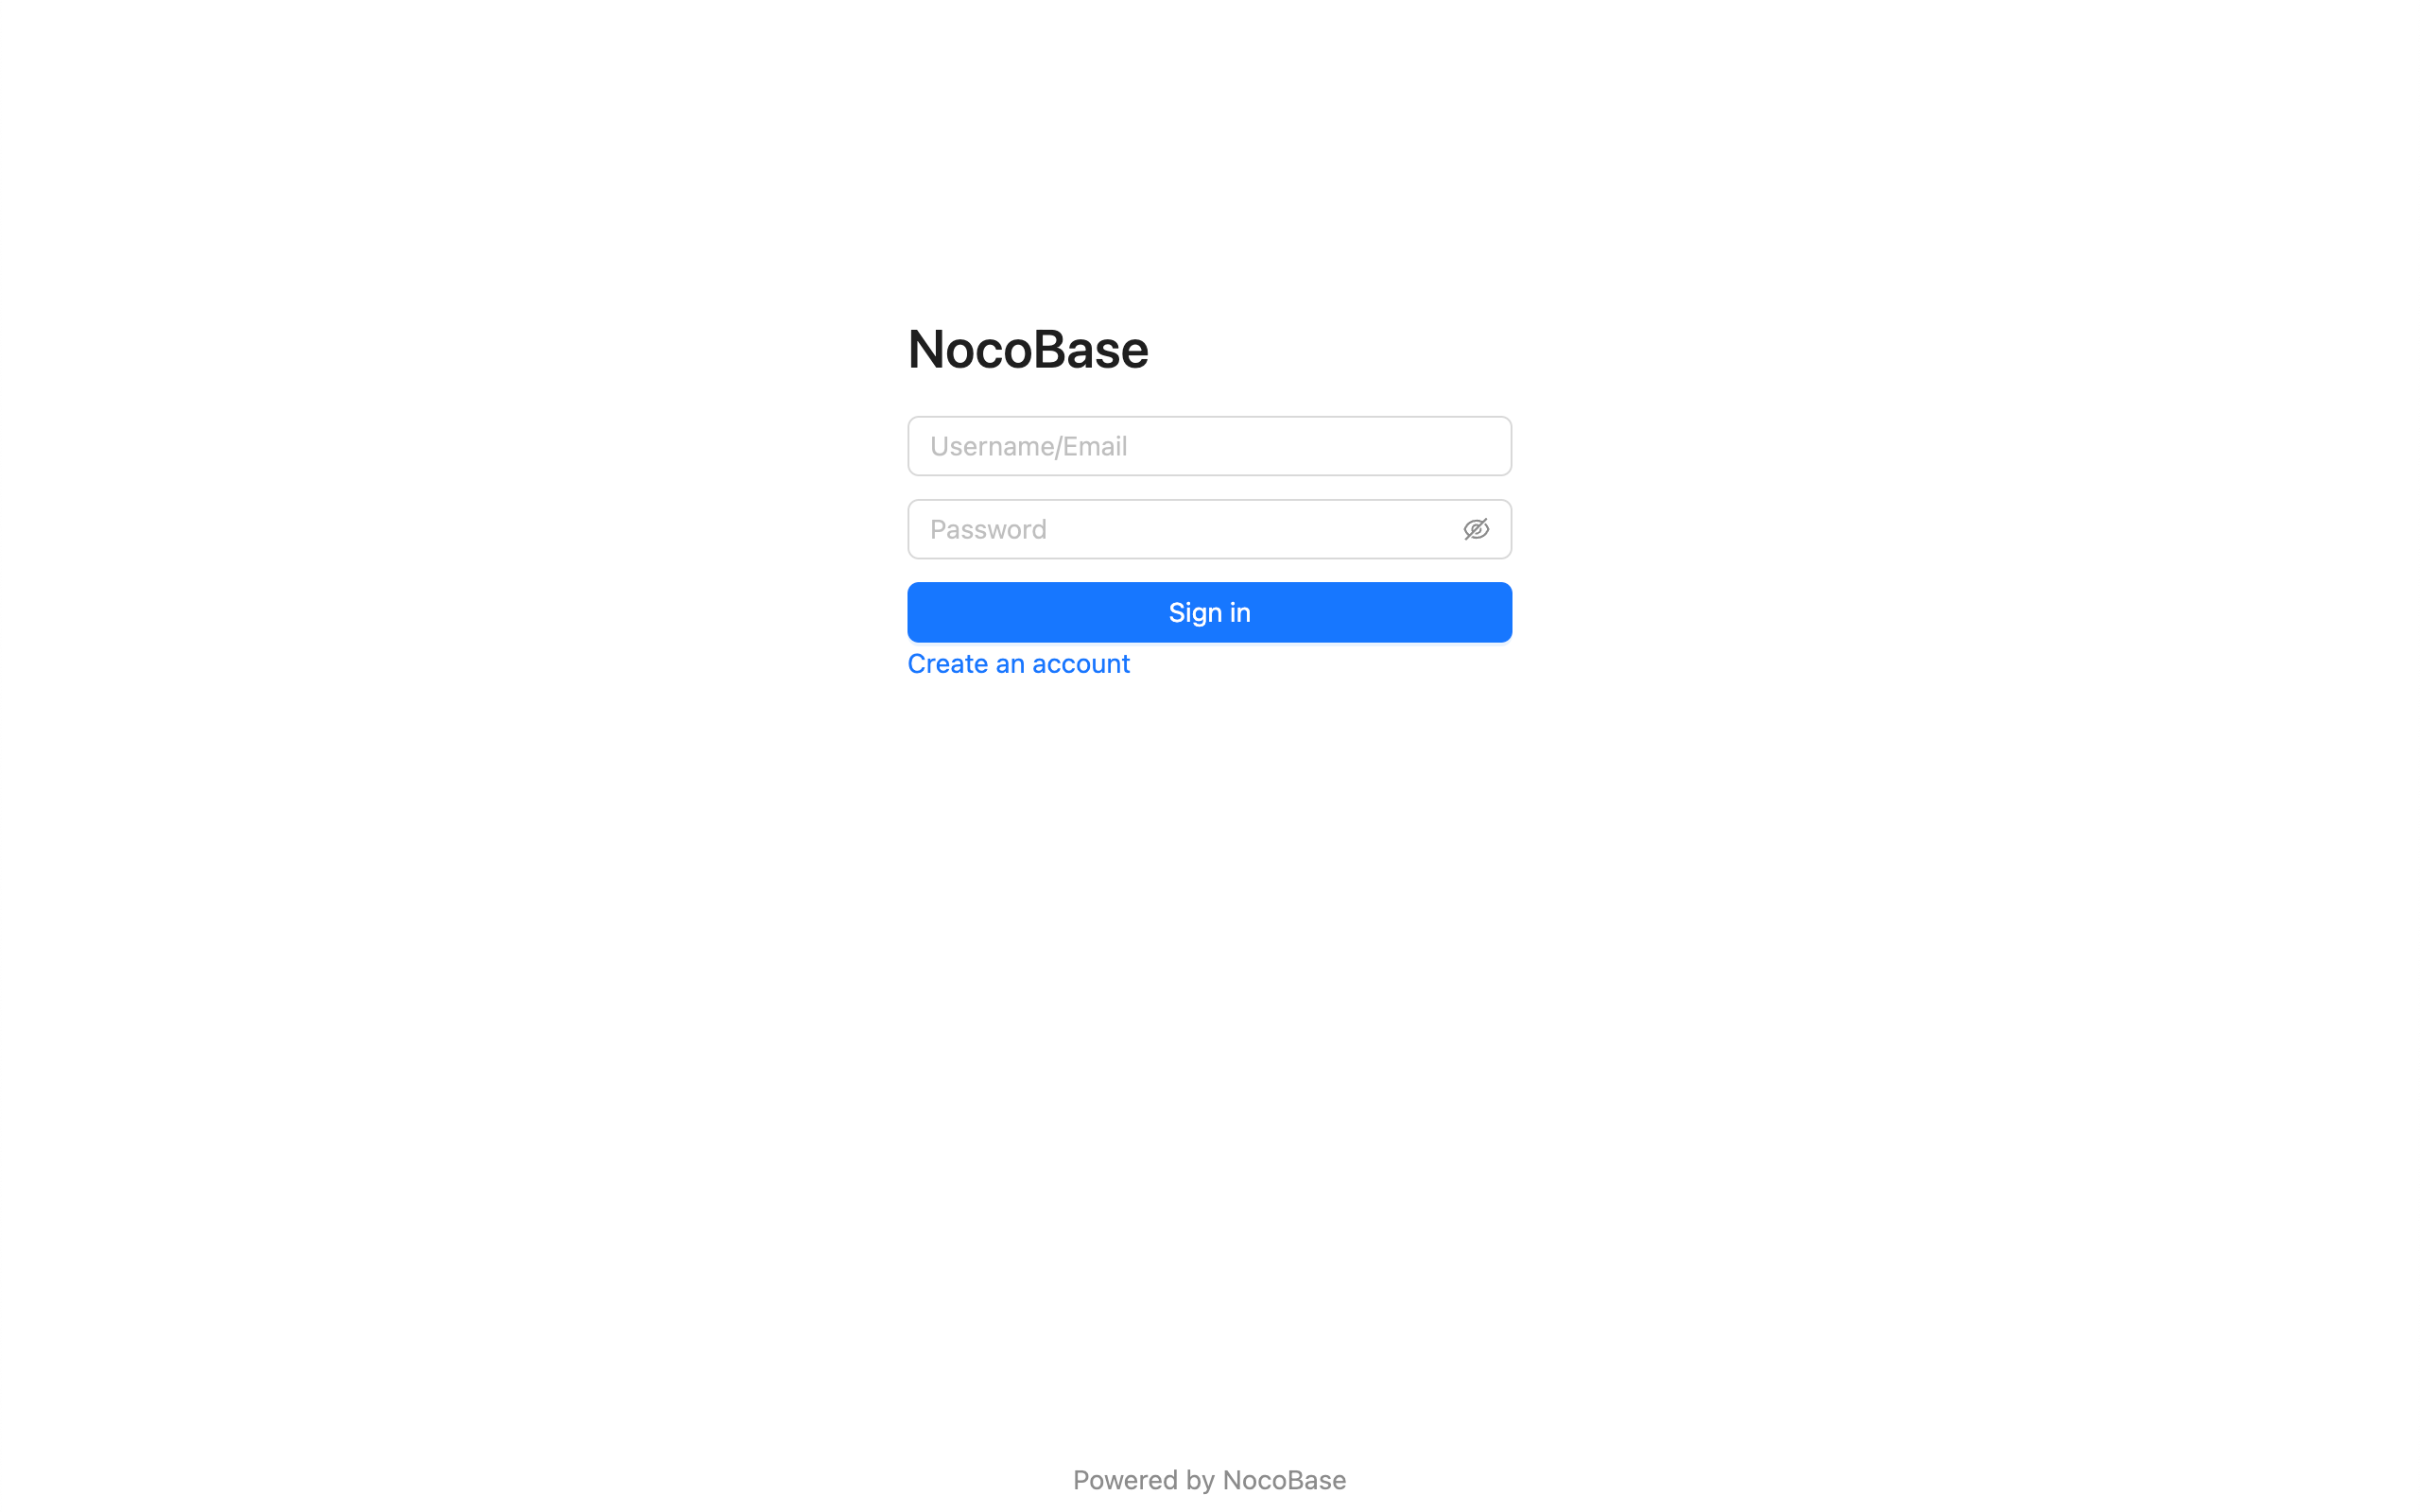
If multiple authenticators corresponding to the authentication type have registered login forms, they will be displayed in the form of Tabs. The Tab title is the title of the authenticator configured in the background.
Sign In Button
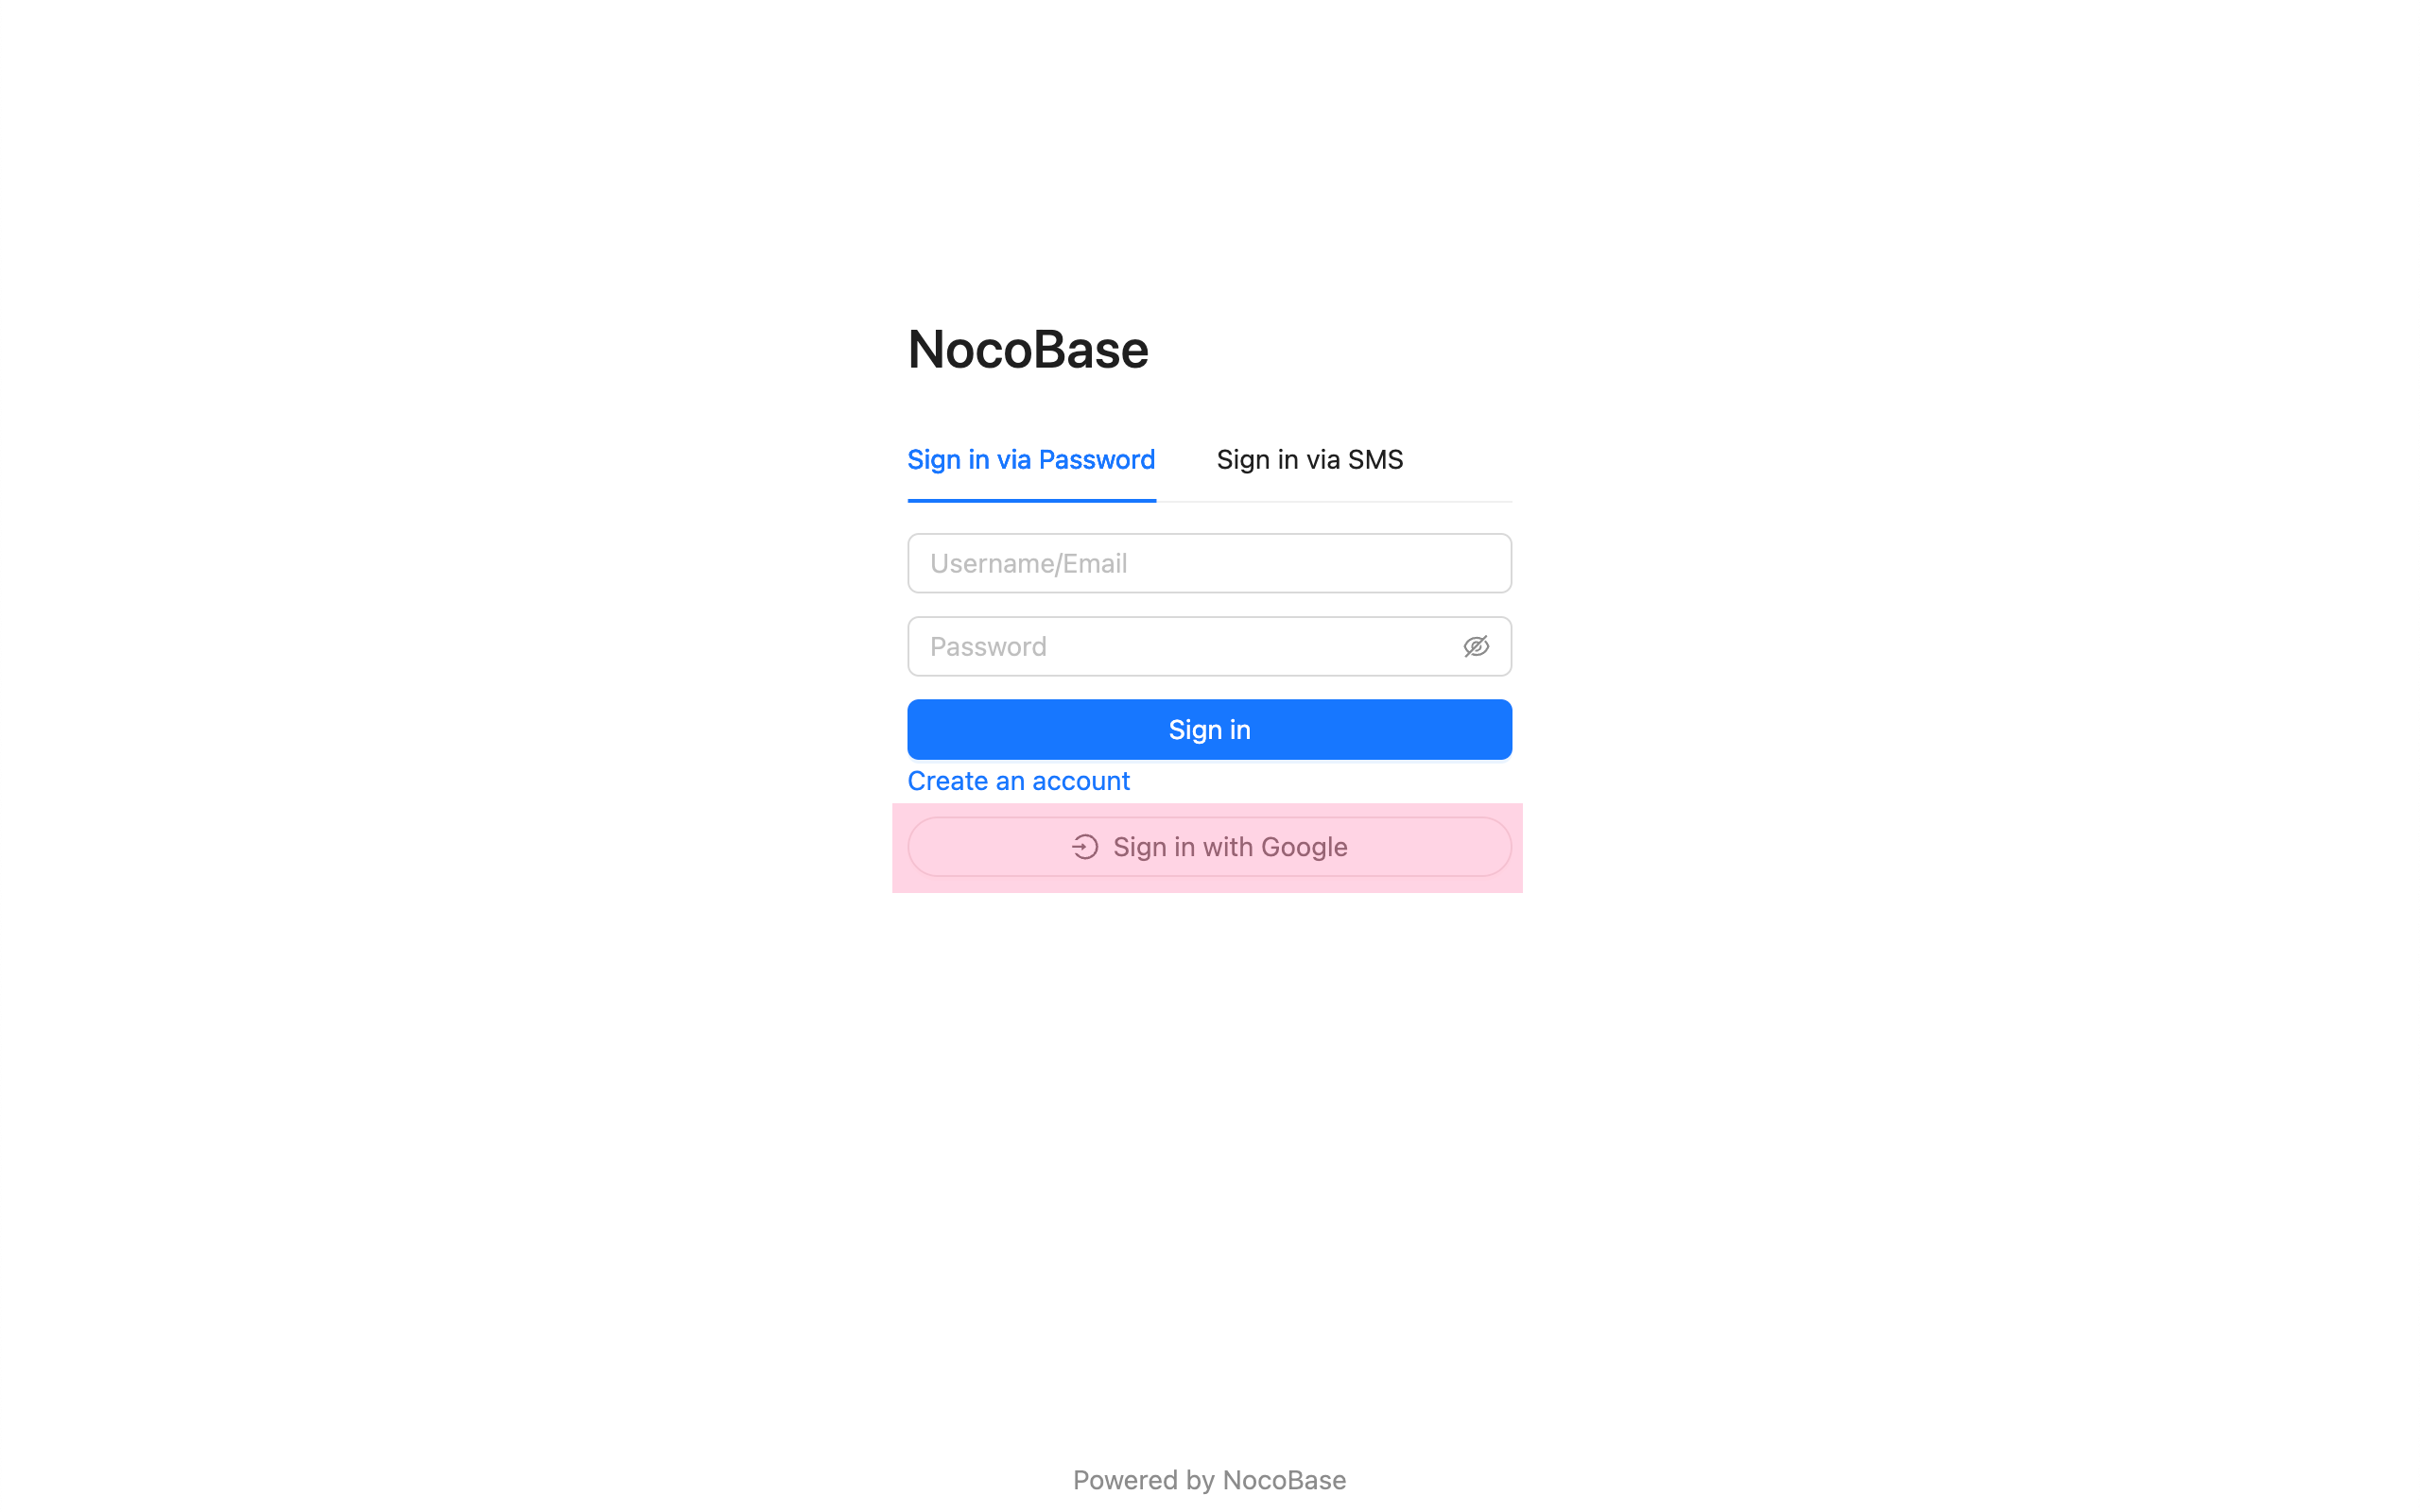
Usually for third-party login buttons, but can actually be any component.
Sign Up Form
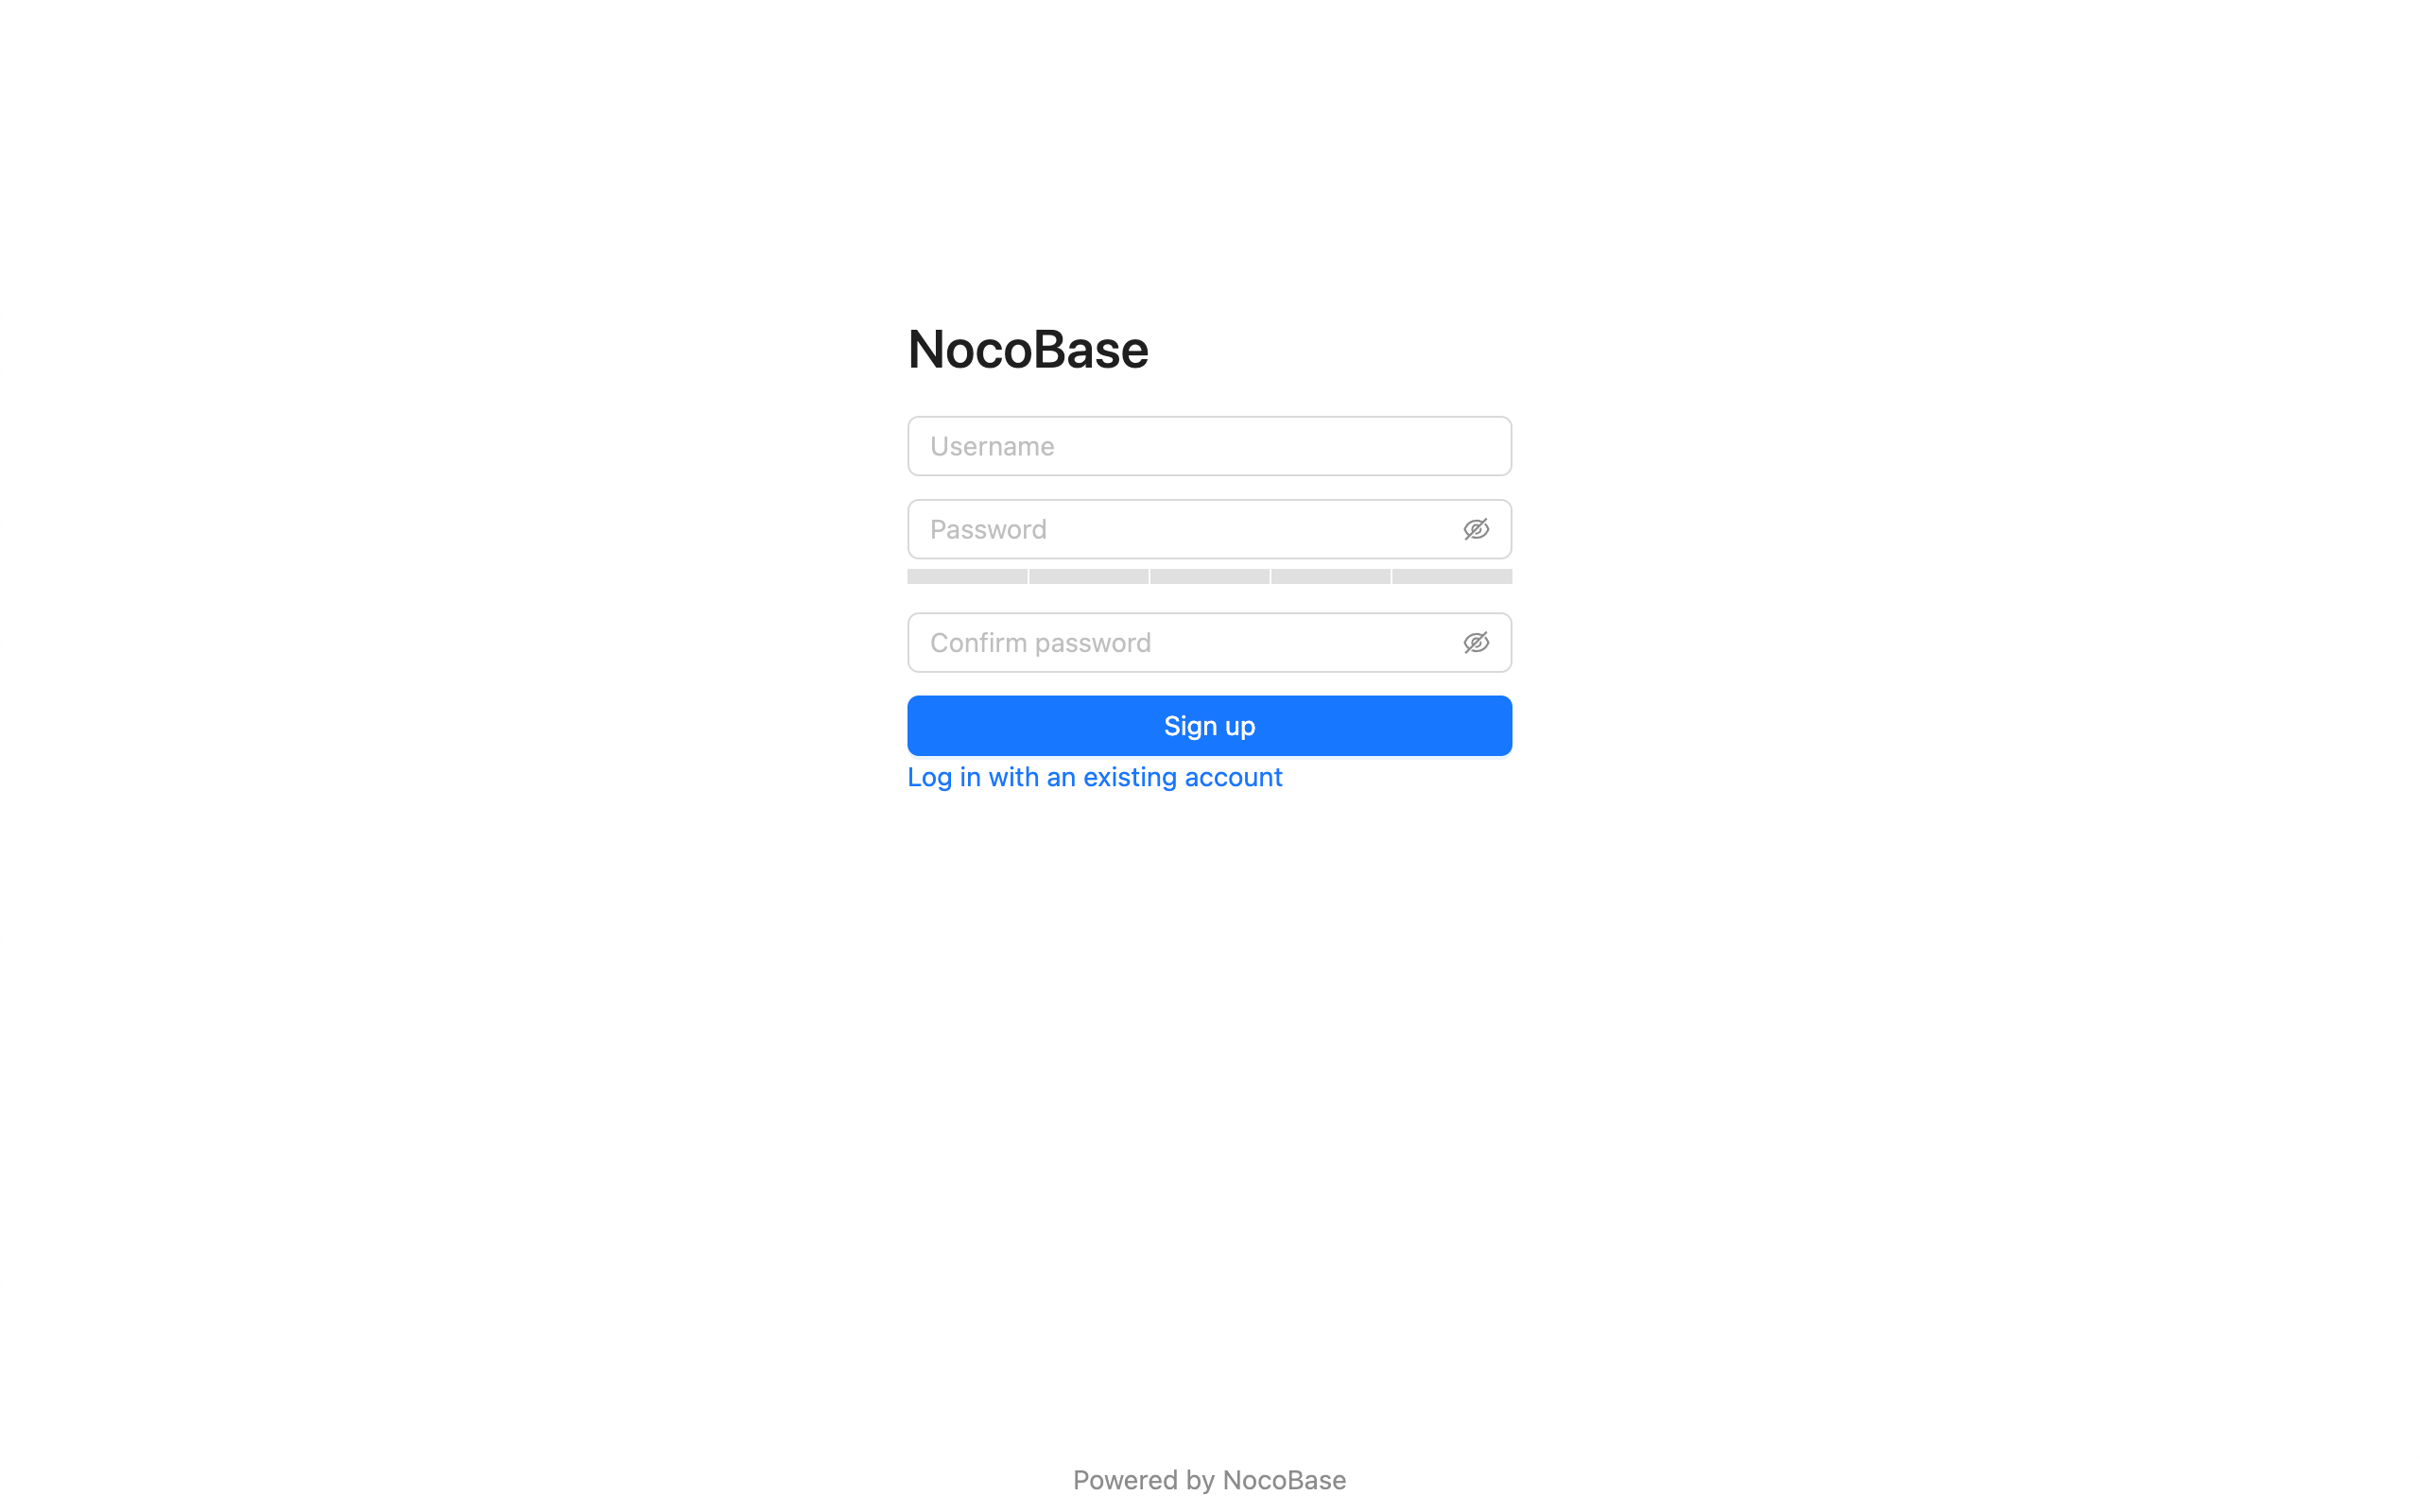
If you need to jump from the login page to the sign up page, you need to handle it yourself in the login component.
Admin Settings Form

The top is the generic authenticator configuration, and the bottom is the part of the custom configuration form that can be registered.
Request APIs
To initiate requests for user authentication-related interfaces on the client-side, you can use the SDK provided by NocoBase.
For detailed API references, see @nocobase/sdk - Auth.