

Advanced Features
Pagination
1. Page Number Update
Syntax
Simply insert it in your Office software.
Example
In Microsoft Word:
- Use the "Insert → Page Number" function
In LibreOffice: - Use the "Insert → Field → Page Number" function
Result
In the generated report, the page numbers on each page will update automatically.
2. Table of Contents Generation
Syntax
Simply insert it in your Office software.
Example
In Microsoft Word:
- Use the "Insert → Index and Table → Table of Contents" function
In LibreOffice:
- Use the "Insert → Table of Contents and Index → Table, Index or Bibliography" function
Result
The report's table of contents will update automatically based on the document content.
3. Repeating Table Headers
Syntax
Simply insert it in your Office software.
Example
In Microsoft Word:
- Right-click the table header → Table Properties → Check "Repeat as header row at the top of each page"
In LibreOffice:
- Right-click the table header → Table Properties → Text Flow tab → Check "Repeat heading"
Result
When a table spans multiple pages, the header will automatically repeat at the top of each page.
Internationalization (i18n)
1. Static Text Translation
Syntax
Use the {t(text)} tag for internationalizing static text:
Example
In the template:
JSON Data or an external localization dictionary (e.g., for "fr-fr") provides corresponding translations (for example, "meeting" → "rendez-vous" and "apples" → "Pommes").
Result
When generating the report, the text will be replaced with the corresponding translation based on the target language.
2. Dynamic Text Translation
Syntax
For data content, use the :t formatter, for example:
Example
In the template:
JSON Data and the localization dictionary provide the appropriate translations.
Result
Based on the condition, the output will be either "lundi" or "mardi" (using the target language as an example).
Key-Value Mapping
1. Enum Conversion (:convEnum)
Syntax
For example:
Example
In an API options example, the following is provided:
In the template:
Result
Outputs "pending"; if the index exceeds the enumeration range, the original value is output.
Dynamic Images
Currently supports XLSX and DOCX file types
You can insert "dynamic images" in document templates, which means placeholder images in the template will be automatically replaced with actual images during rendering based on data. This process is very simple and only requires:
-
Insert a temporary image as a placeholder
-
Edit the "Alt Text" of that image to set the field label
-
Render the document, and the system will automatically replace it with the actual image
Below we'll explain the operation methods for DOCX and XLSX through specific examples.
Inserting Dynamic Images in DOCX Files
Single Image Replacement
- Open your DOCX template and insert a temporary image (can be any placeholder image, such as a solid blue image)
Image Format Instructions
- Currently, placeholder images only support PNG format. We recommend using our provided example solid blue image
- Target rendered images only support PNG, JPG, JPEG formats. Other image types may fail to render.
Image Size Instructions
Whether for DOCX or XLSX, the final rendered image size will follow the dimensions of the temporary image in the template. That is, the actual replacement image will automatically scale to match the size of the placeholder image you inserted. If you want the rendered image to be 150×150, please use a temporary image in the template and adjust it to that size.
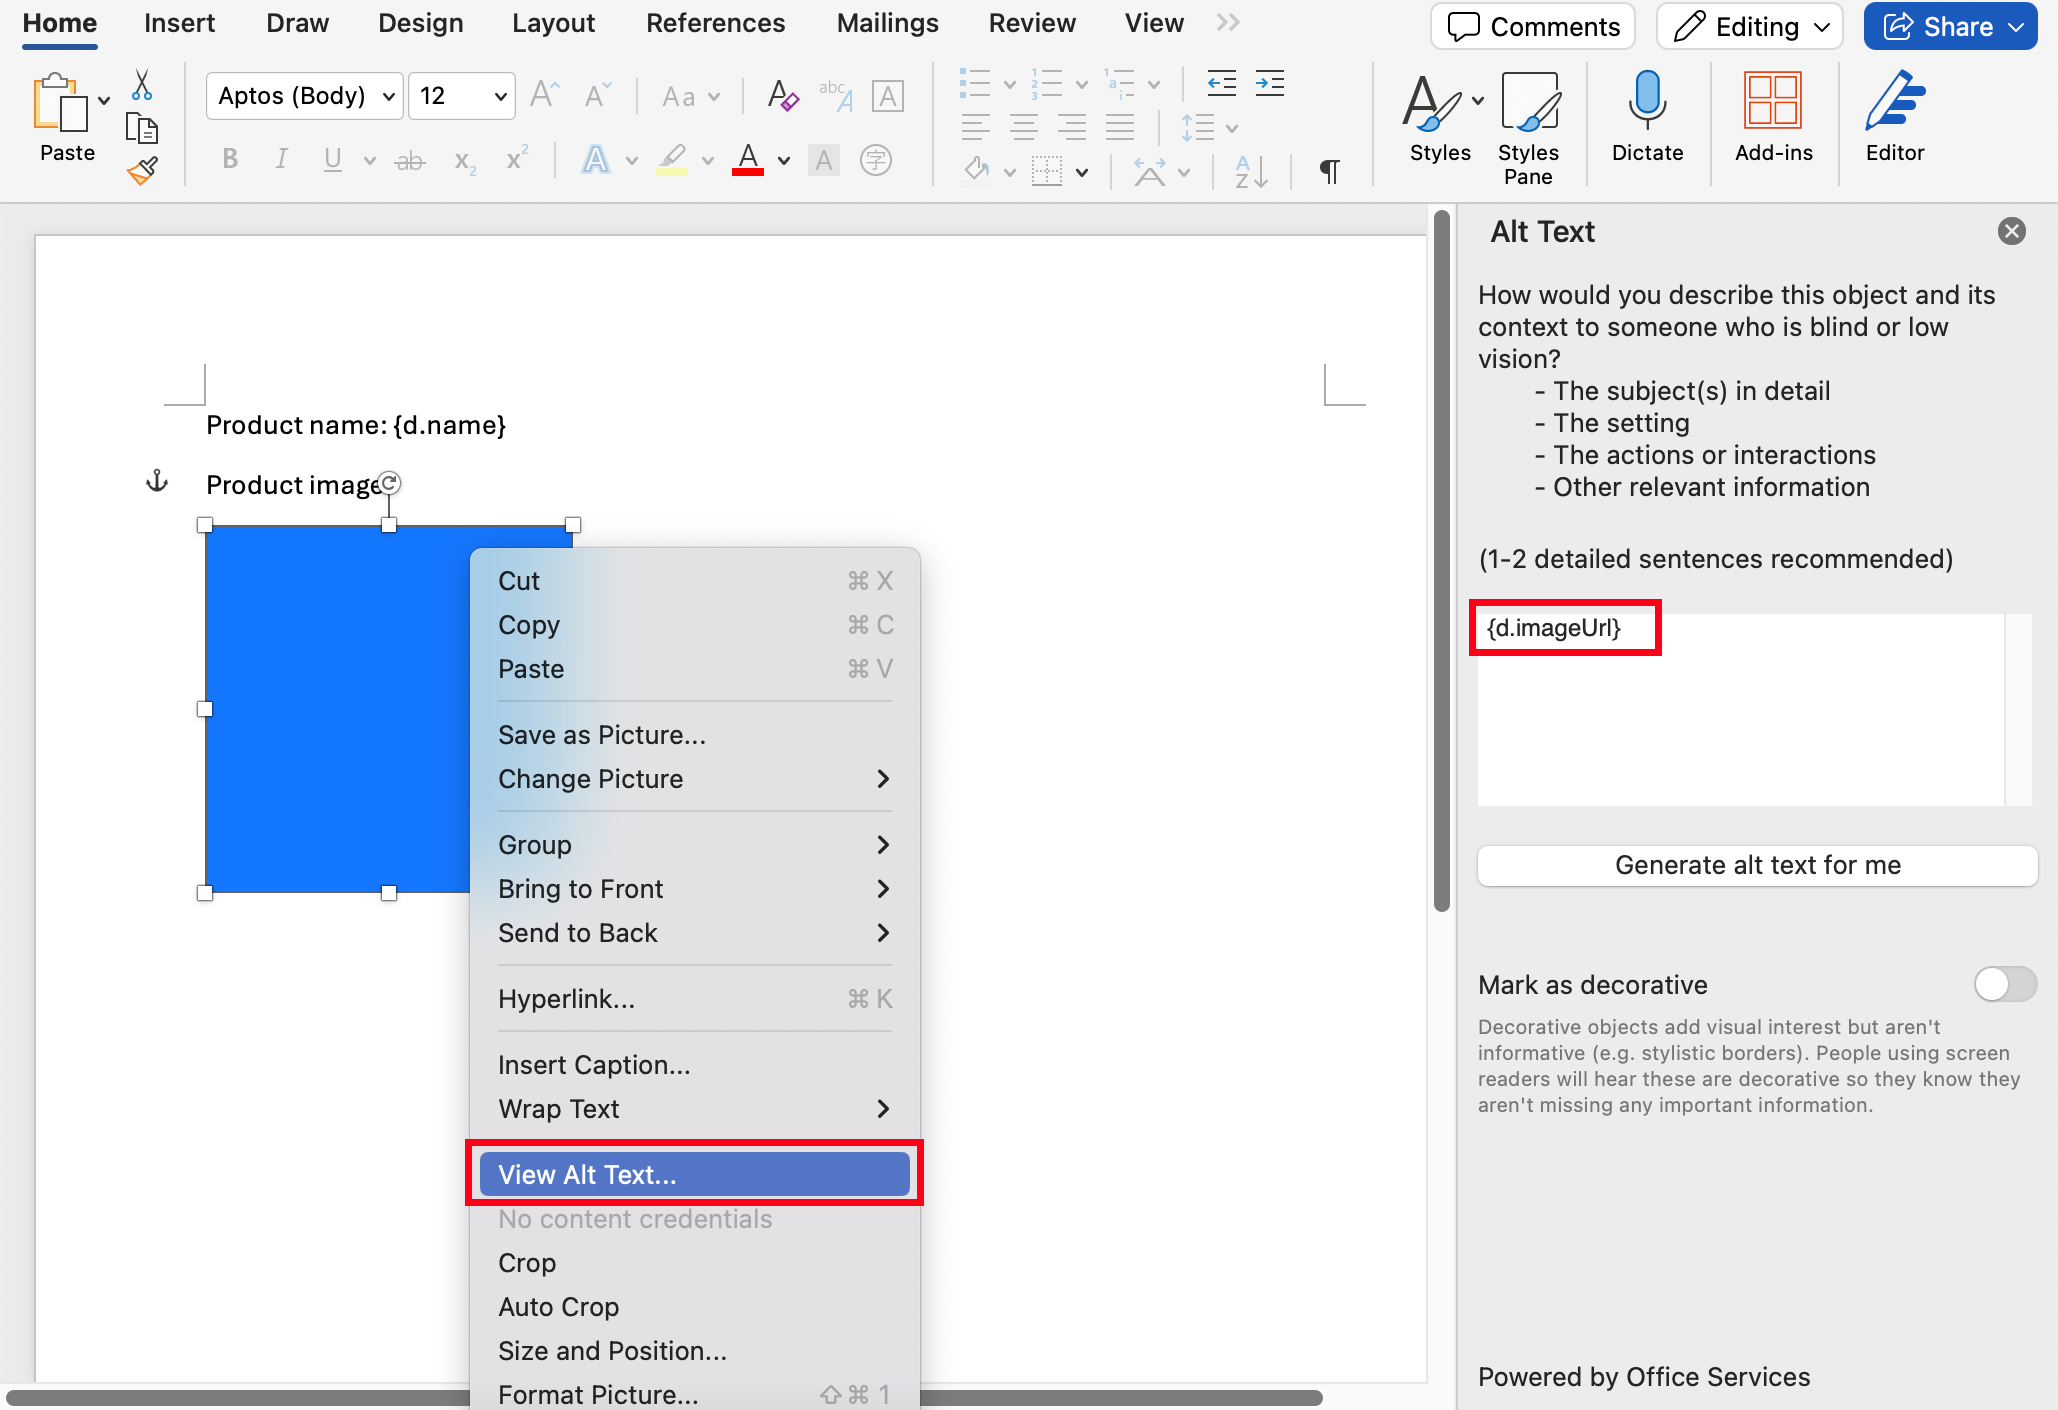
- Right-click on this image, edit its "Alt Text", and fill in the image field label you want to insert, for example
{d.imageUrl}:
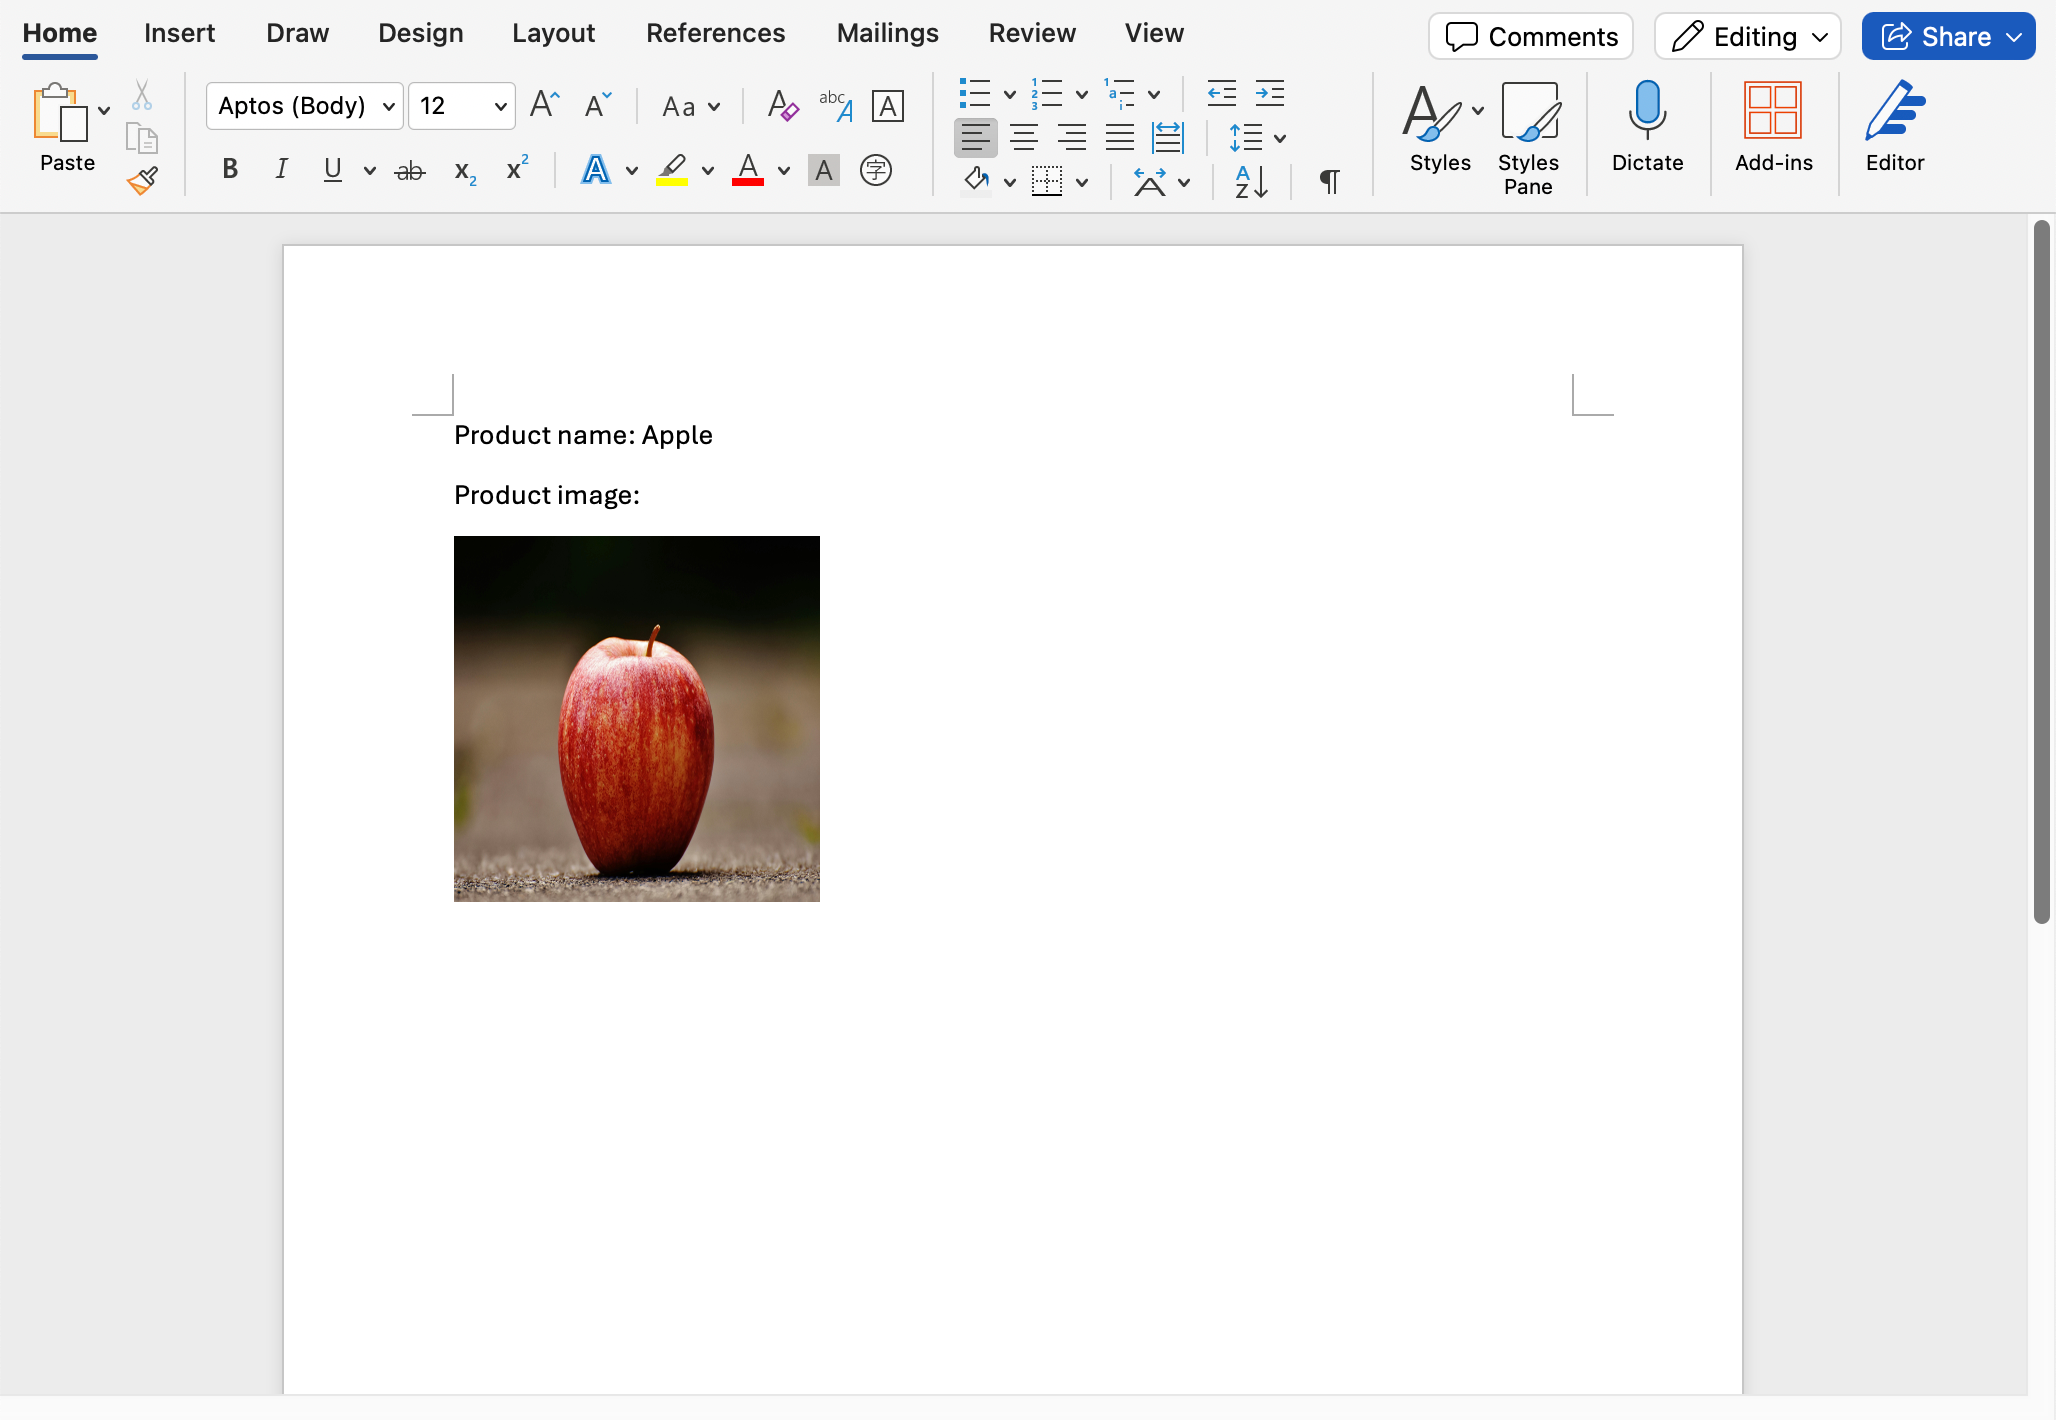
- Use the following example data for rendering:
- In the rendered result, the temporary image will be replaced with the actual image:
Multiple Image Loop Replacement
If you want to insert a group of images in the template, such as a product list, you can also implement this through loops. The specific steps are as follows:
- Assume your data is as follows:
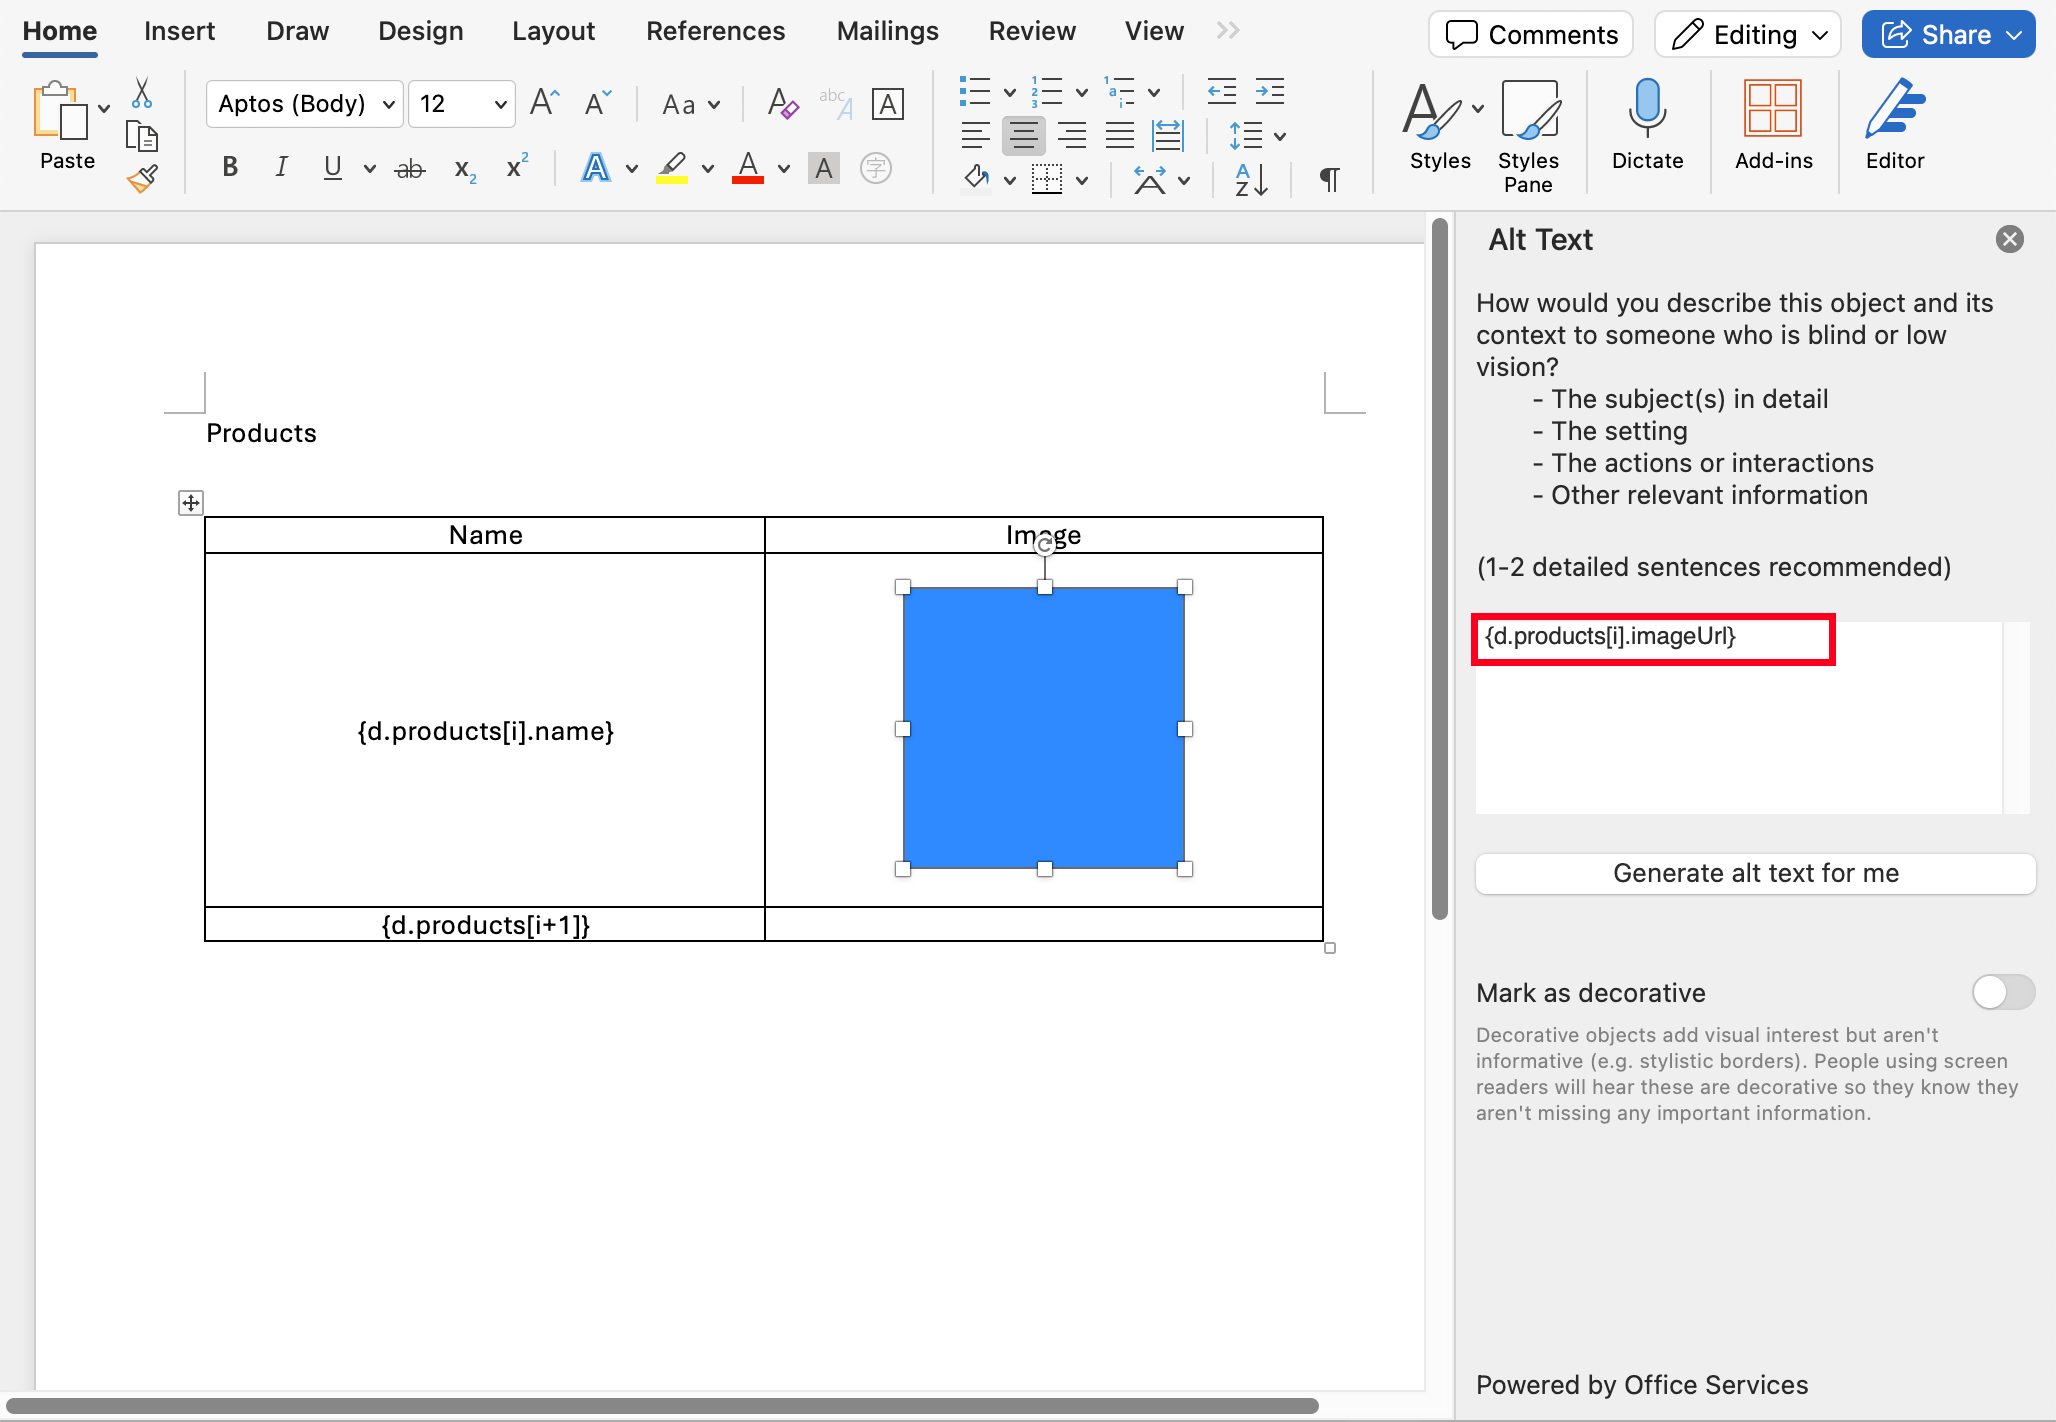
- Set up a loop area in the DOCX template, and insert temporary images in each loop item with Alt Text set to
{d.products[i].imageUrl}, as shown below:
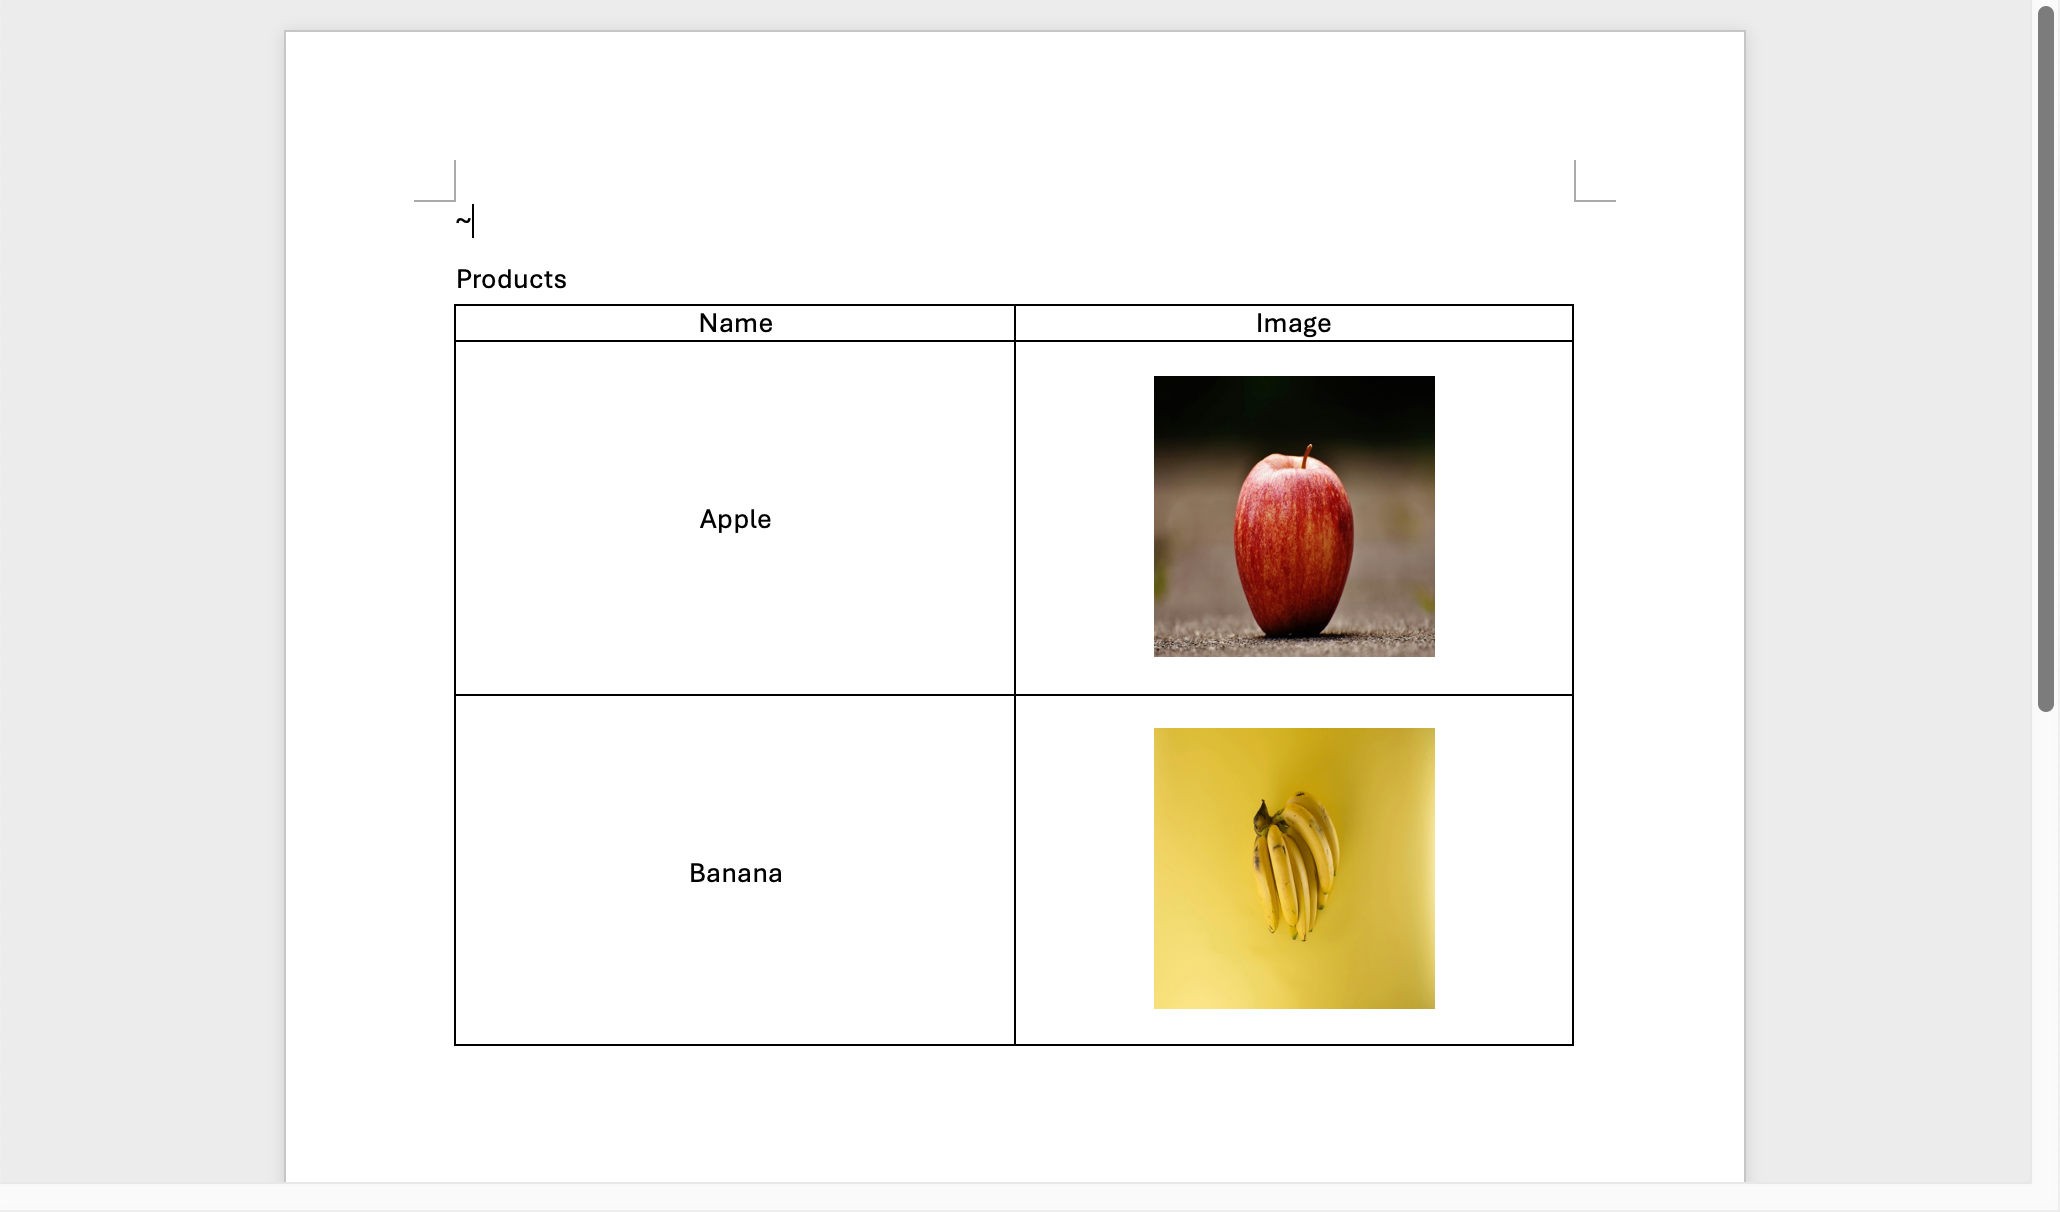
- After rendering, all temporary images will be replaced with their respective data images:
Inserting Dynamic Images in XLSX Files
The operation method in Excel templates (XLSX) is basically the same, just note the following points:
- After inserting an image, please ensure that you select "image within cell" rather than having the image float above the cell.
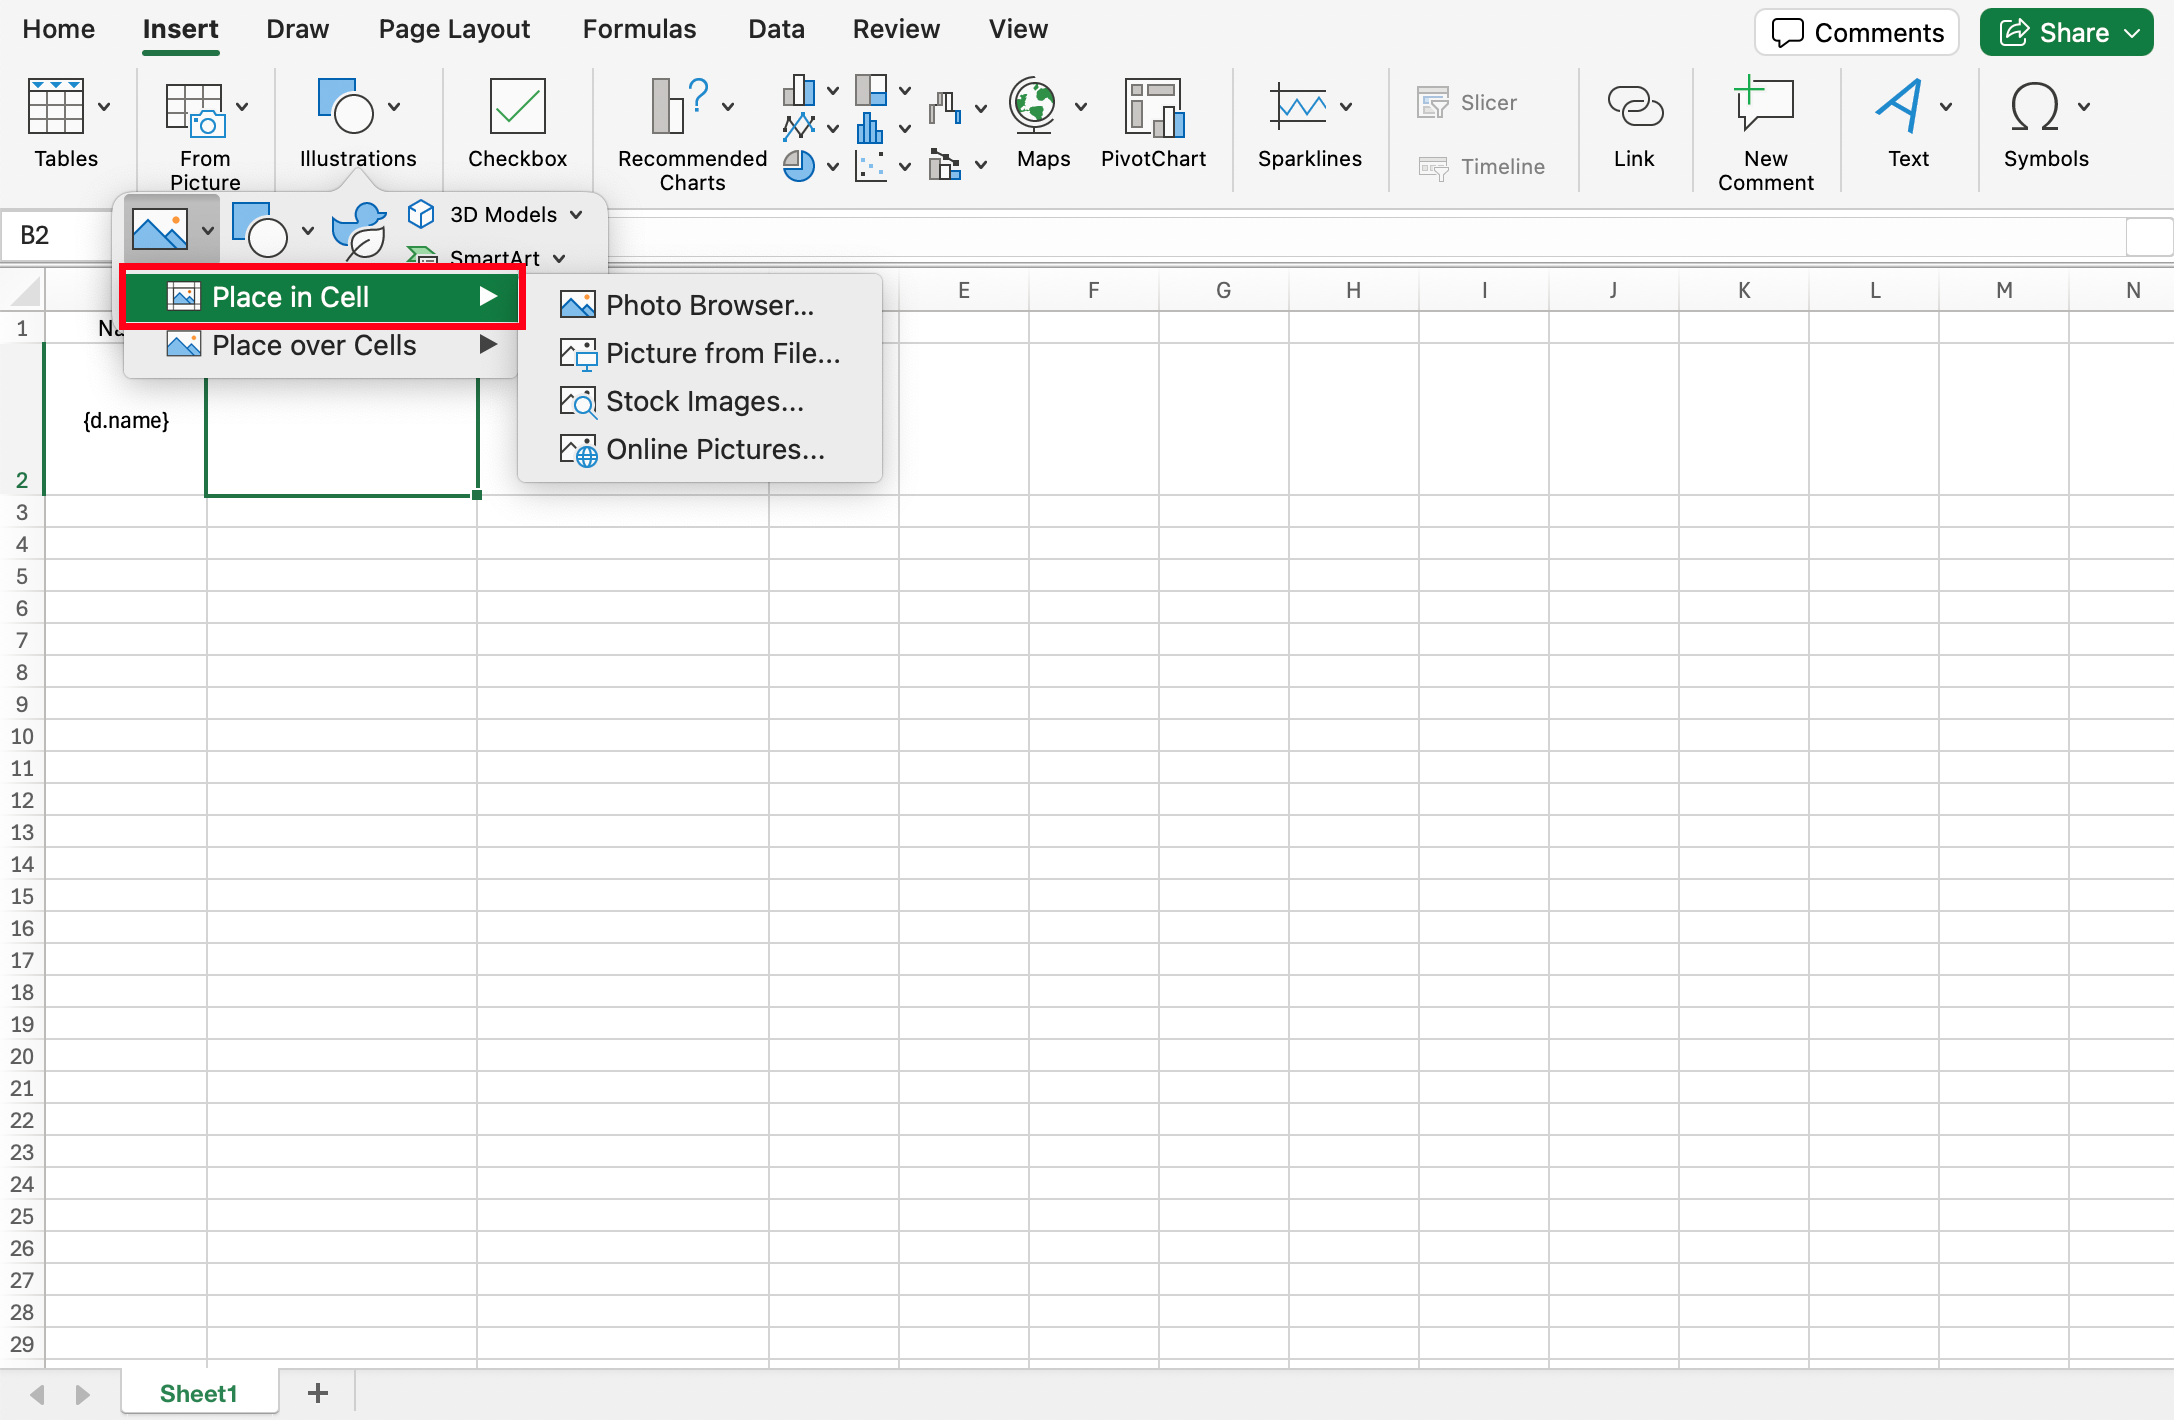
- After selecting the cell, click to view "Alt Text" to fill in the field label, such as
{d.imageUrl}.
Barcode
Currently supports XLSX and DOCX file types
Generating Barcodes (such as QR codes)
Barcode generation works the same way as Dynamic Images, requiring only three steps:
-
Insert a temporary image in the template to mark the barcode position
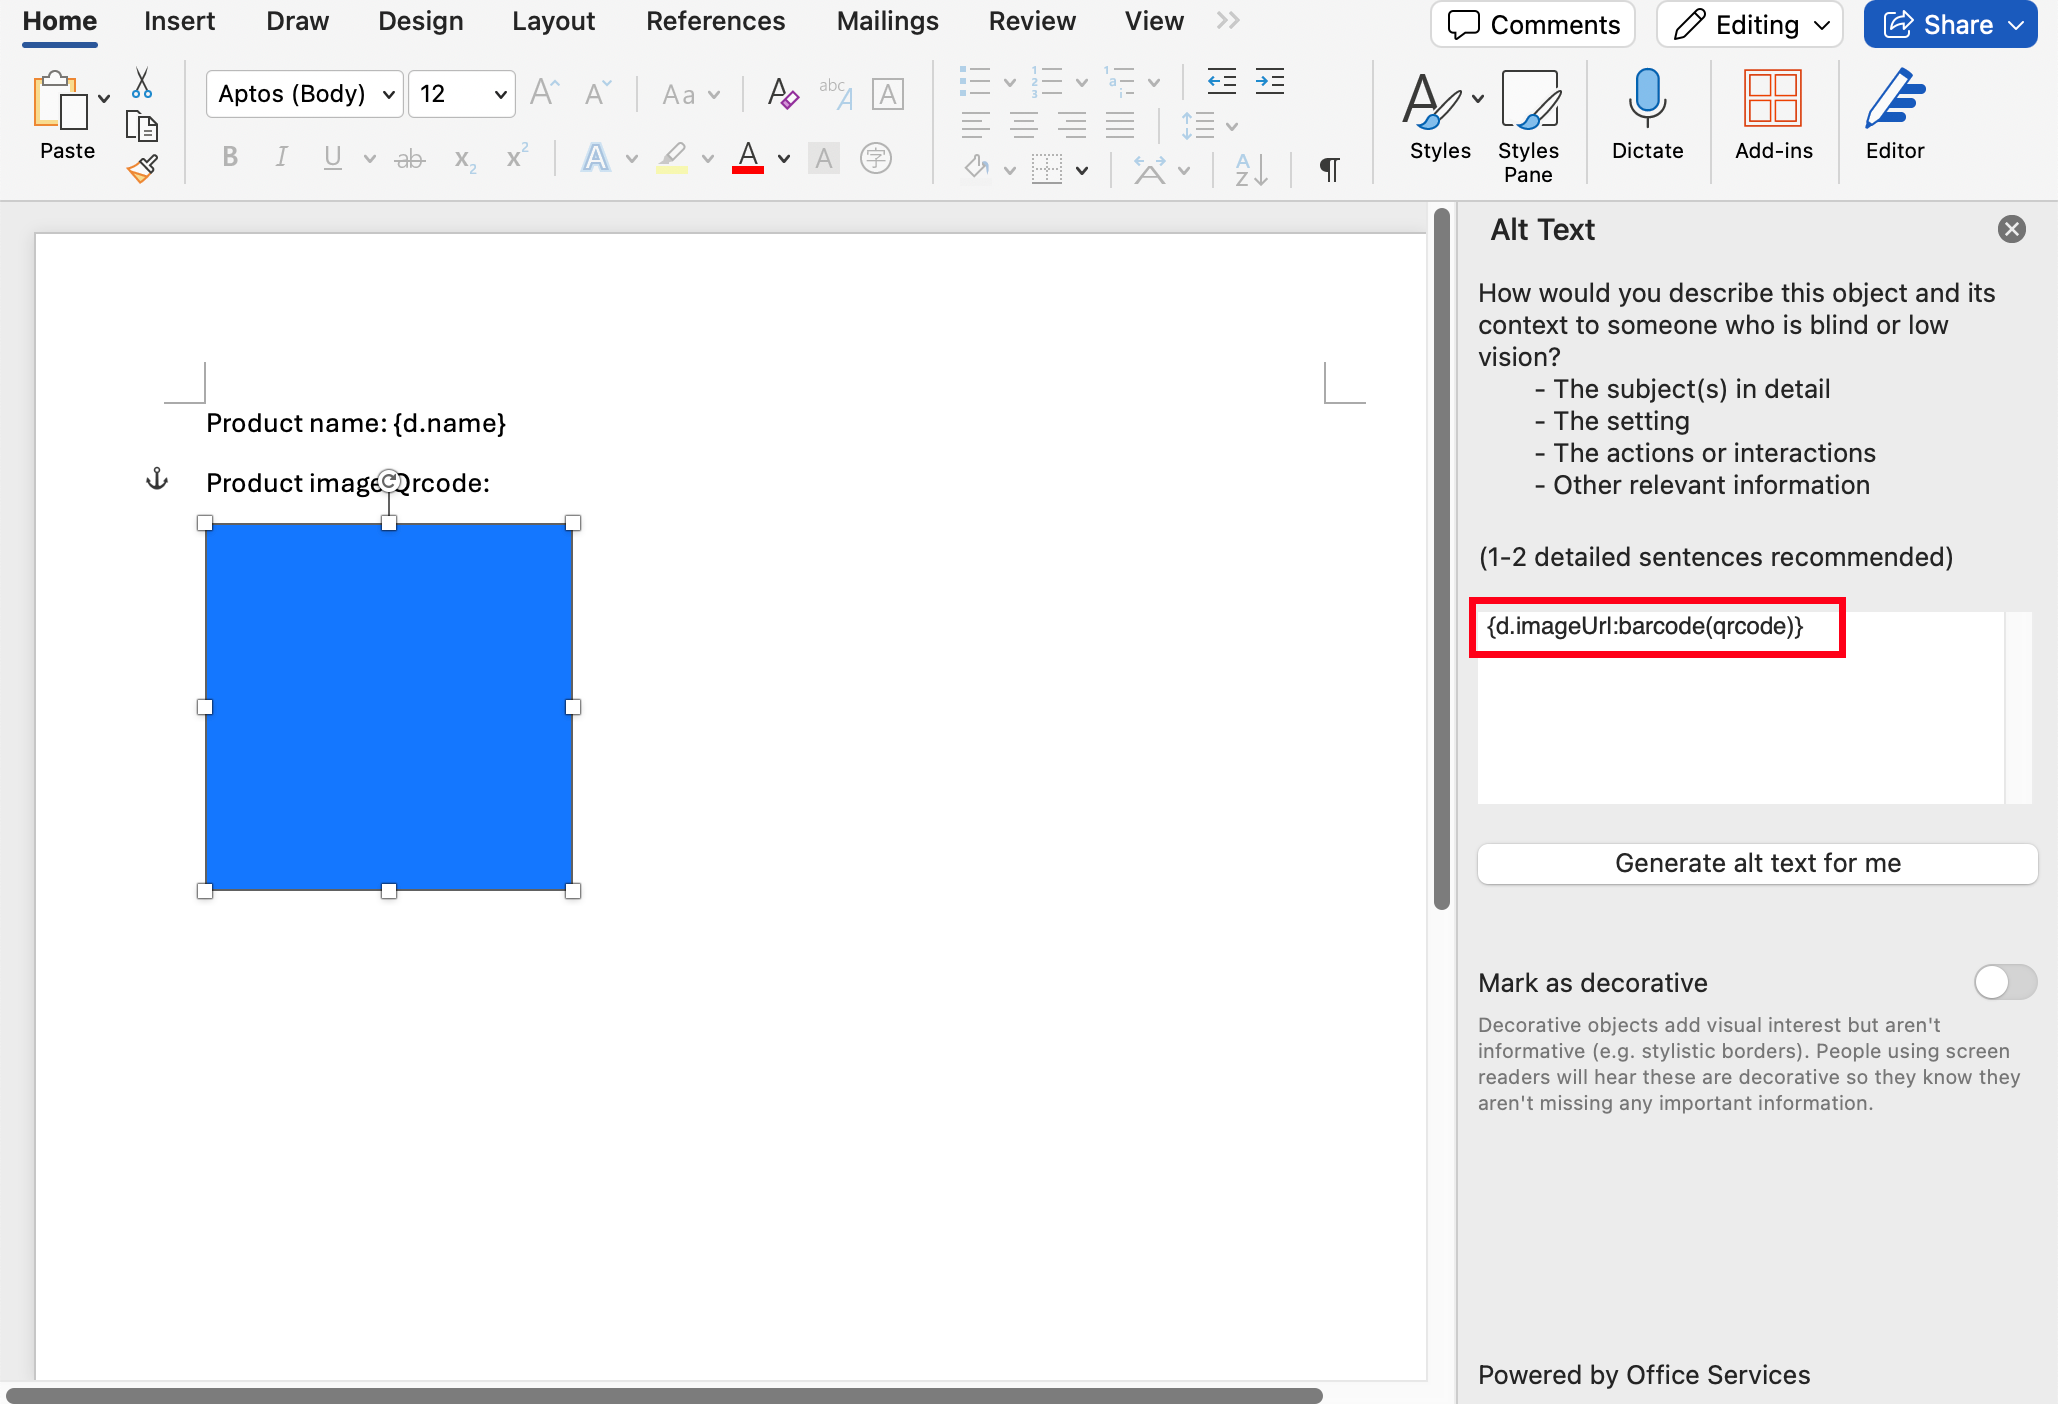
-
Edit the image's "Alt Text" and write in the barcode format field label, for example
{d.code:barcode(qrcode)}, whereqrcodeis the barcode type (see the supported list below)
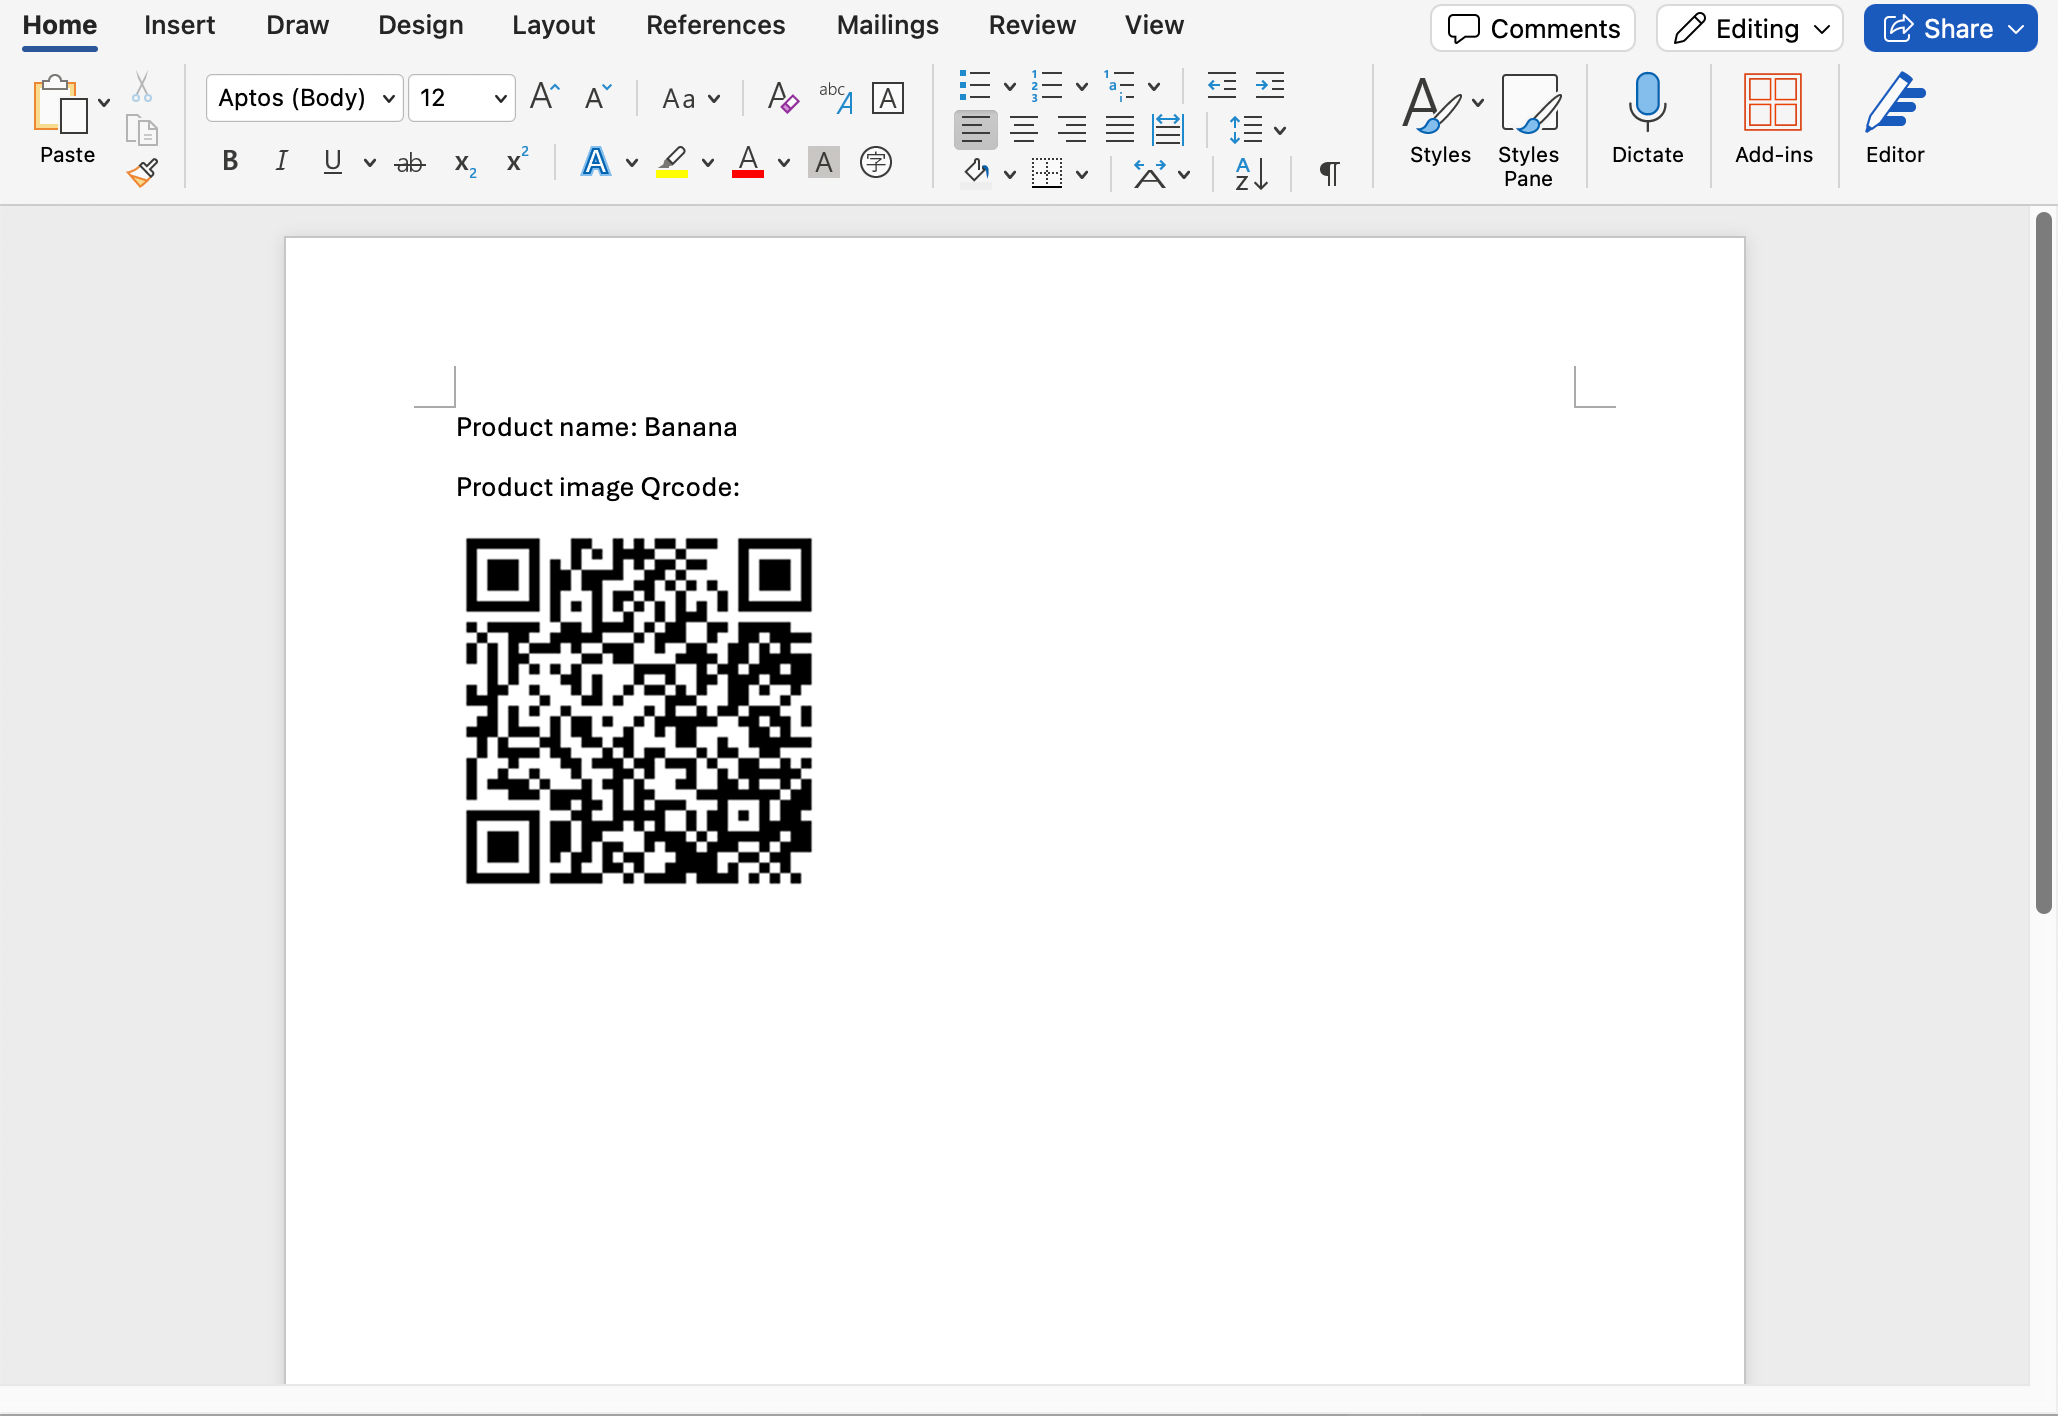
- After rendering, the placeholder image will be automatically replaced with the corresponding barcode image:
Supported Barcode Types
| Barcode Name | Type |
|---|---|
| QR Code | qrcode |