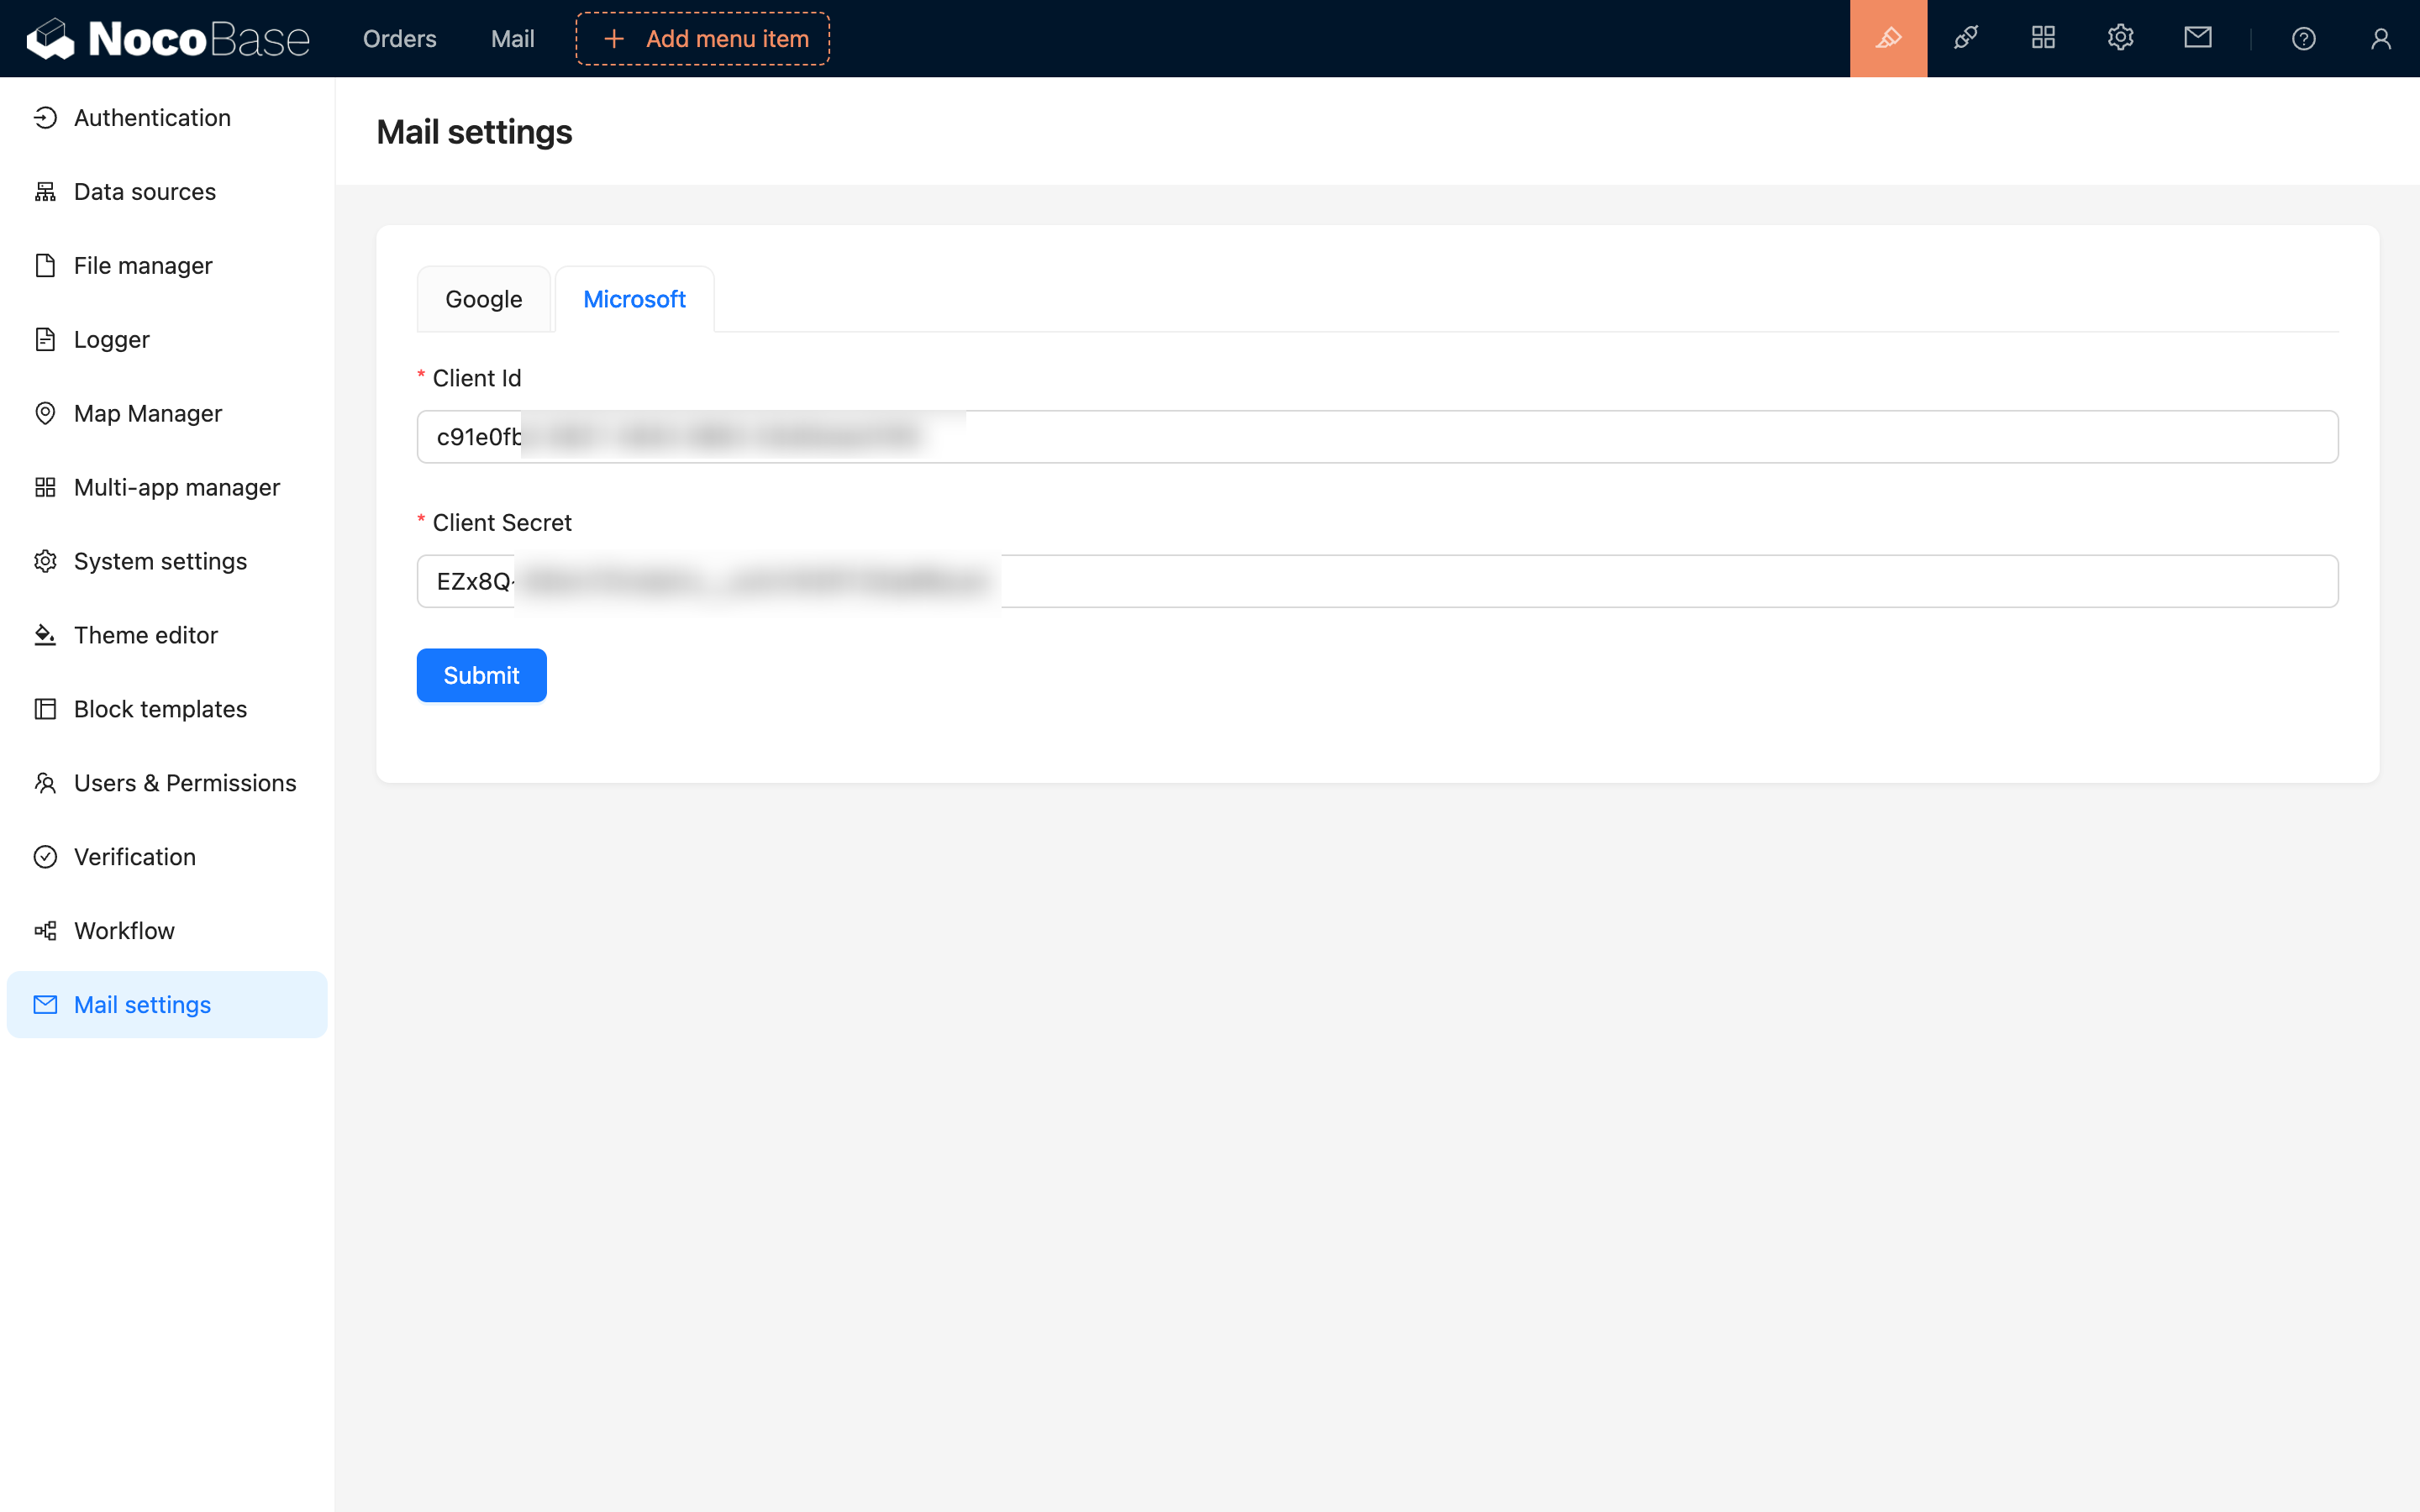
Microsoft Configuration
This feature is provided by the commercial plugin «Email manager», please purchase to usePrerequisites
For users to be able to integrate Outlook email into NocoBase, the system must be deployed on a server that supports access to Microsoft services. The backend will call Microsoft API.
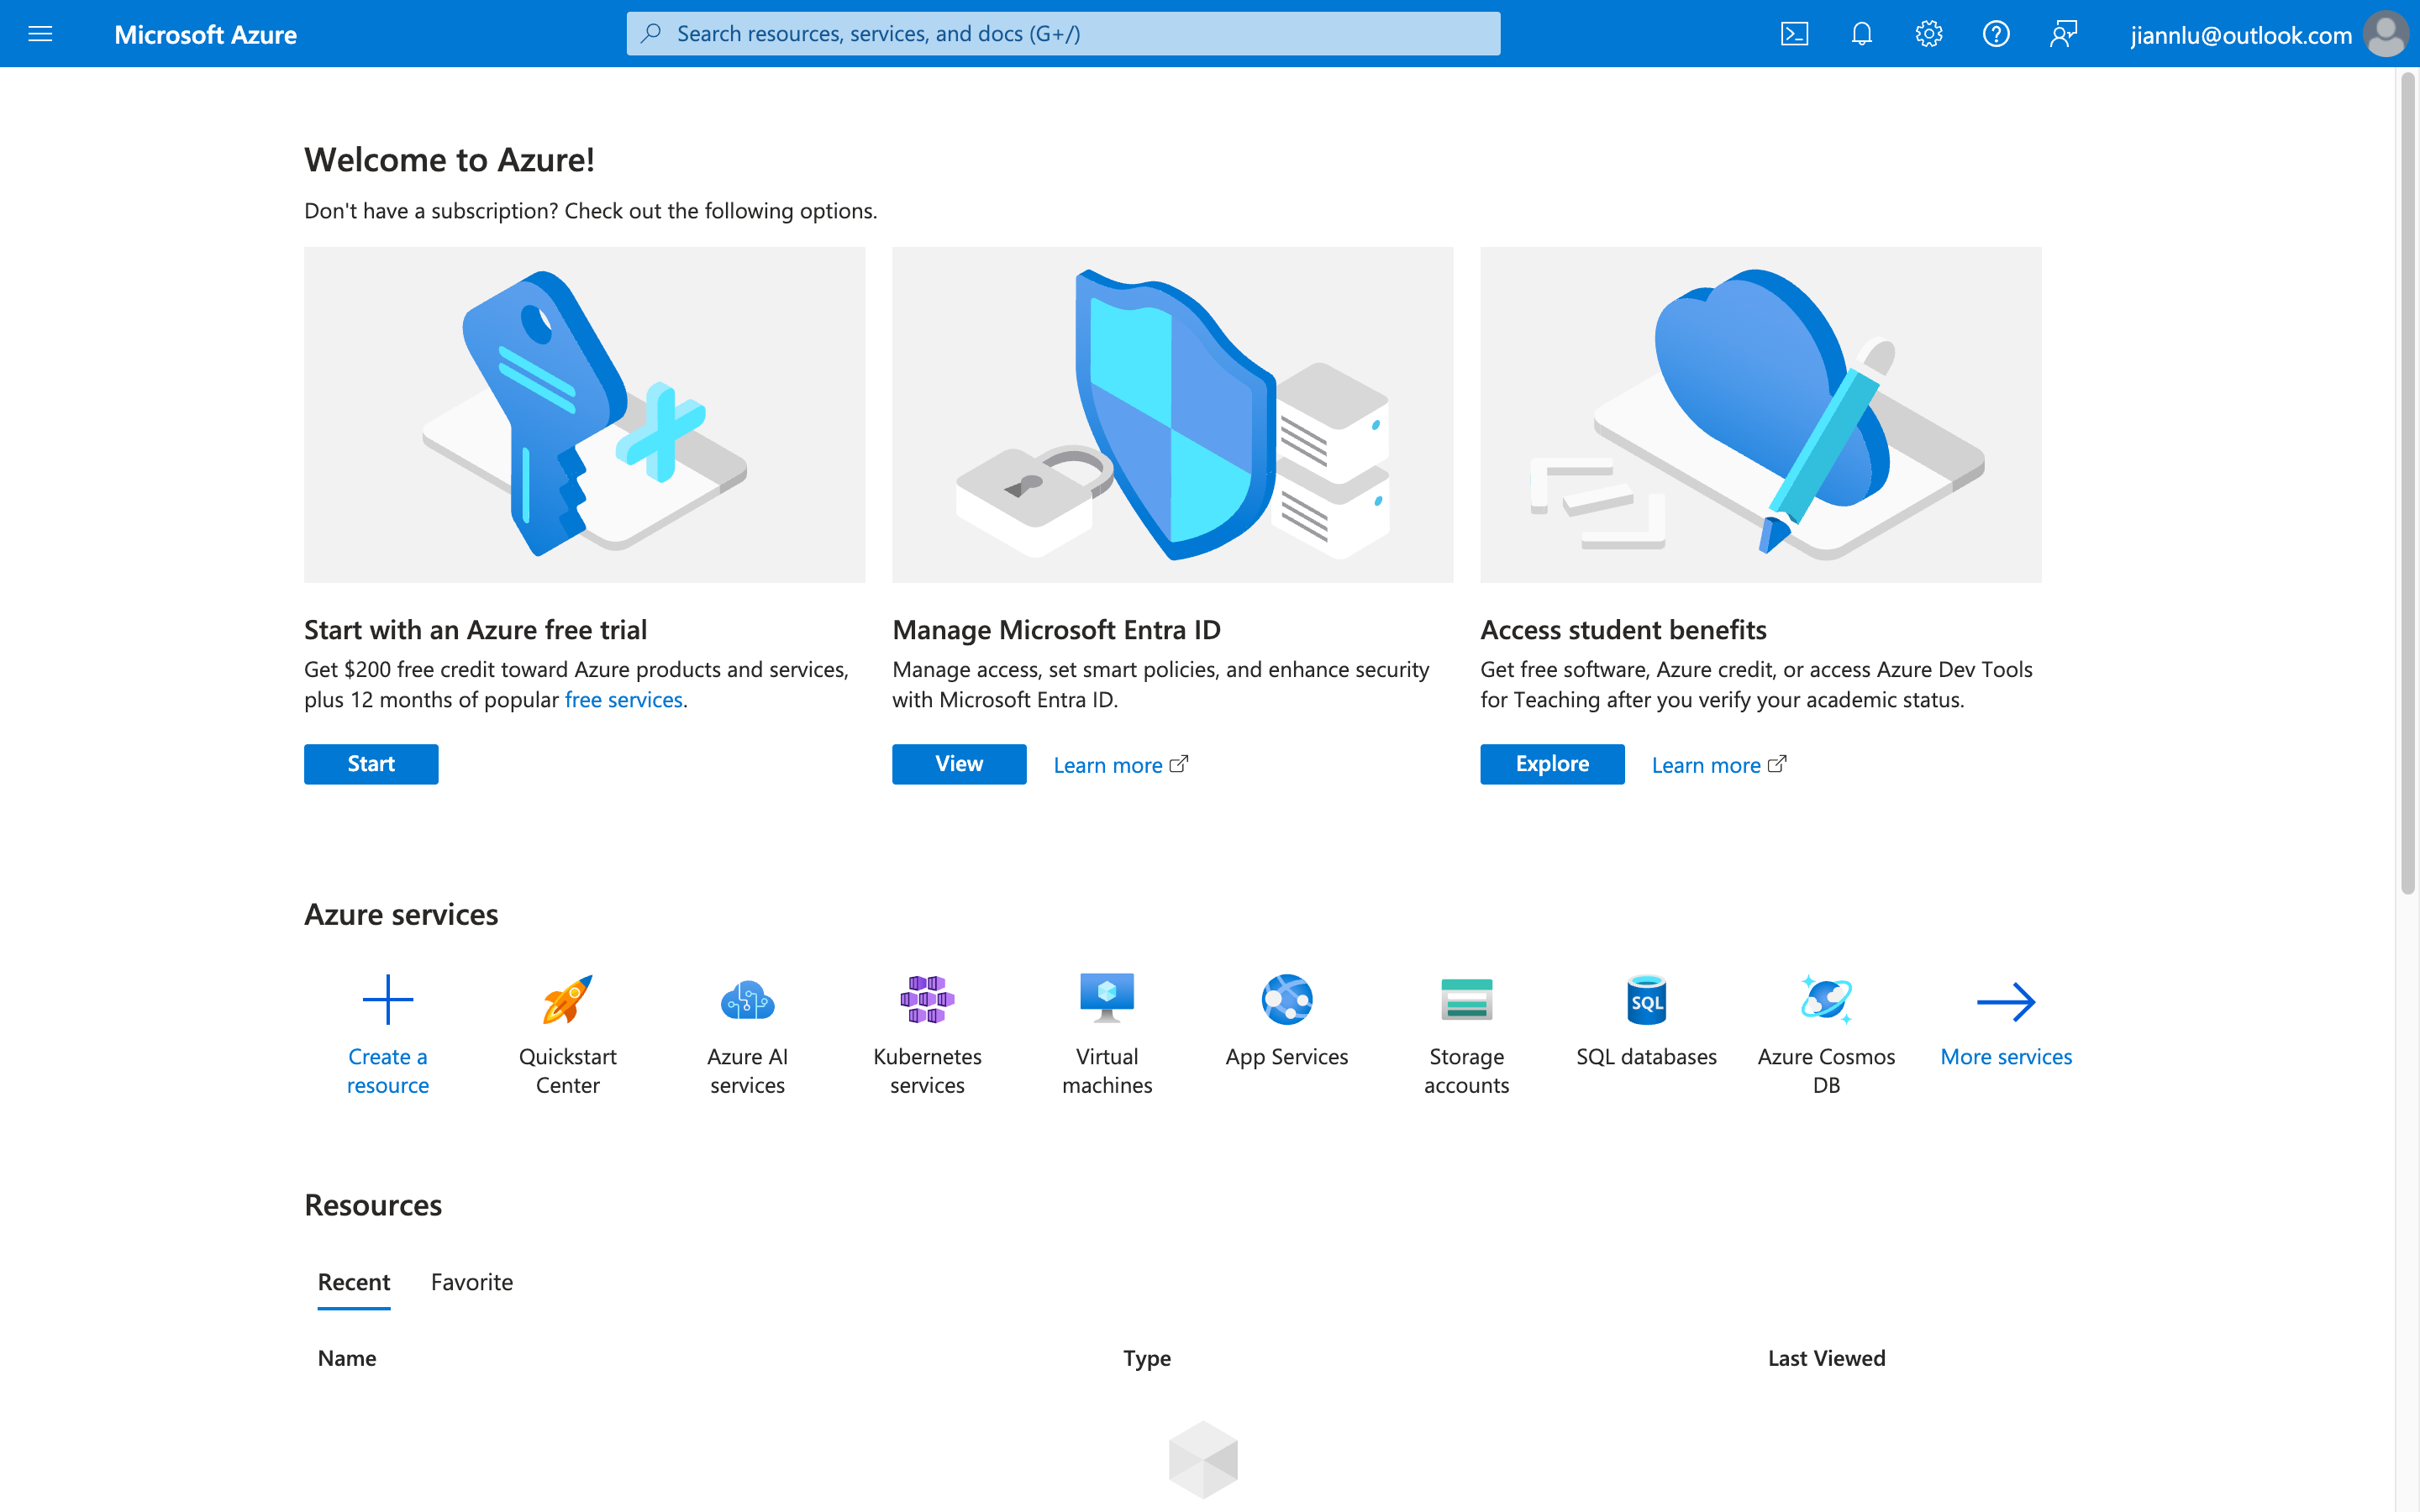
Register Account
-
Open https://azure.microsoft.com/en-us/pricing/purchase-options/azure-account
-
Log in to your Microsoft account
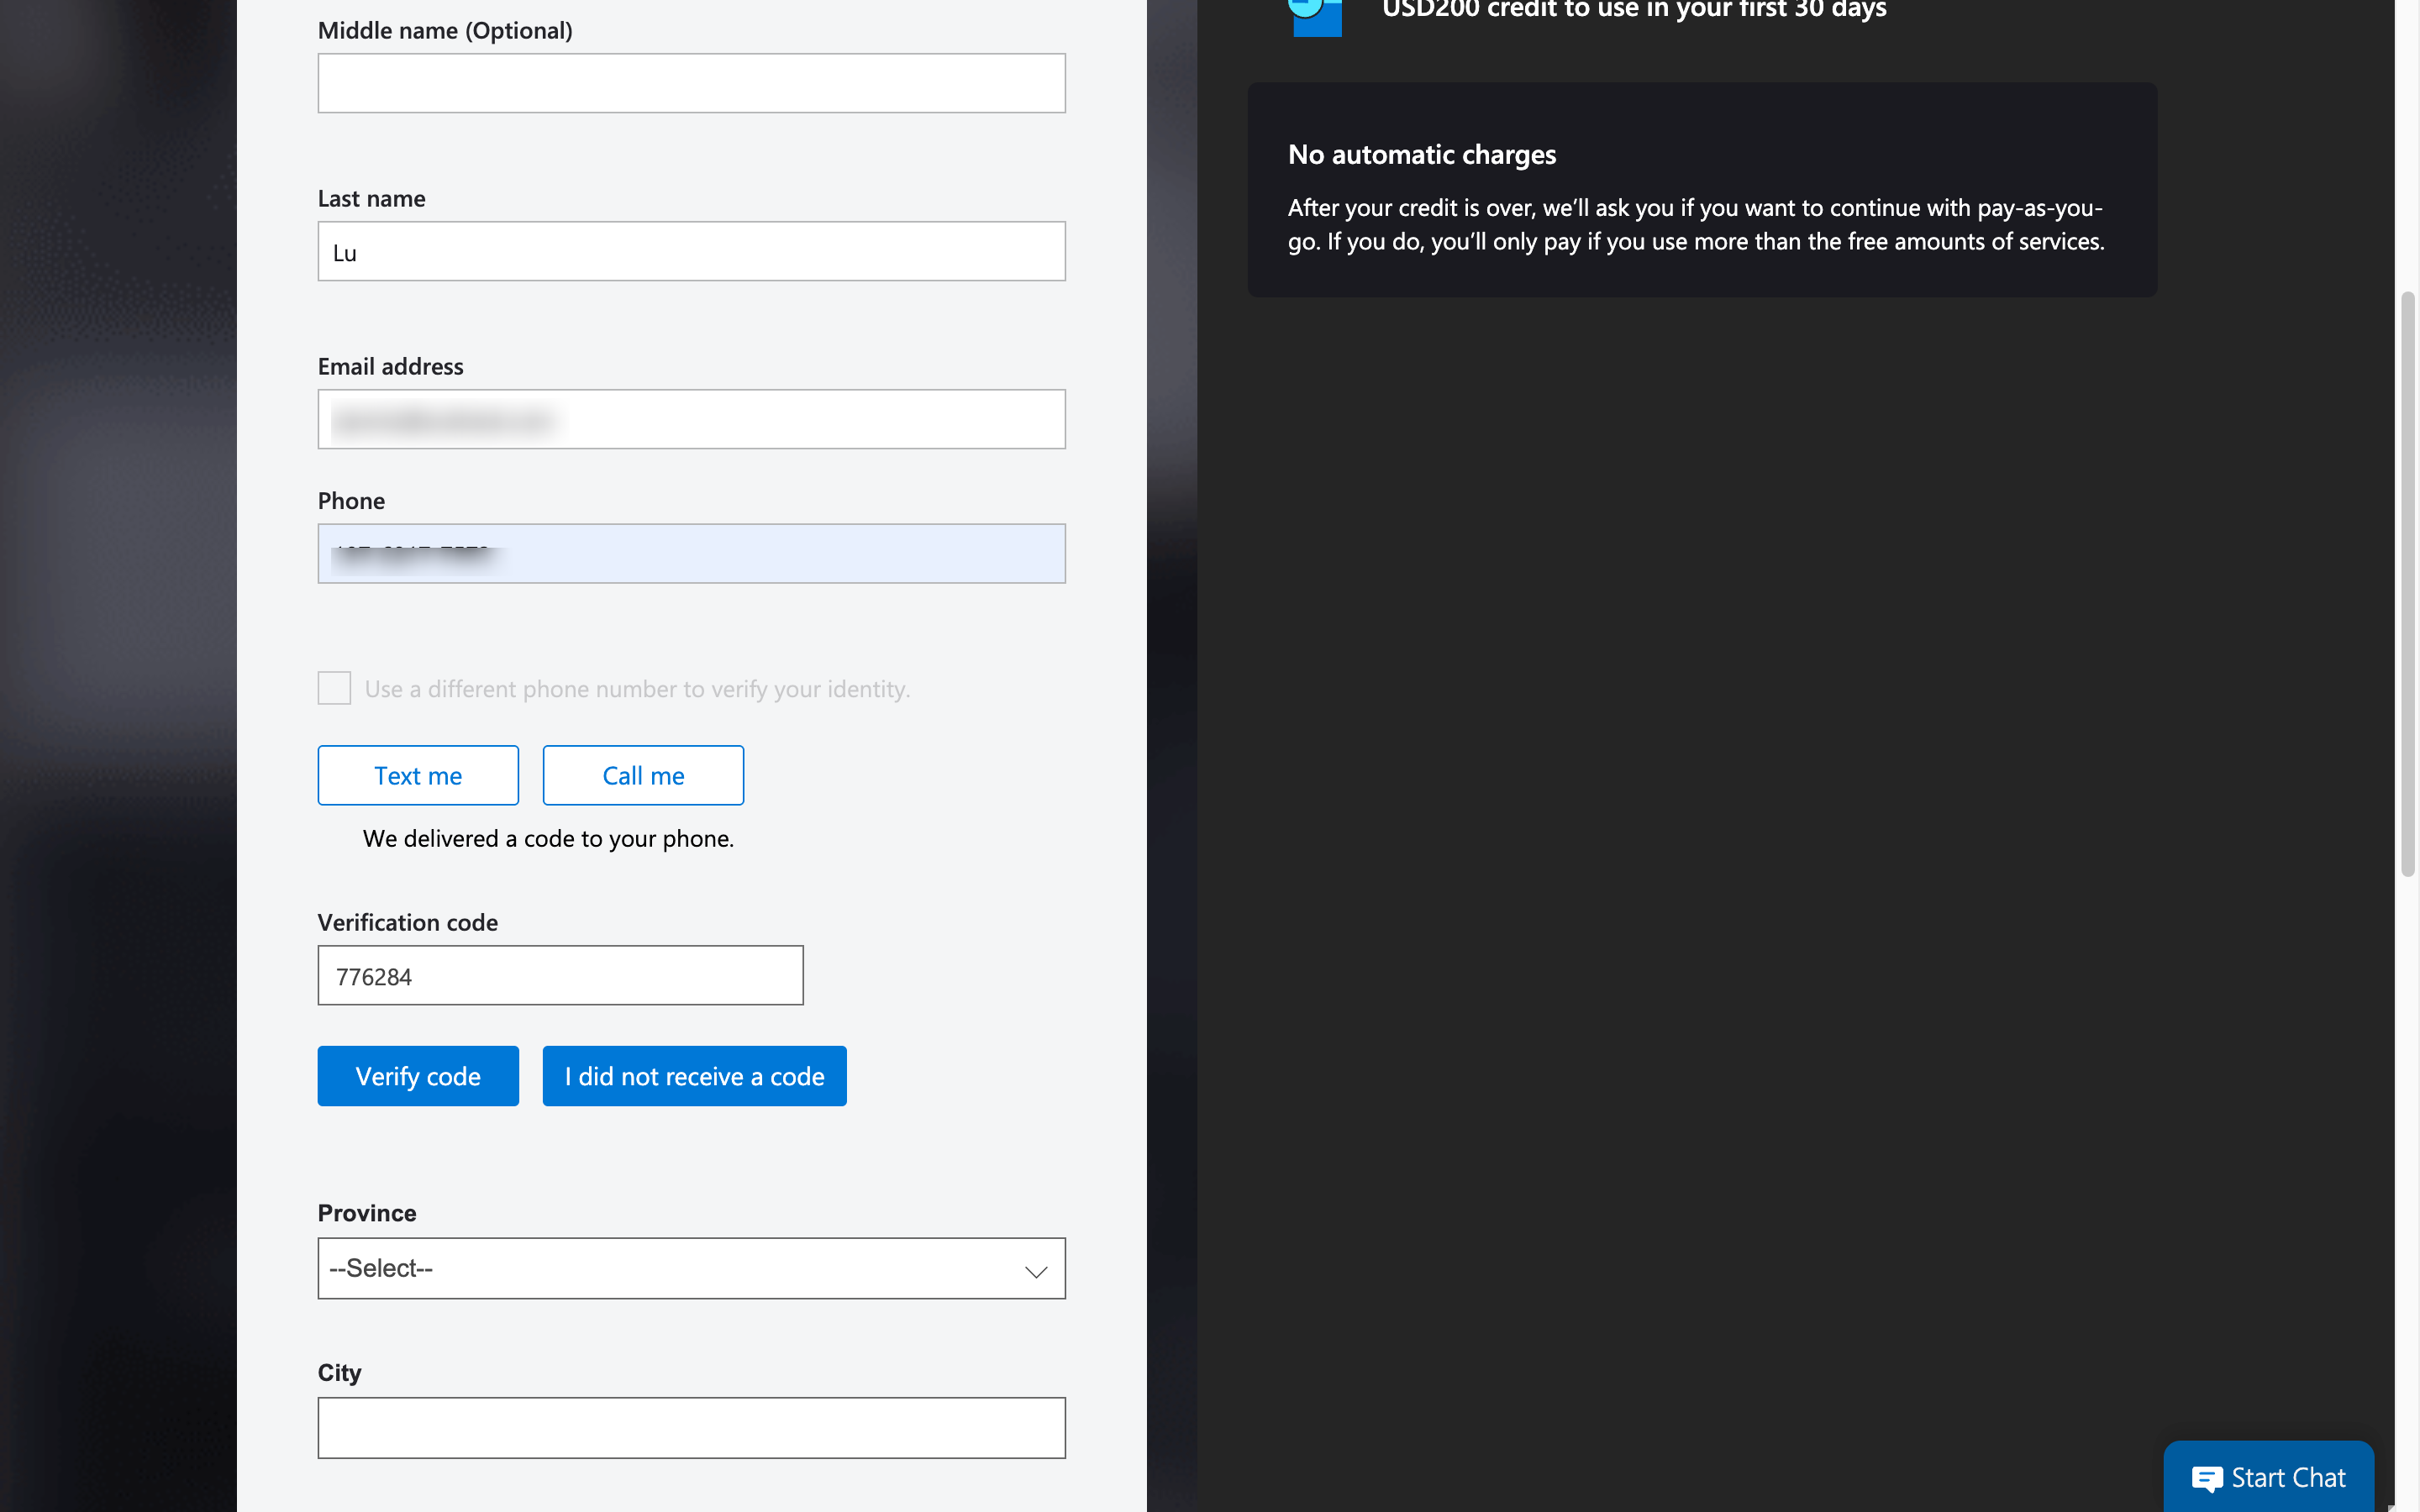
Create Tenant
-
Open https://azure.microsoft.com/zh-cn/pricing/purchase-options/azure-account?icid=azurefreeaccount and log in to your account
-
Fill in basic information and obtain verification code
- Fill in other information and continue
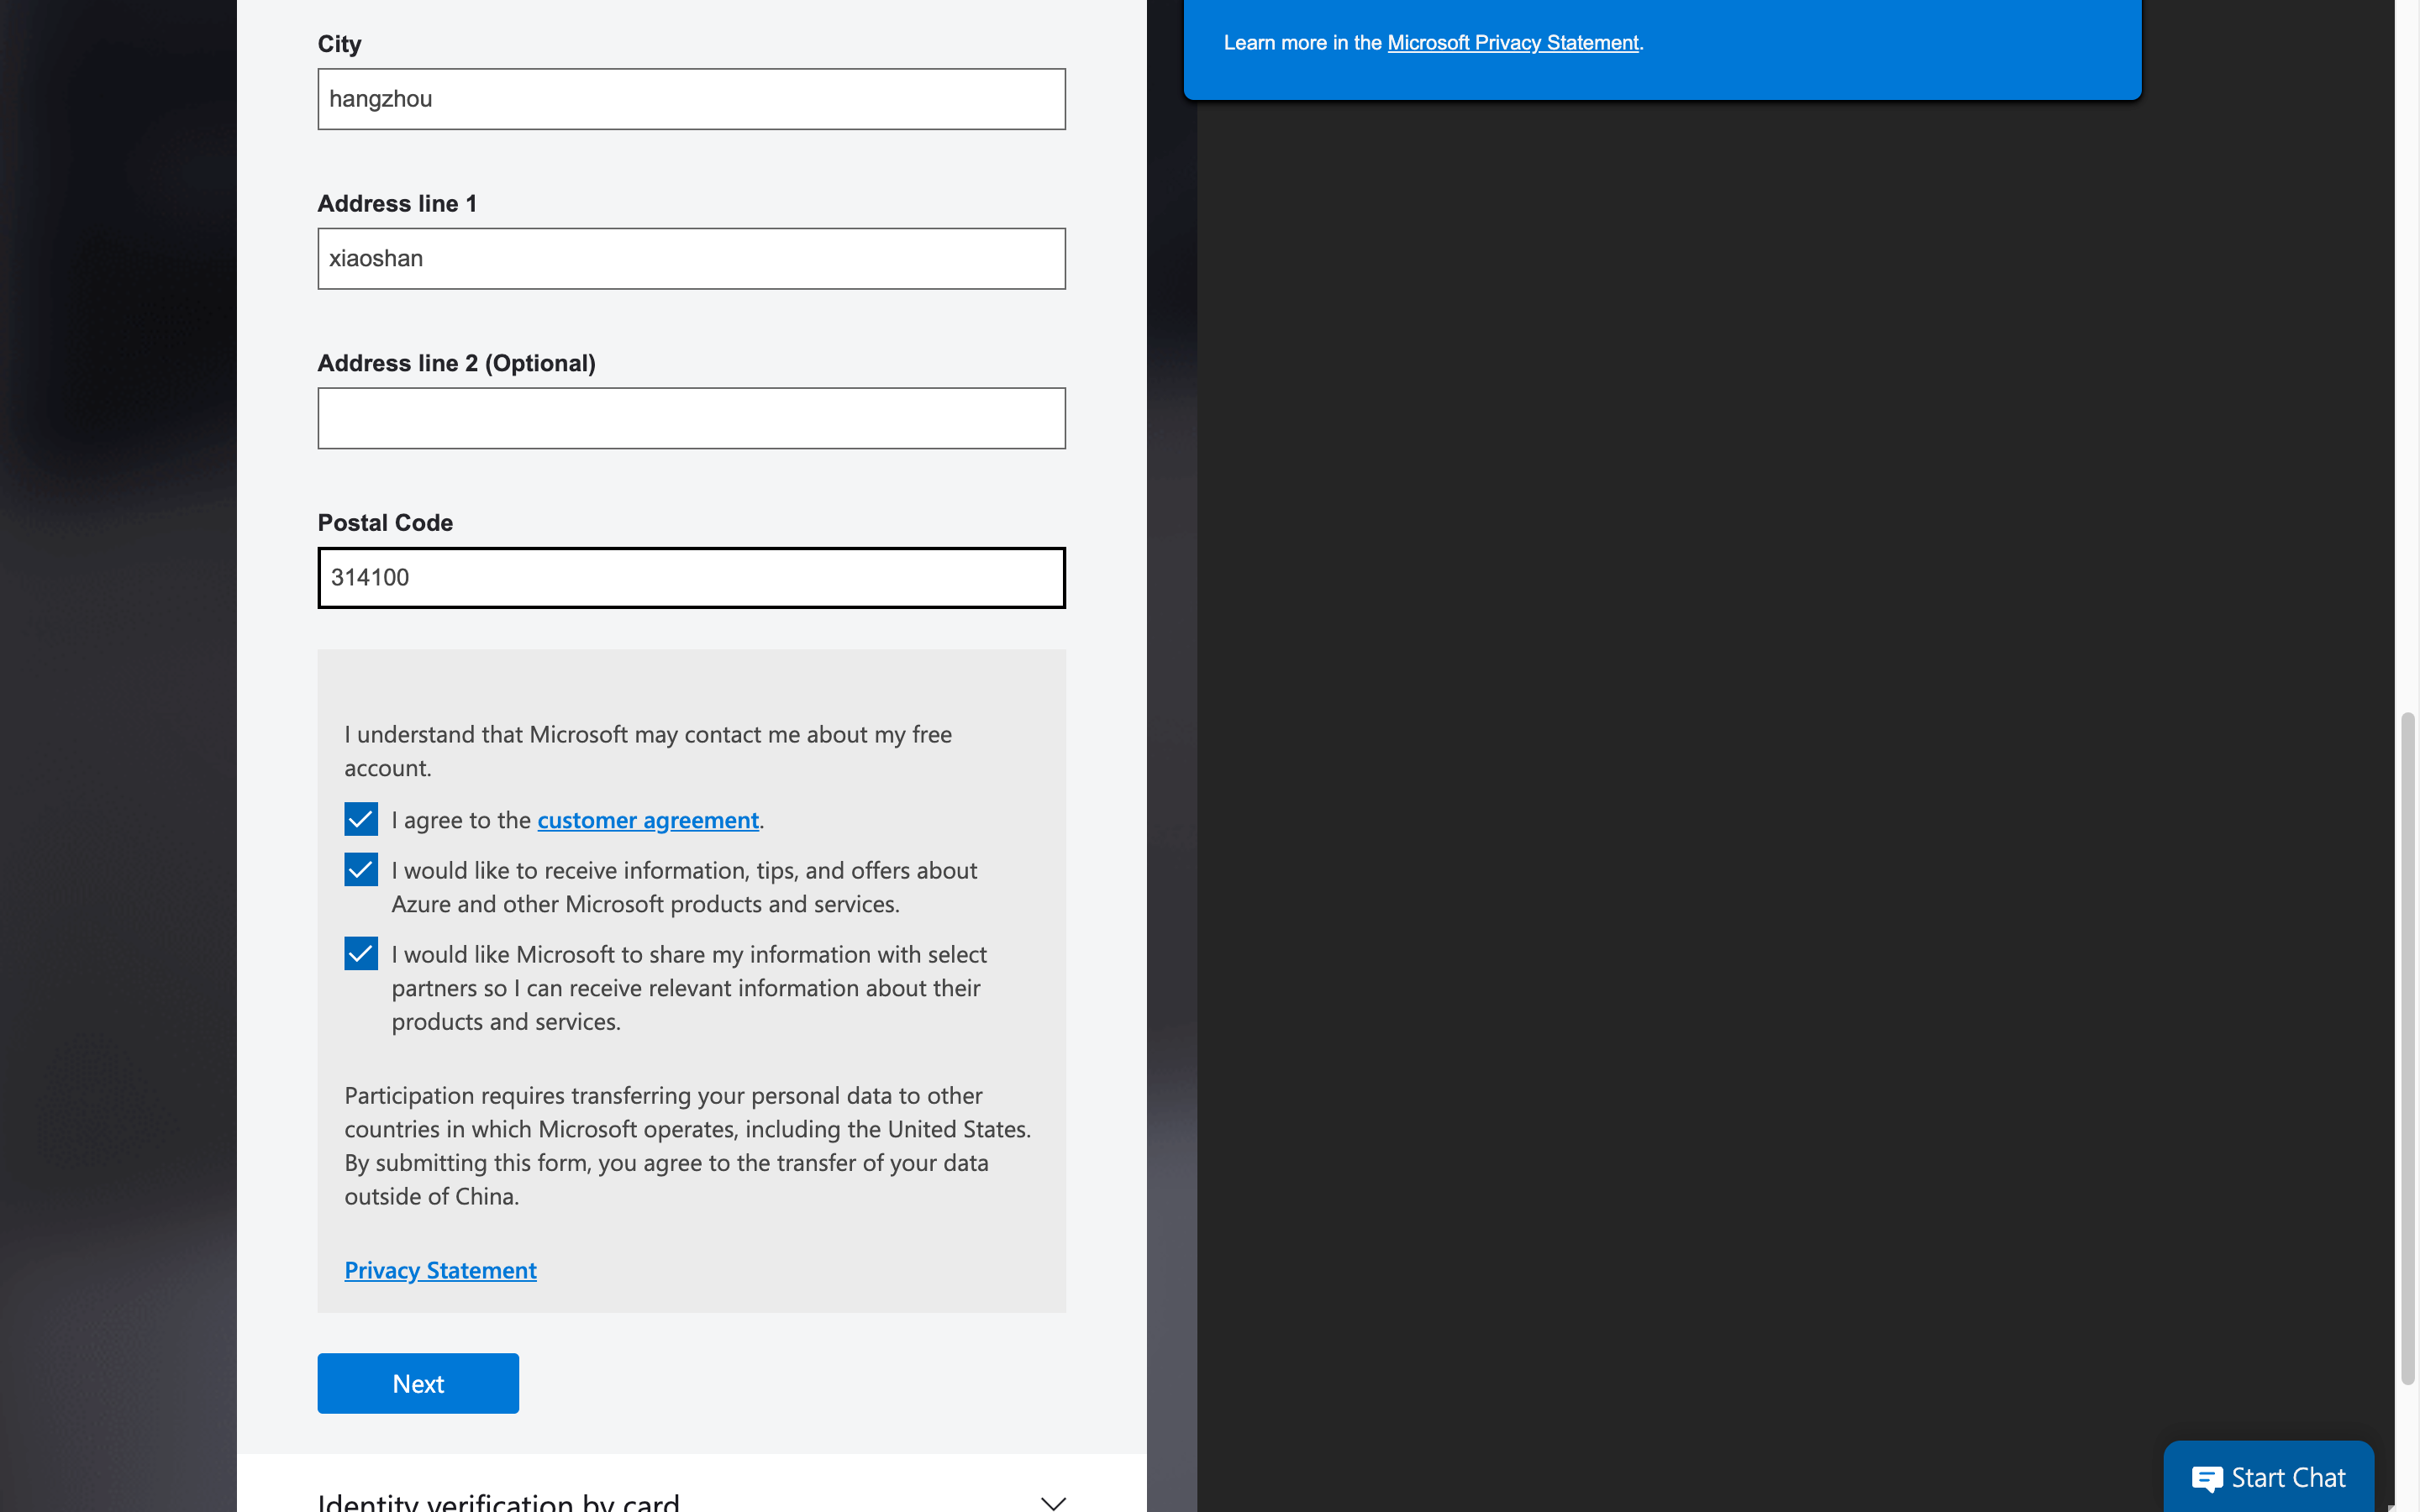
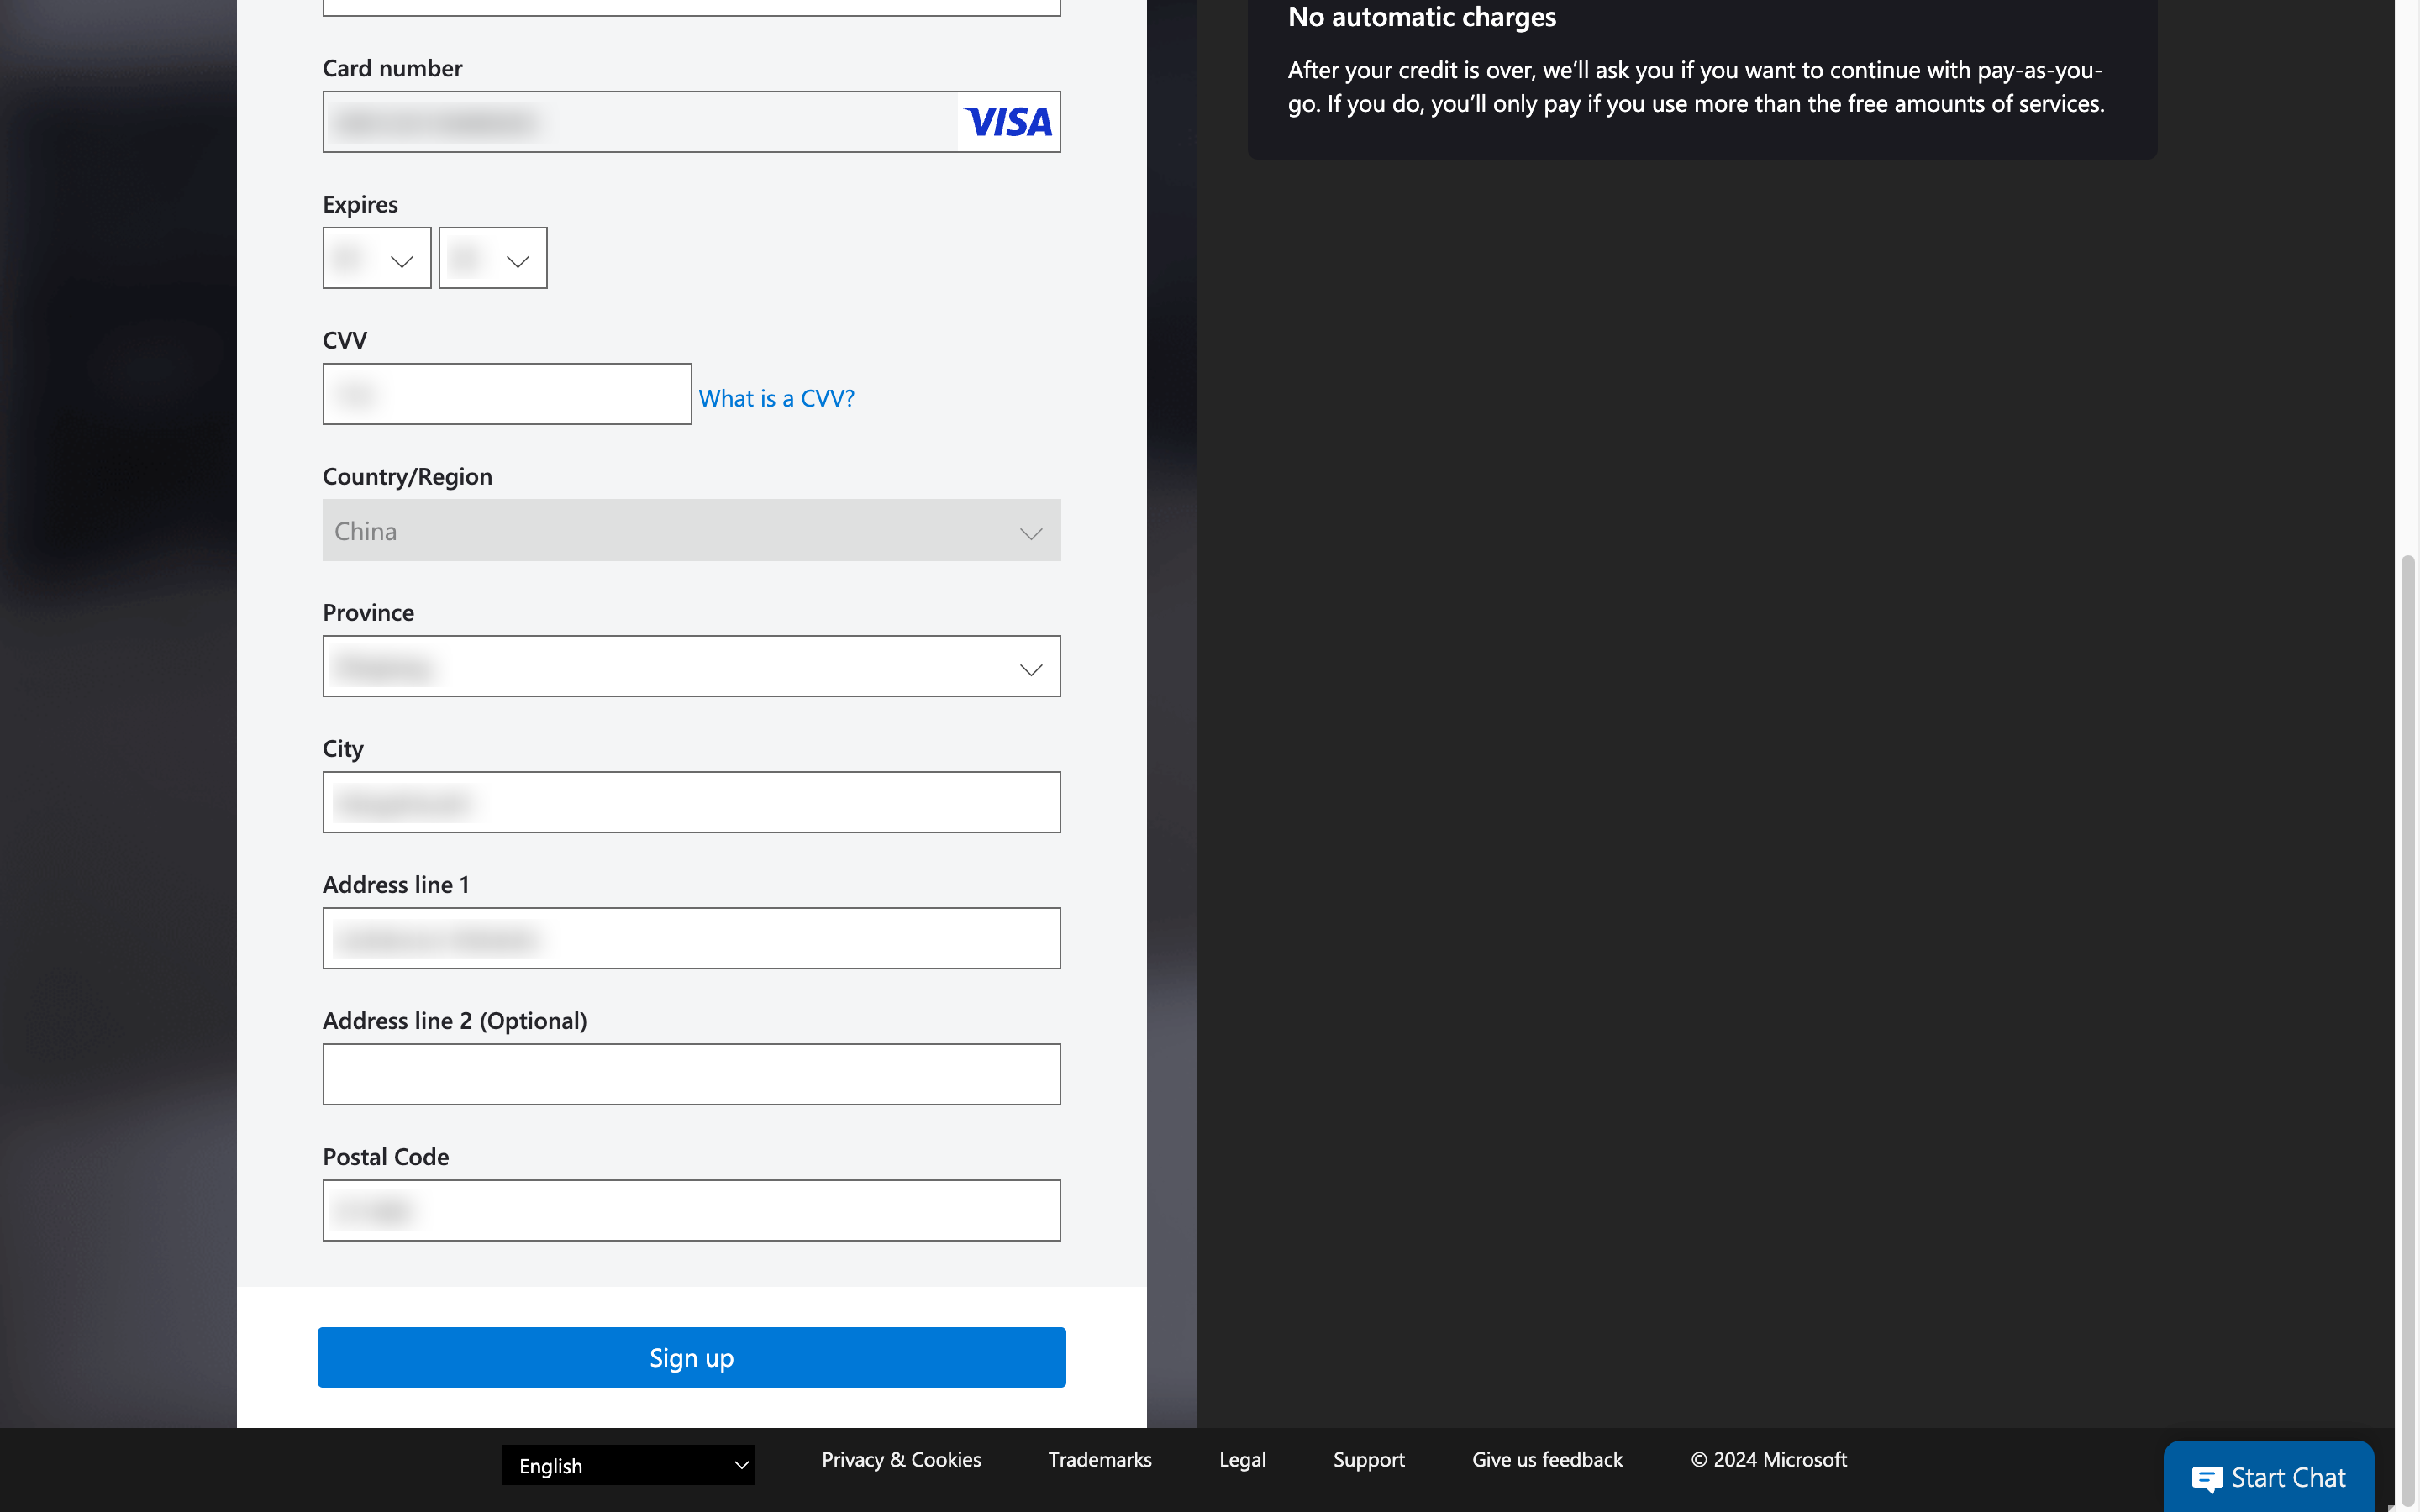
- Fill in credit card information (can be created later)
Get Client ID
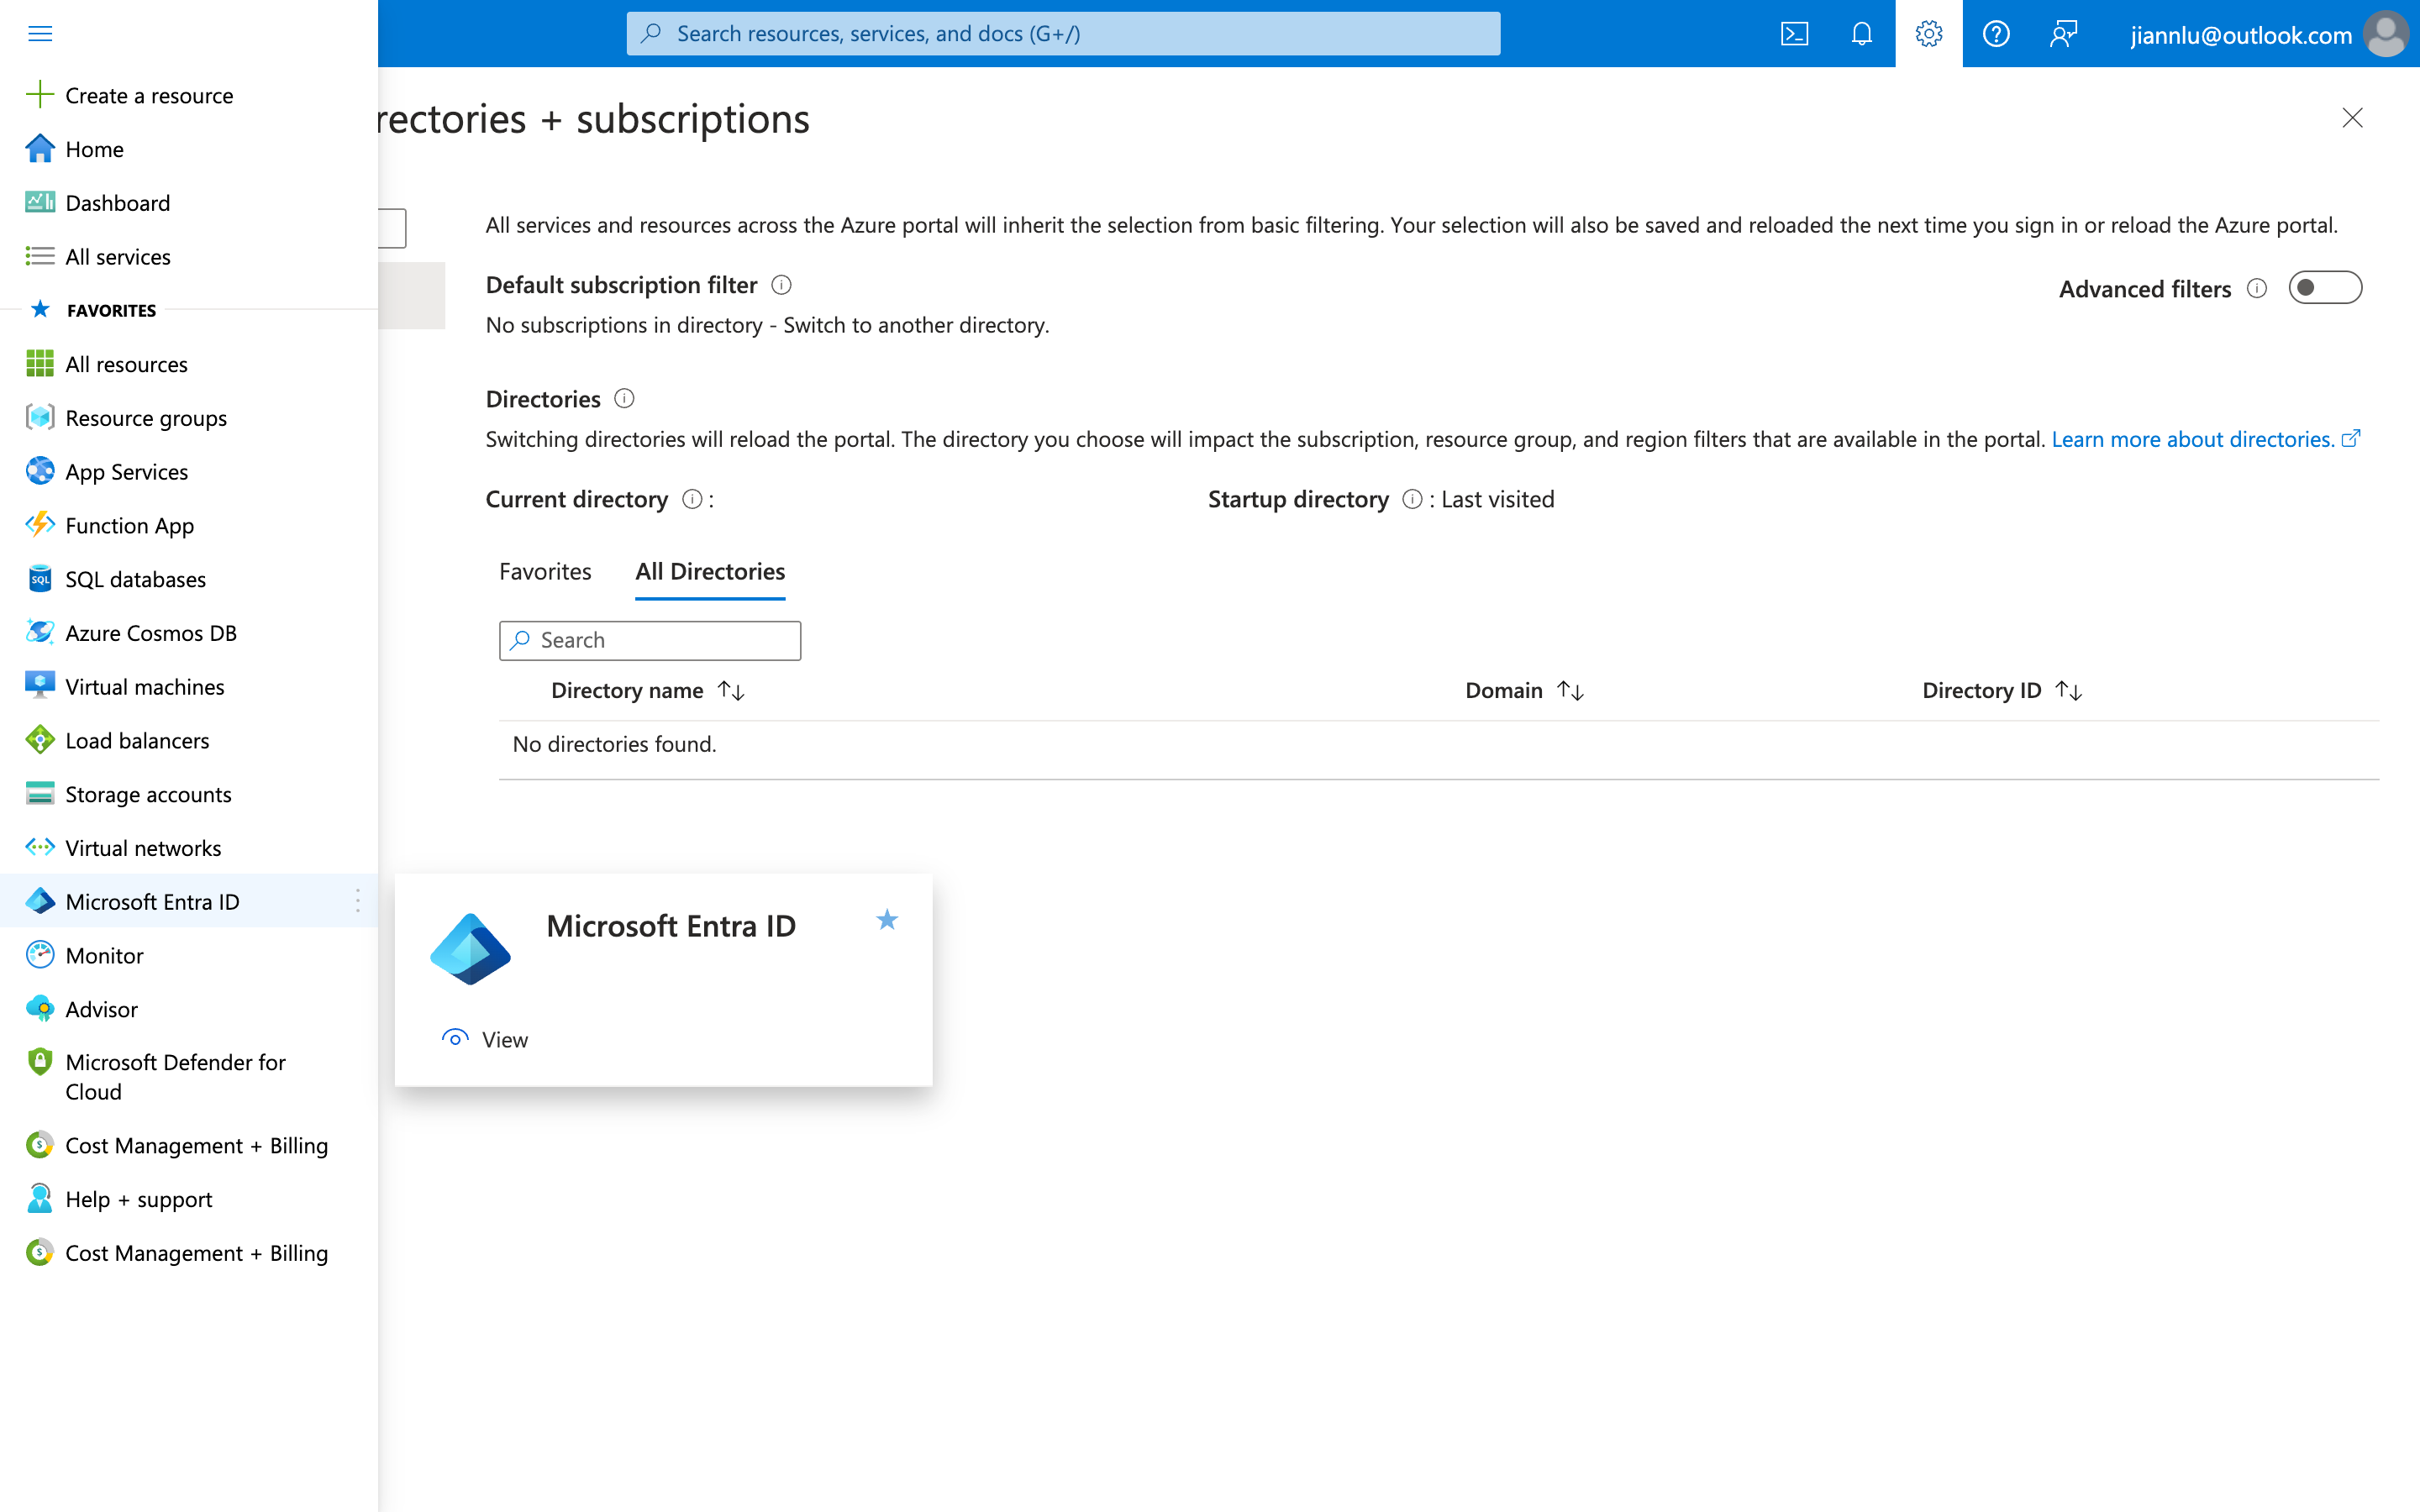
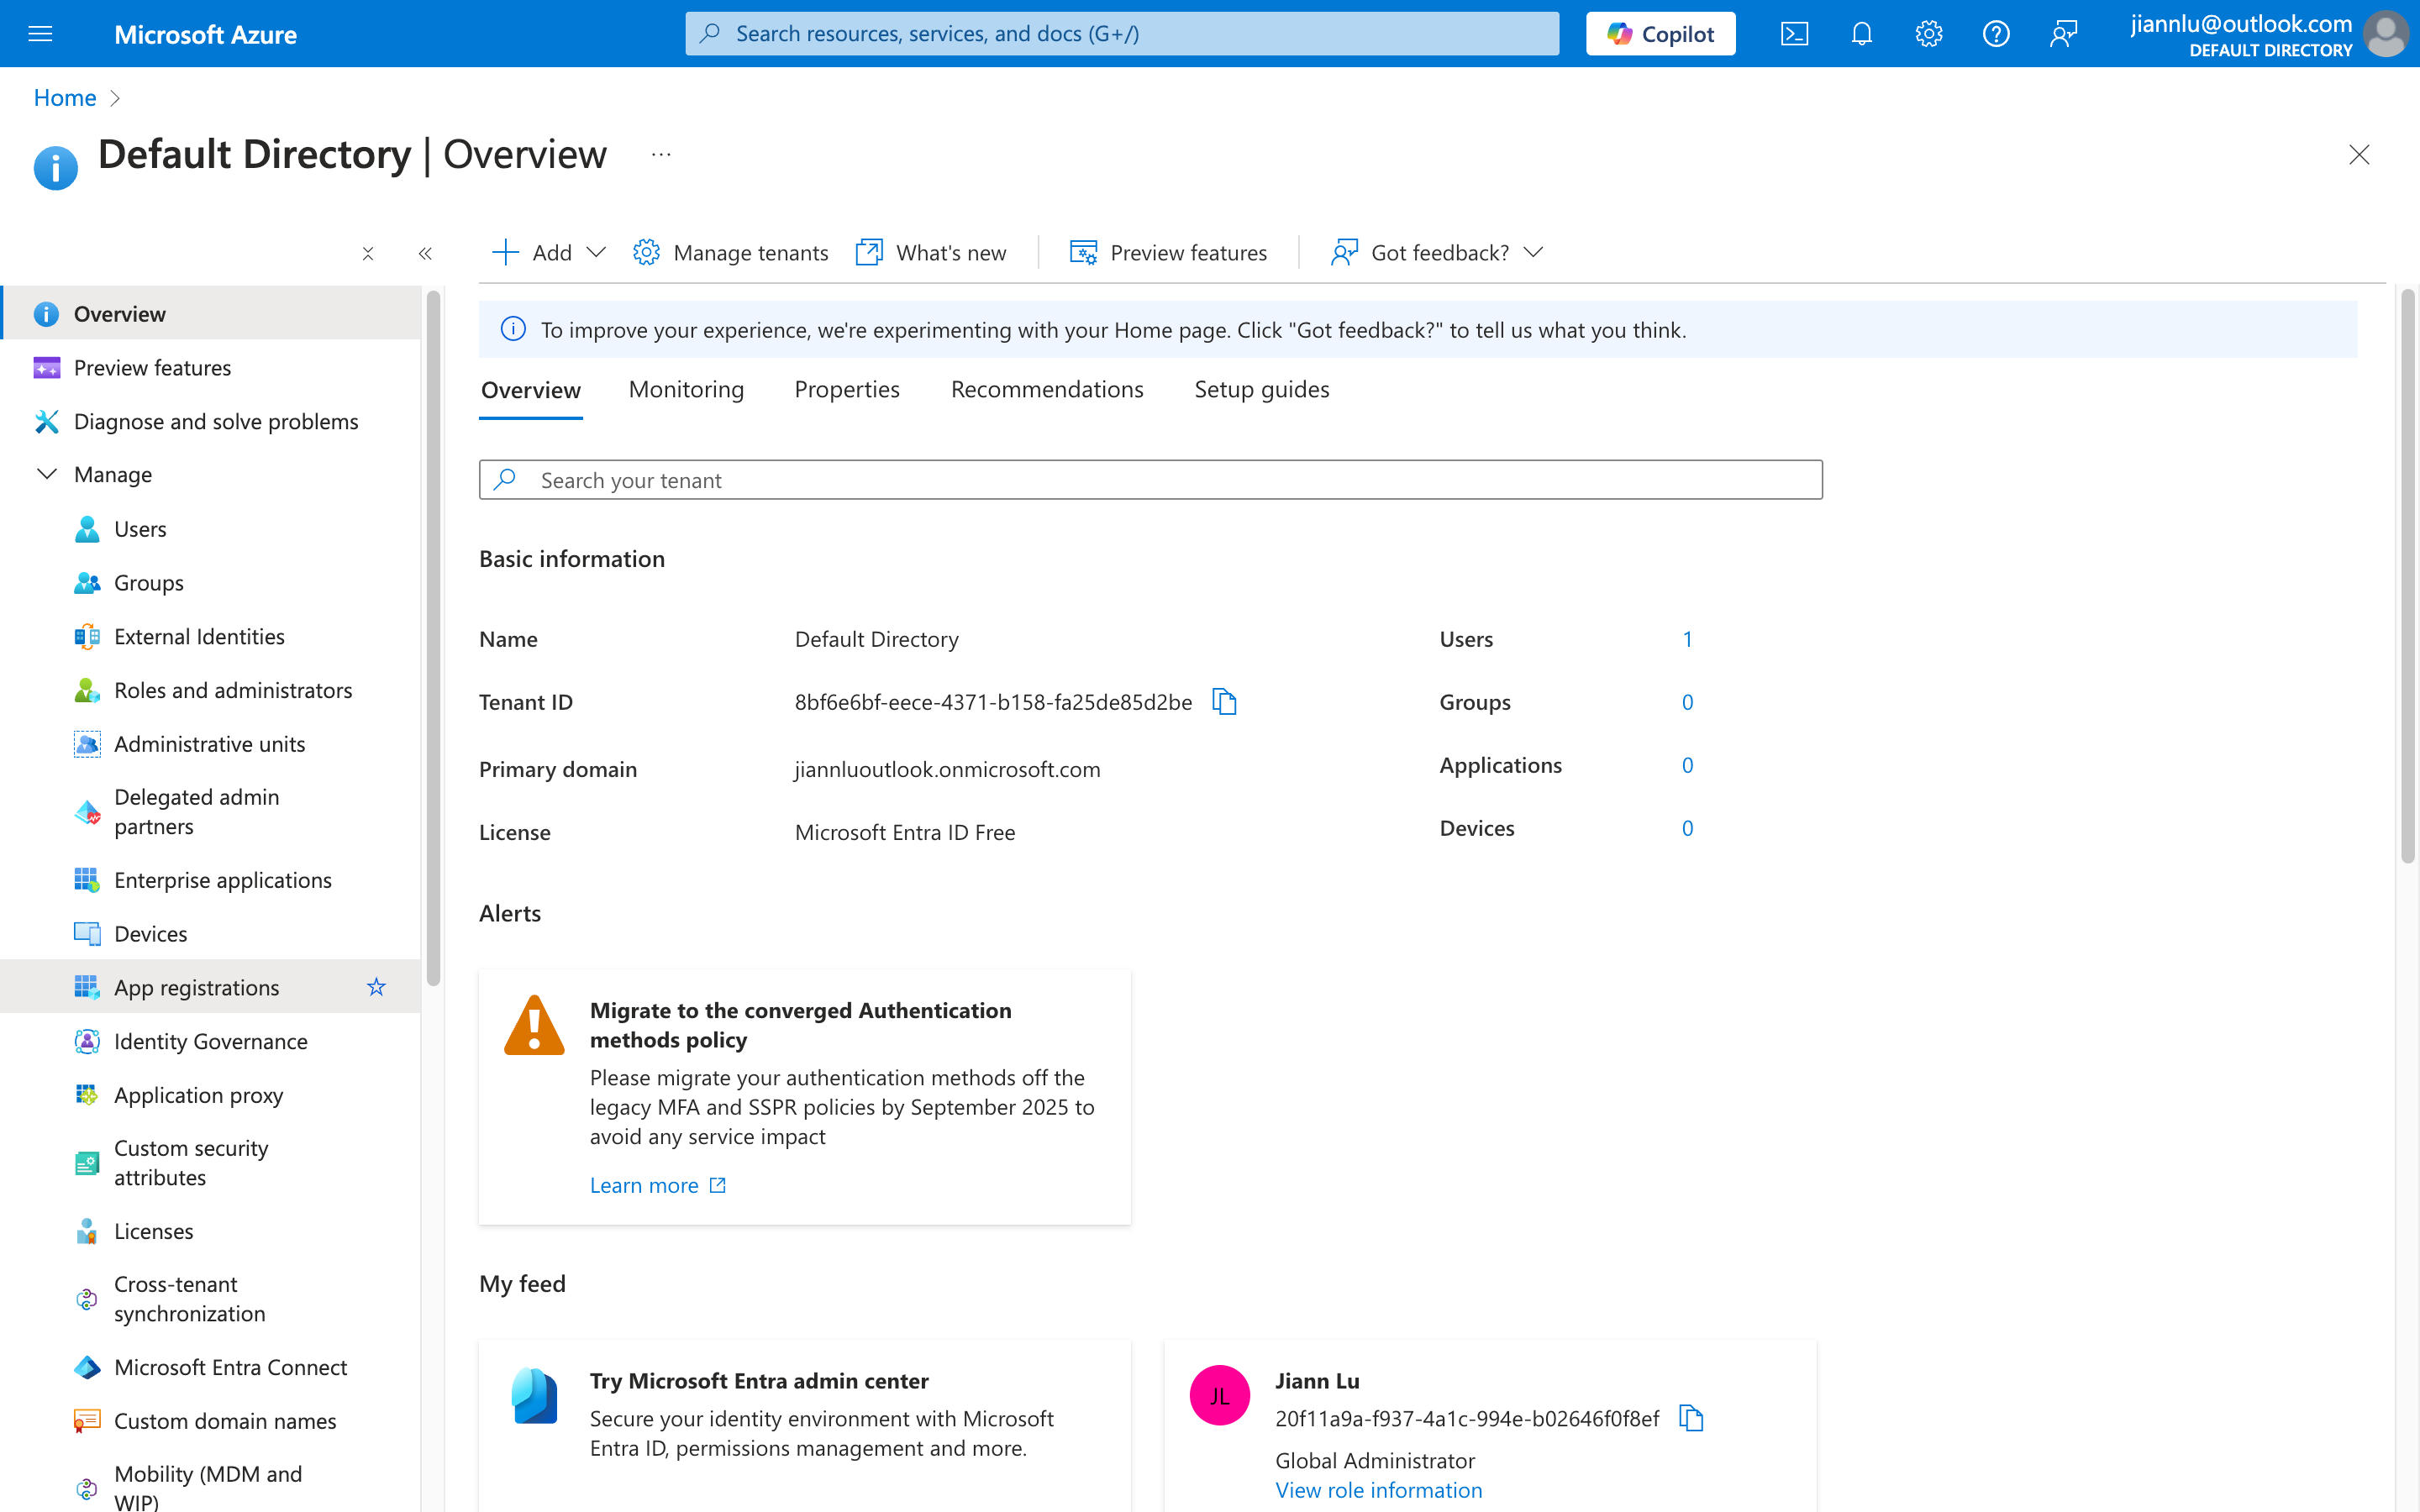
- Click the top menu and select Microsoft Entra ID
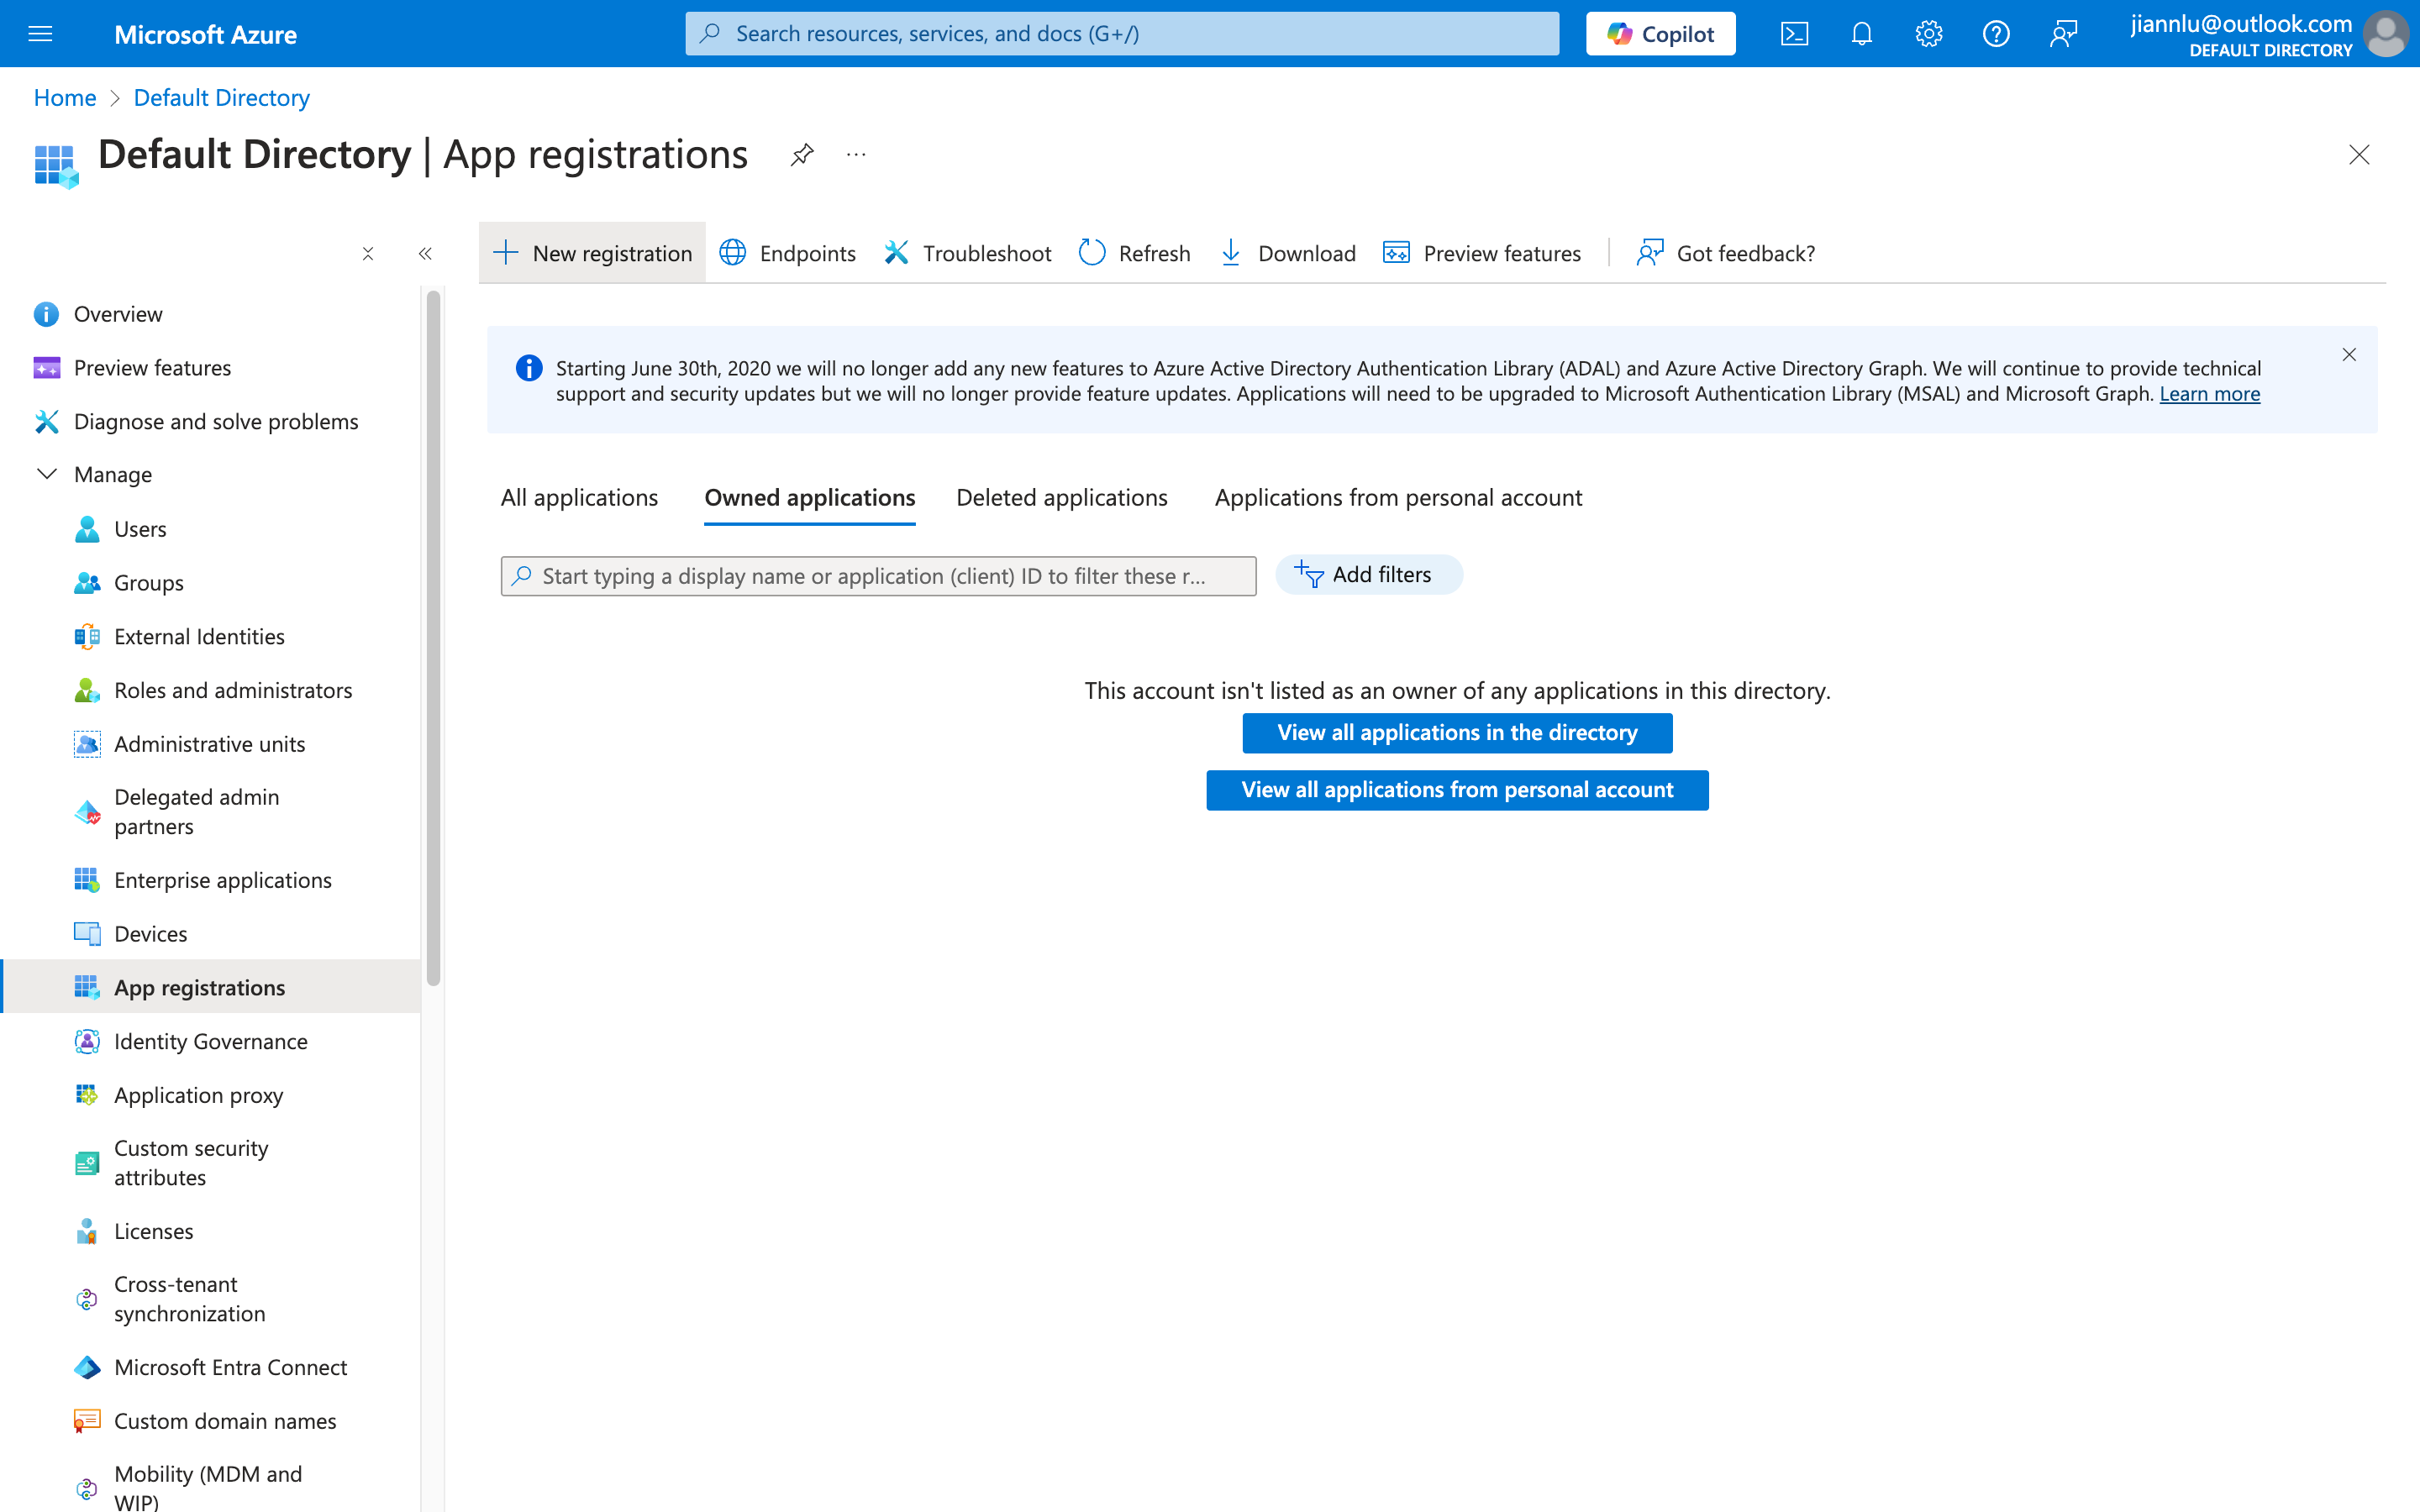
- Select App registrations on the left
- Click New registration at the top
- Fill in the information and submit
The name can be anything, select account types as shown in the figure, and Redirect URI can be left blank for now
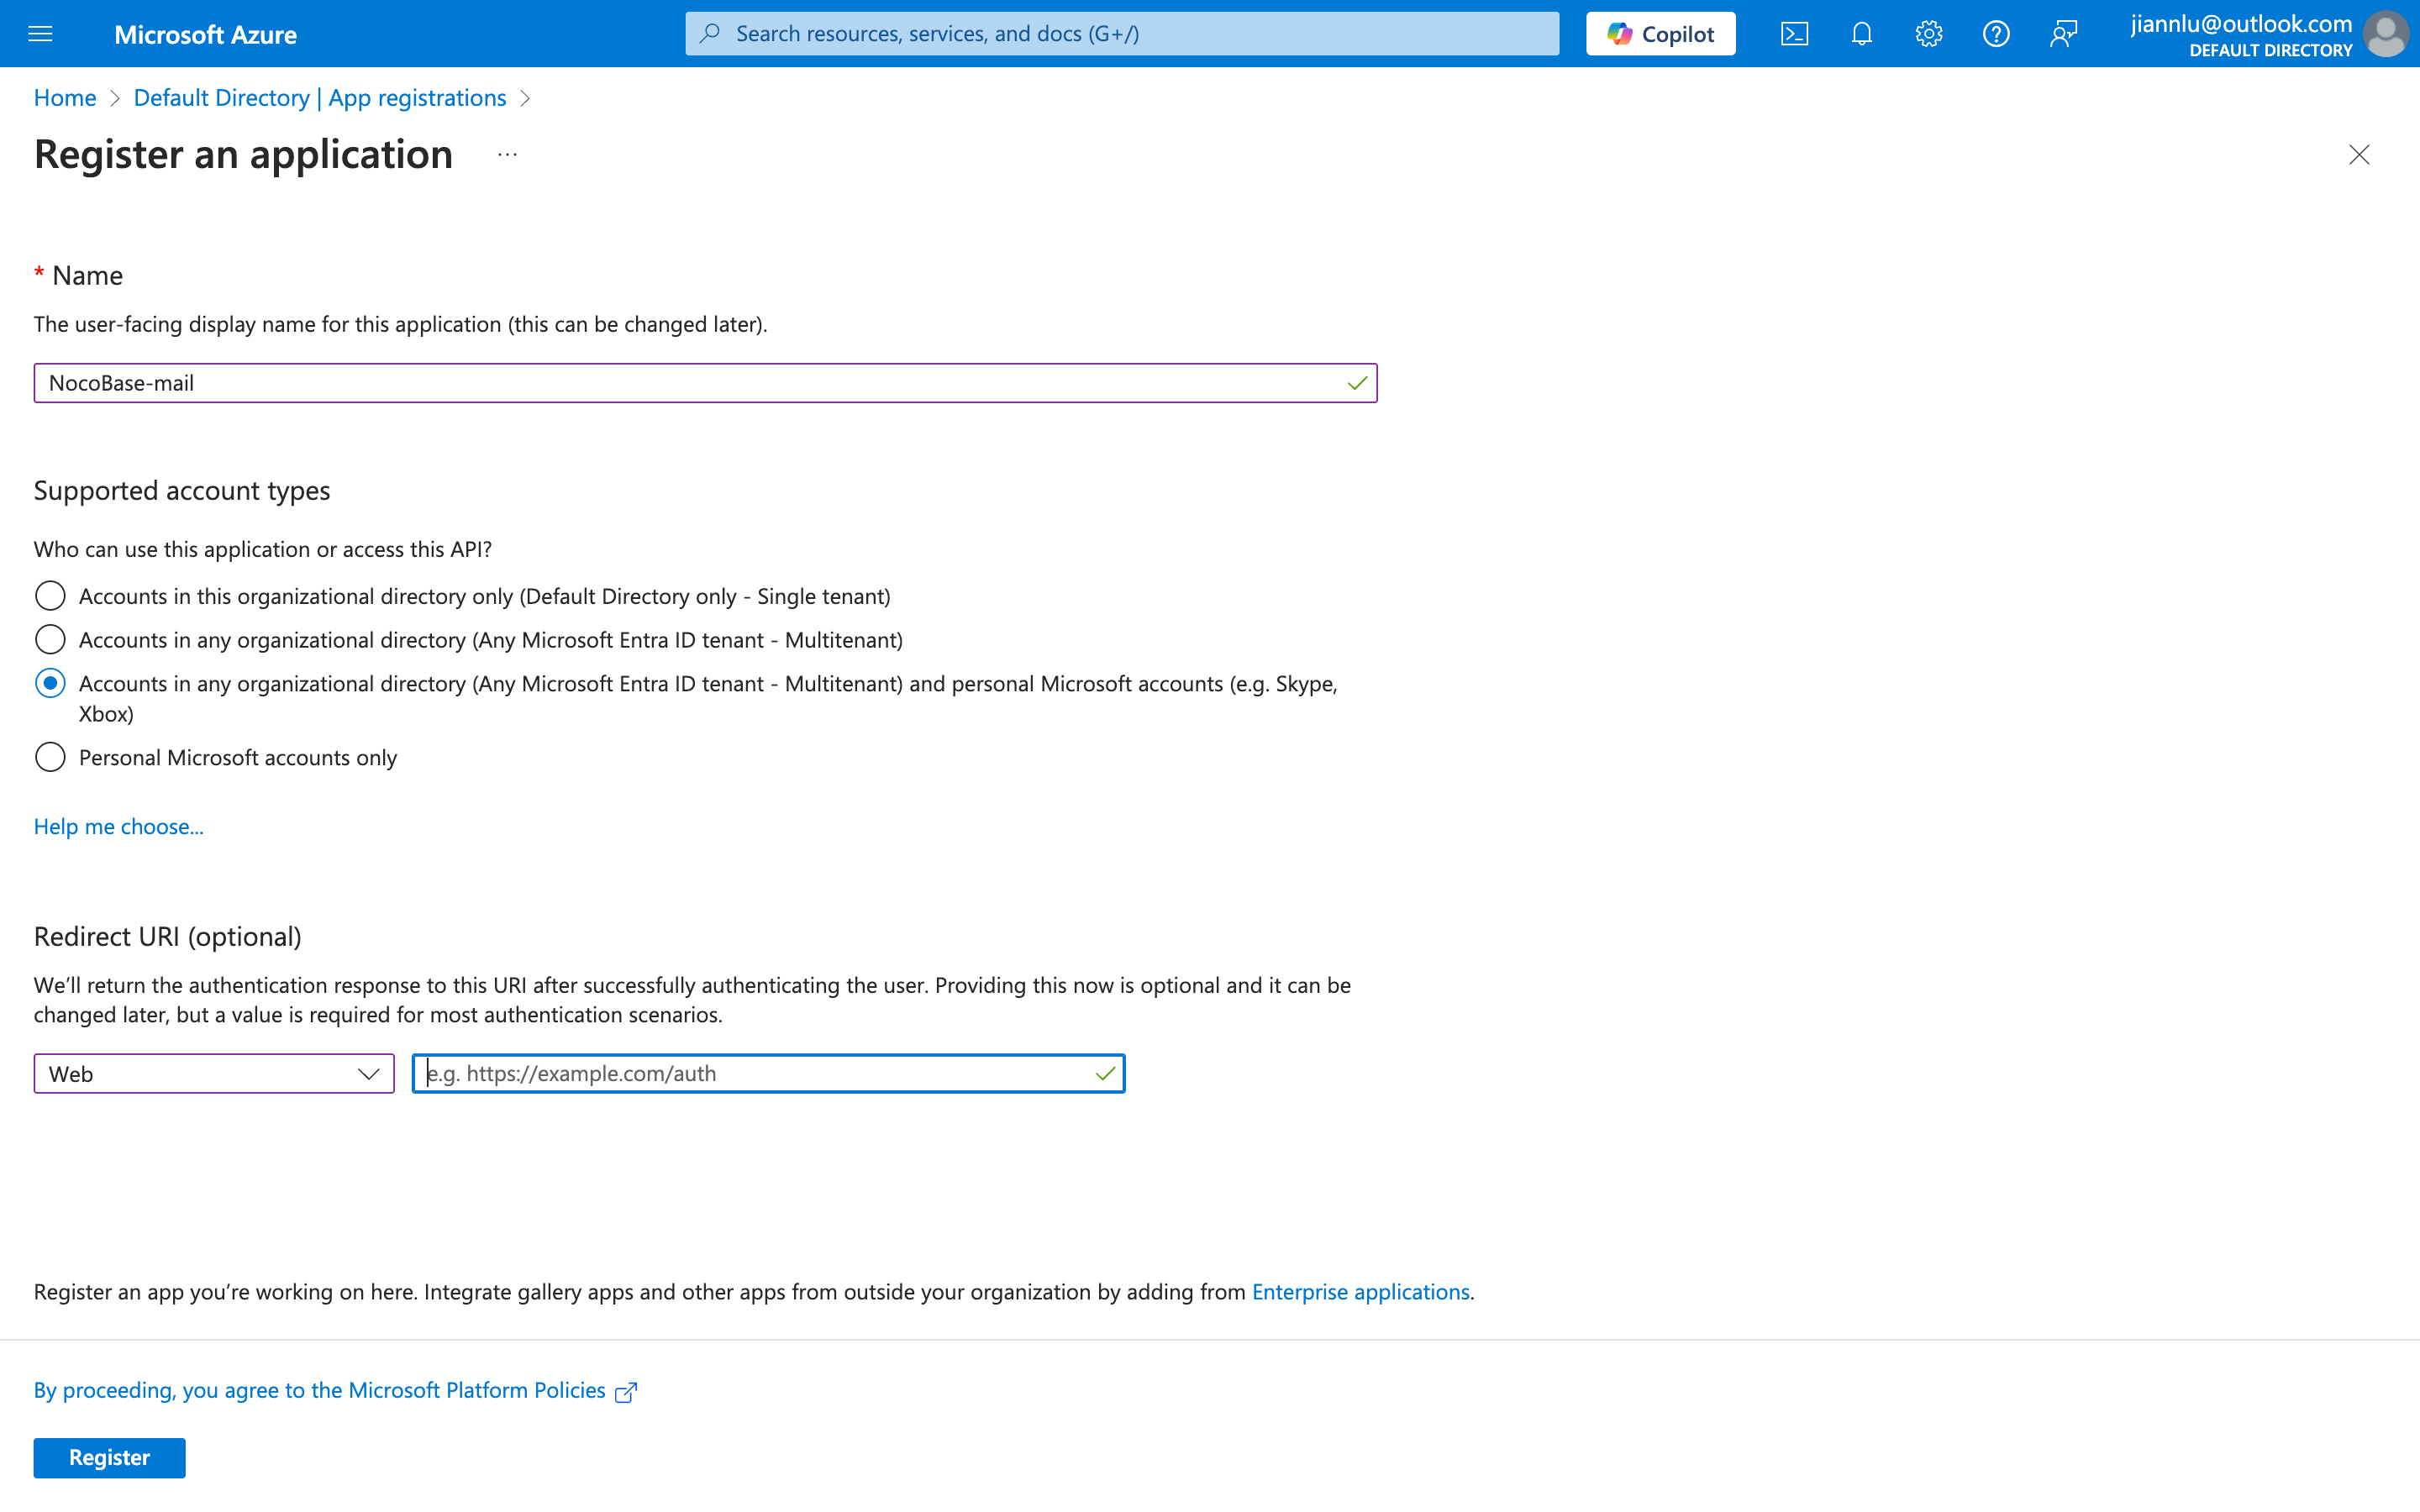
- Obtain the Client ID

API Permissions
- Open the API permissions menu on the right
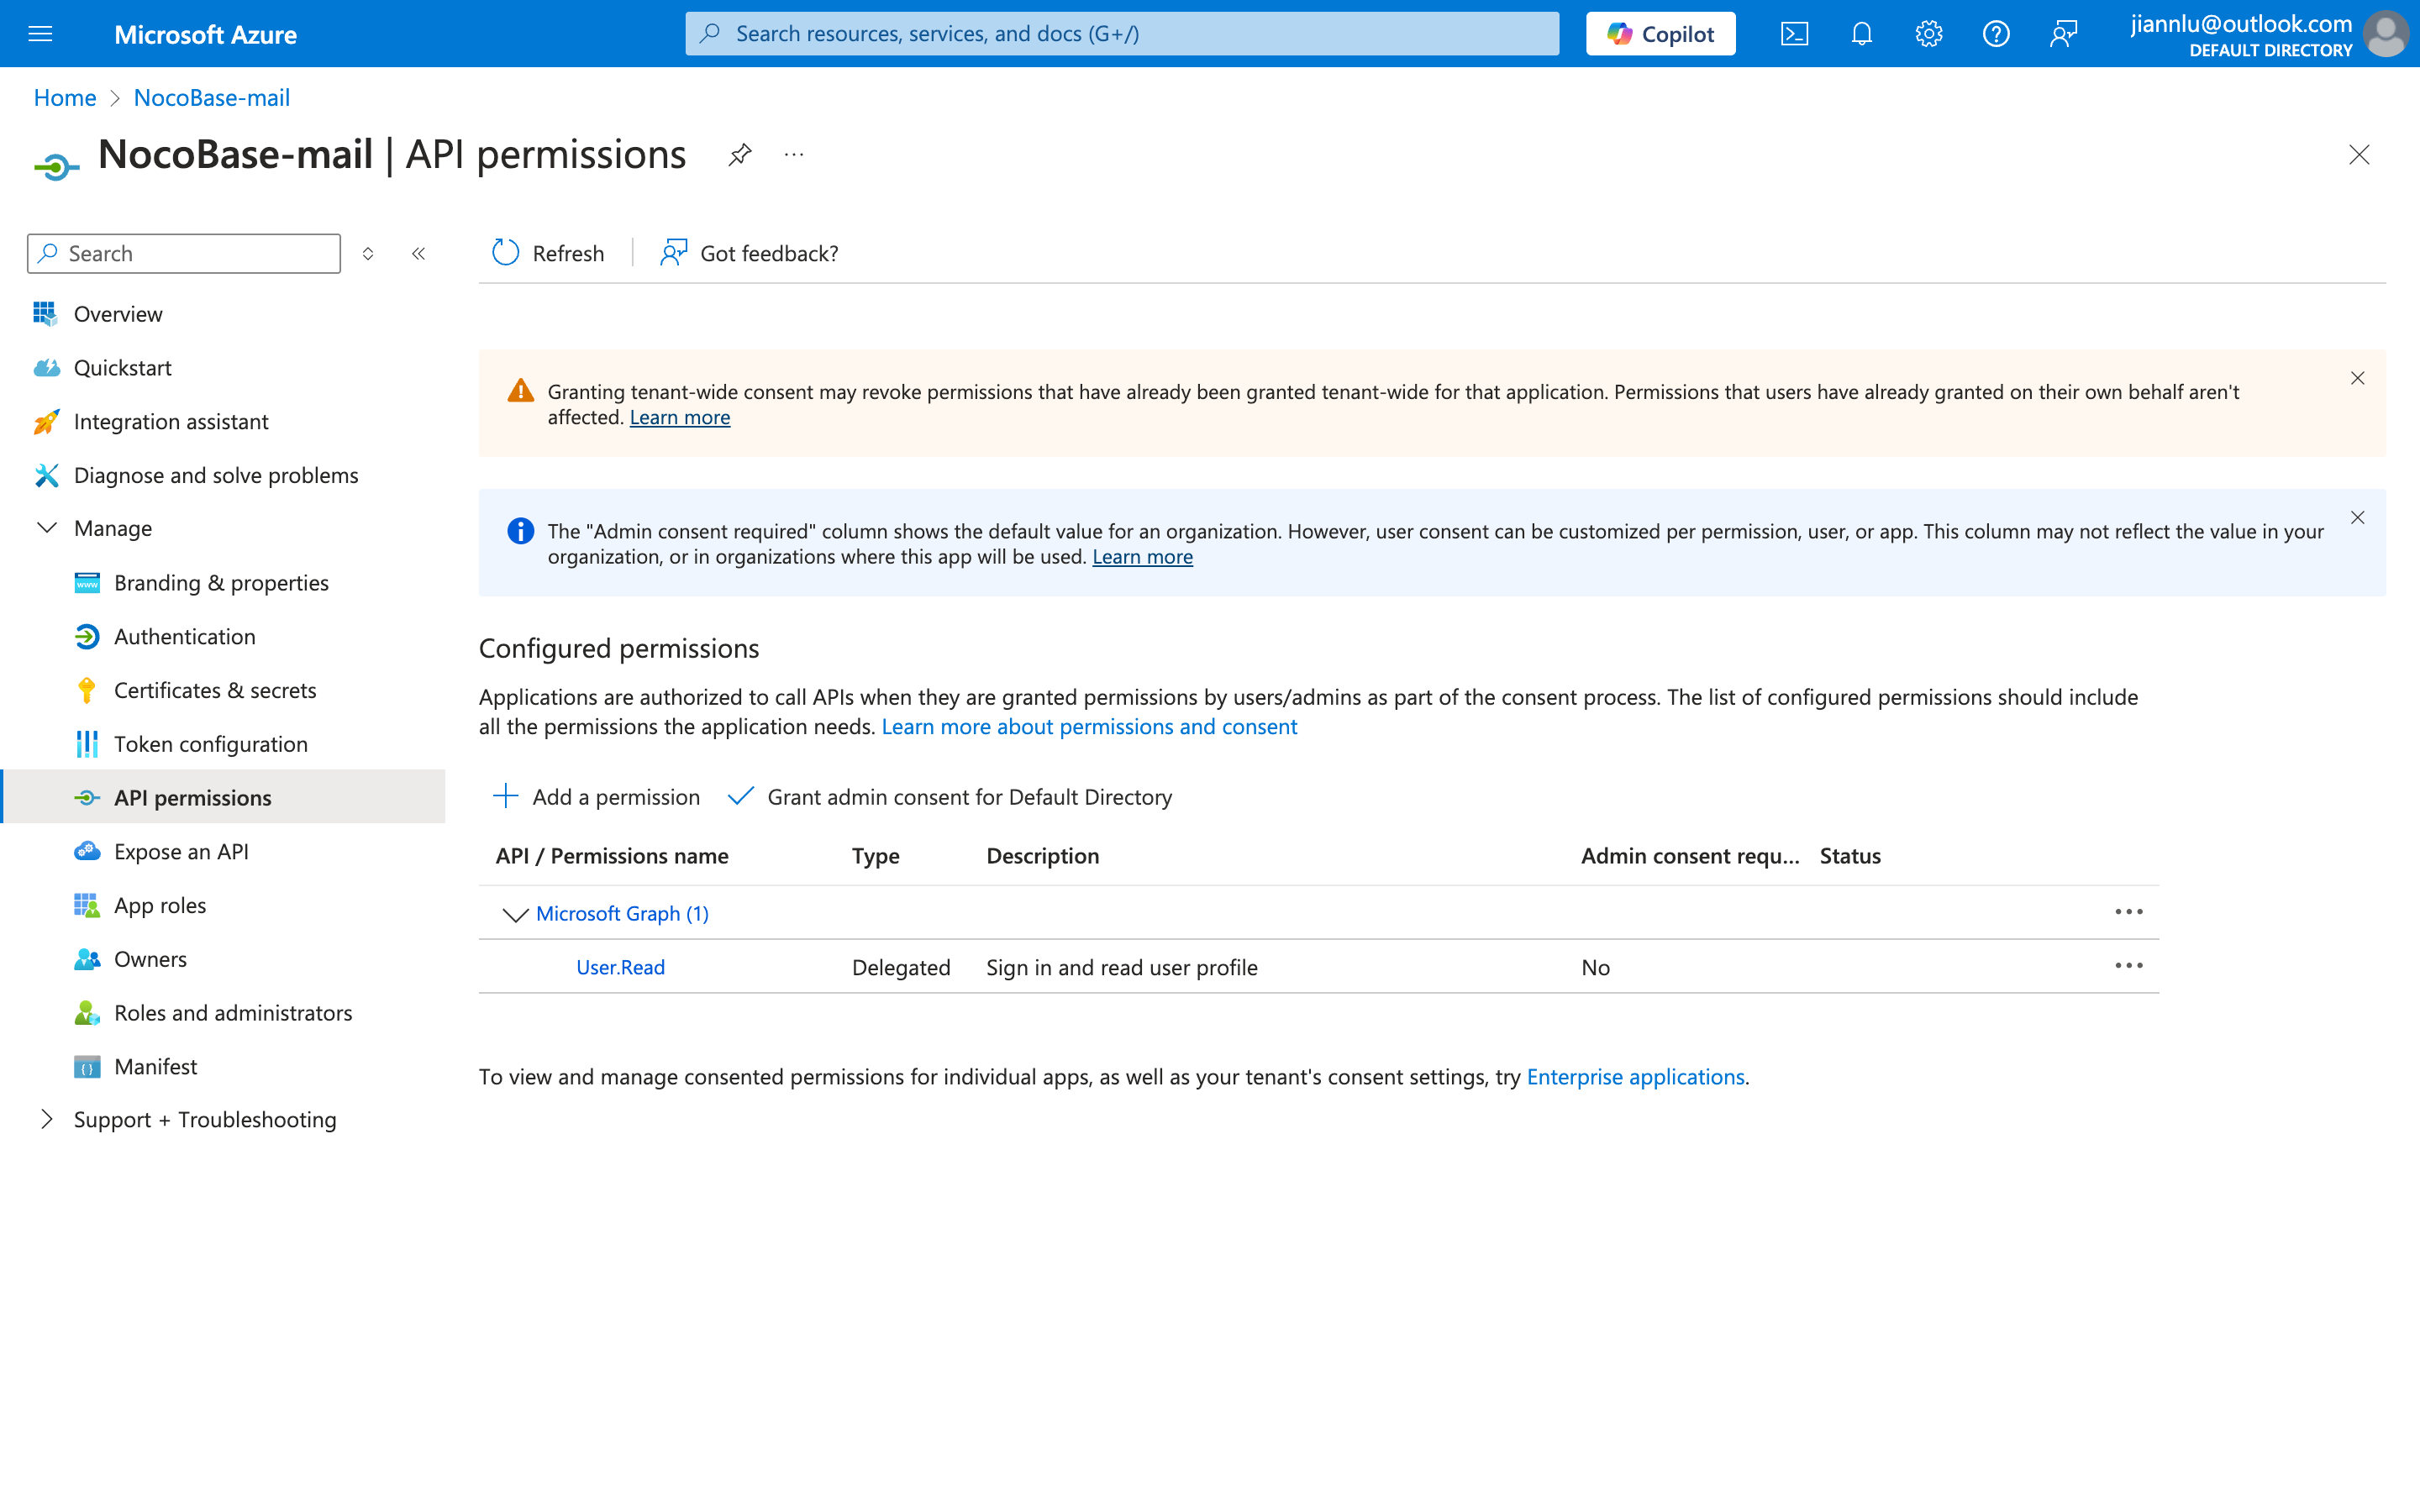
- Click the Add a permission button
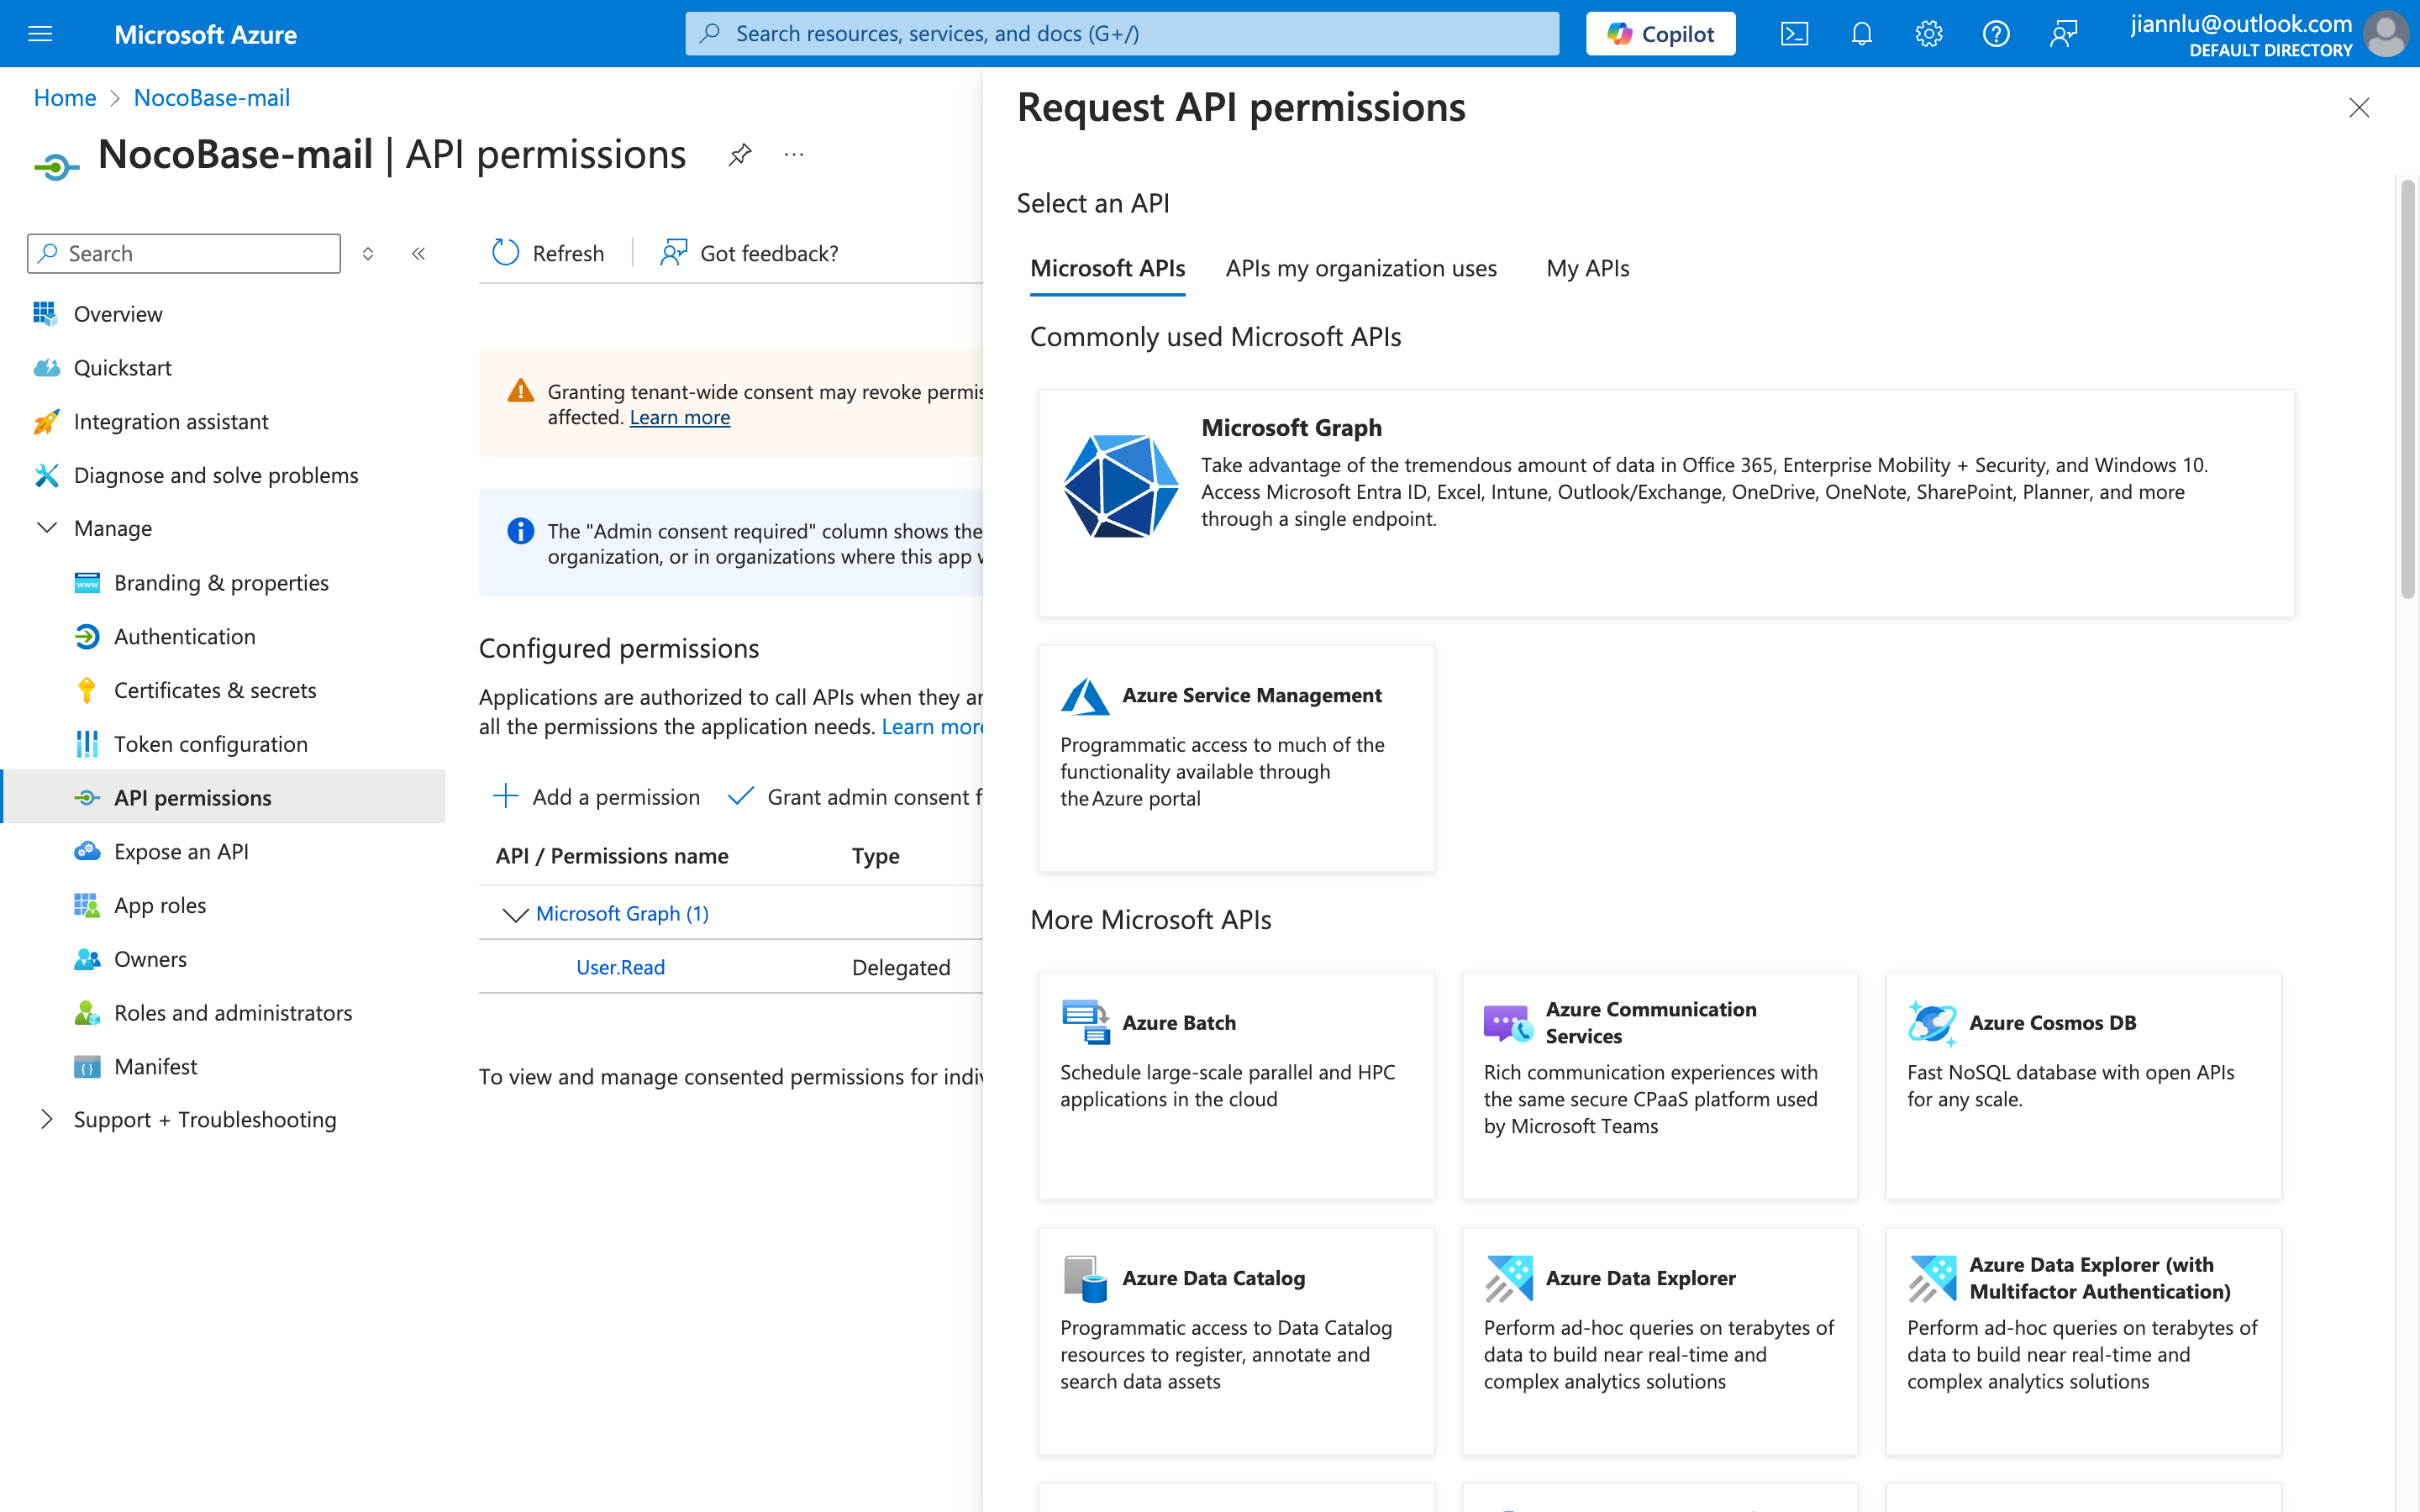
- Click Microsoft Graph
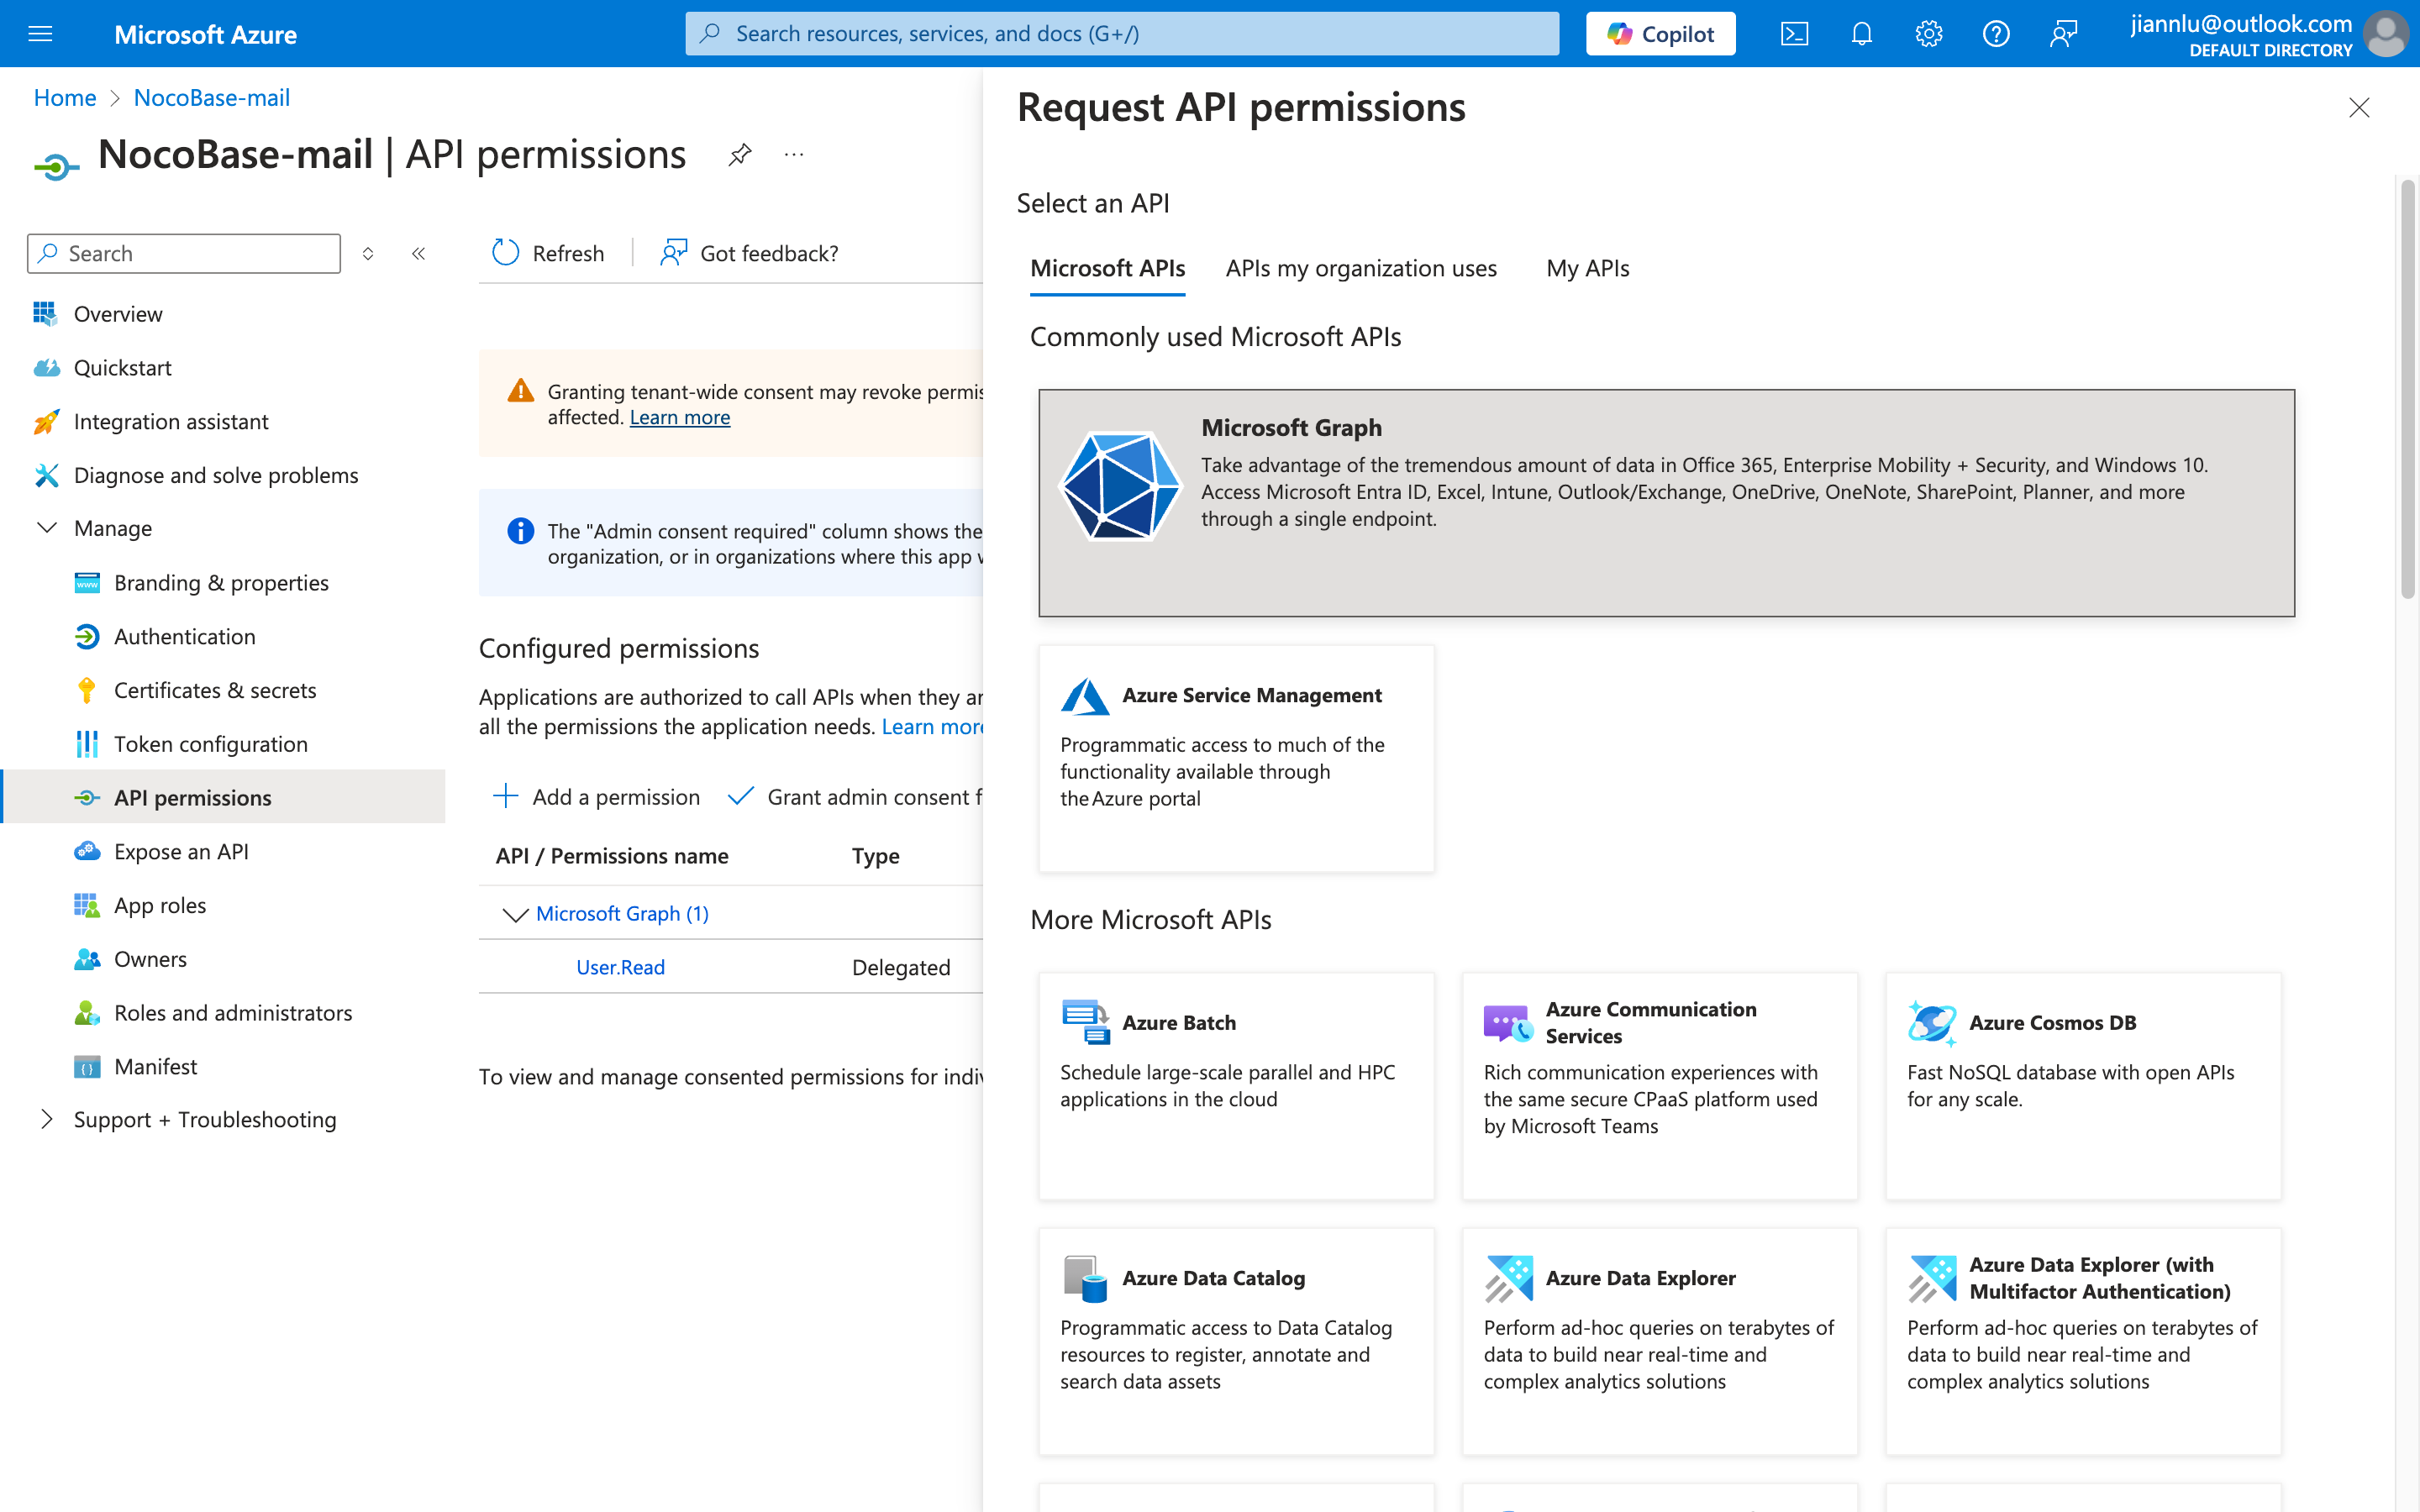
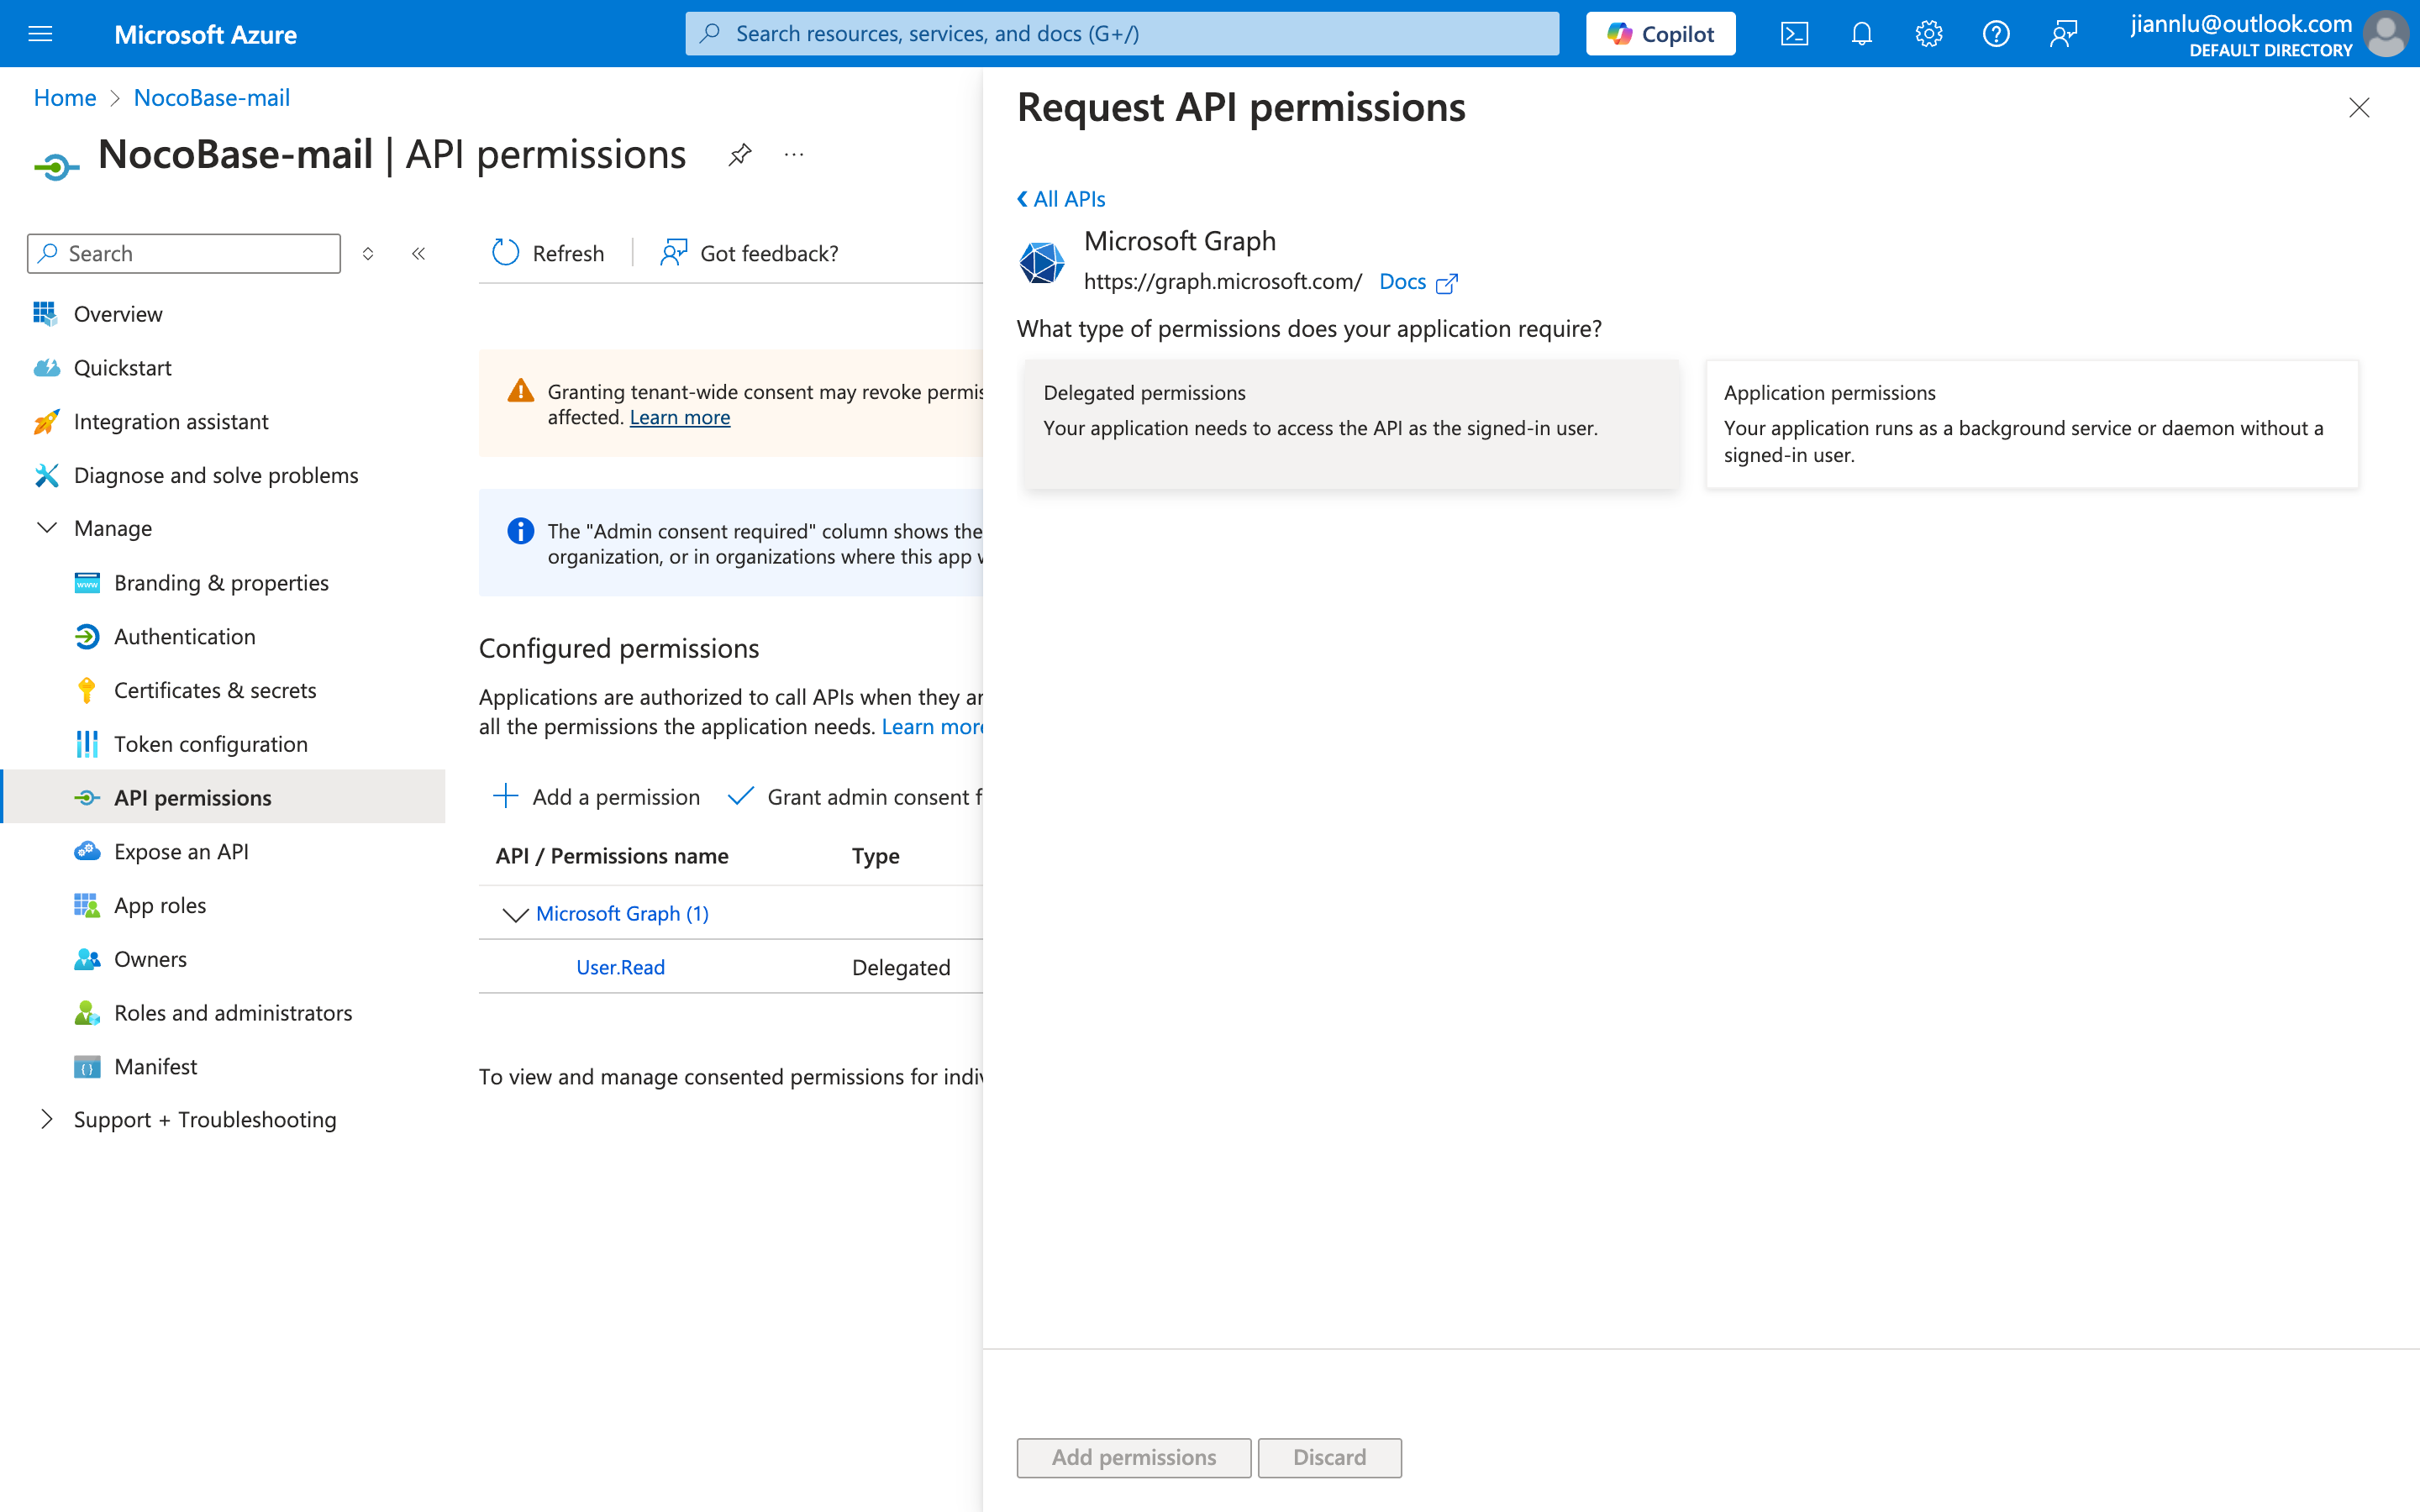
-
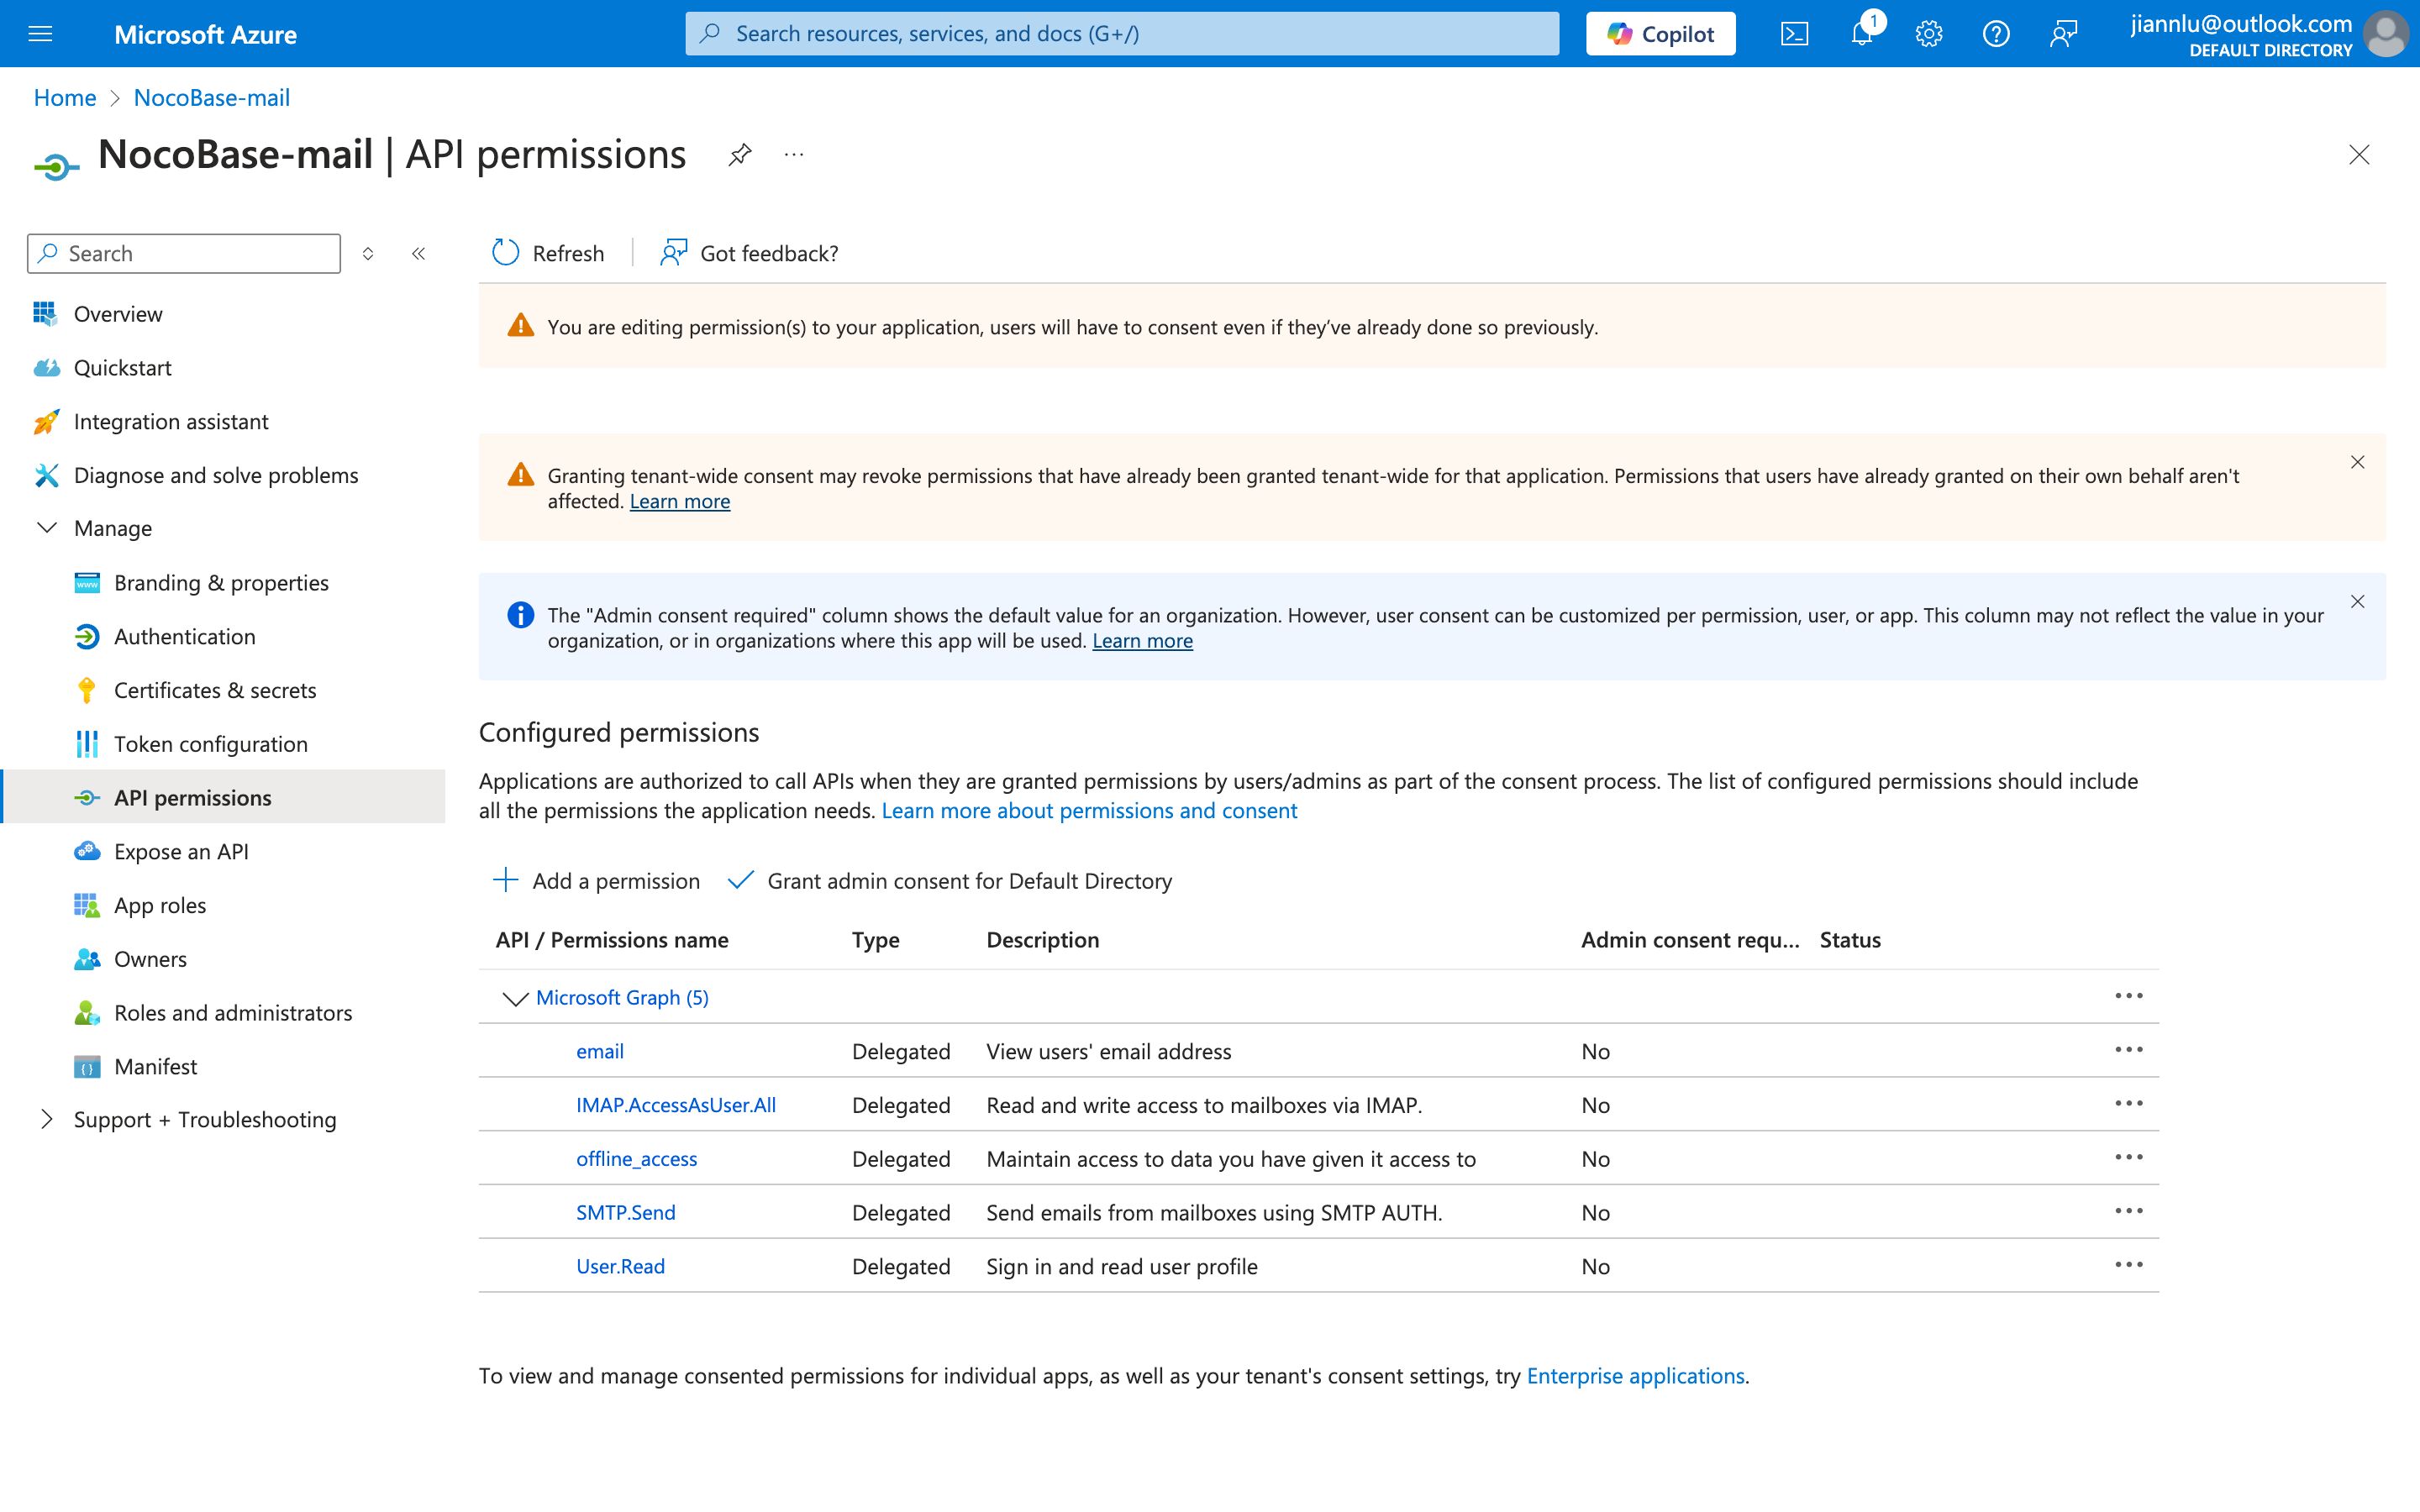
Search and add the following permissions, with the final result shown in the image below
"email""offline_access""IMAP.AccessAsUser.All""SMTP.Send""offline_access""User.Read"(By default)
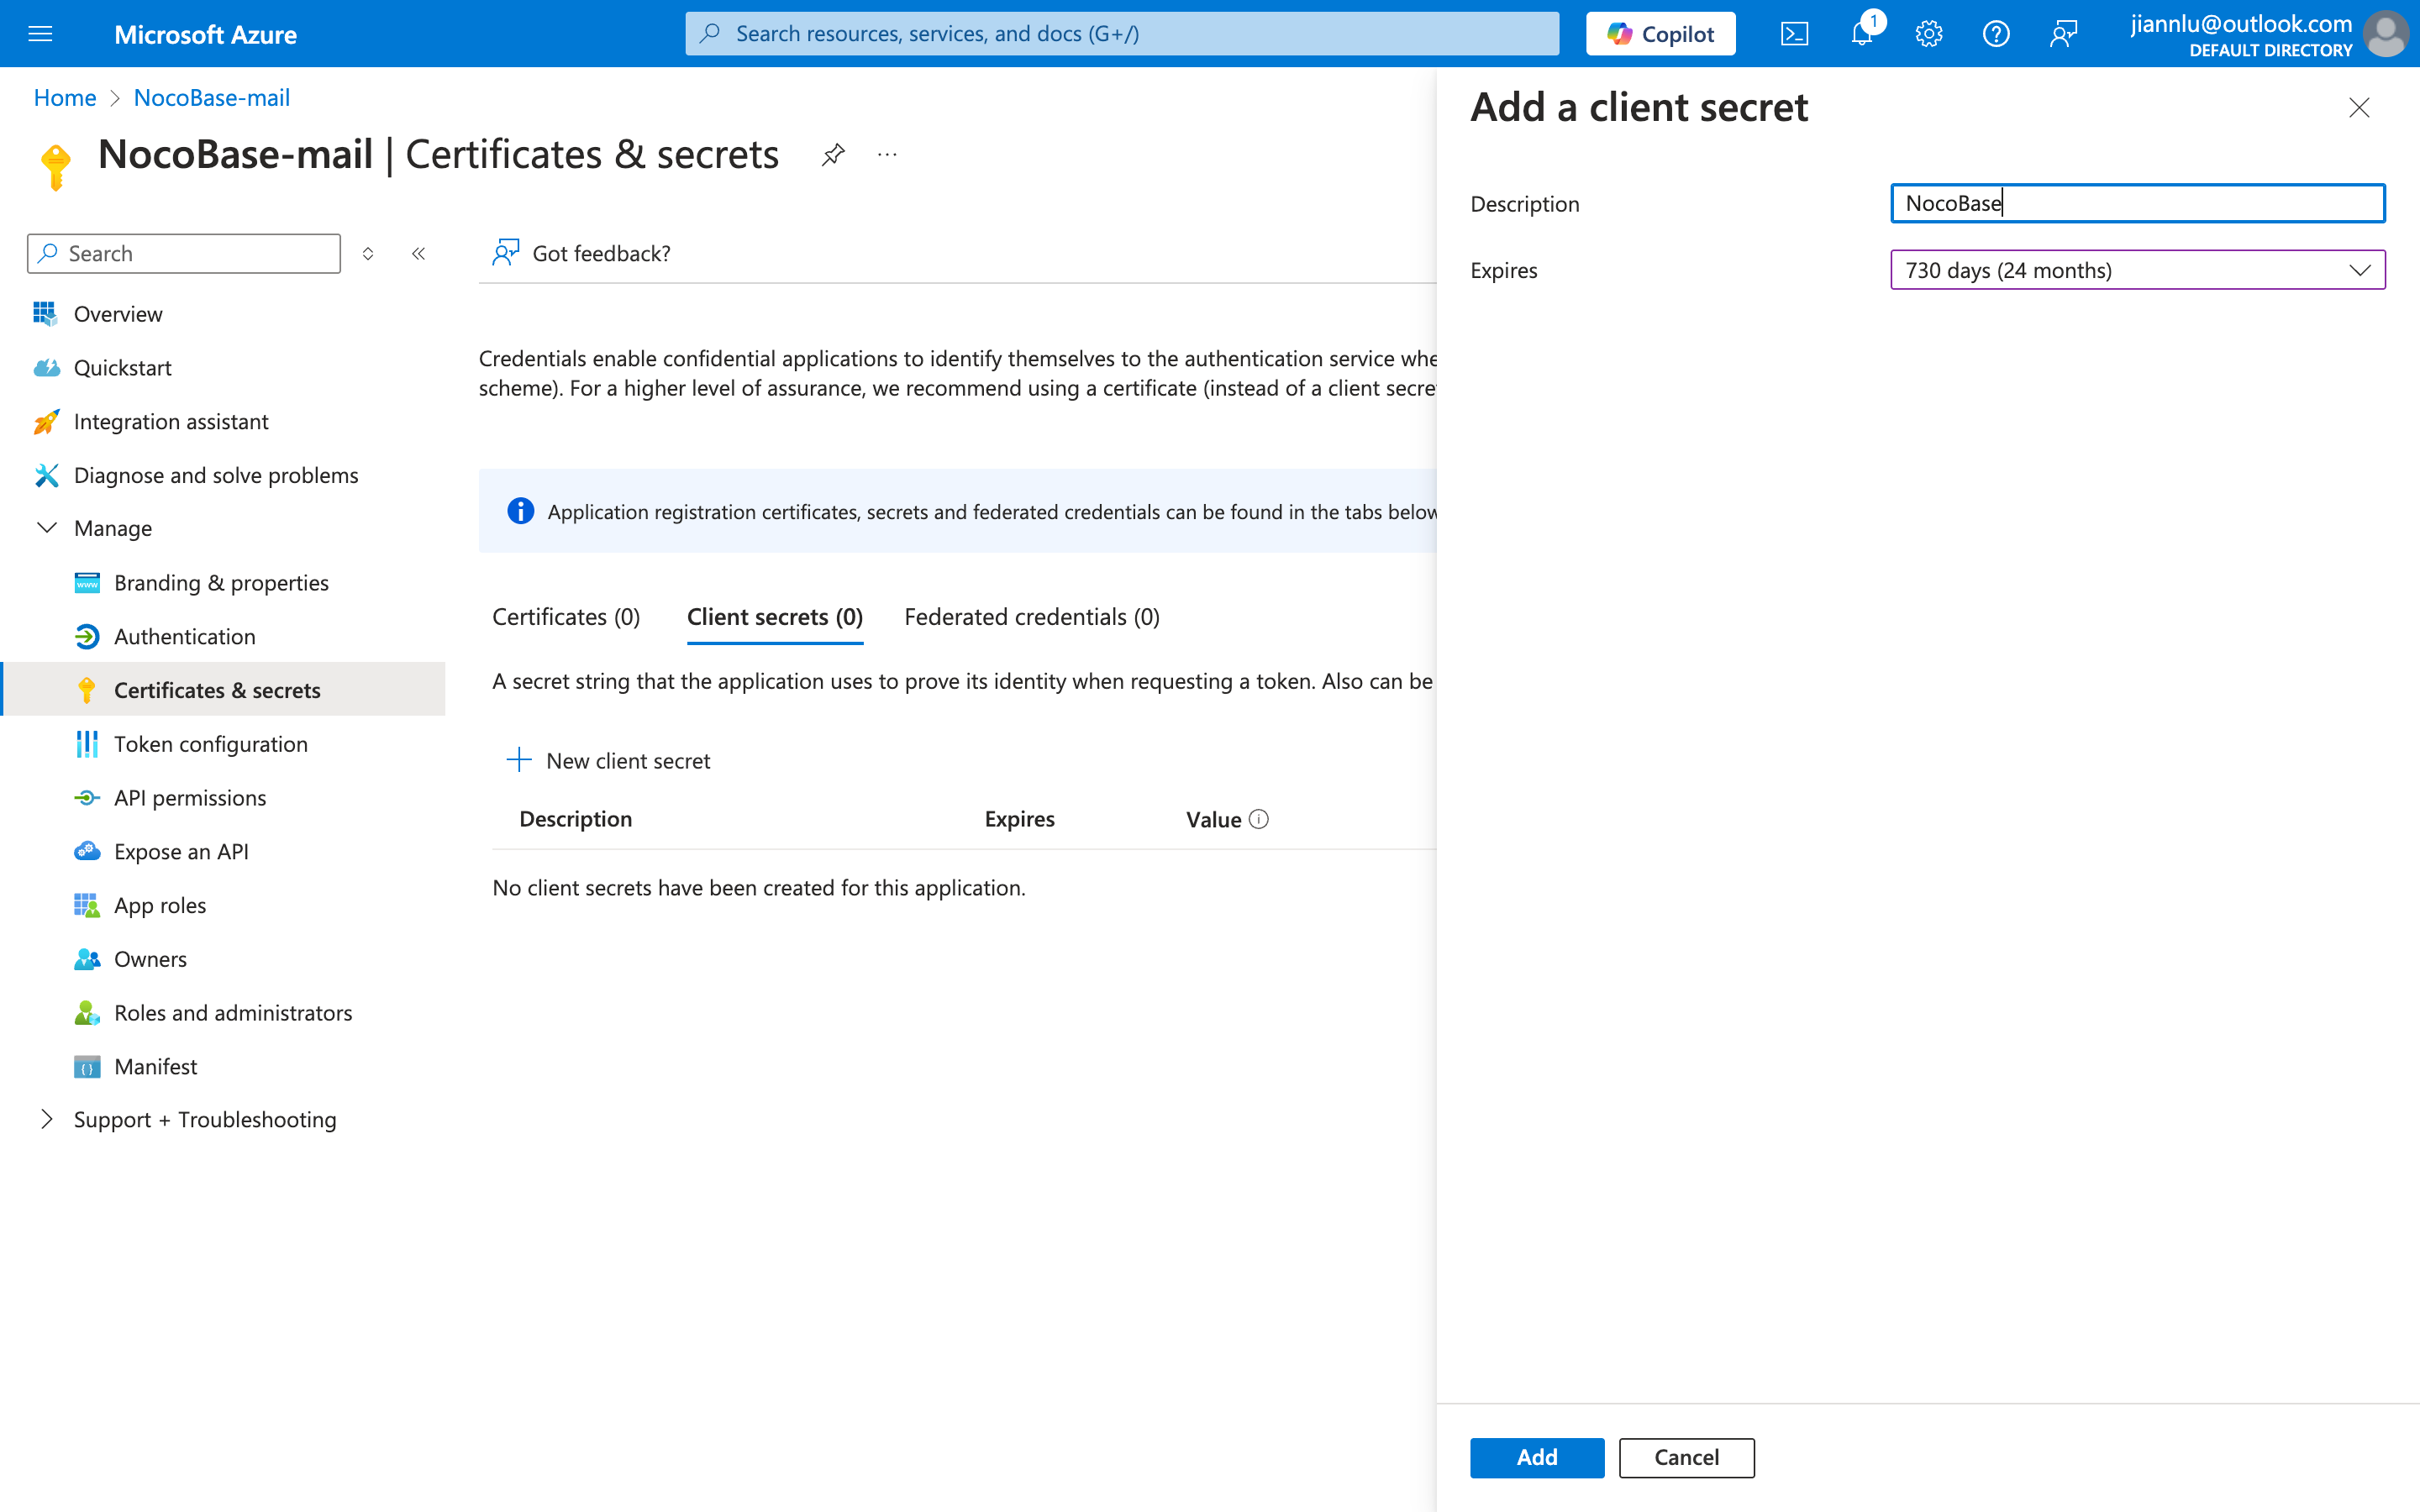
Get Client Secret
- Click Certificates & secrets on the left
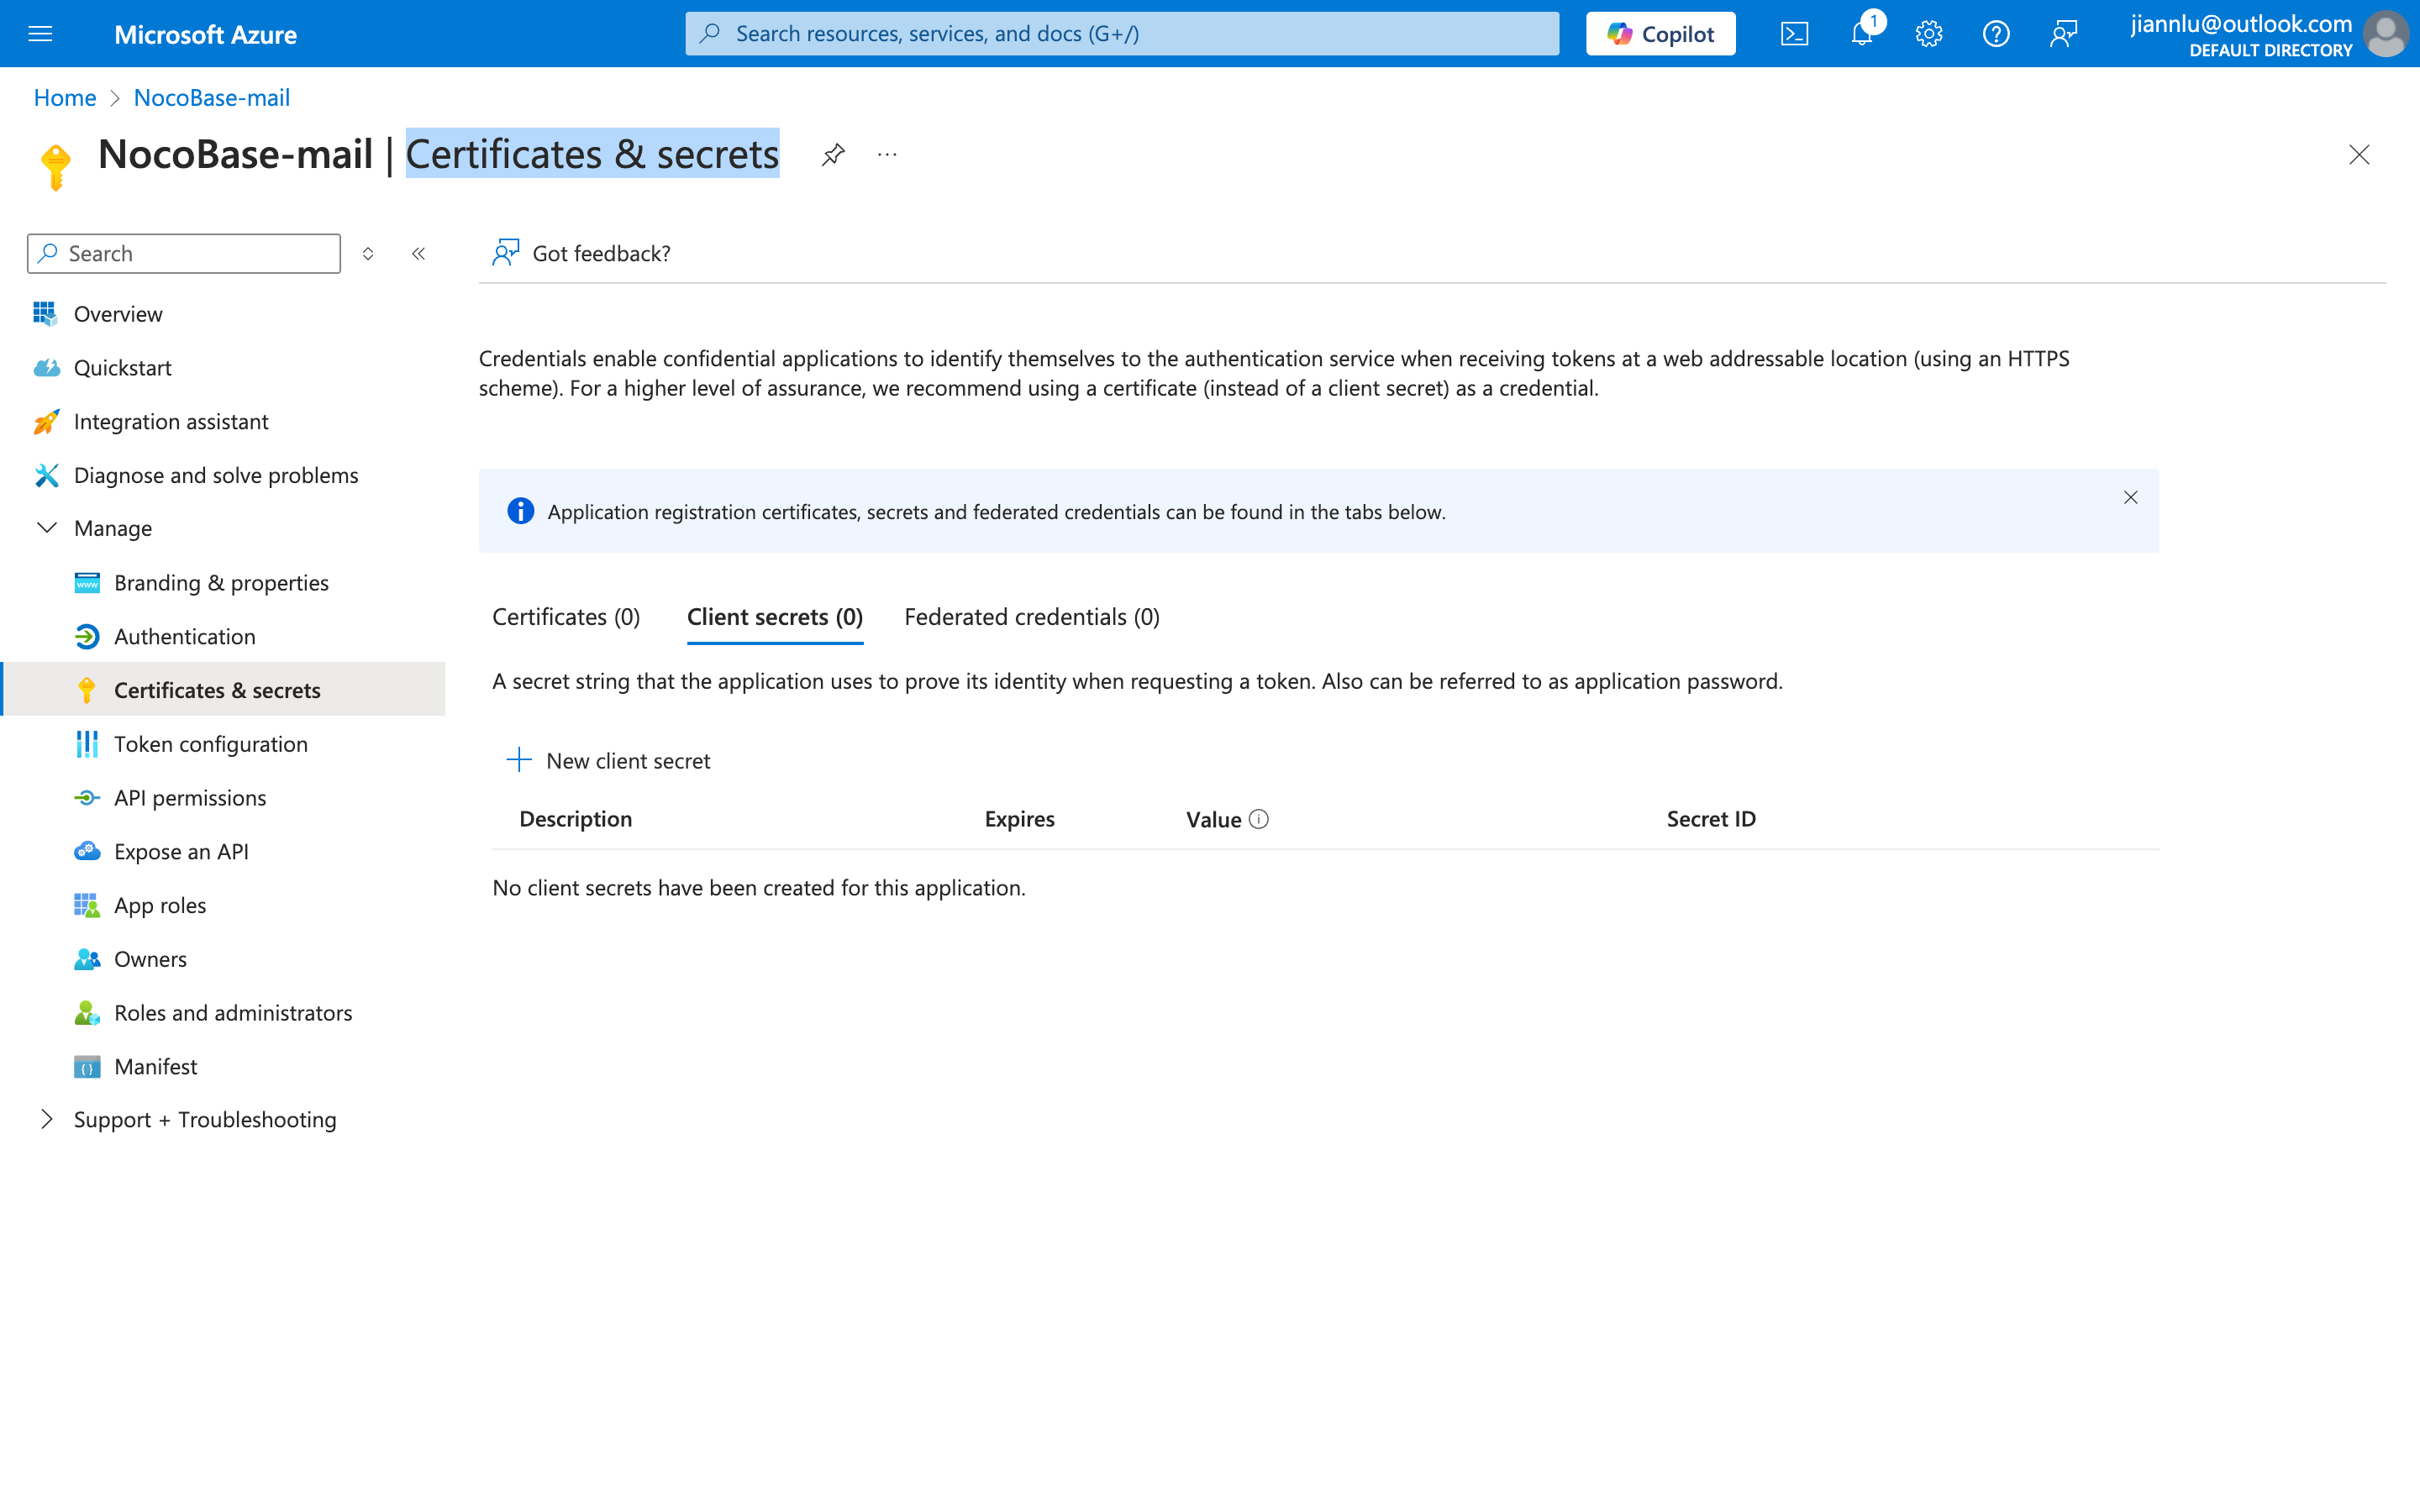
- Click the New client secret button
- Fill in the description and expiration time, and add it
- Obtain the Client Secret
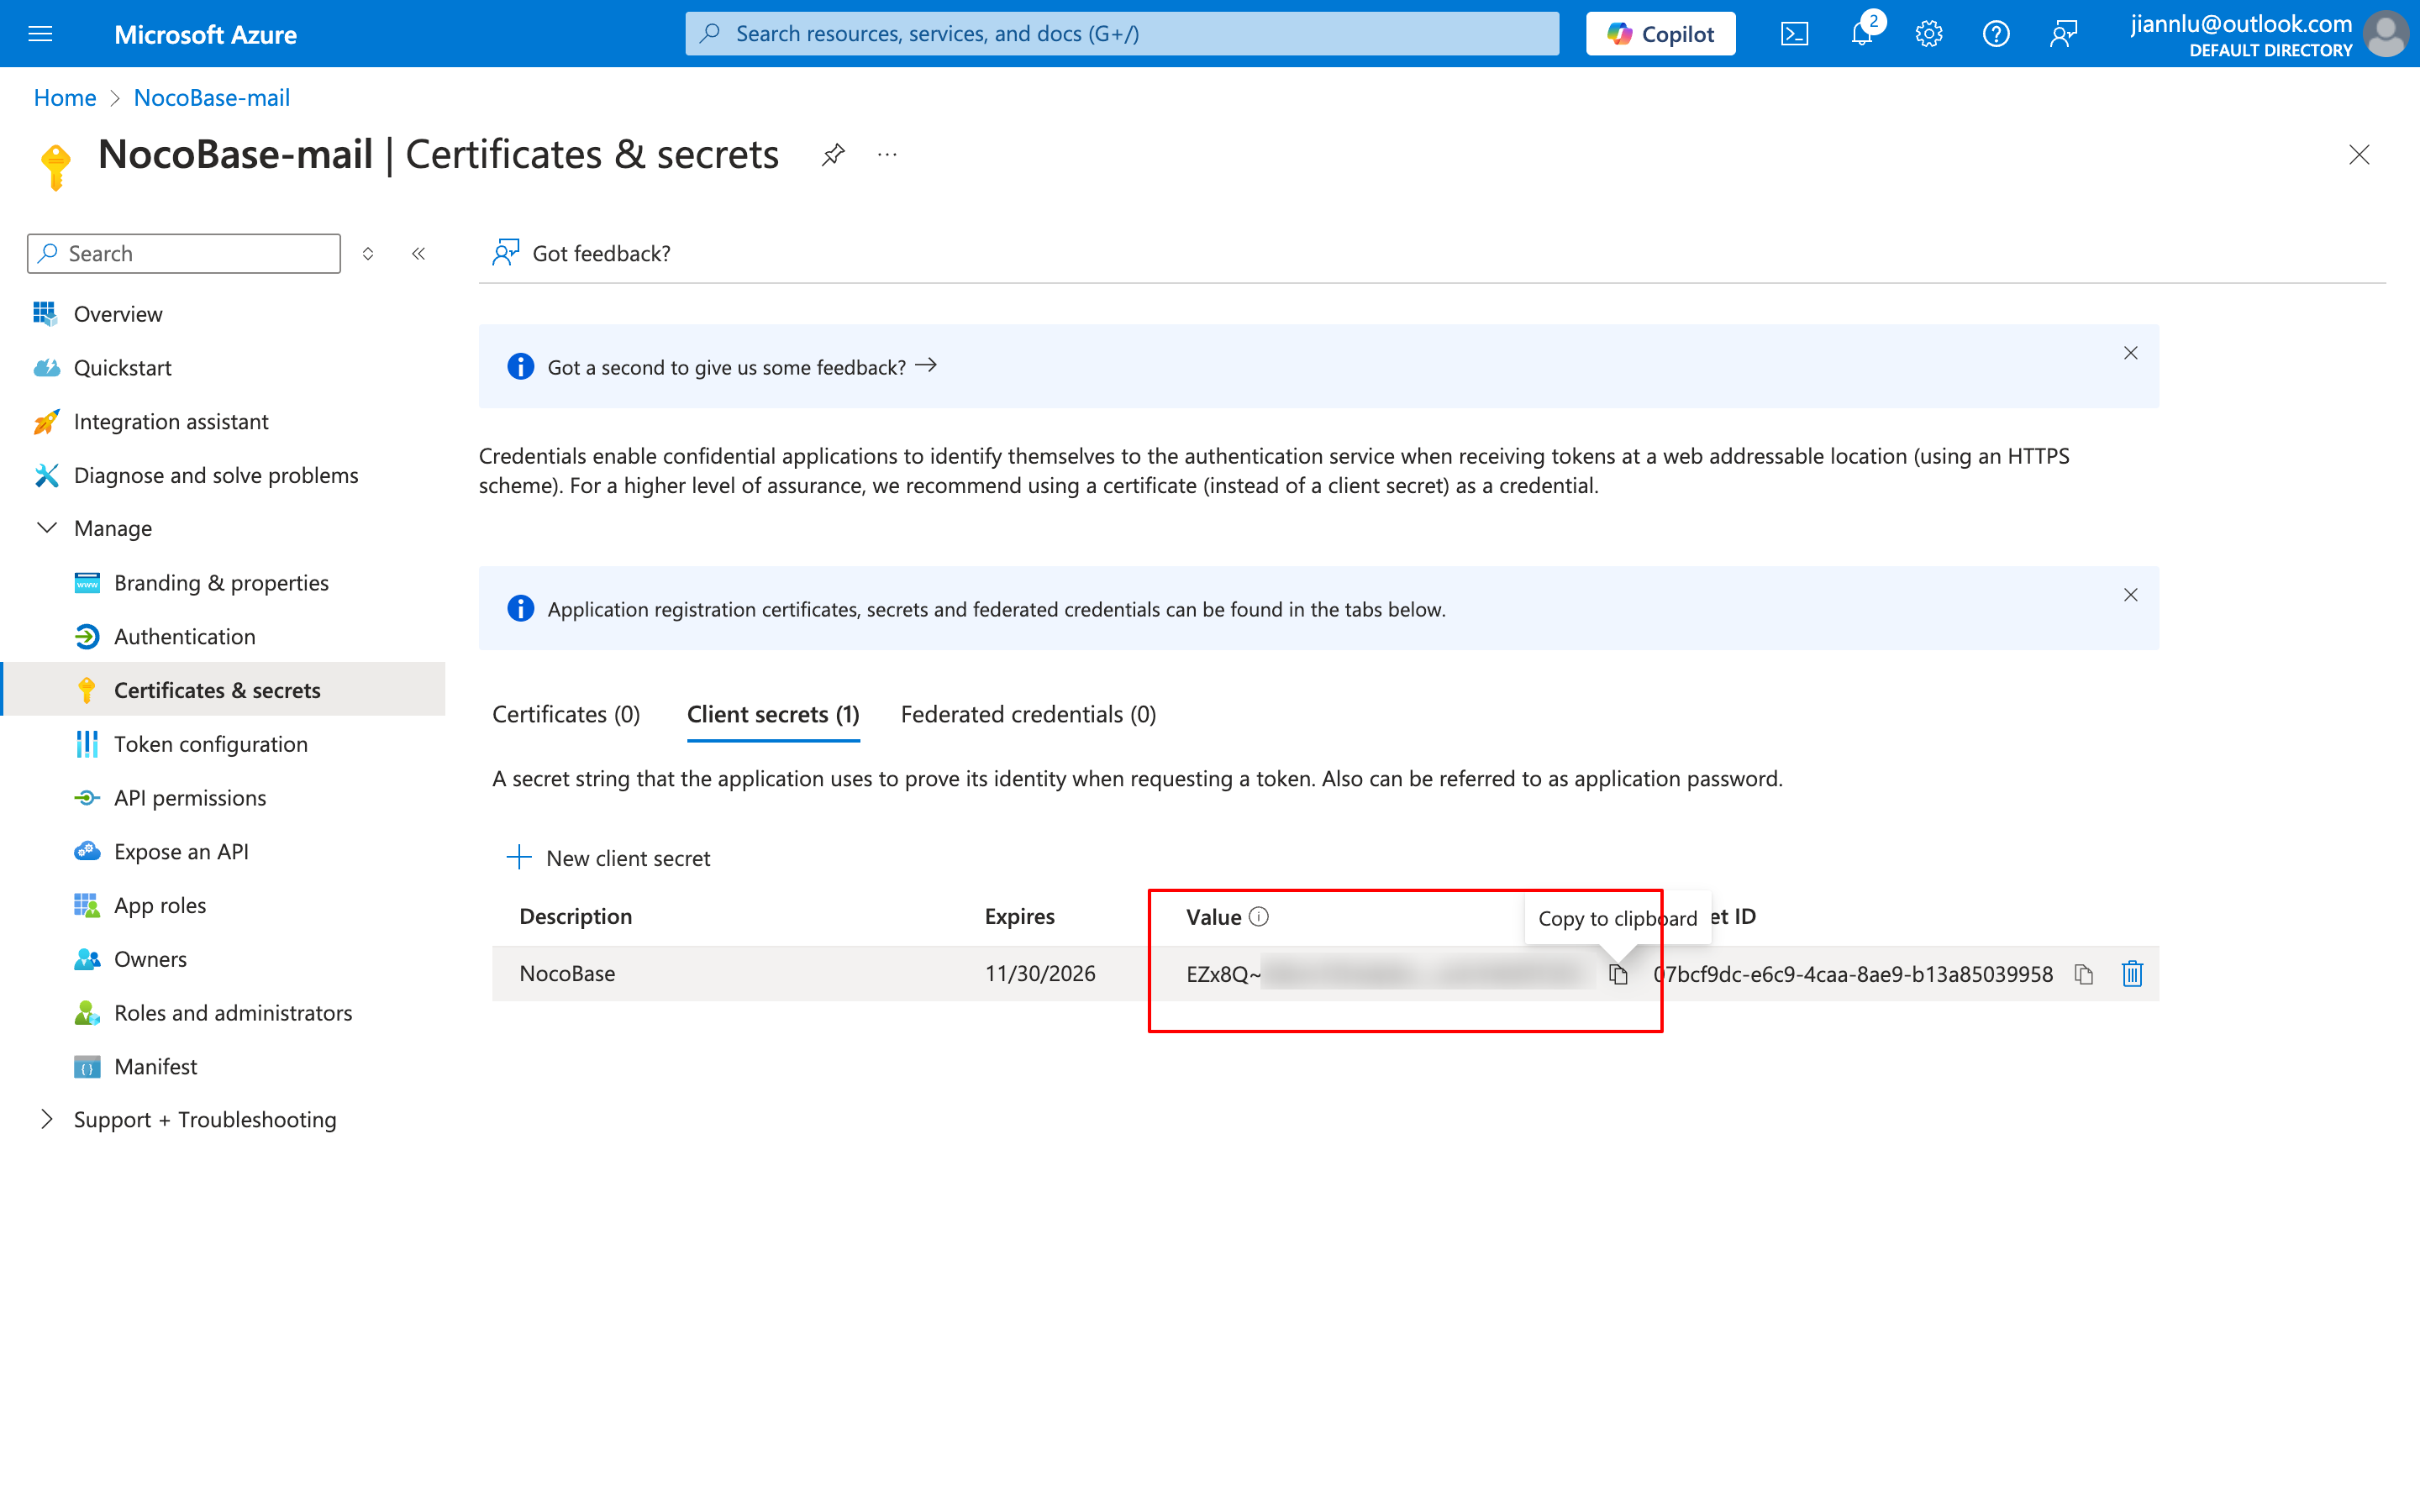
- Copy the Client ID and Client Secret information respectively and fill them into the email configuration page