Email Center
This feature is provided by the commercial plugin «Email manager», please purchase to useIntroduction
After the email plugin is enabled, the system provides an email management center by default for account integration, email management, and feature configuration.
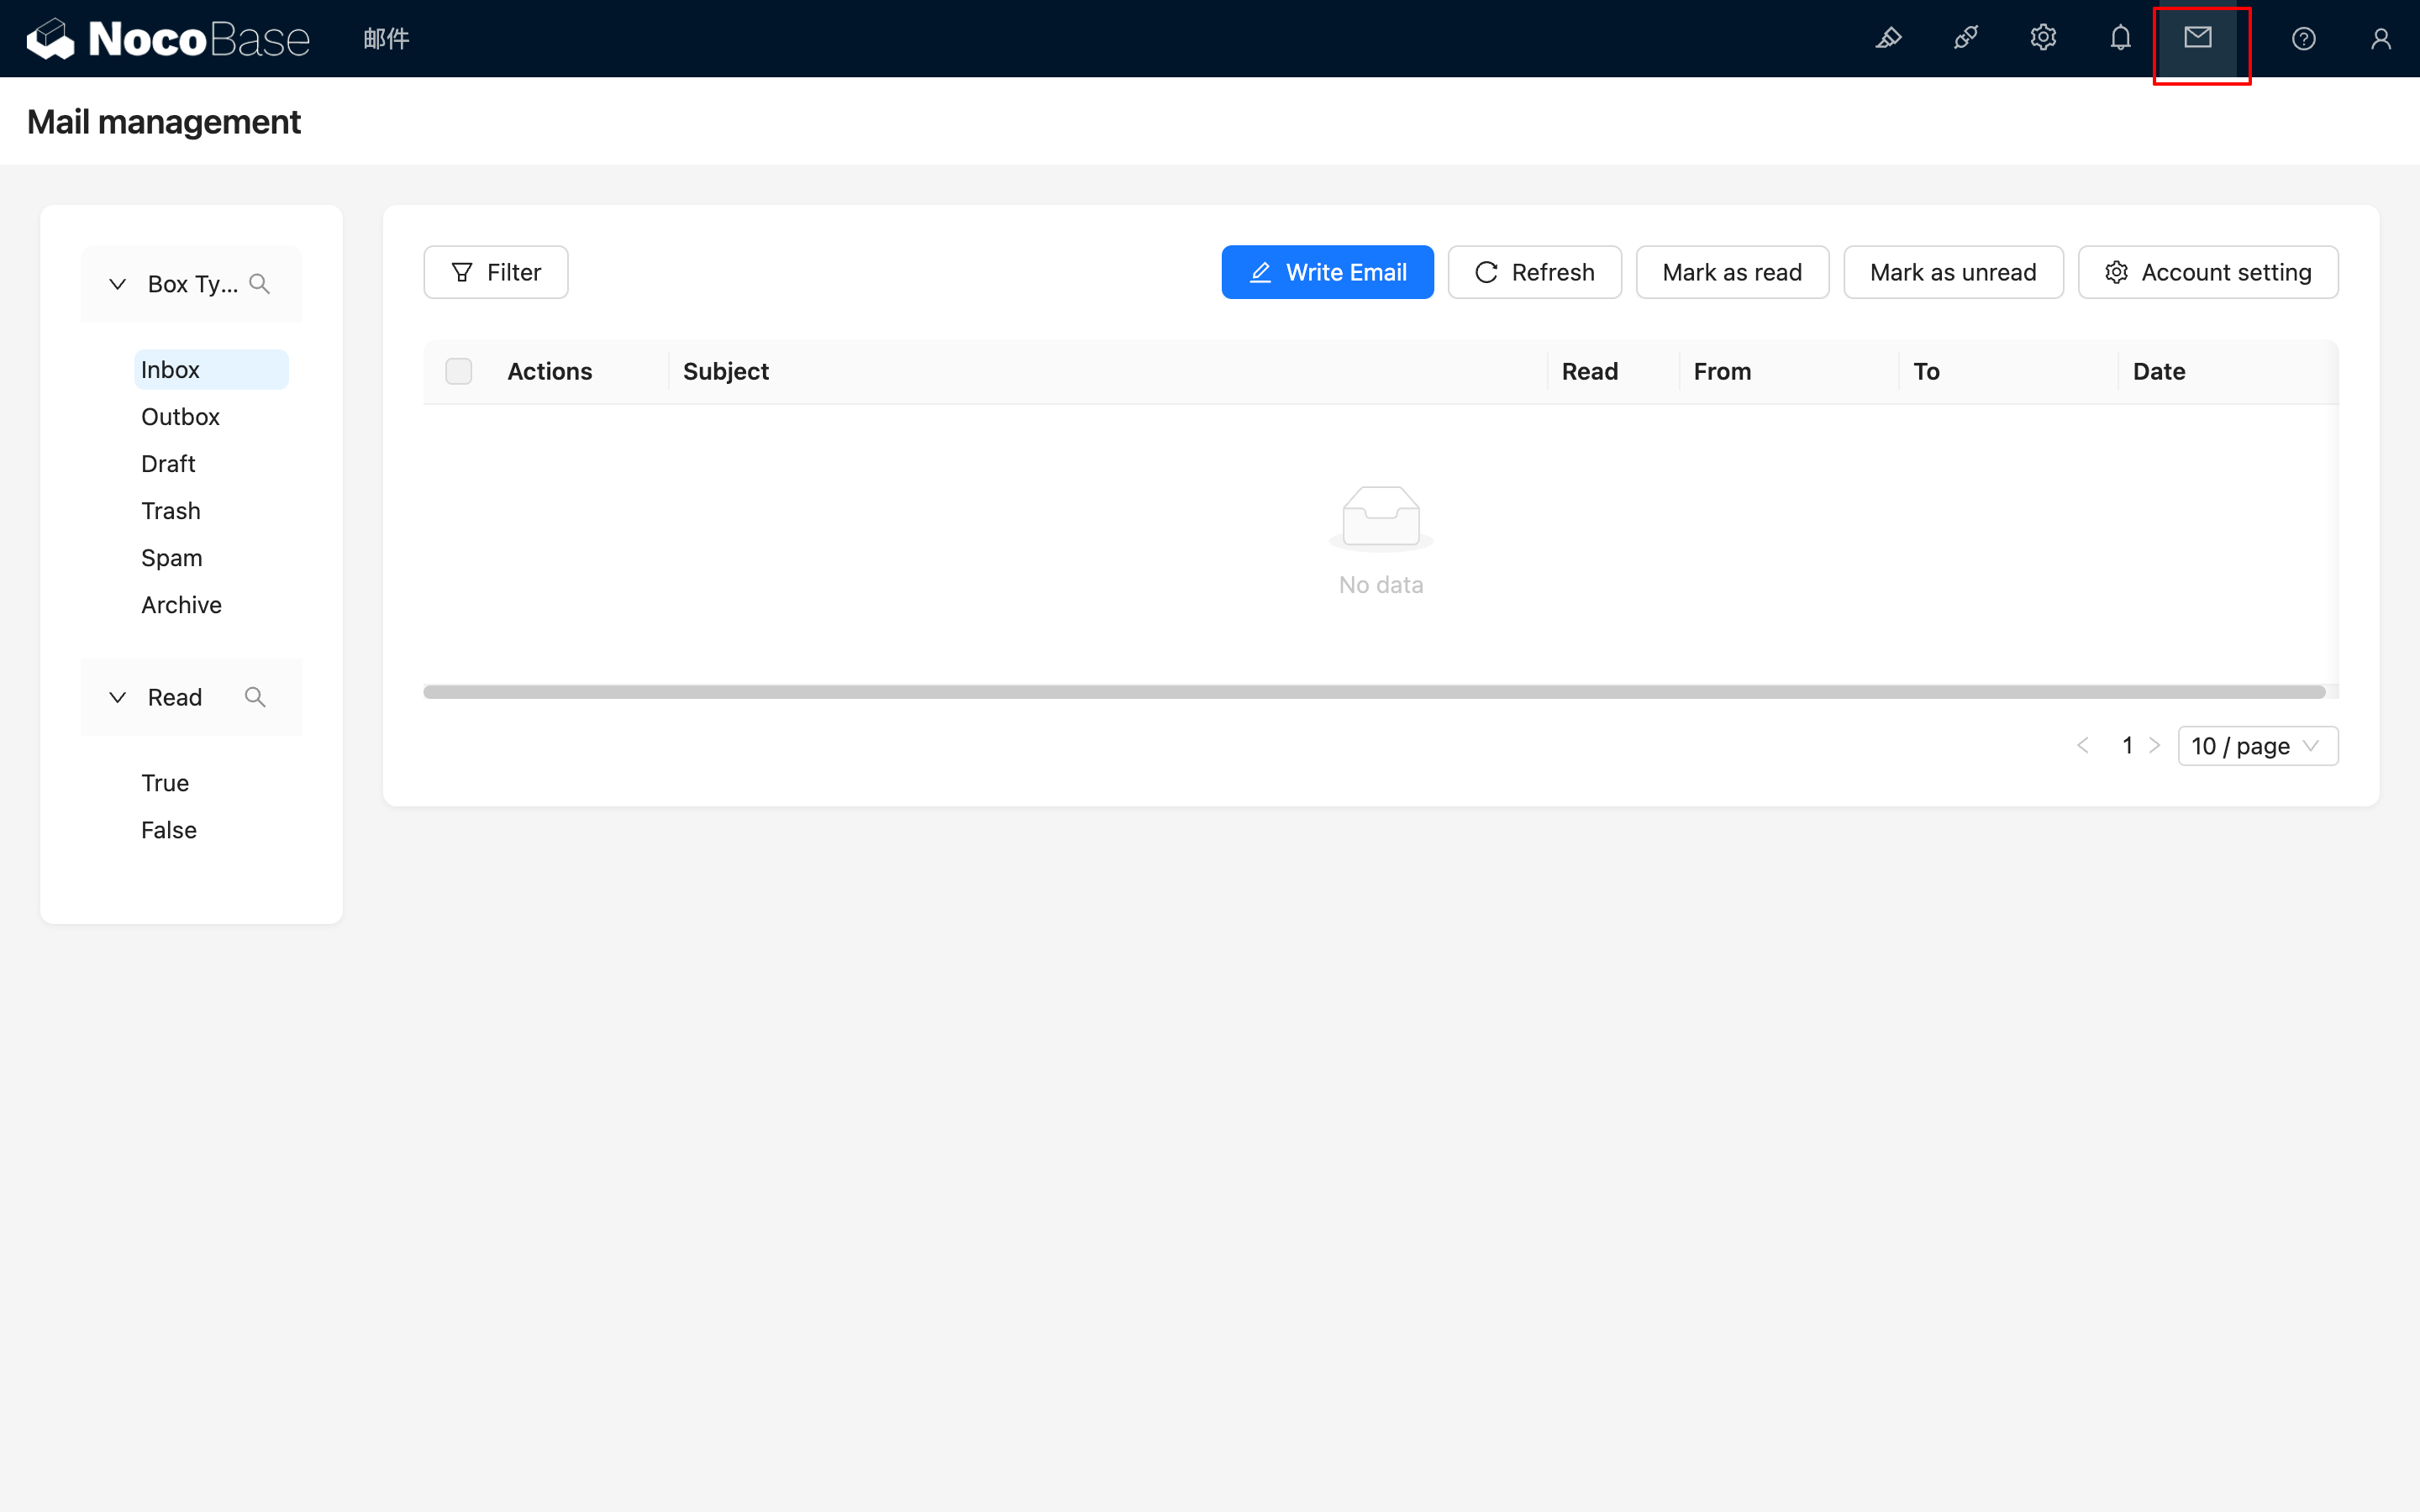
Click the email message icon in the upper right corner to enter the email management page.

Account Association
Associate Account
Click the Settings button, and after opening the floating layer, click the Link account button to select the email type you want to associate.


The browser automatically opens the login page for the corresponding email service. Log in to your account and authorize (the authorization process varies by service provider).
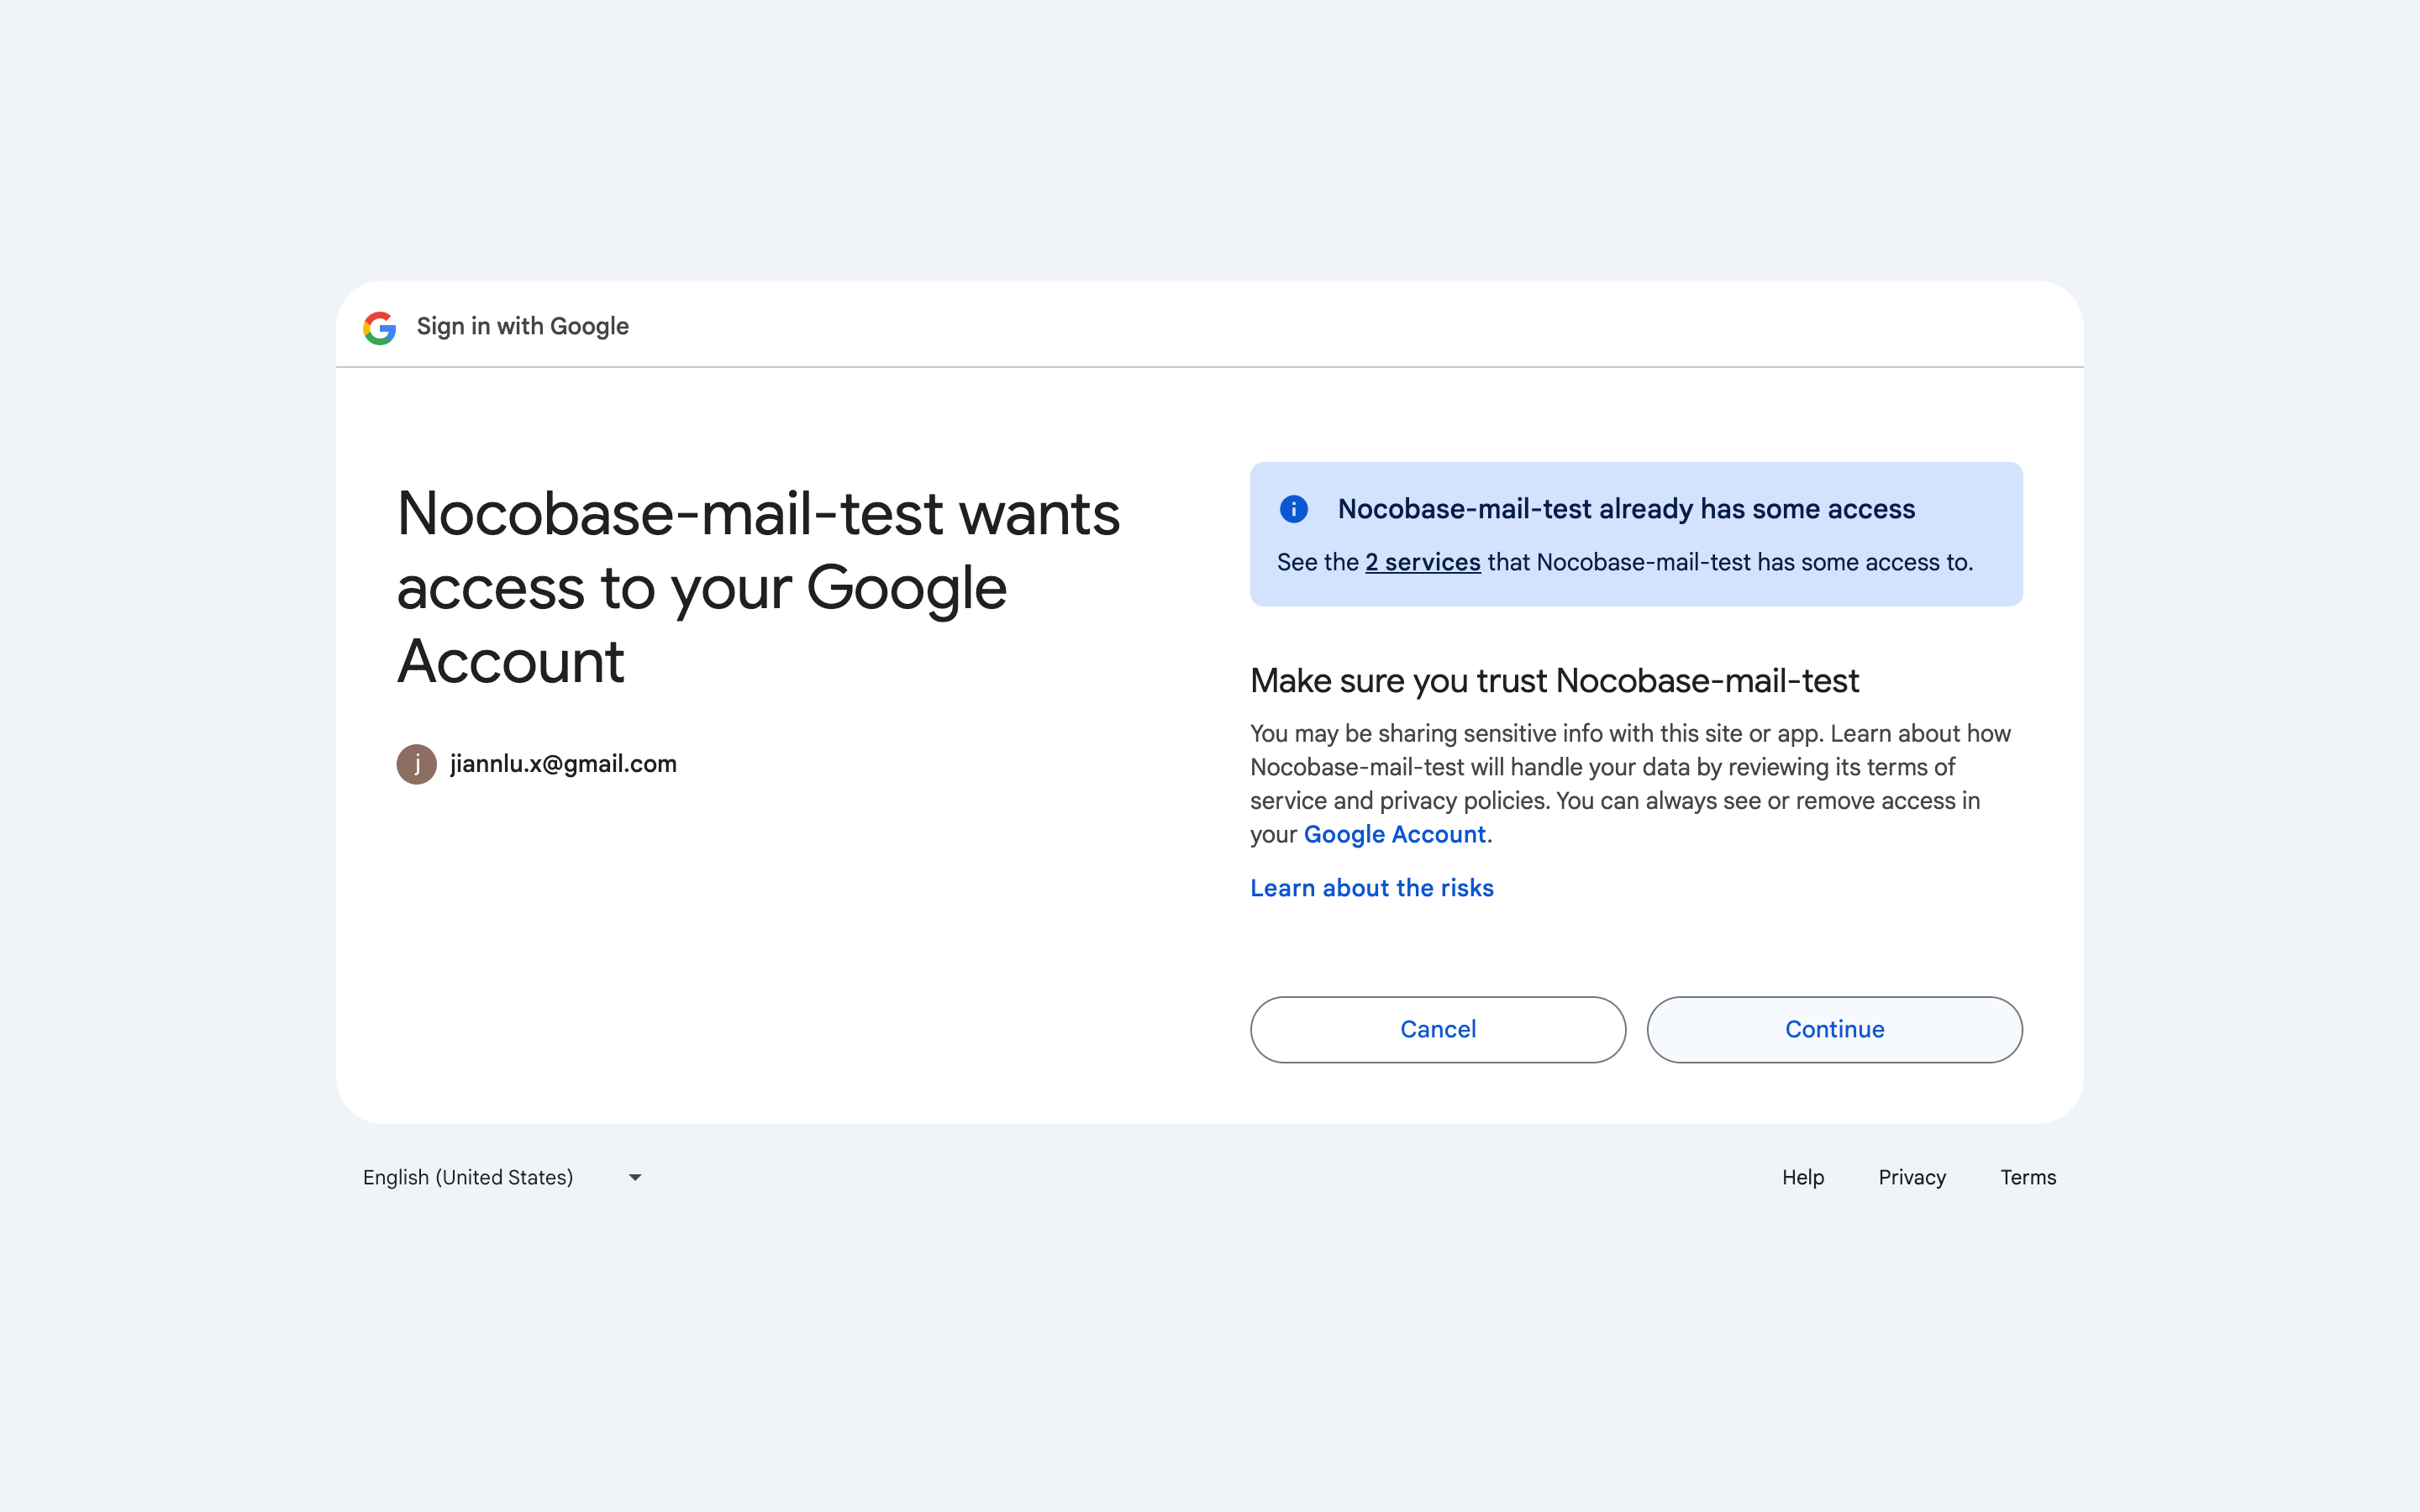

After authorization is complete, you will be redirected back to NocoBase. Select the synchronization start time to associate the account and synchronize data (the first synchronization may take a long time, please wait).

After data synchronization is complete, the current page will automatically close and return to the original email message page. At this point, you can see that the account has been associated.
.png)
Delete Account
Click Delete to delete the account and associated emails.

Email Management
Email Filtering
The left side of the email management page is the filtering area, and the right side is the email list area.

Emails with the same subject are consolidated, and the subject field shows how many related emails there are in total.

Unread email titles are displayed in bold, and the email icon at the top displays the number of unread emails.
Manual Email Synchronization
The current email synchronization interval is 5 minutes. If you need to force synchronize emails, you can click the Sync emails button.

Send Email
Click the Send email button at the top to open the send panel.
.png)
Fill in the relevant information and send the email. Attachments only support files under 3MB.

View Email
Click the Subject field on the row to view email details. Email details have two forms:
A single email form allows you to view detailed information directly.

Multiple emails with the same subject are displayed in list form by default, and you can click to expand or collapse.

After viewing the email details, the email status is set to read by default. You can click the ... button on the right and select Mark as unread to set it as unread.
Reply and Forward
After entering the email details, there are Reply and Forward buttons at the bottom for performing the corresponding operations.

Click the email message icon in the upper right corner to enter the email management page.