Google Configuration
This feature is provided by the commercial plugin «Email manager», please purchase to usePrerequisites
For users to be able to integrate Google Gmail into NocoBase, the system must be deployed on a server that supports access to Google services. The backend will call the Google API.
Register Account
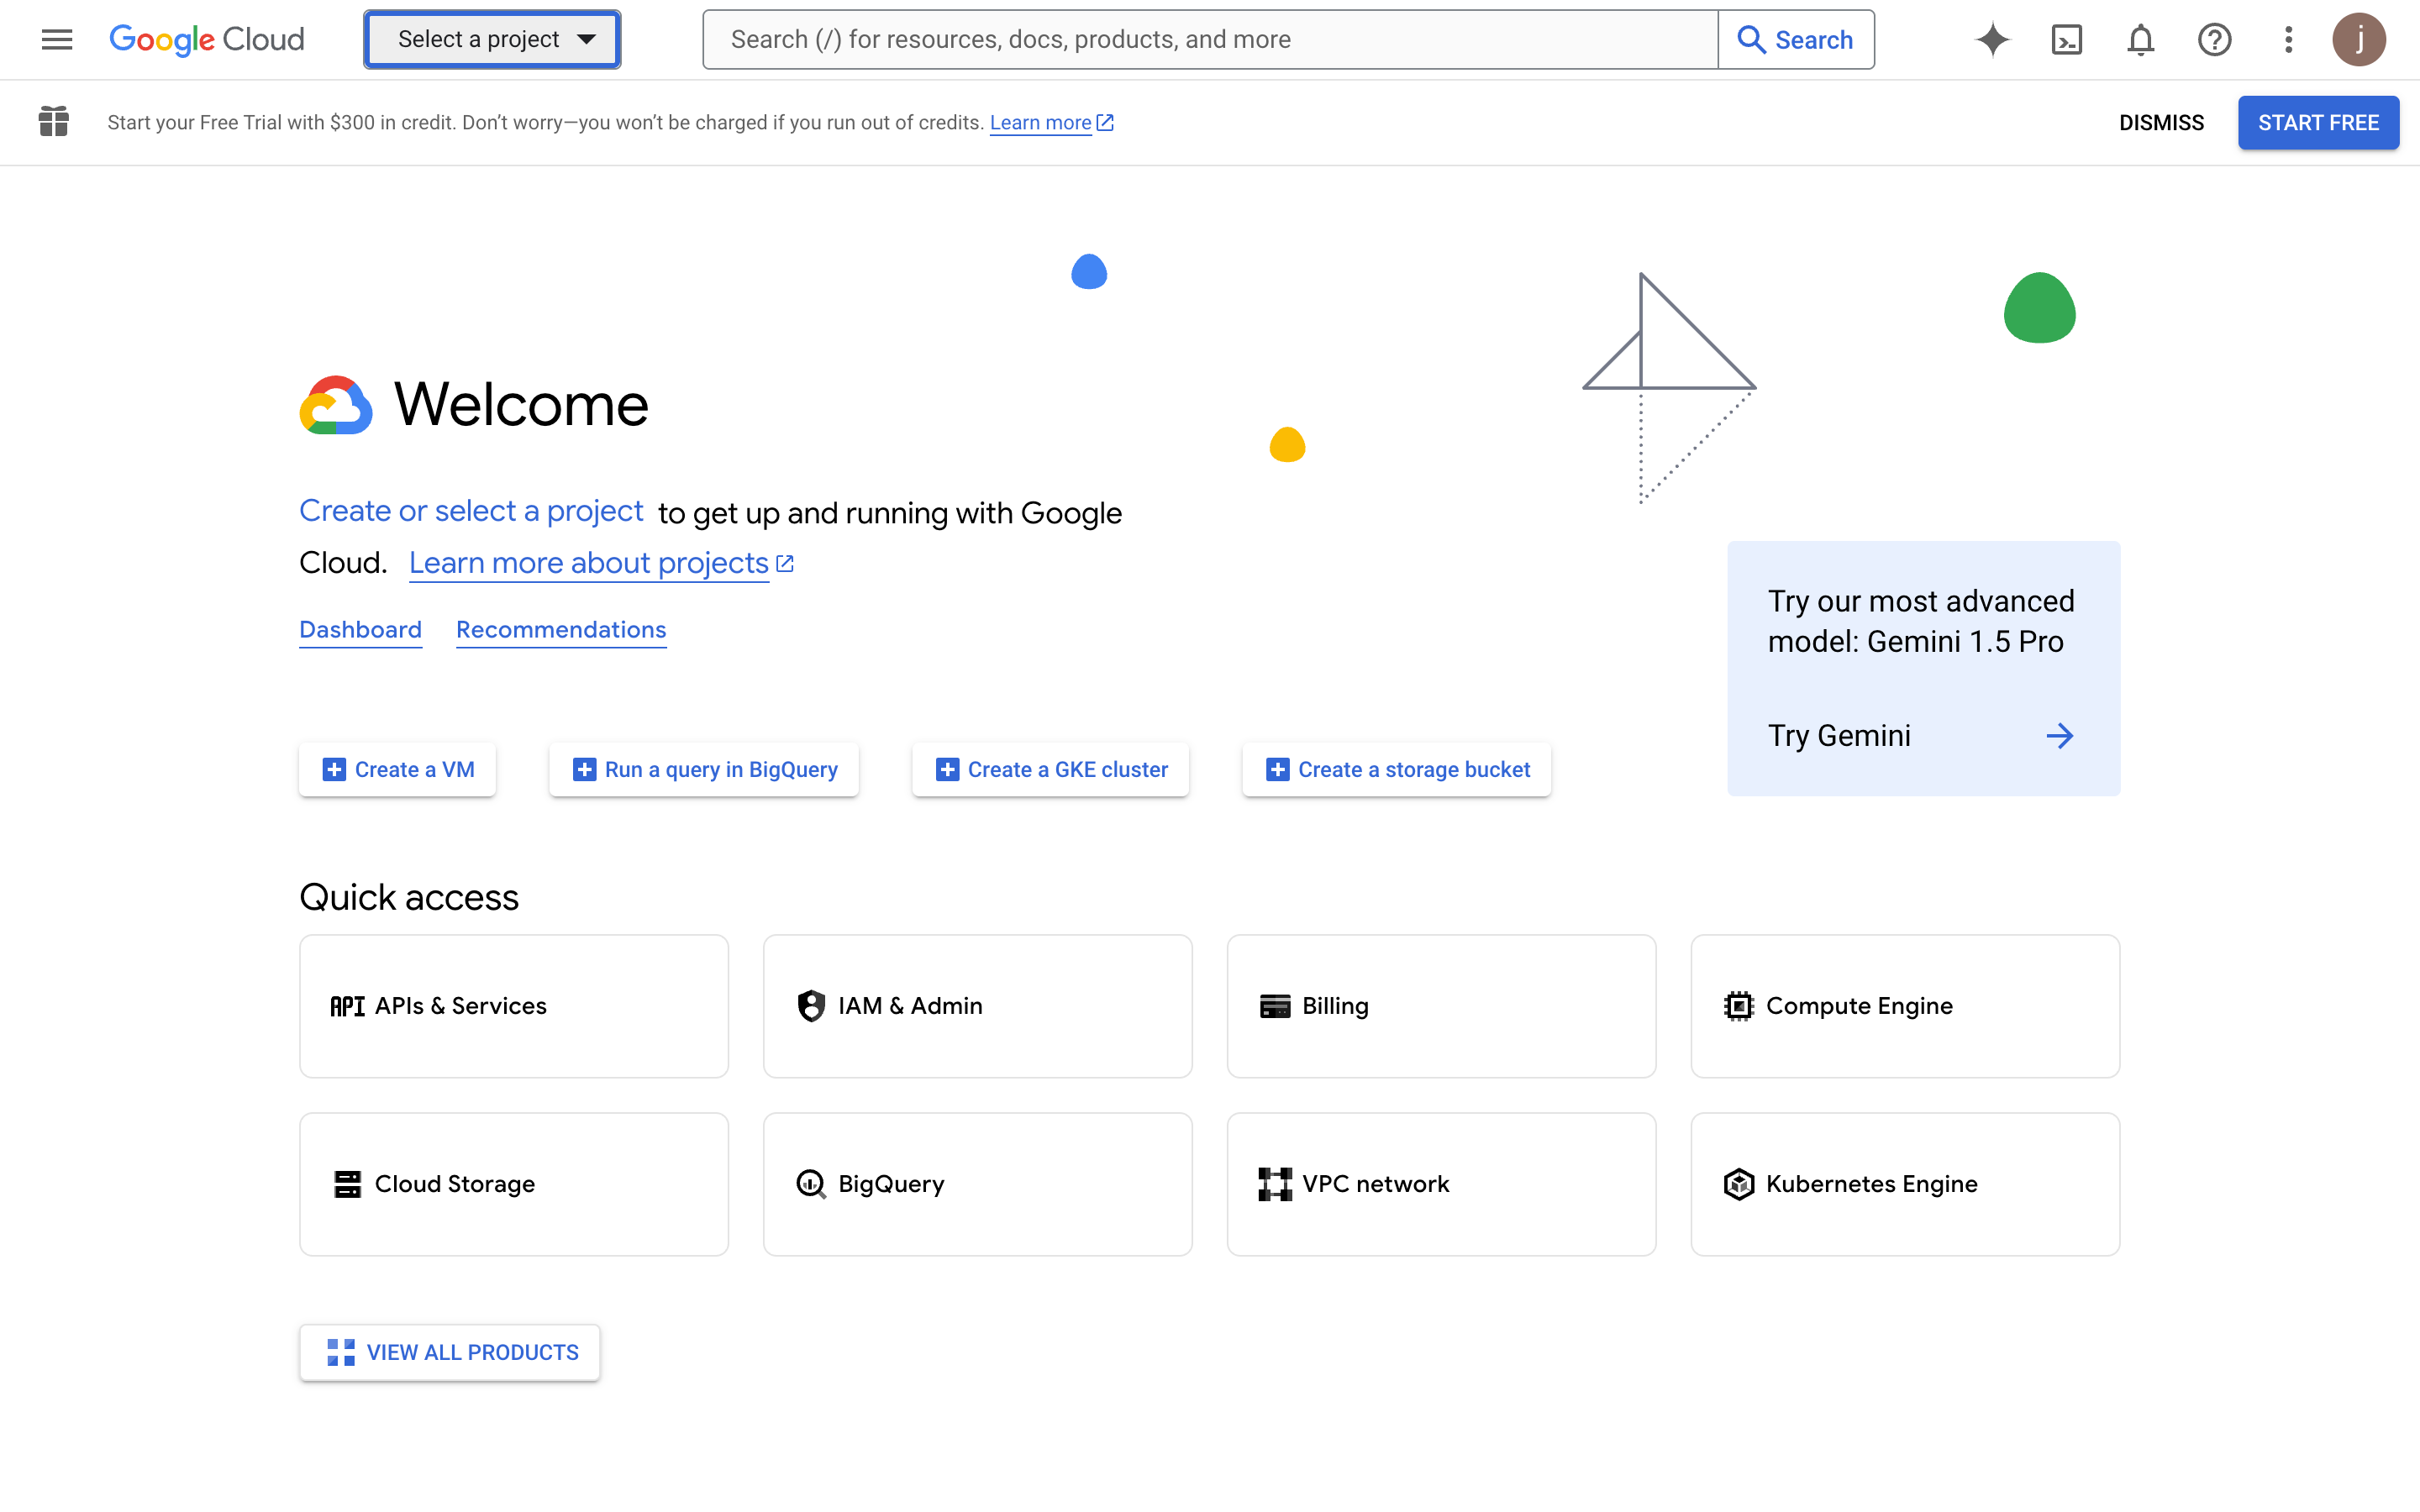
- Open https://console.cloud.google.com/welcome to enter Google Cloud
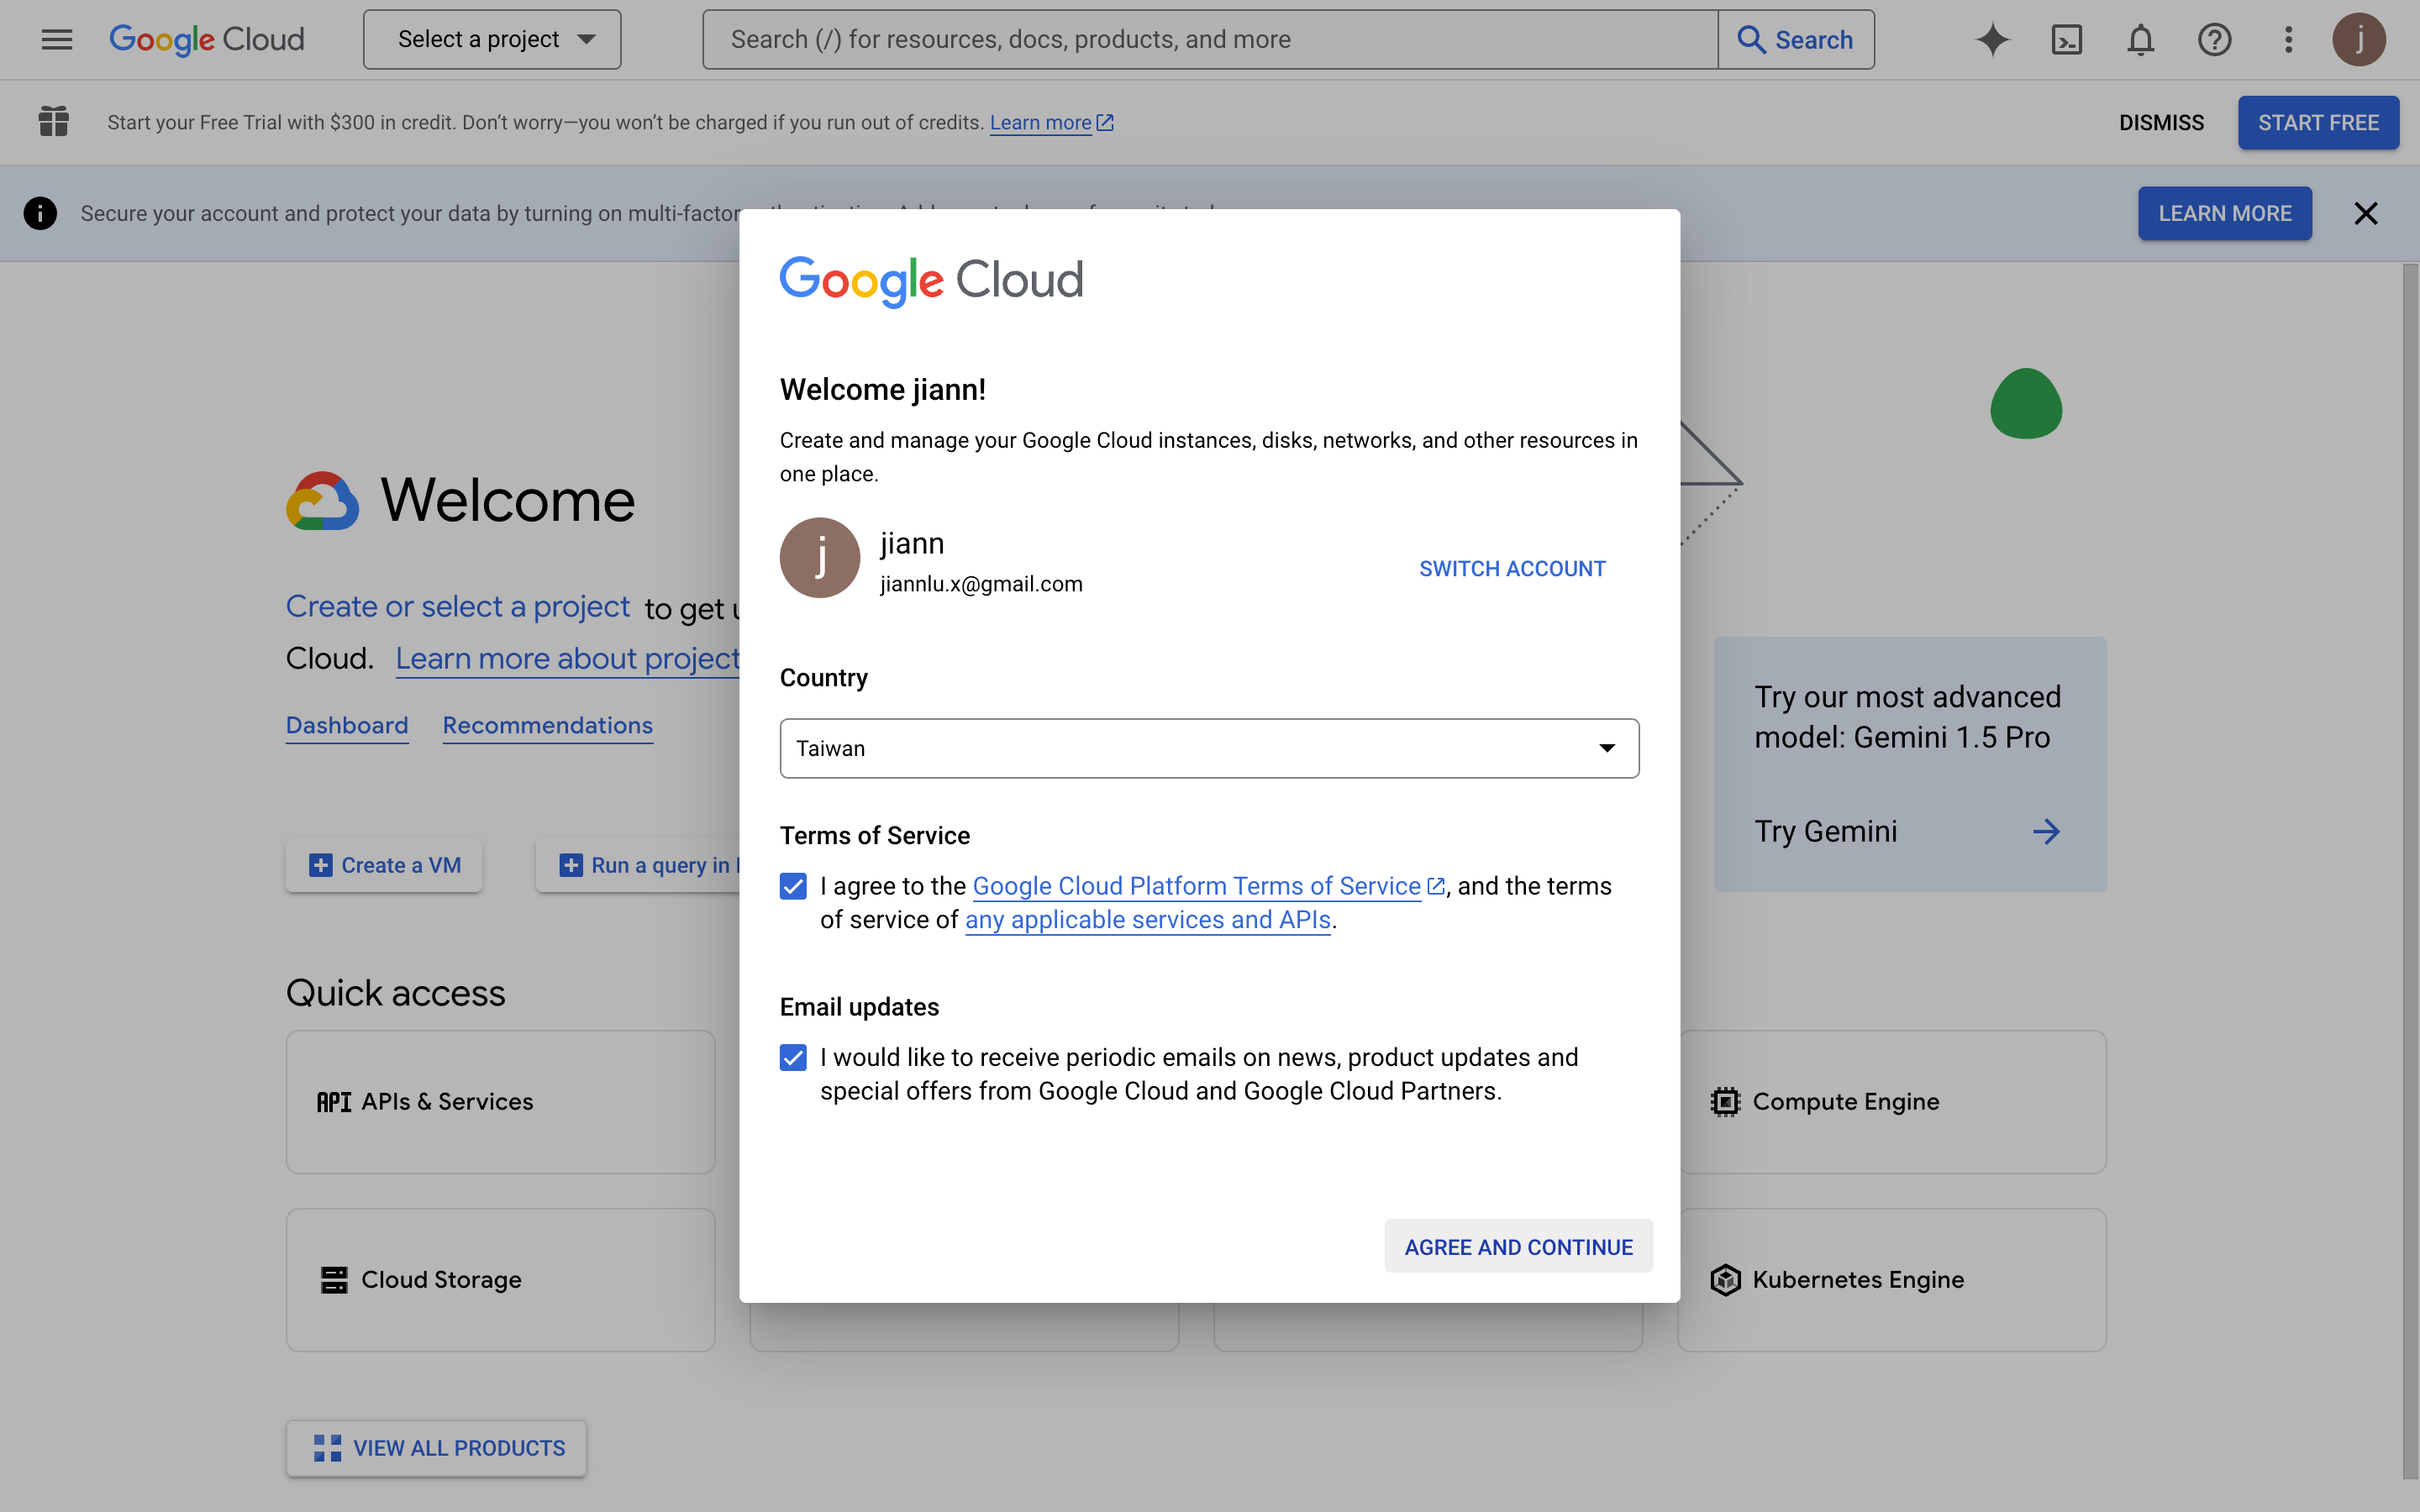
- On first entry, you need to agree to the relevant terms
Create App
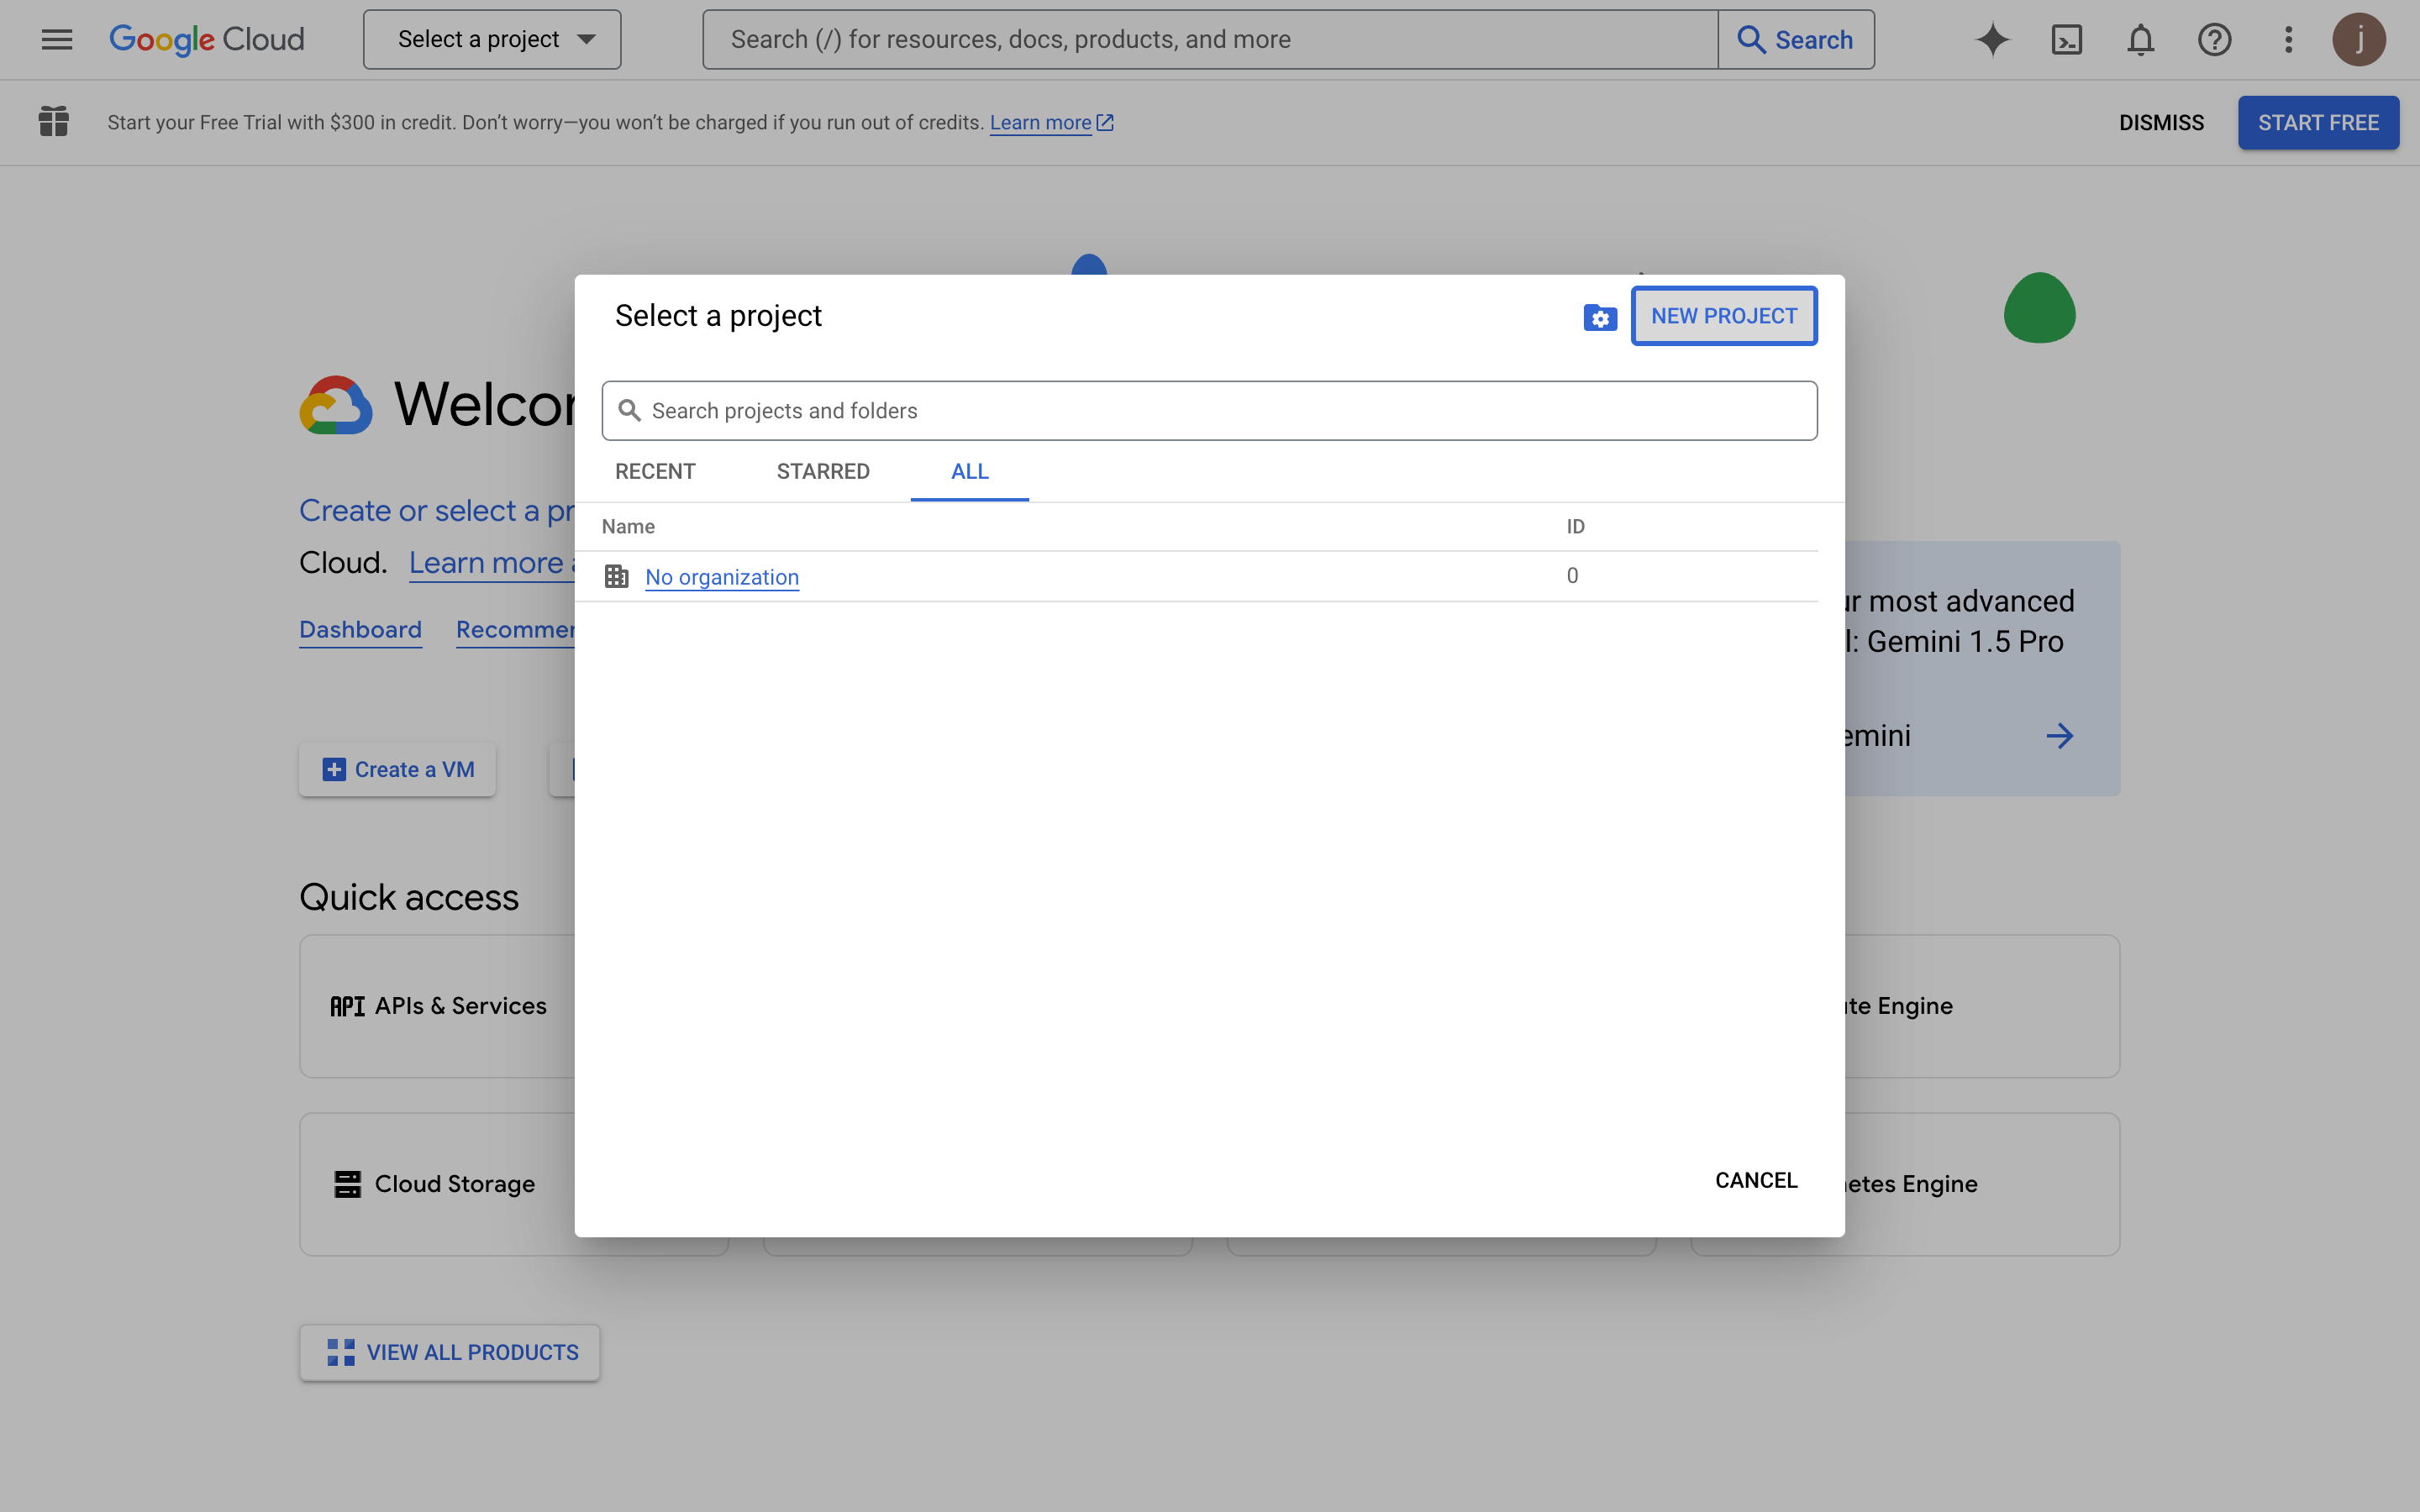
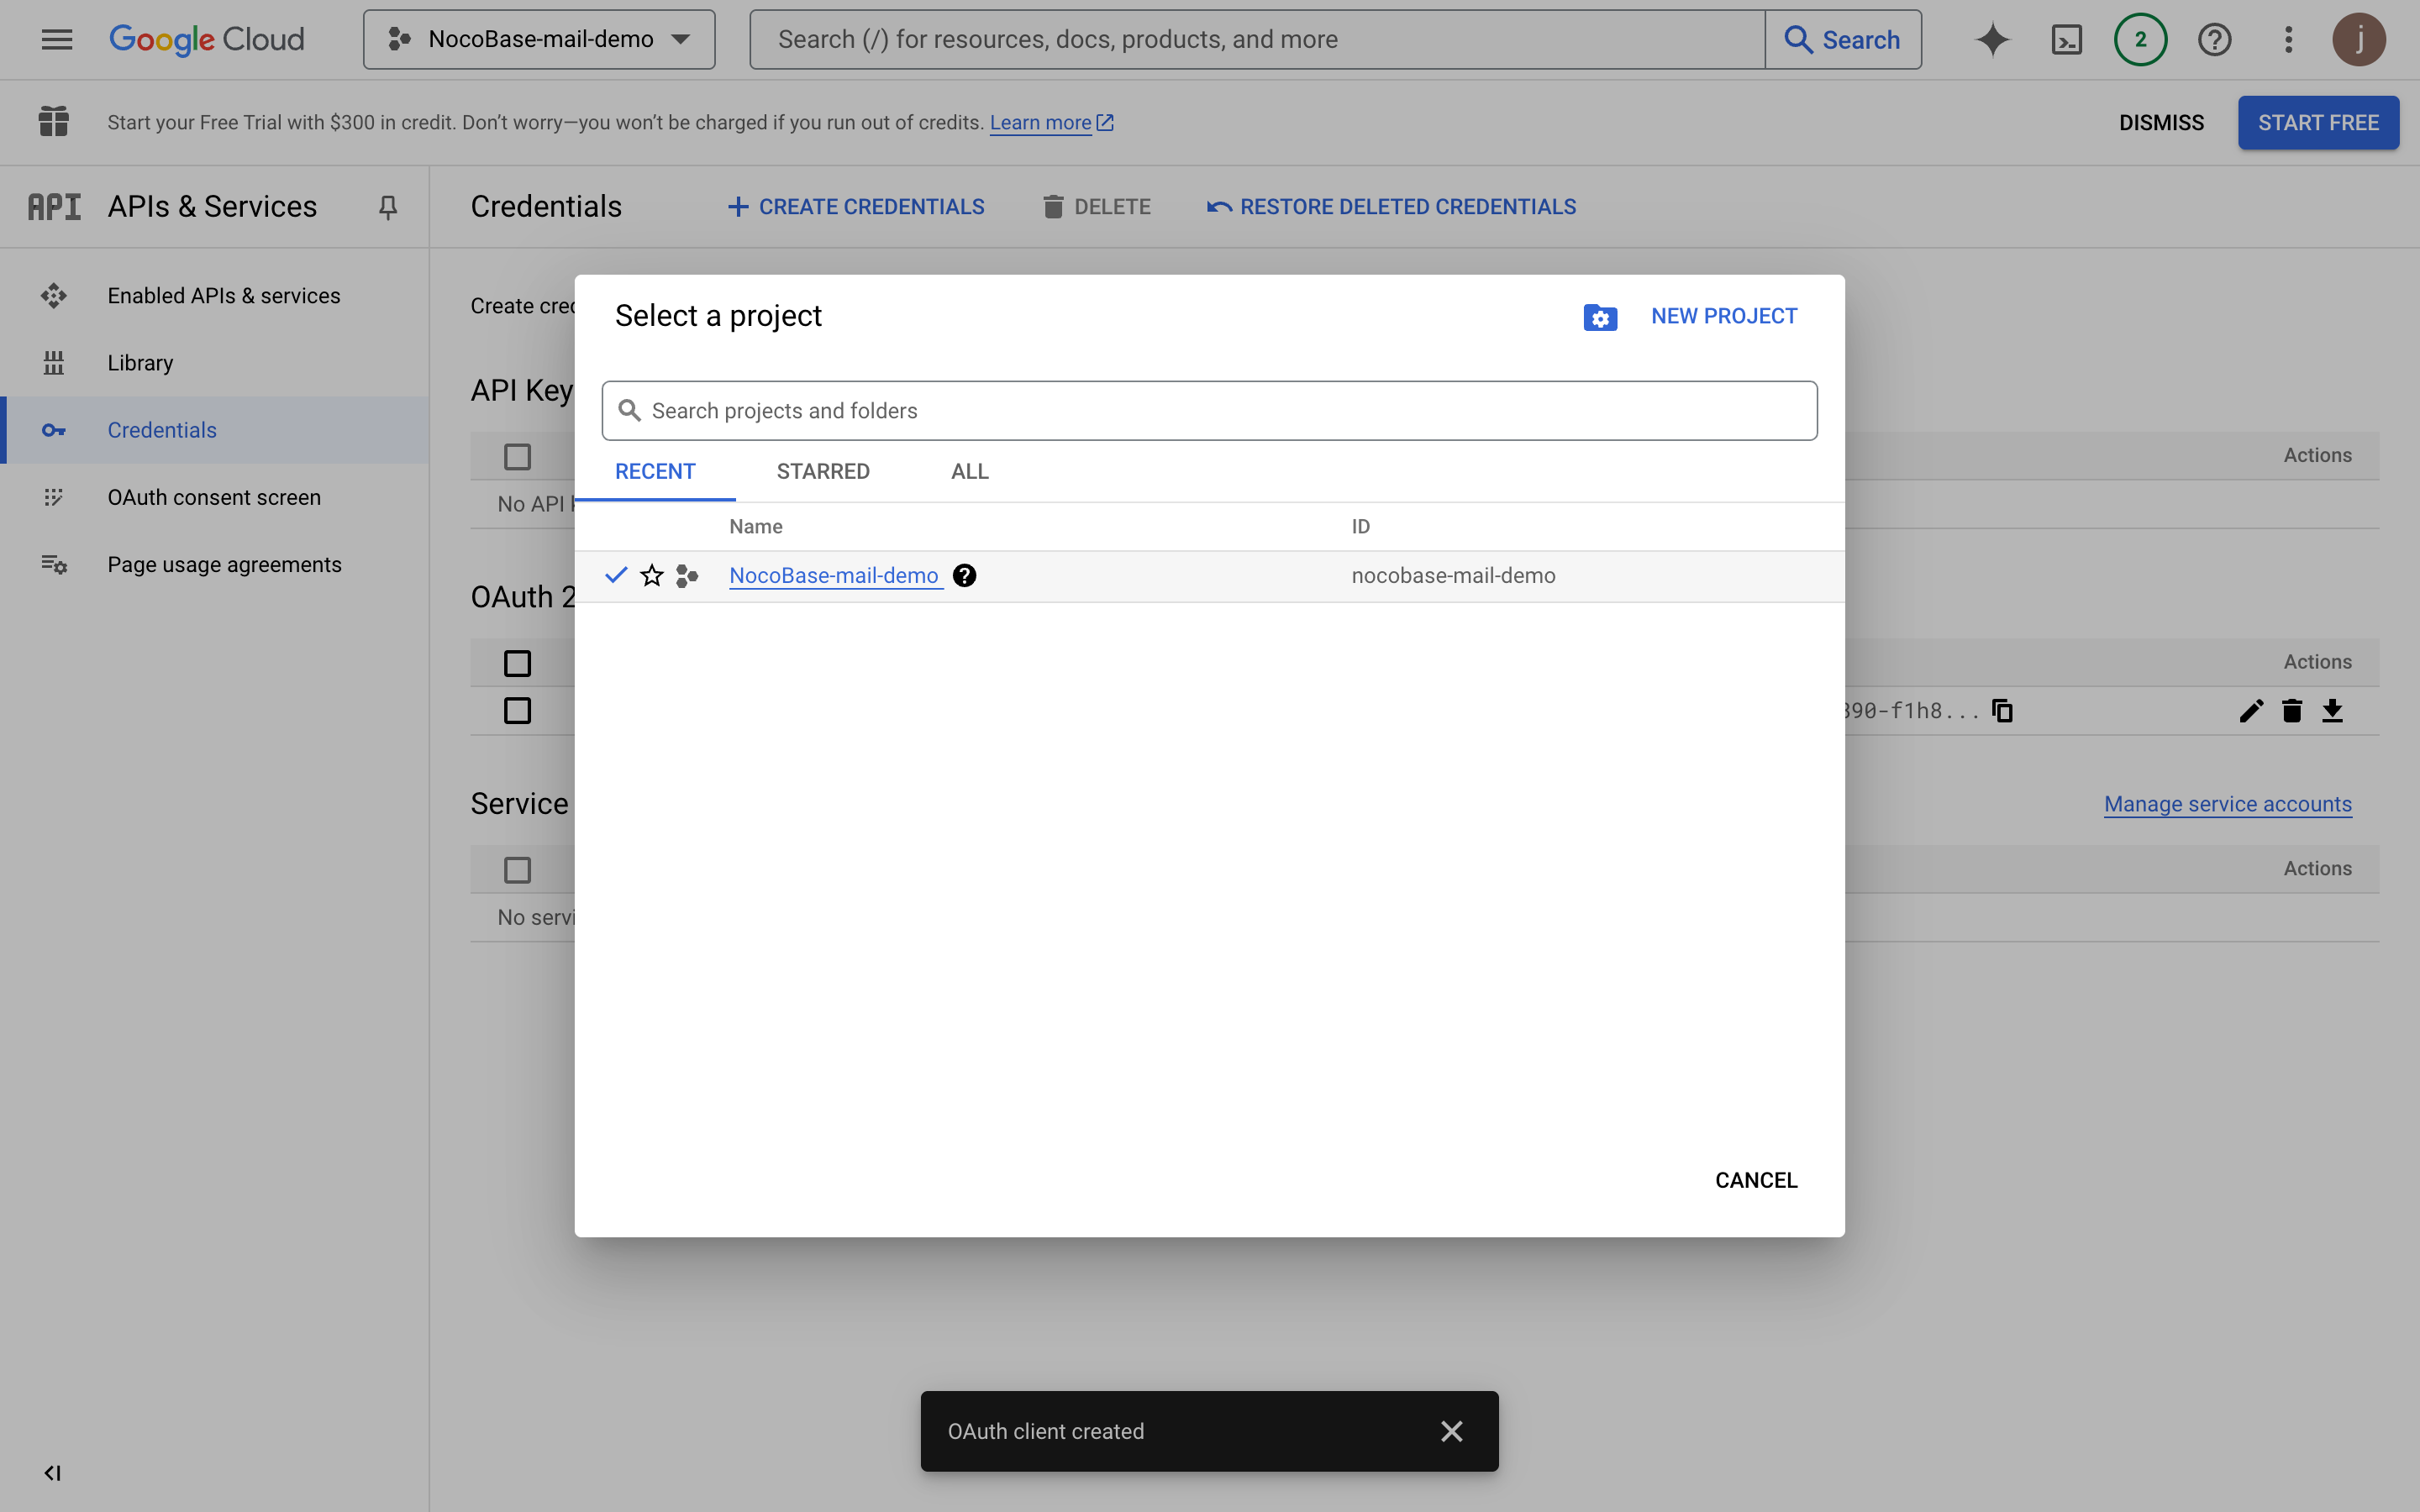
- Click "Select a project" at the top
- Click the "NEW PROJECT" button in the pop-up layer
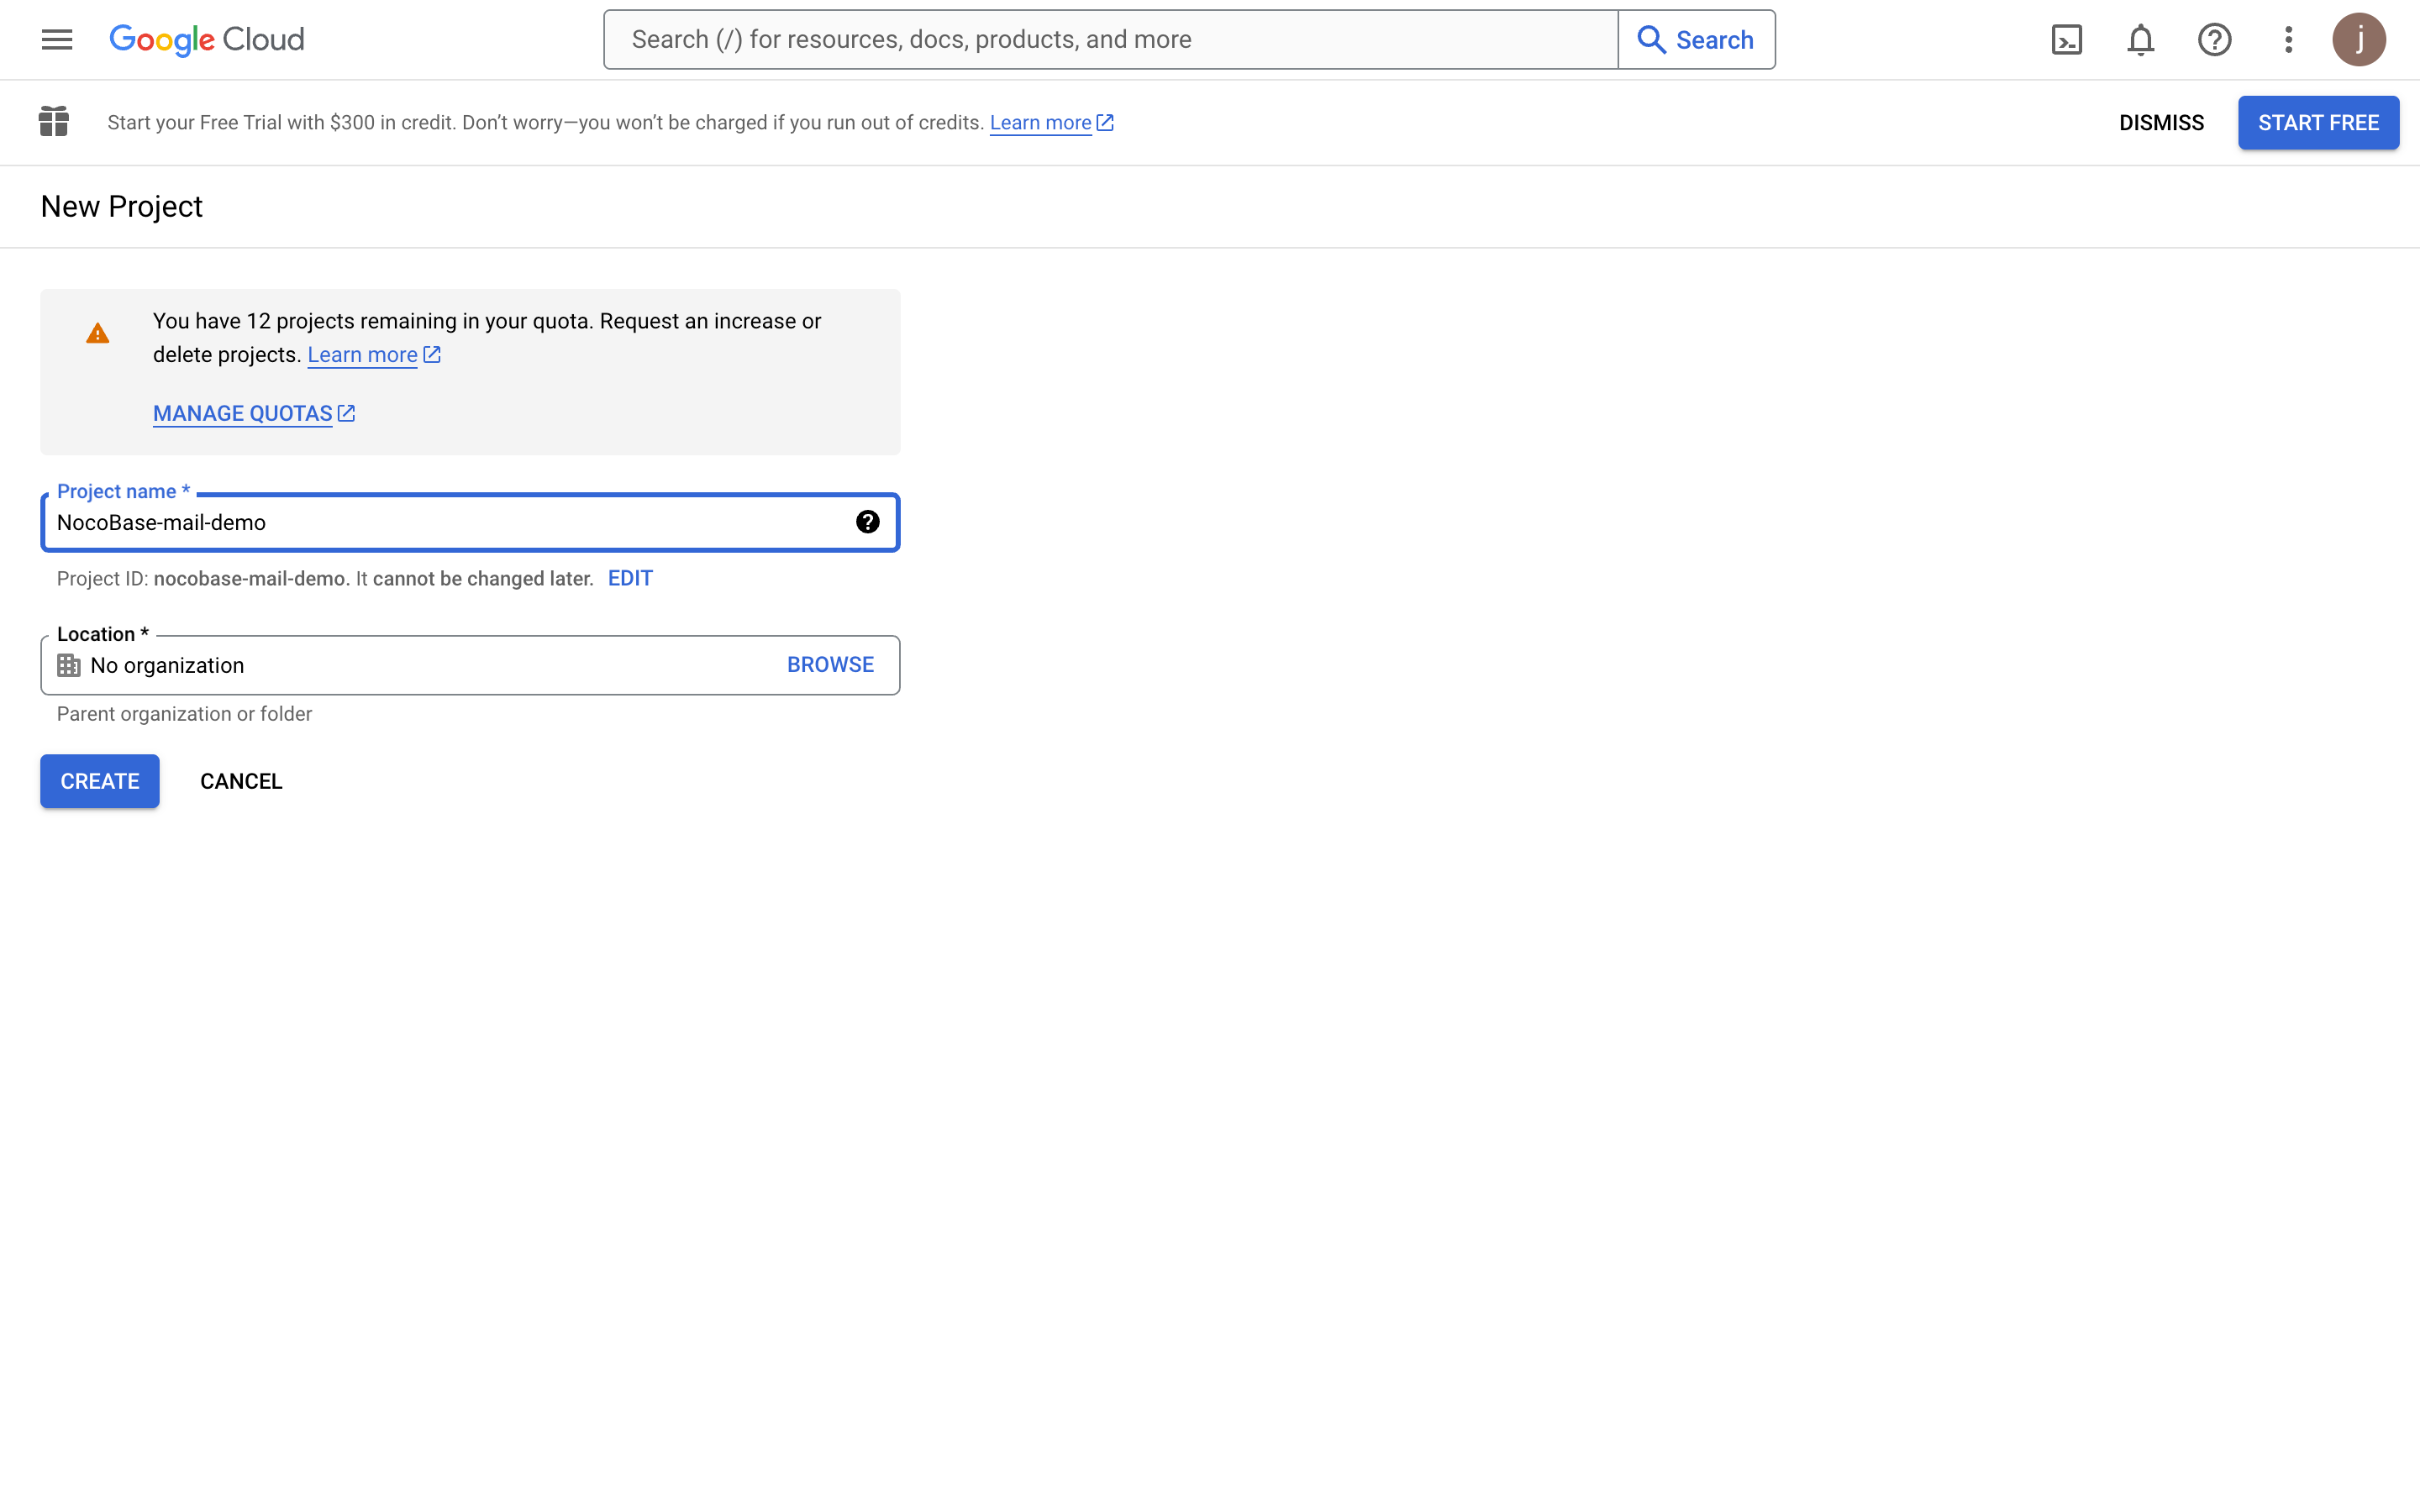
- Fill in the project information
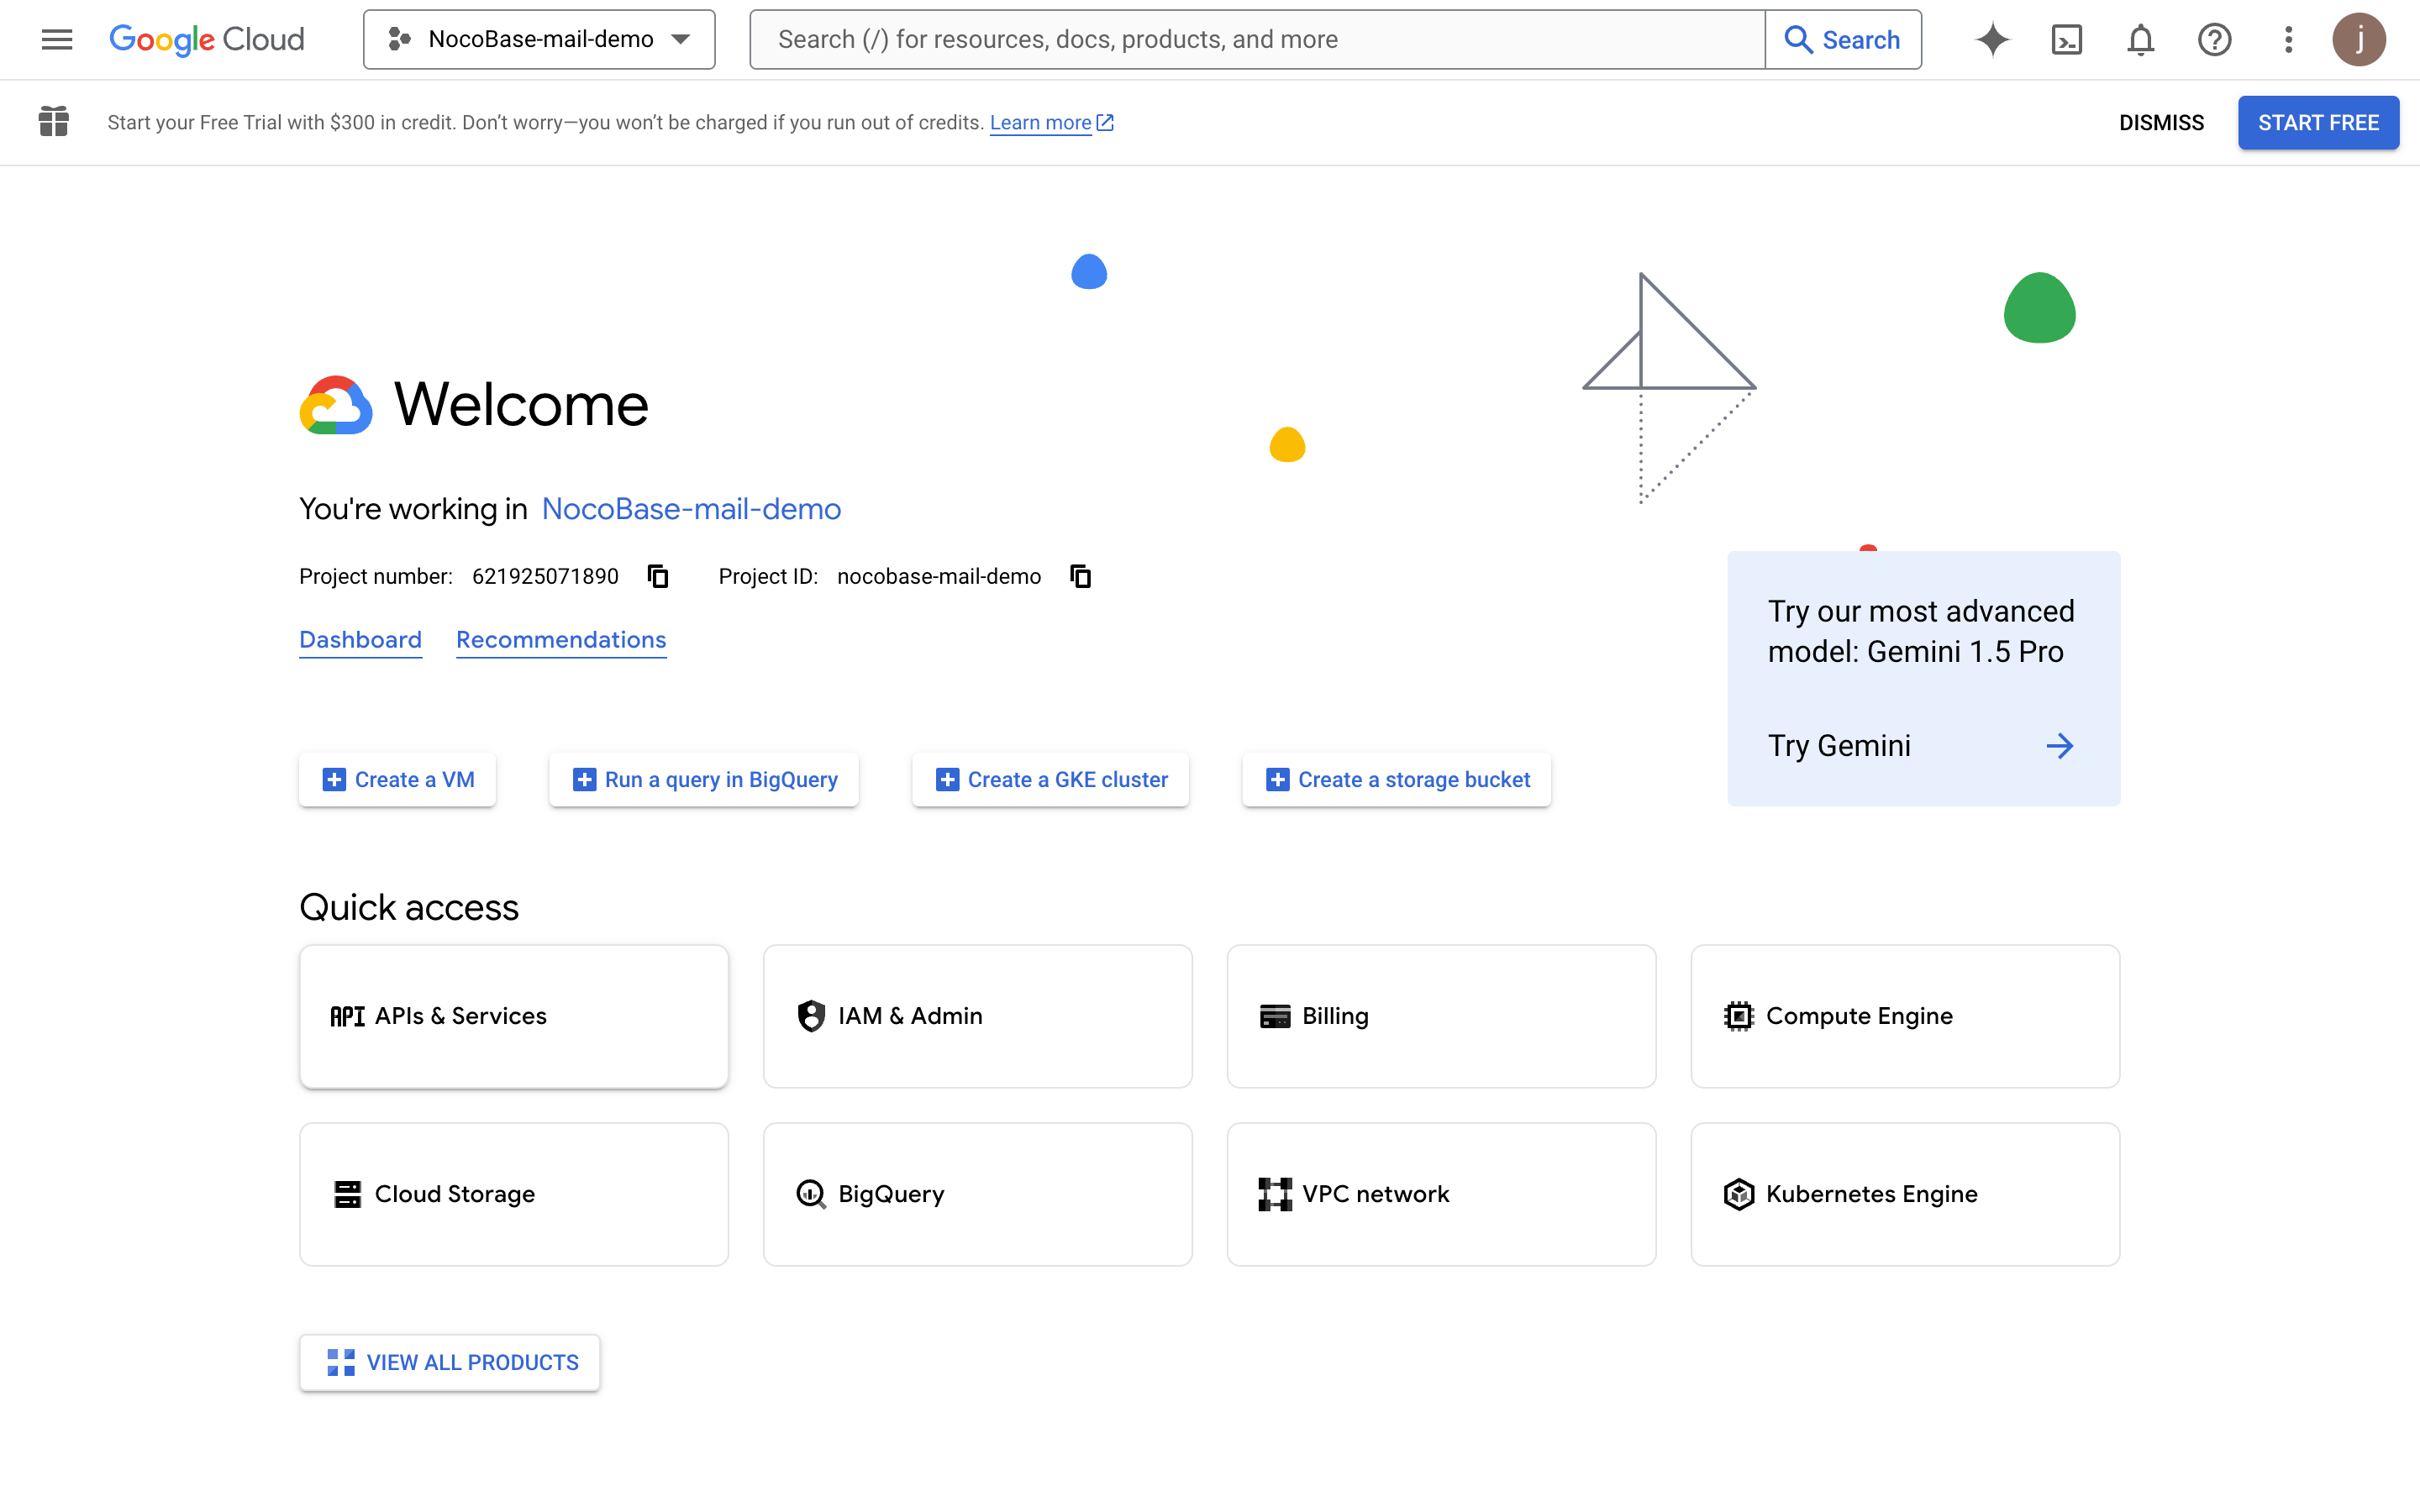
- After the project is created, select the project

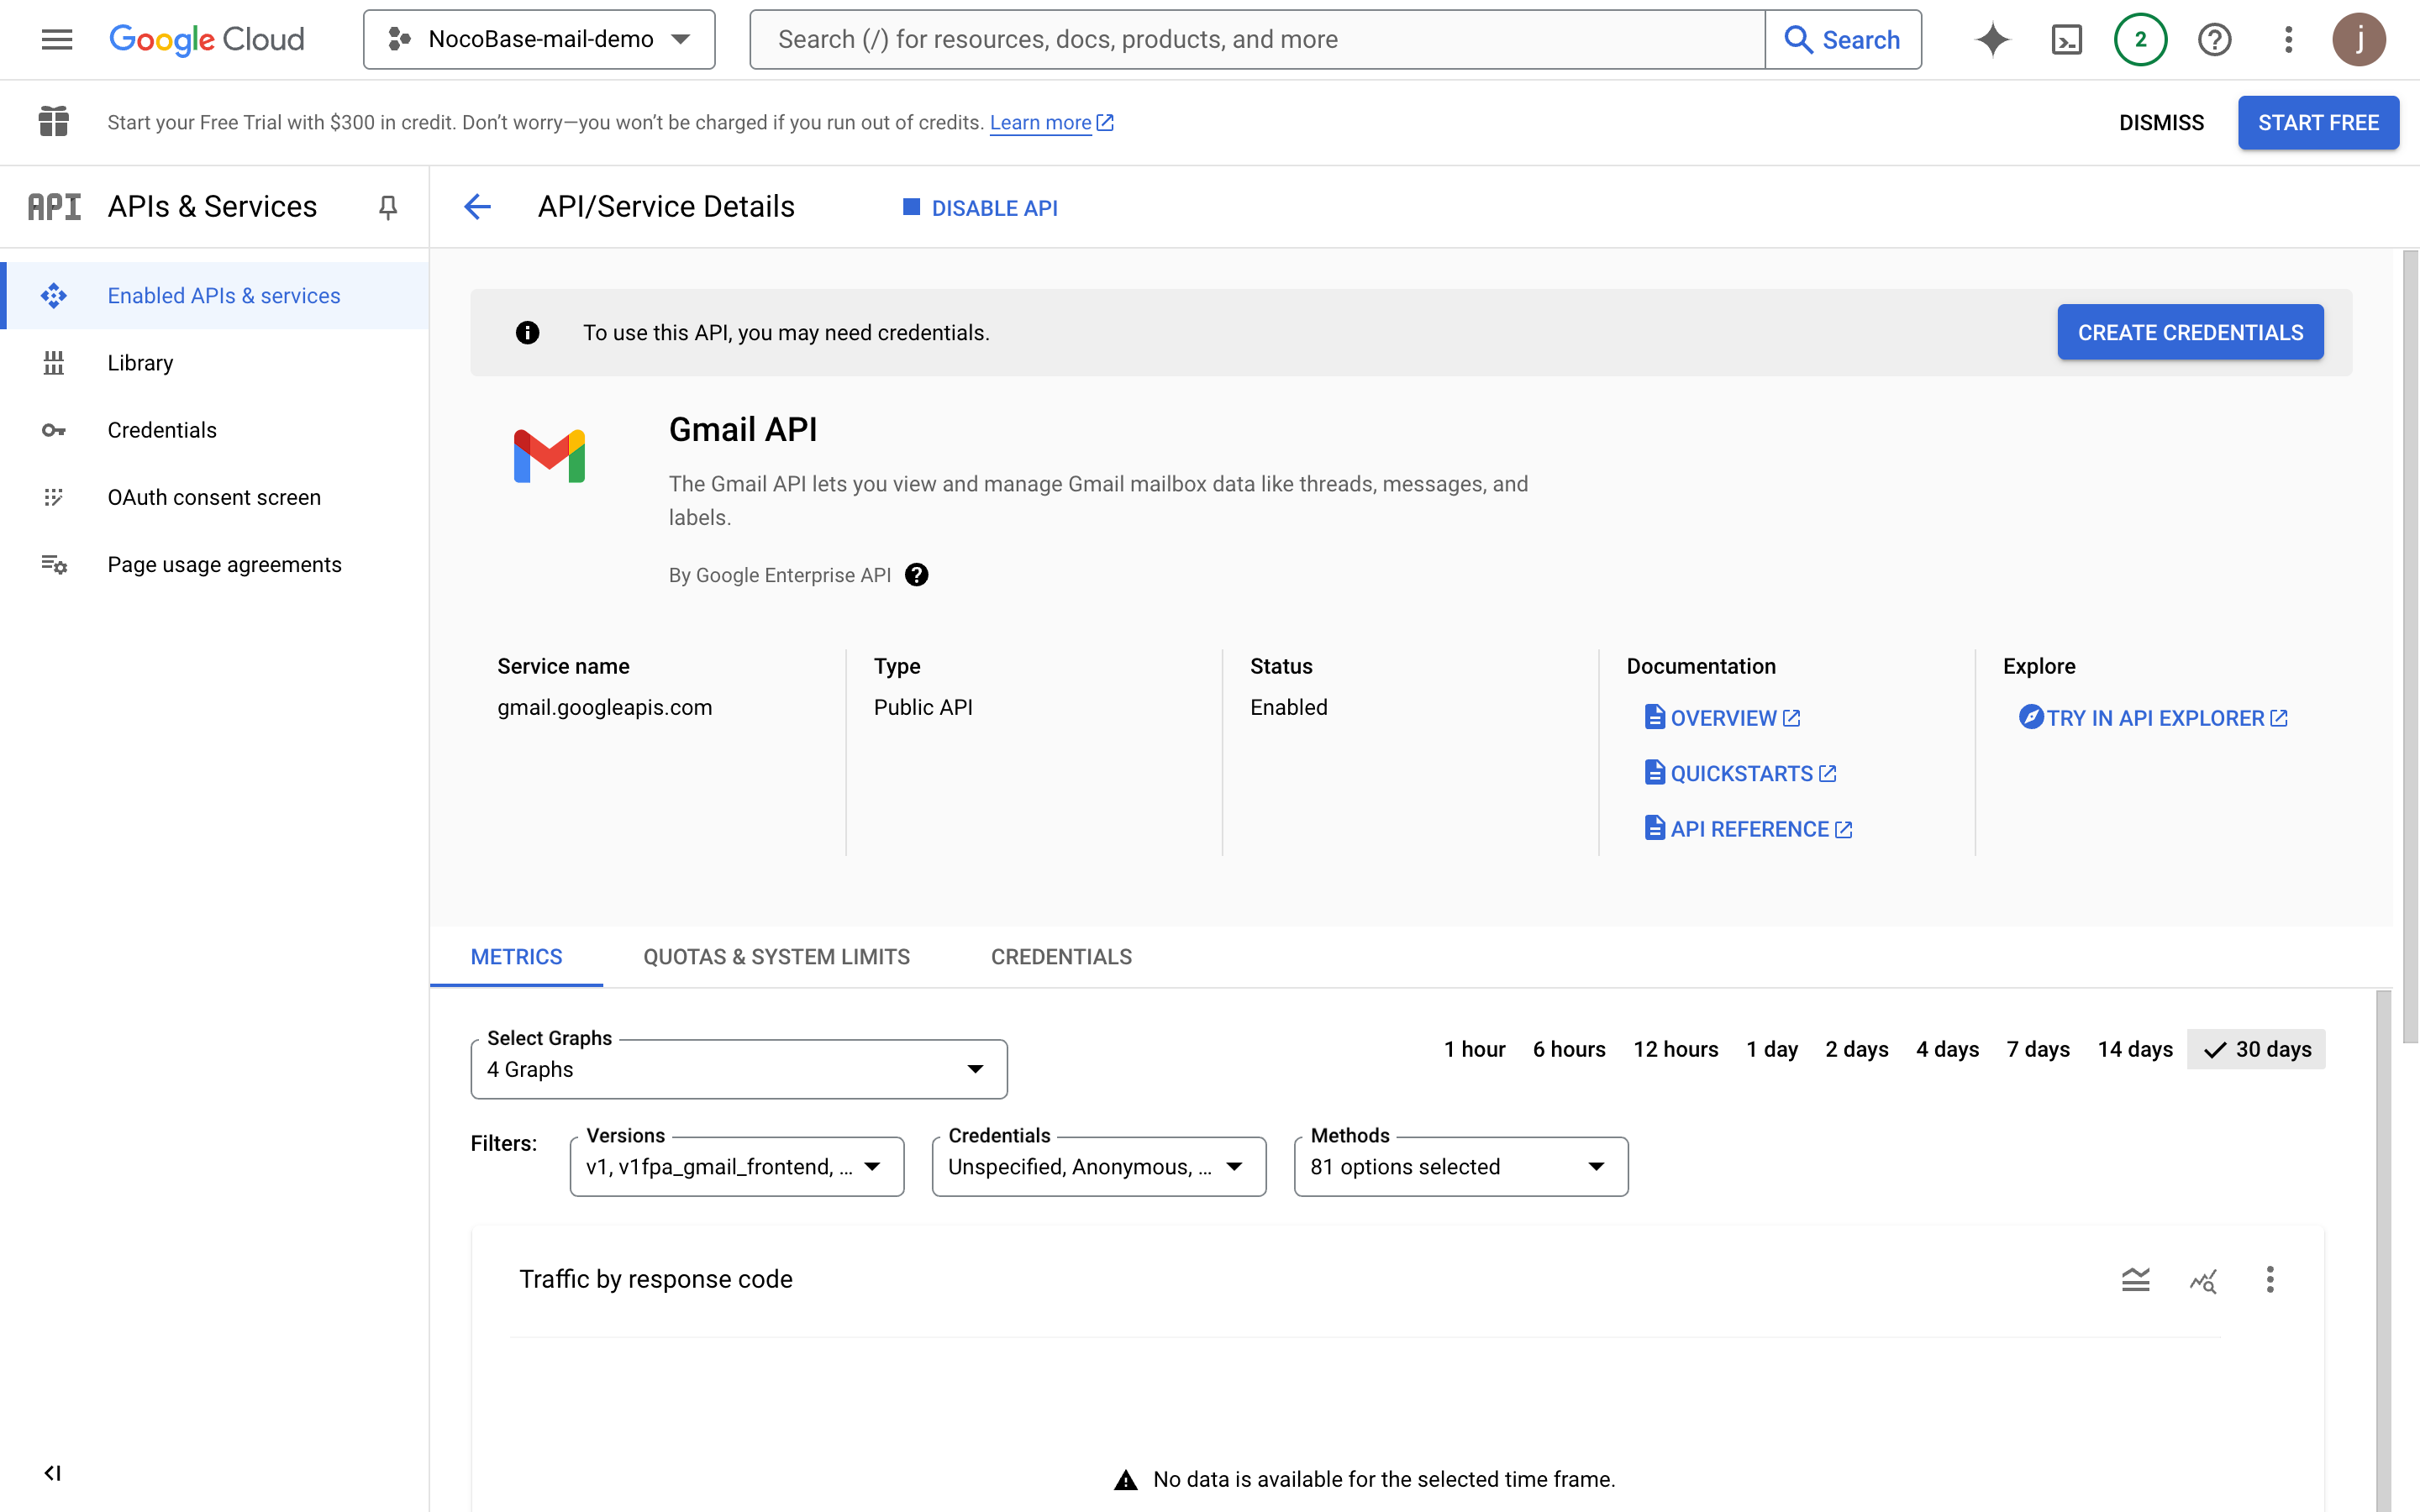
Enable Gmail API
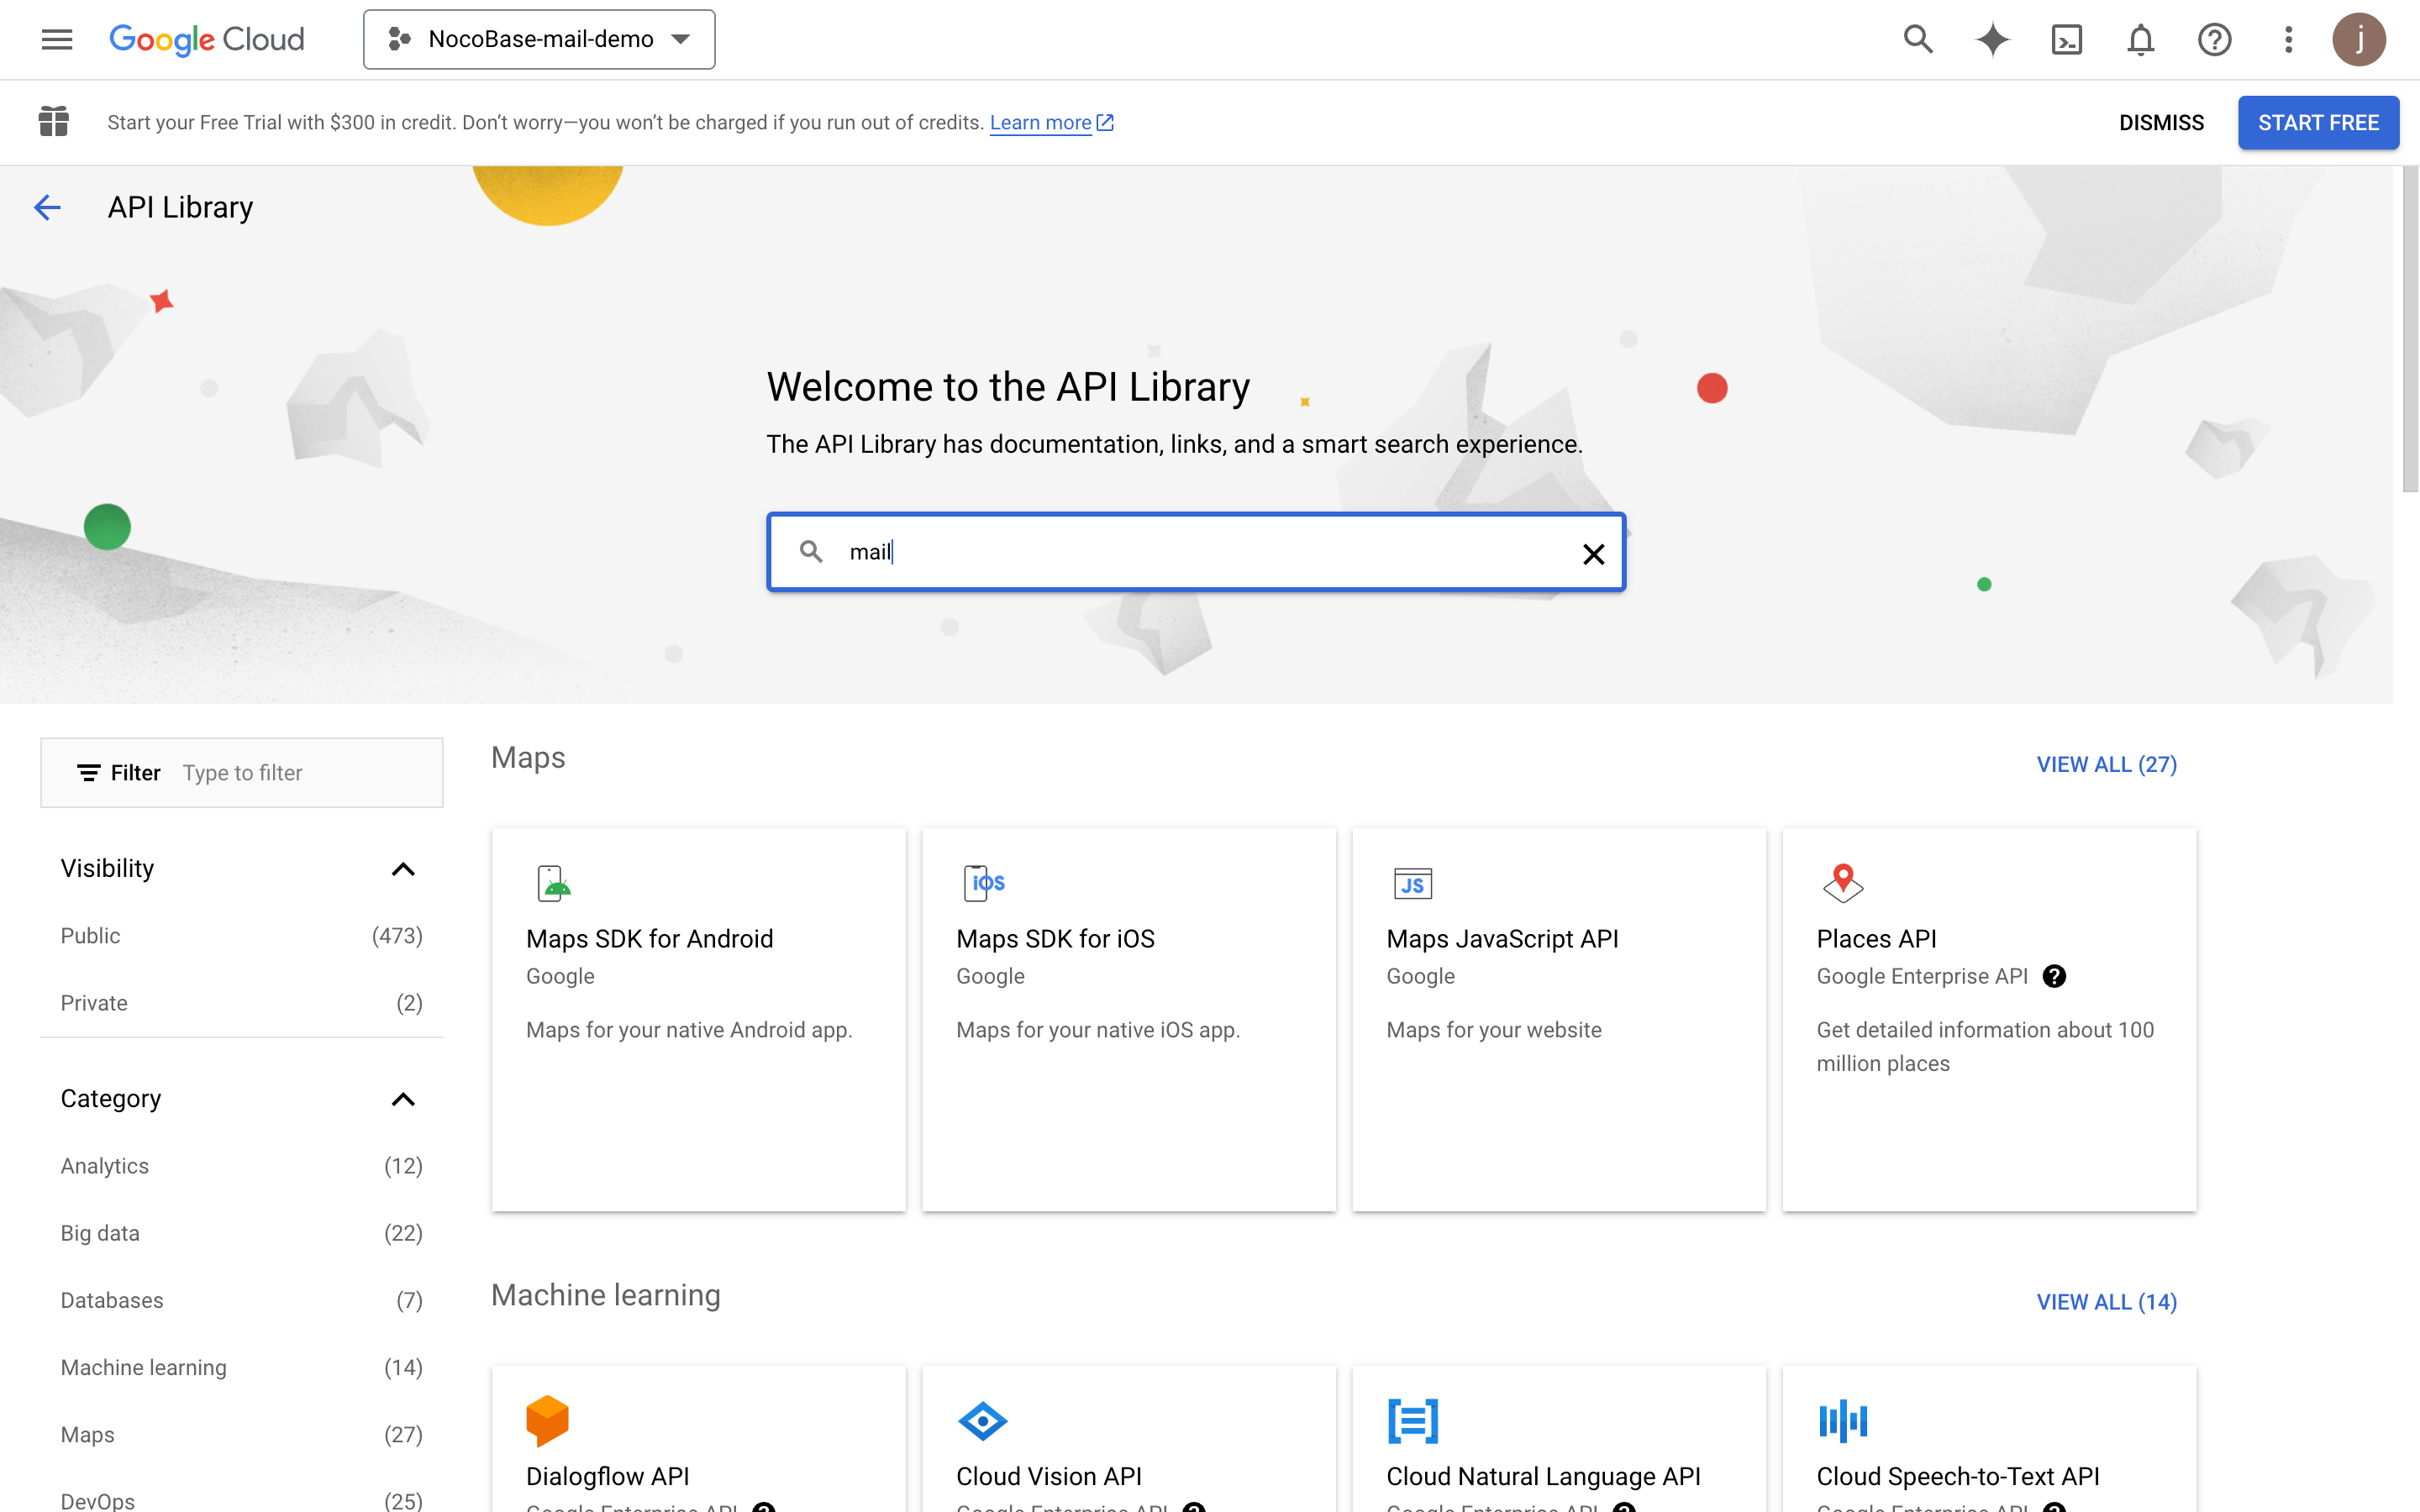
- Click the "APIs & Services" button
- Enter the APIs & Services panel

- Search for mail
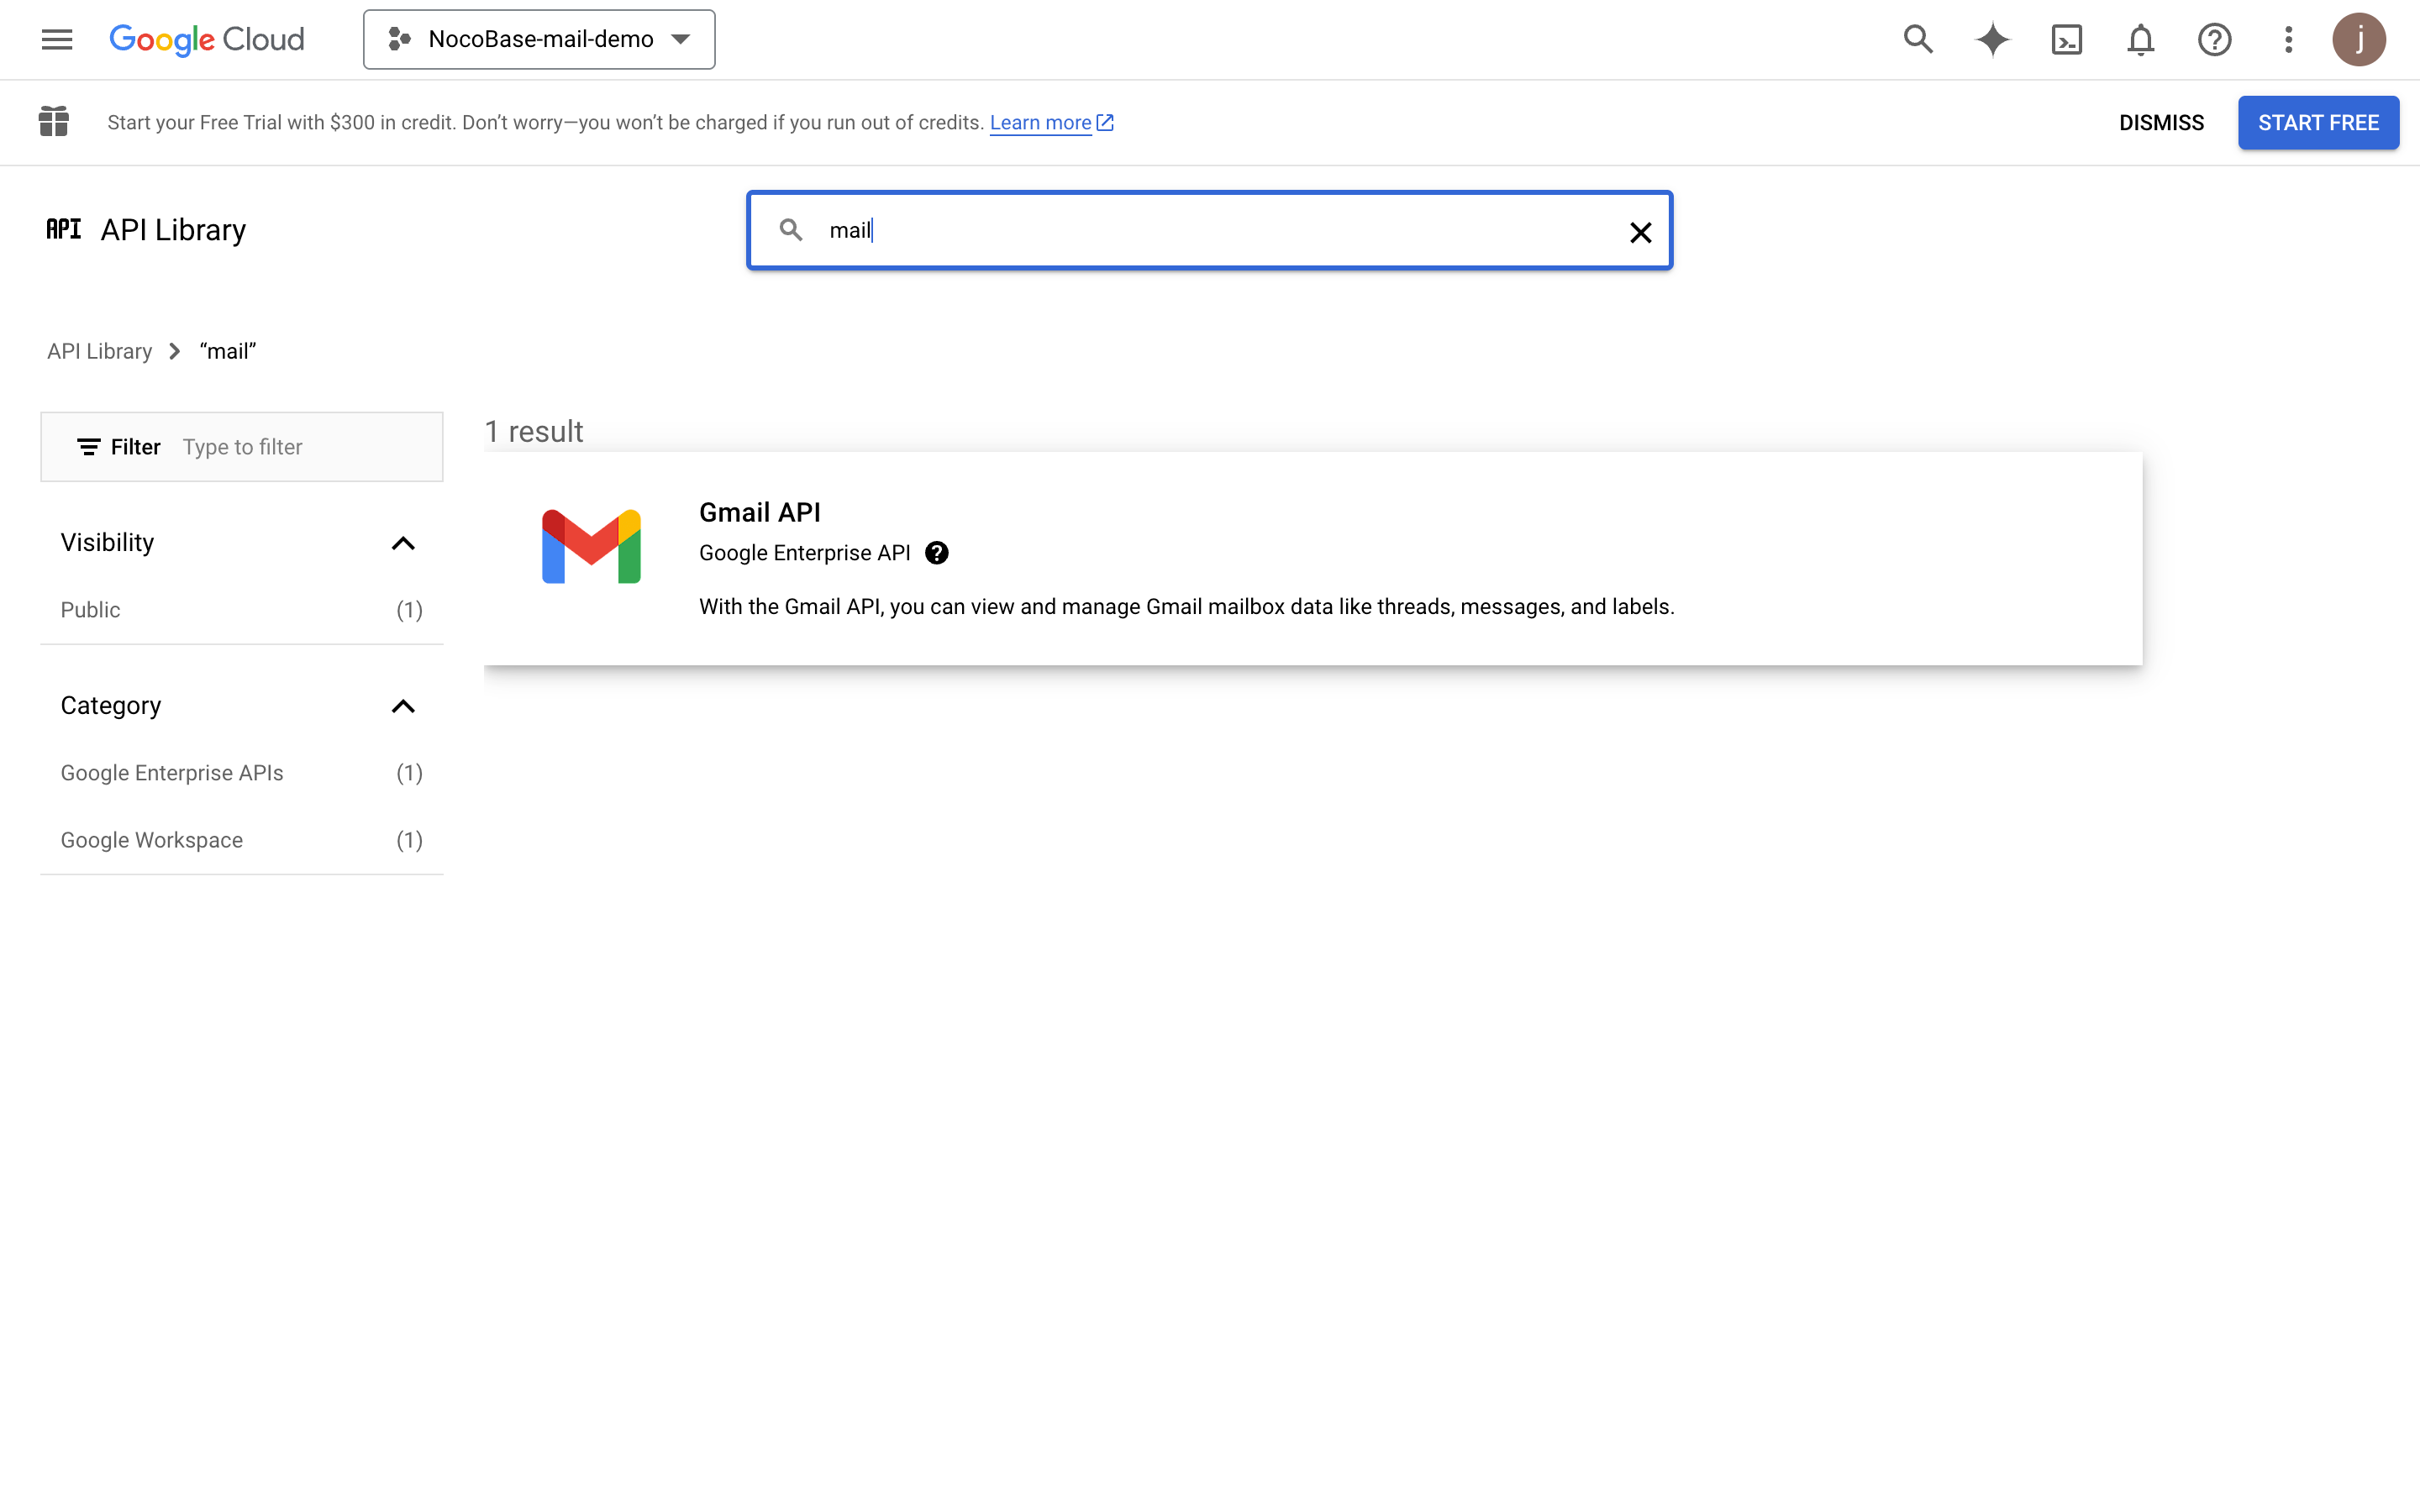
- Click the ENABLE button to enable Gmail API

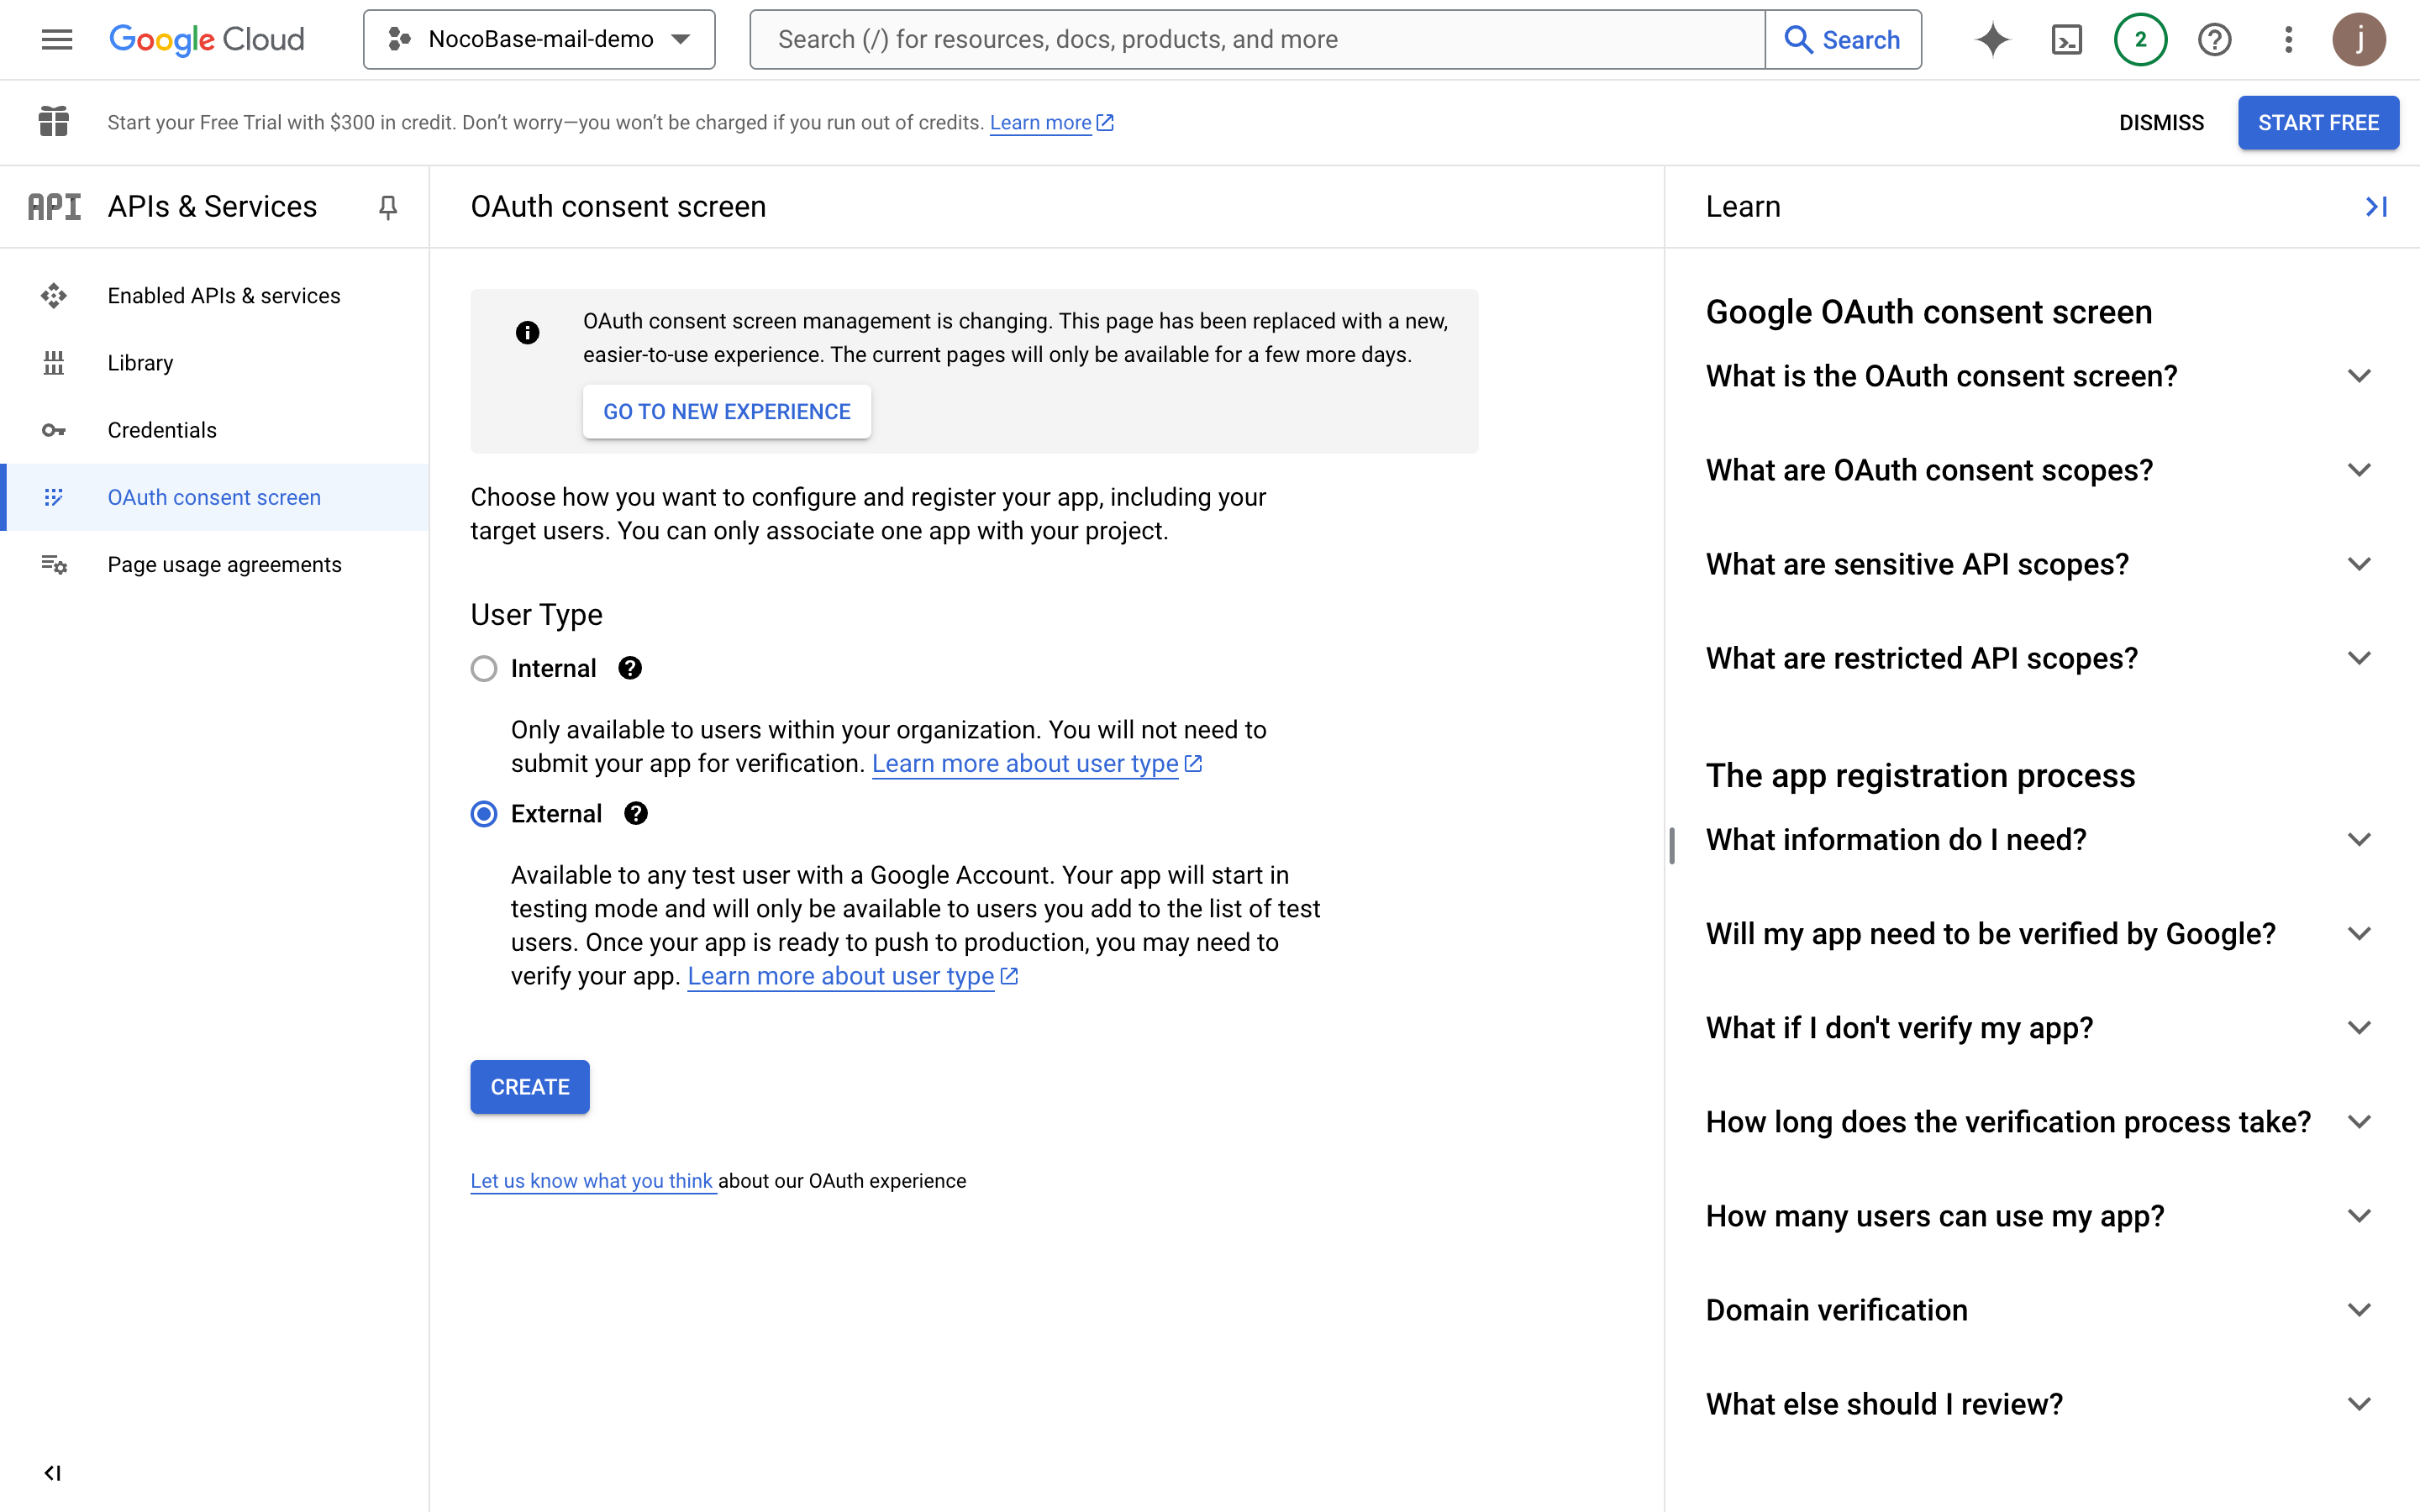
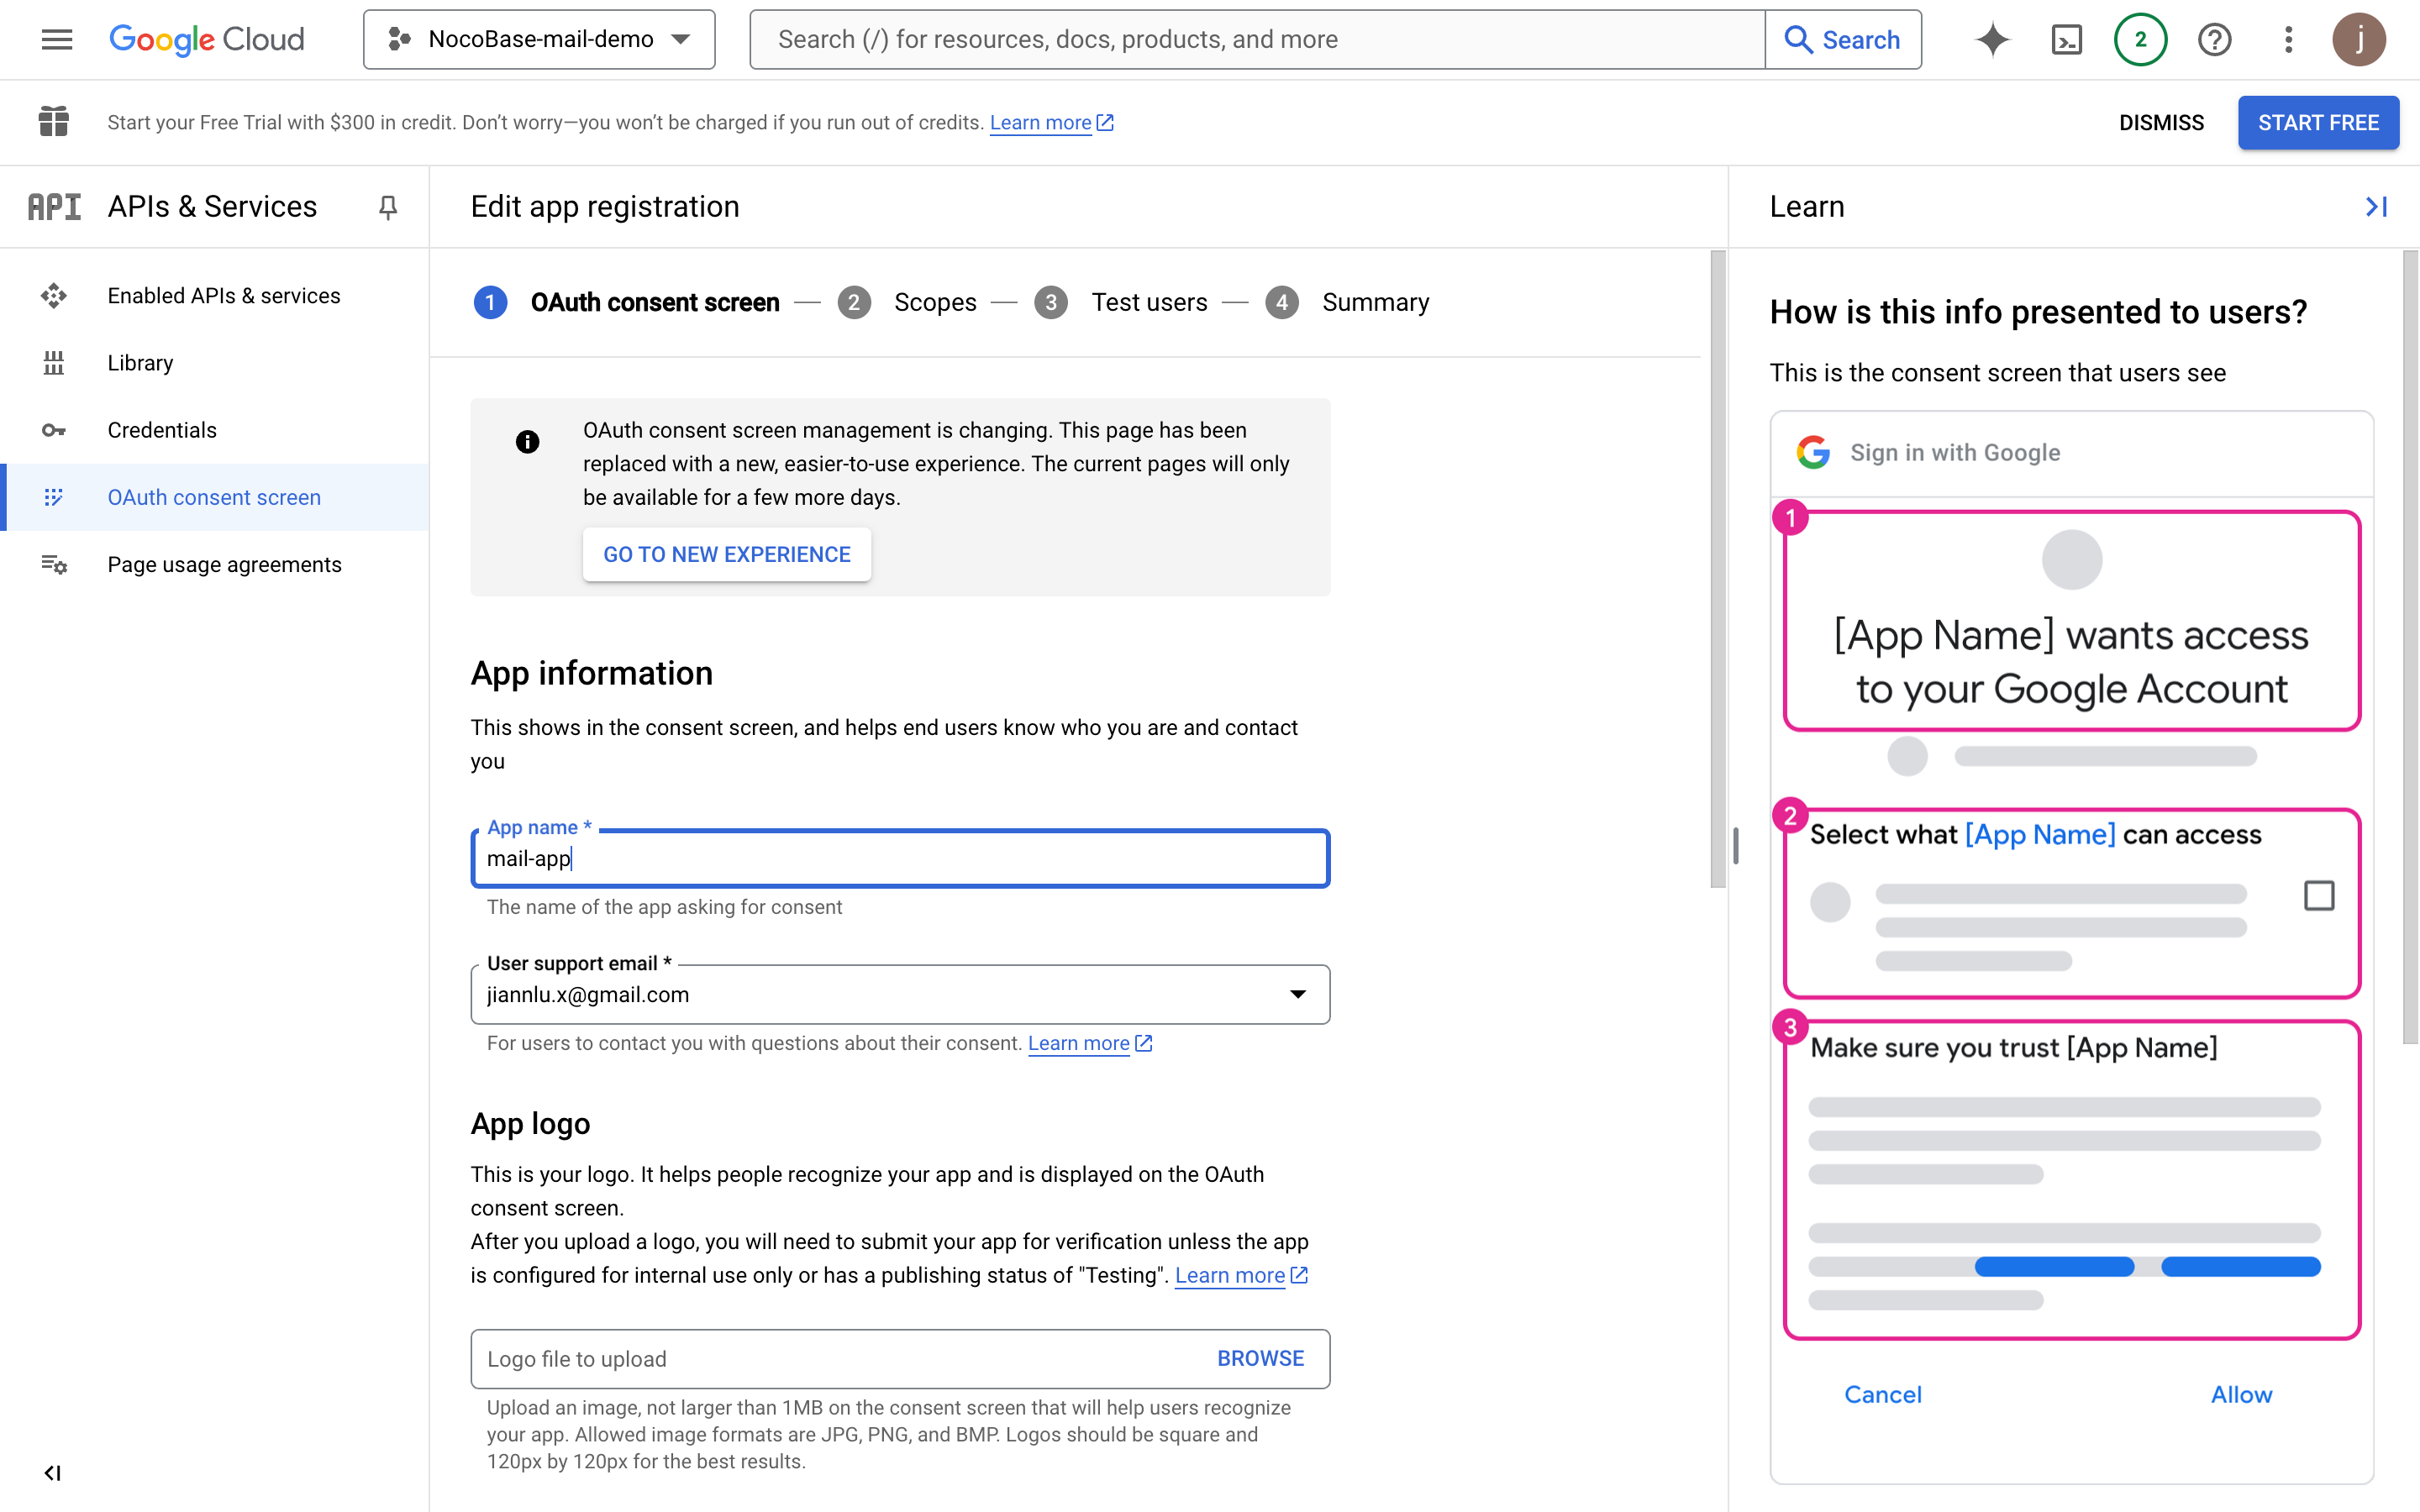
Configure OAuth Consent Screen
- Click the "OAuth consent screen" menu on the left
- Select External
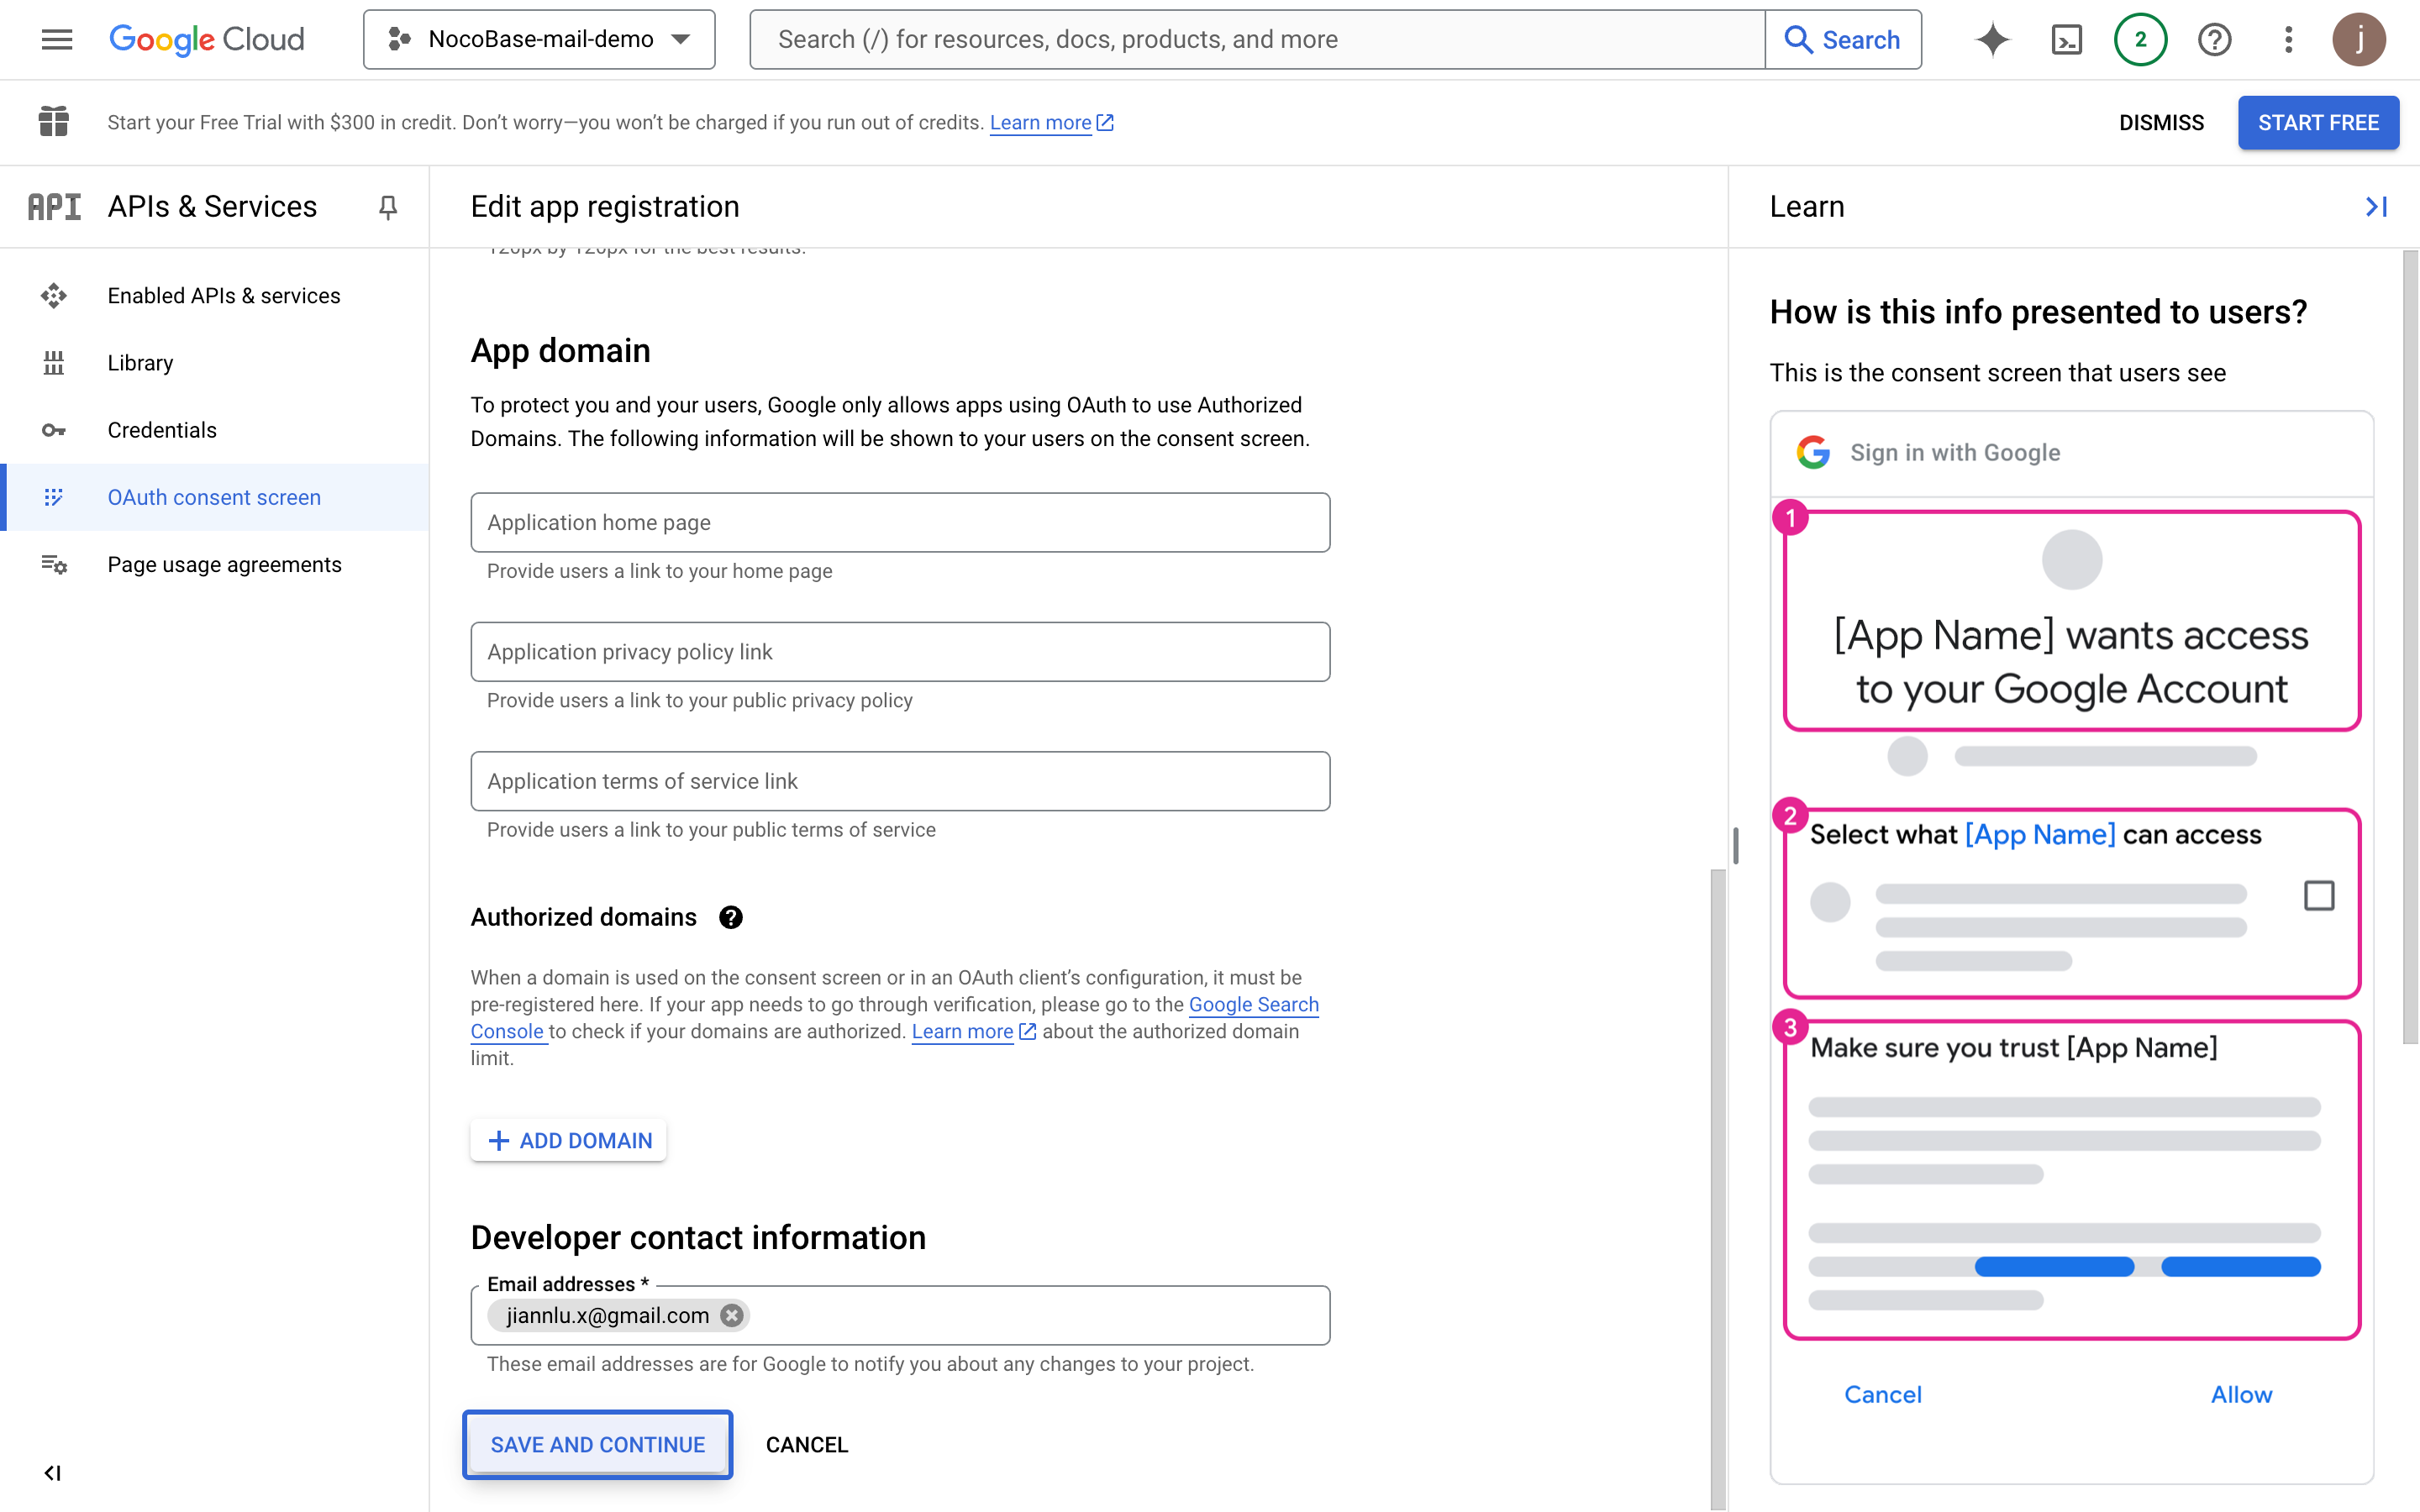
- Fill in the project information (for display on the subsequent authorization page) and click save
- Fill in Developer contact information and click continue
- Click continue
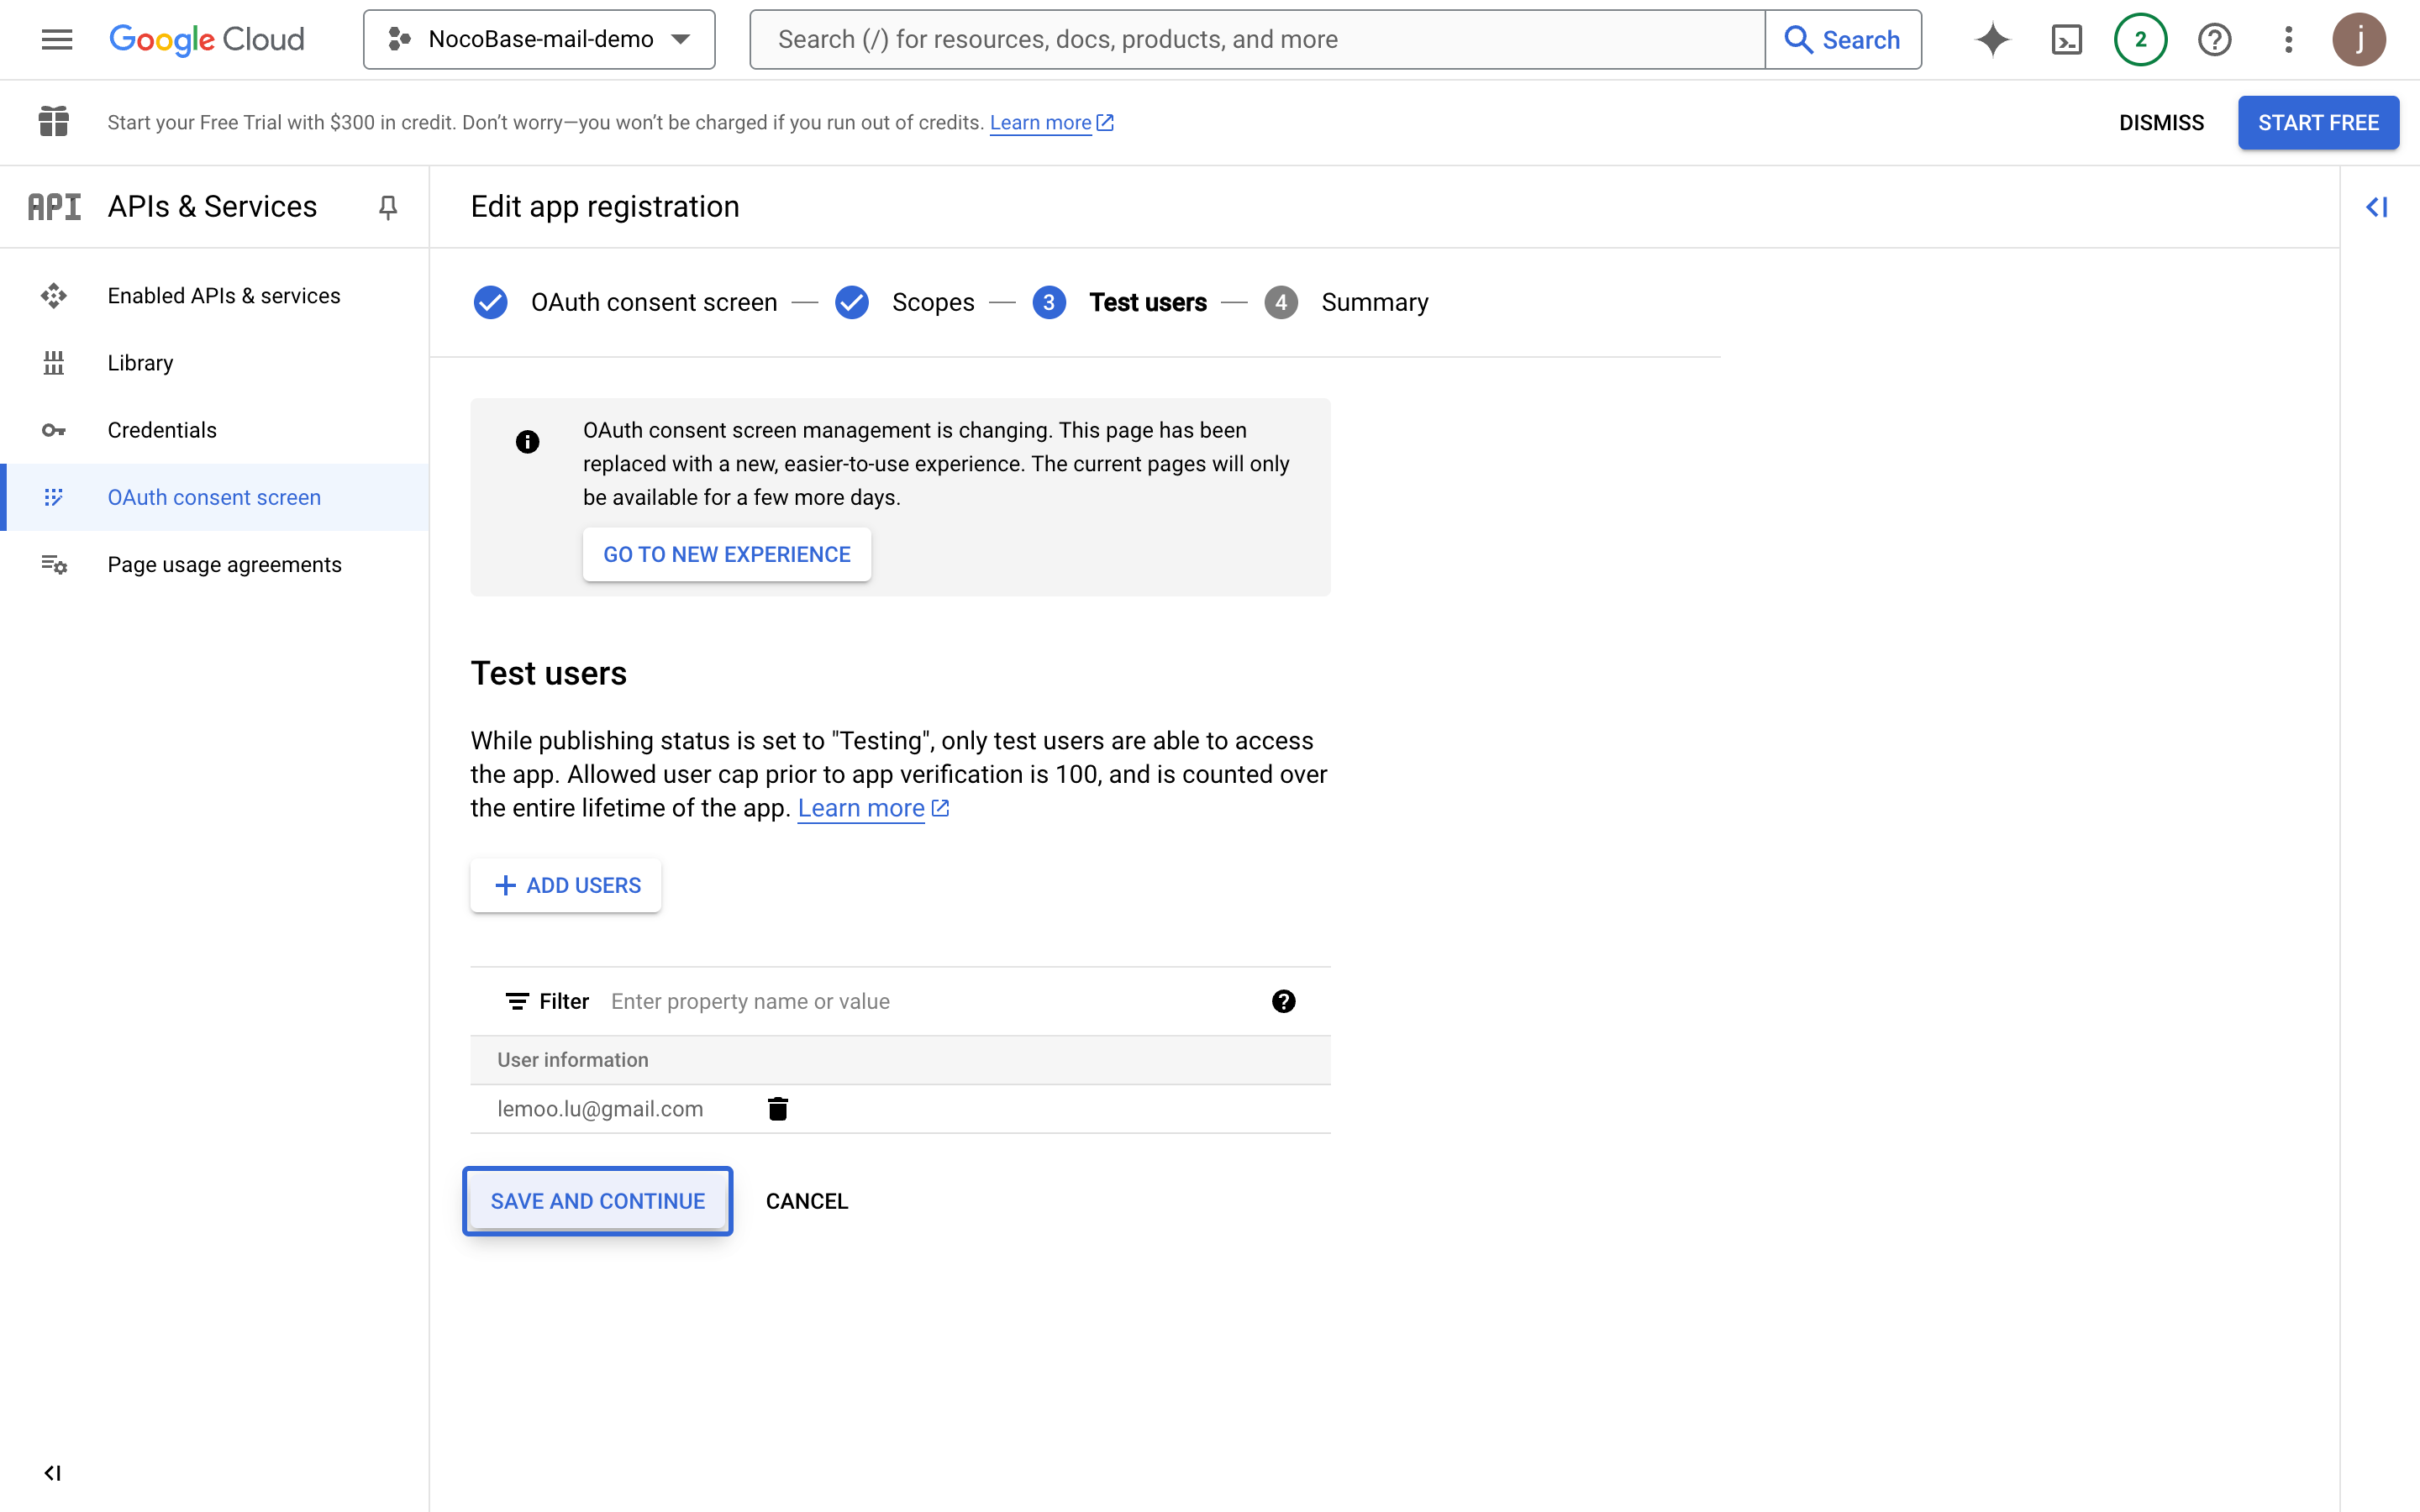
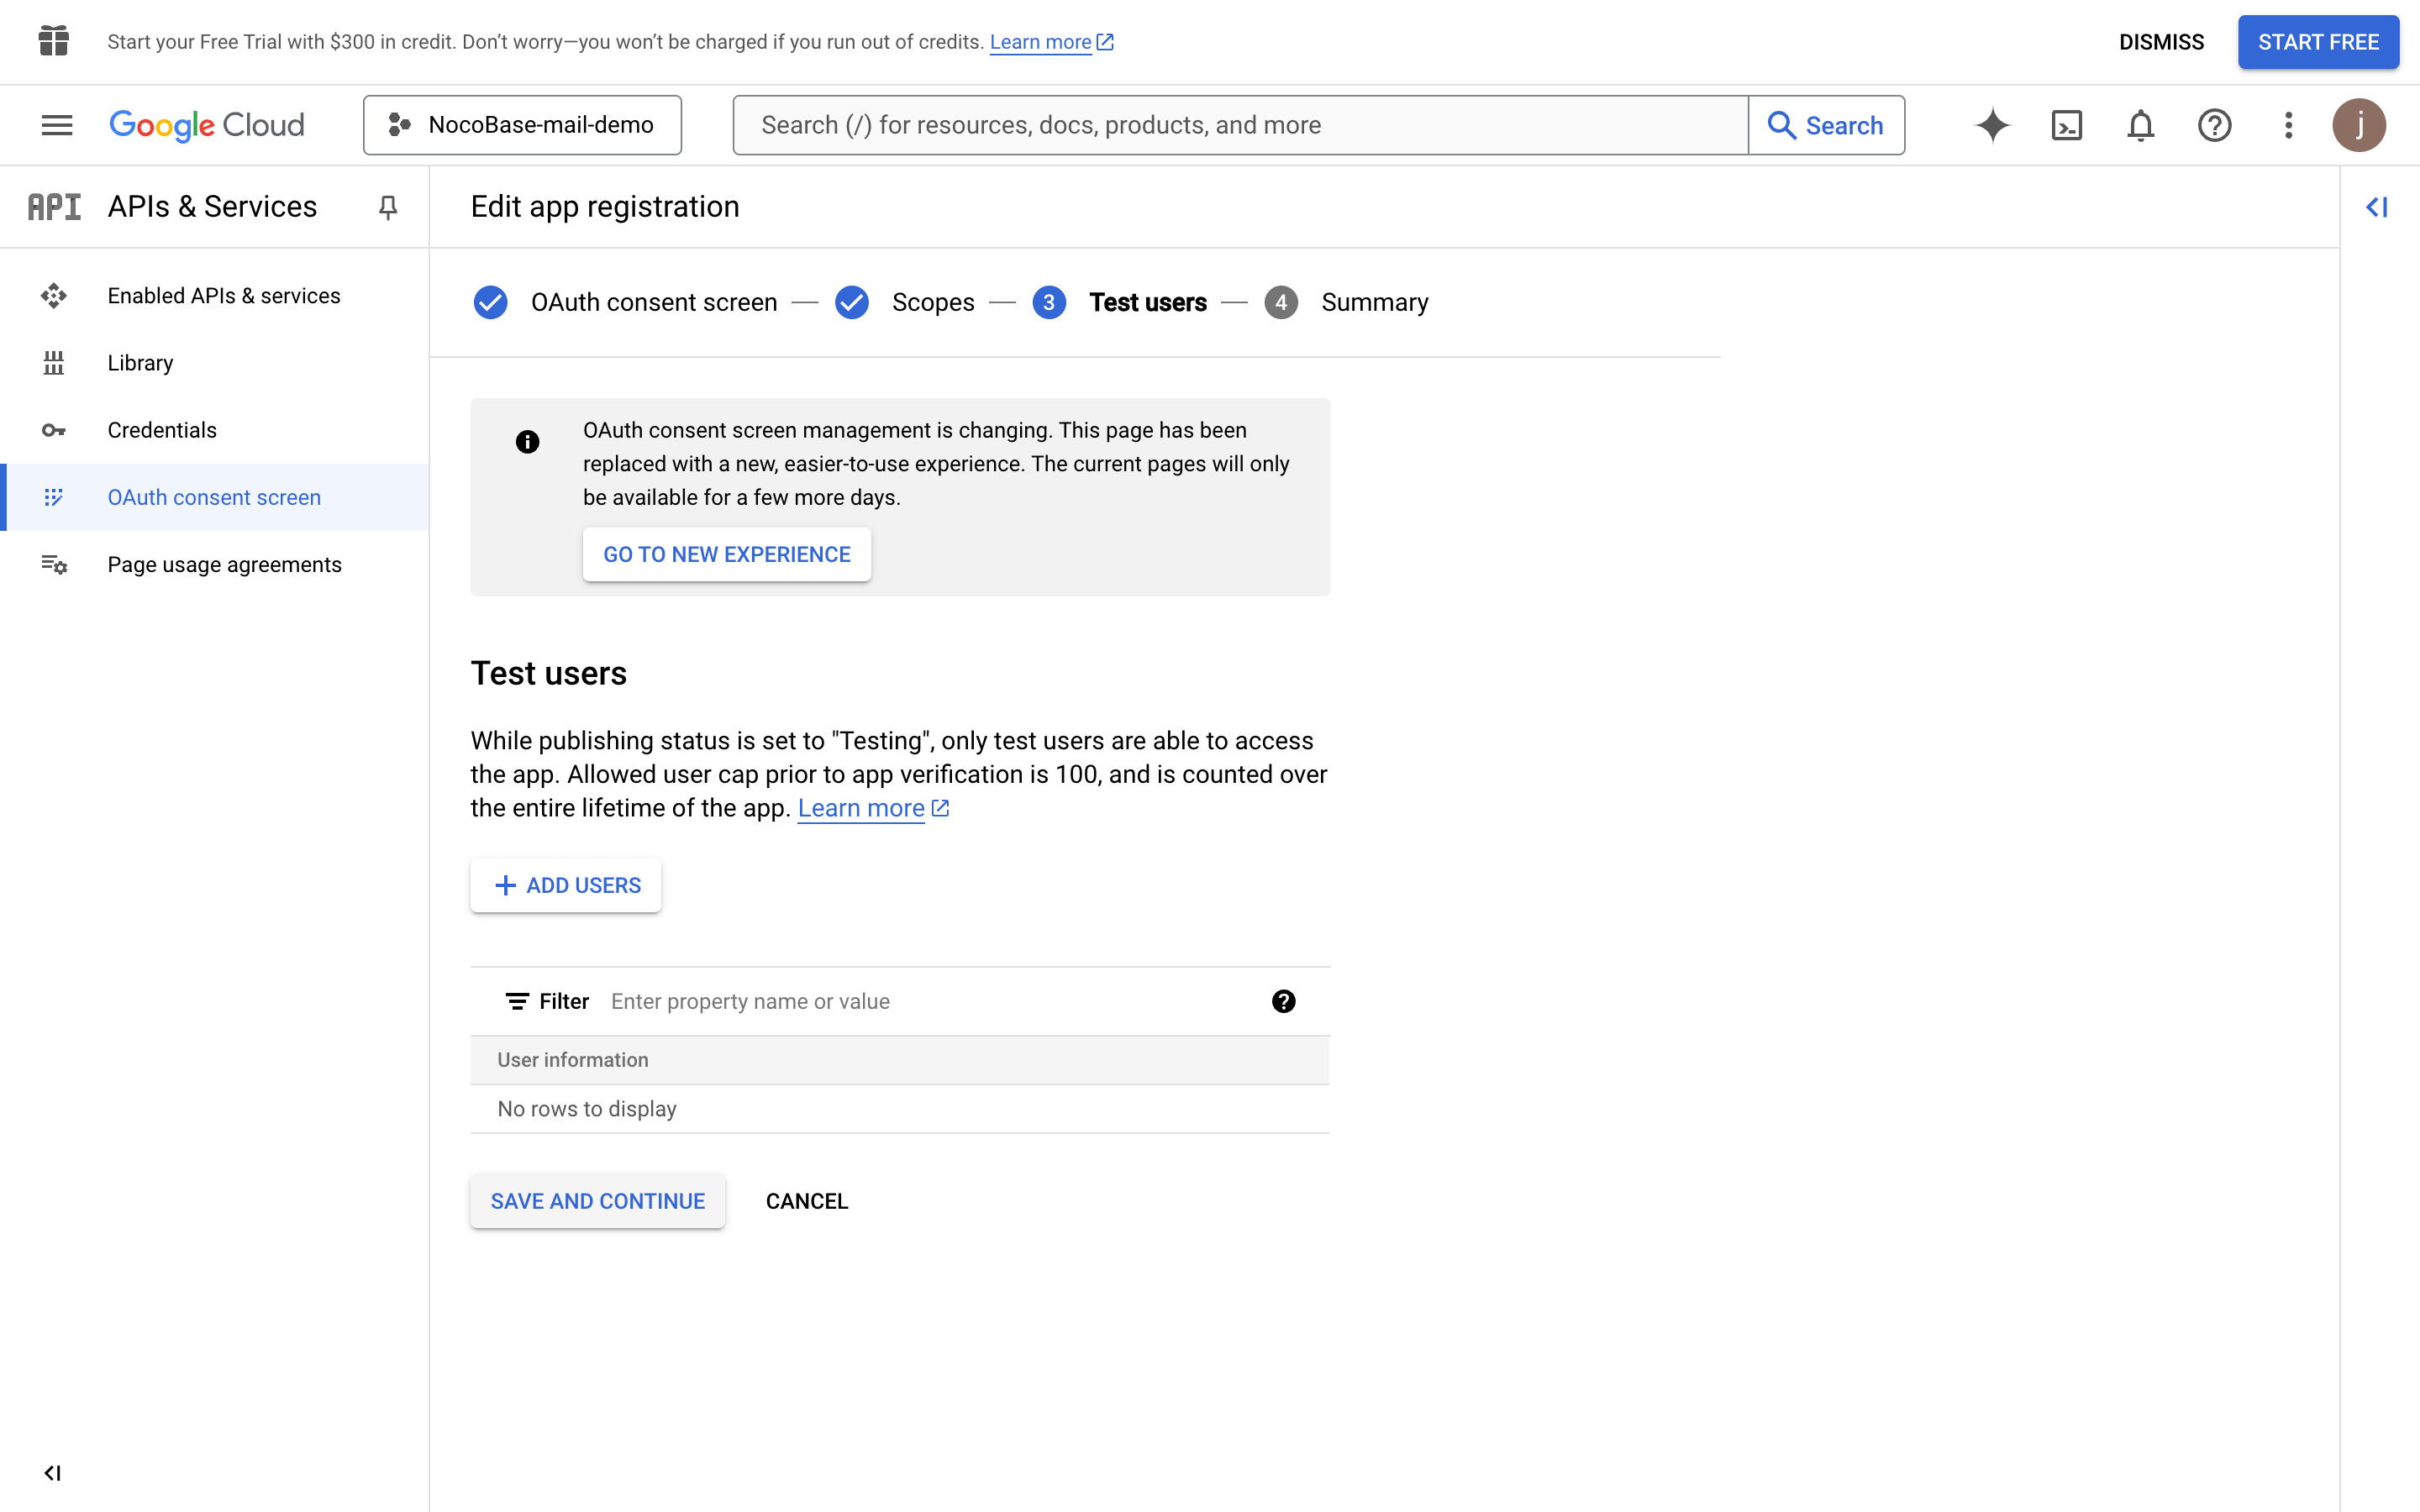
- Add test users for testing before app publication
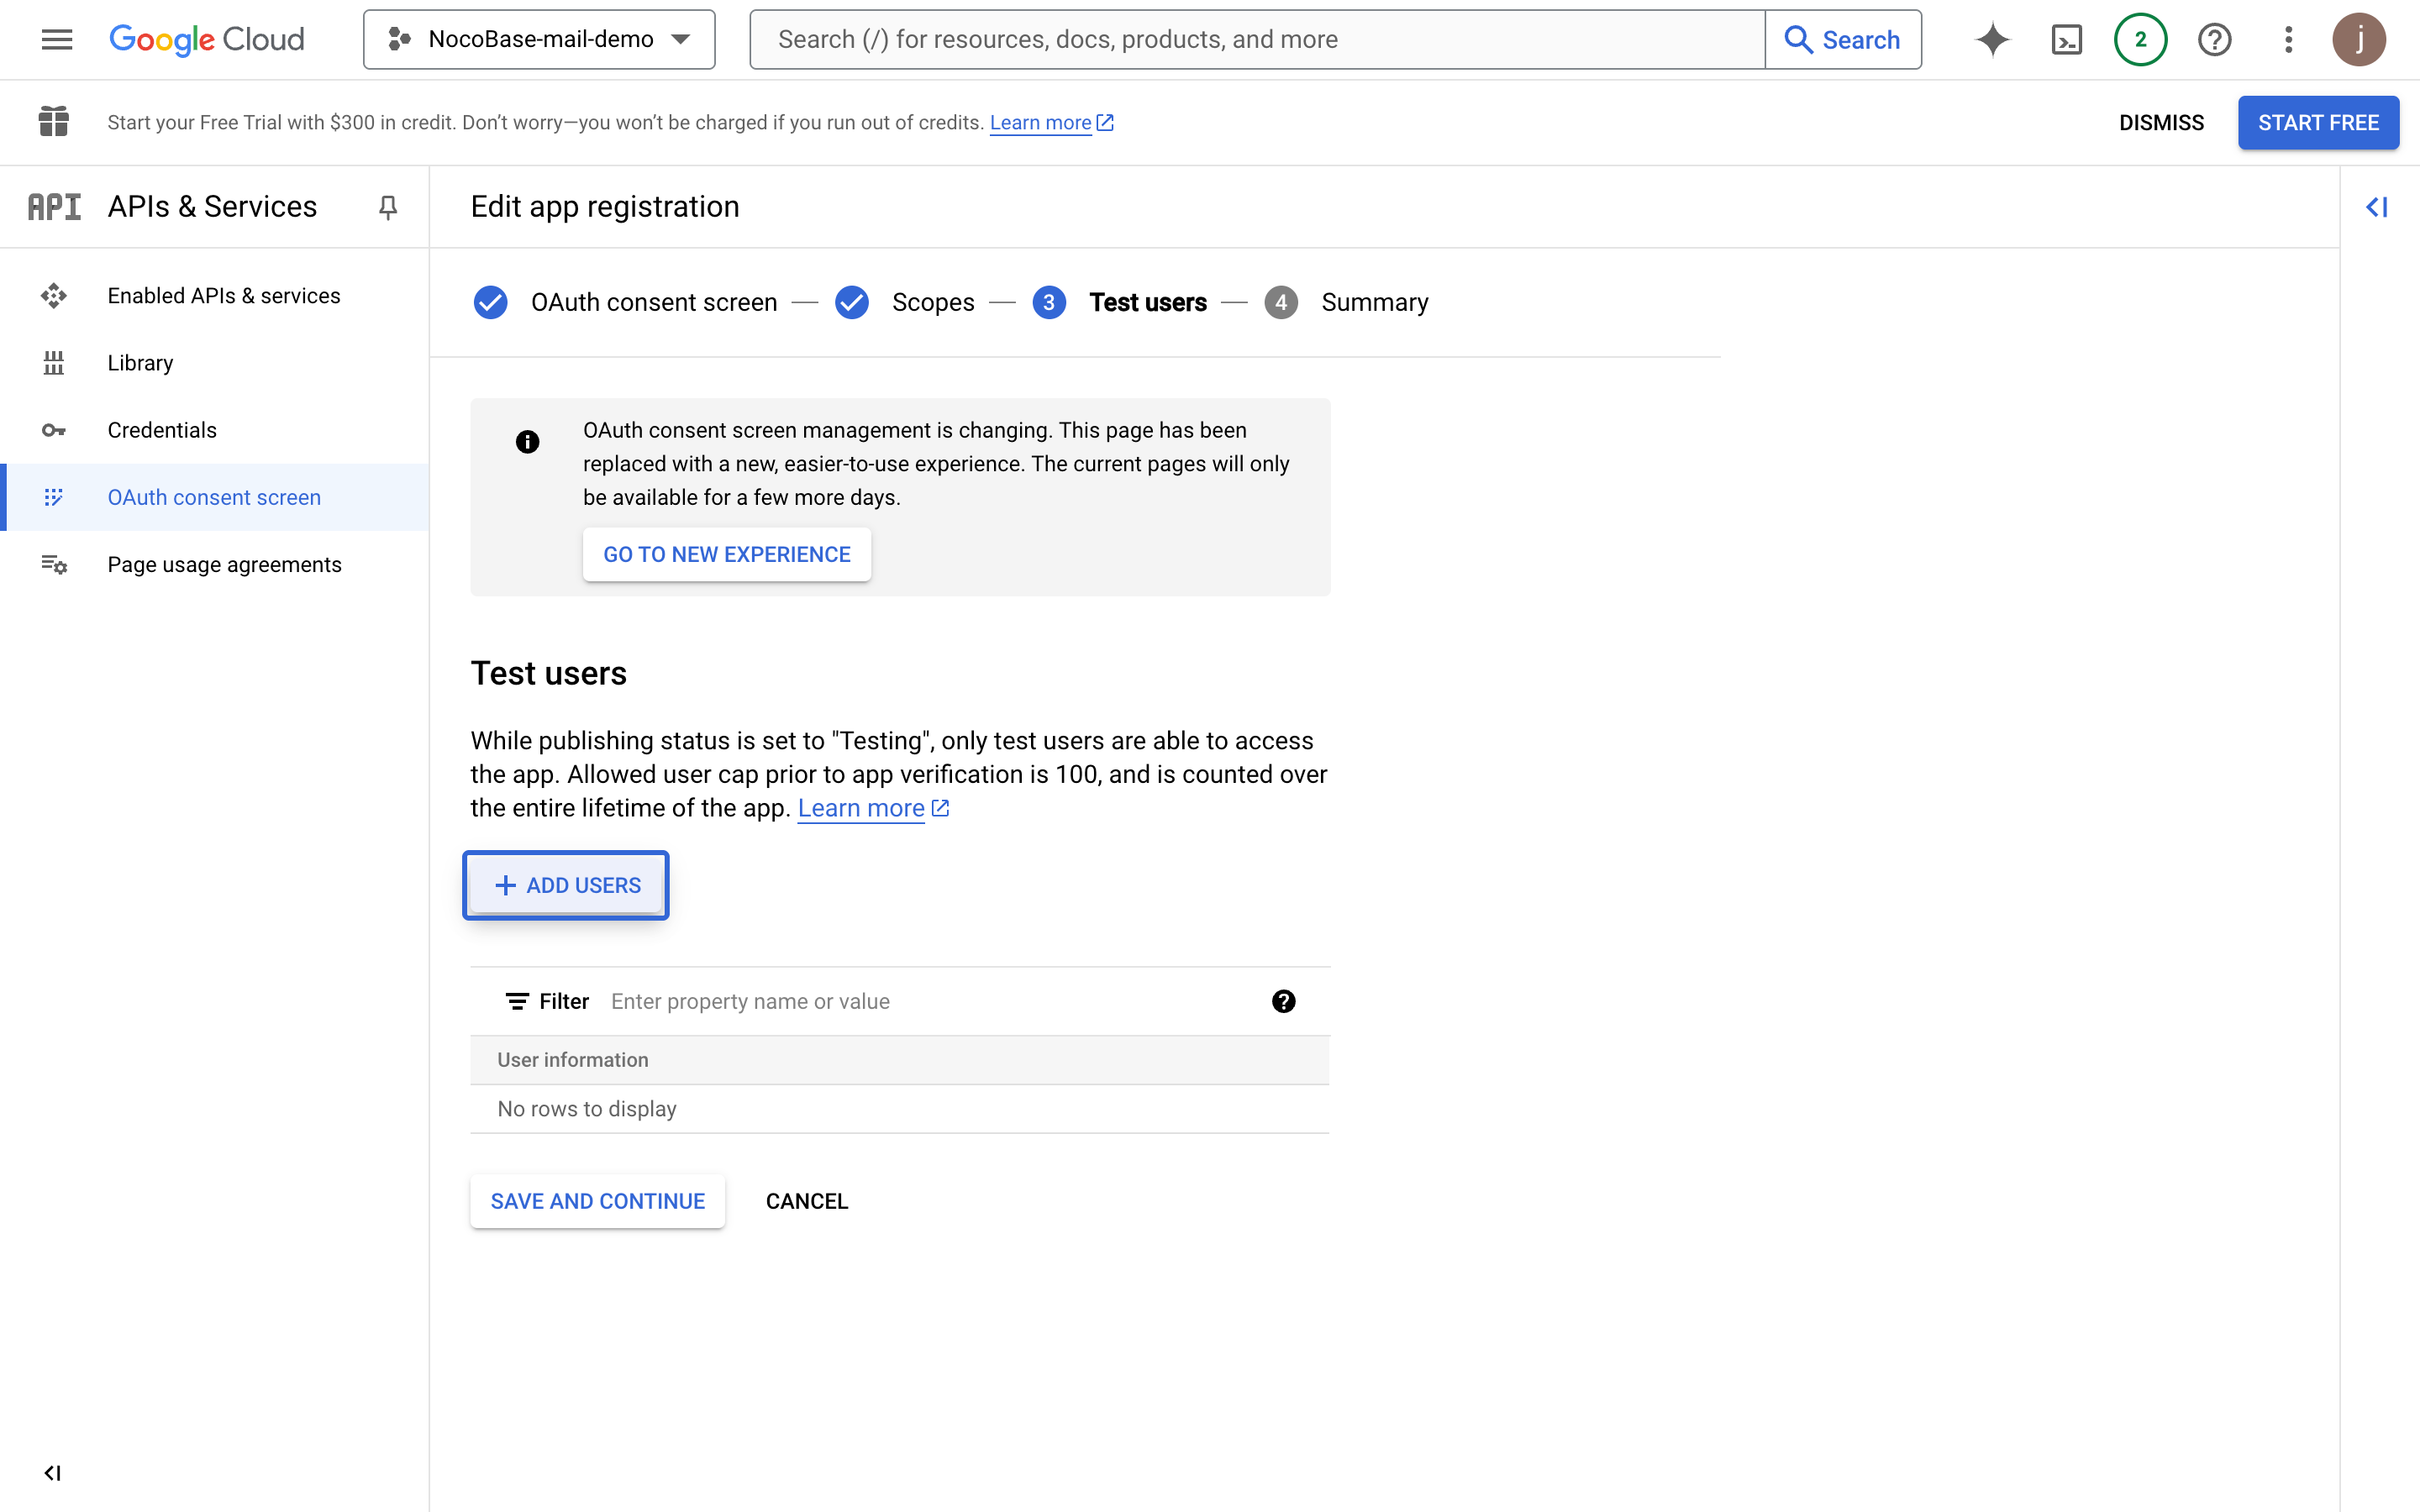

- Click continue
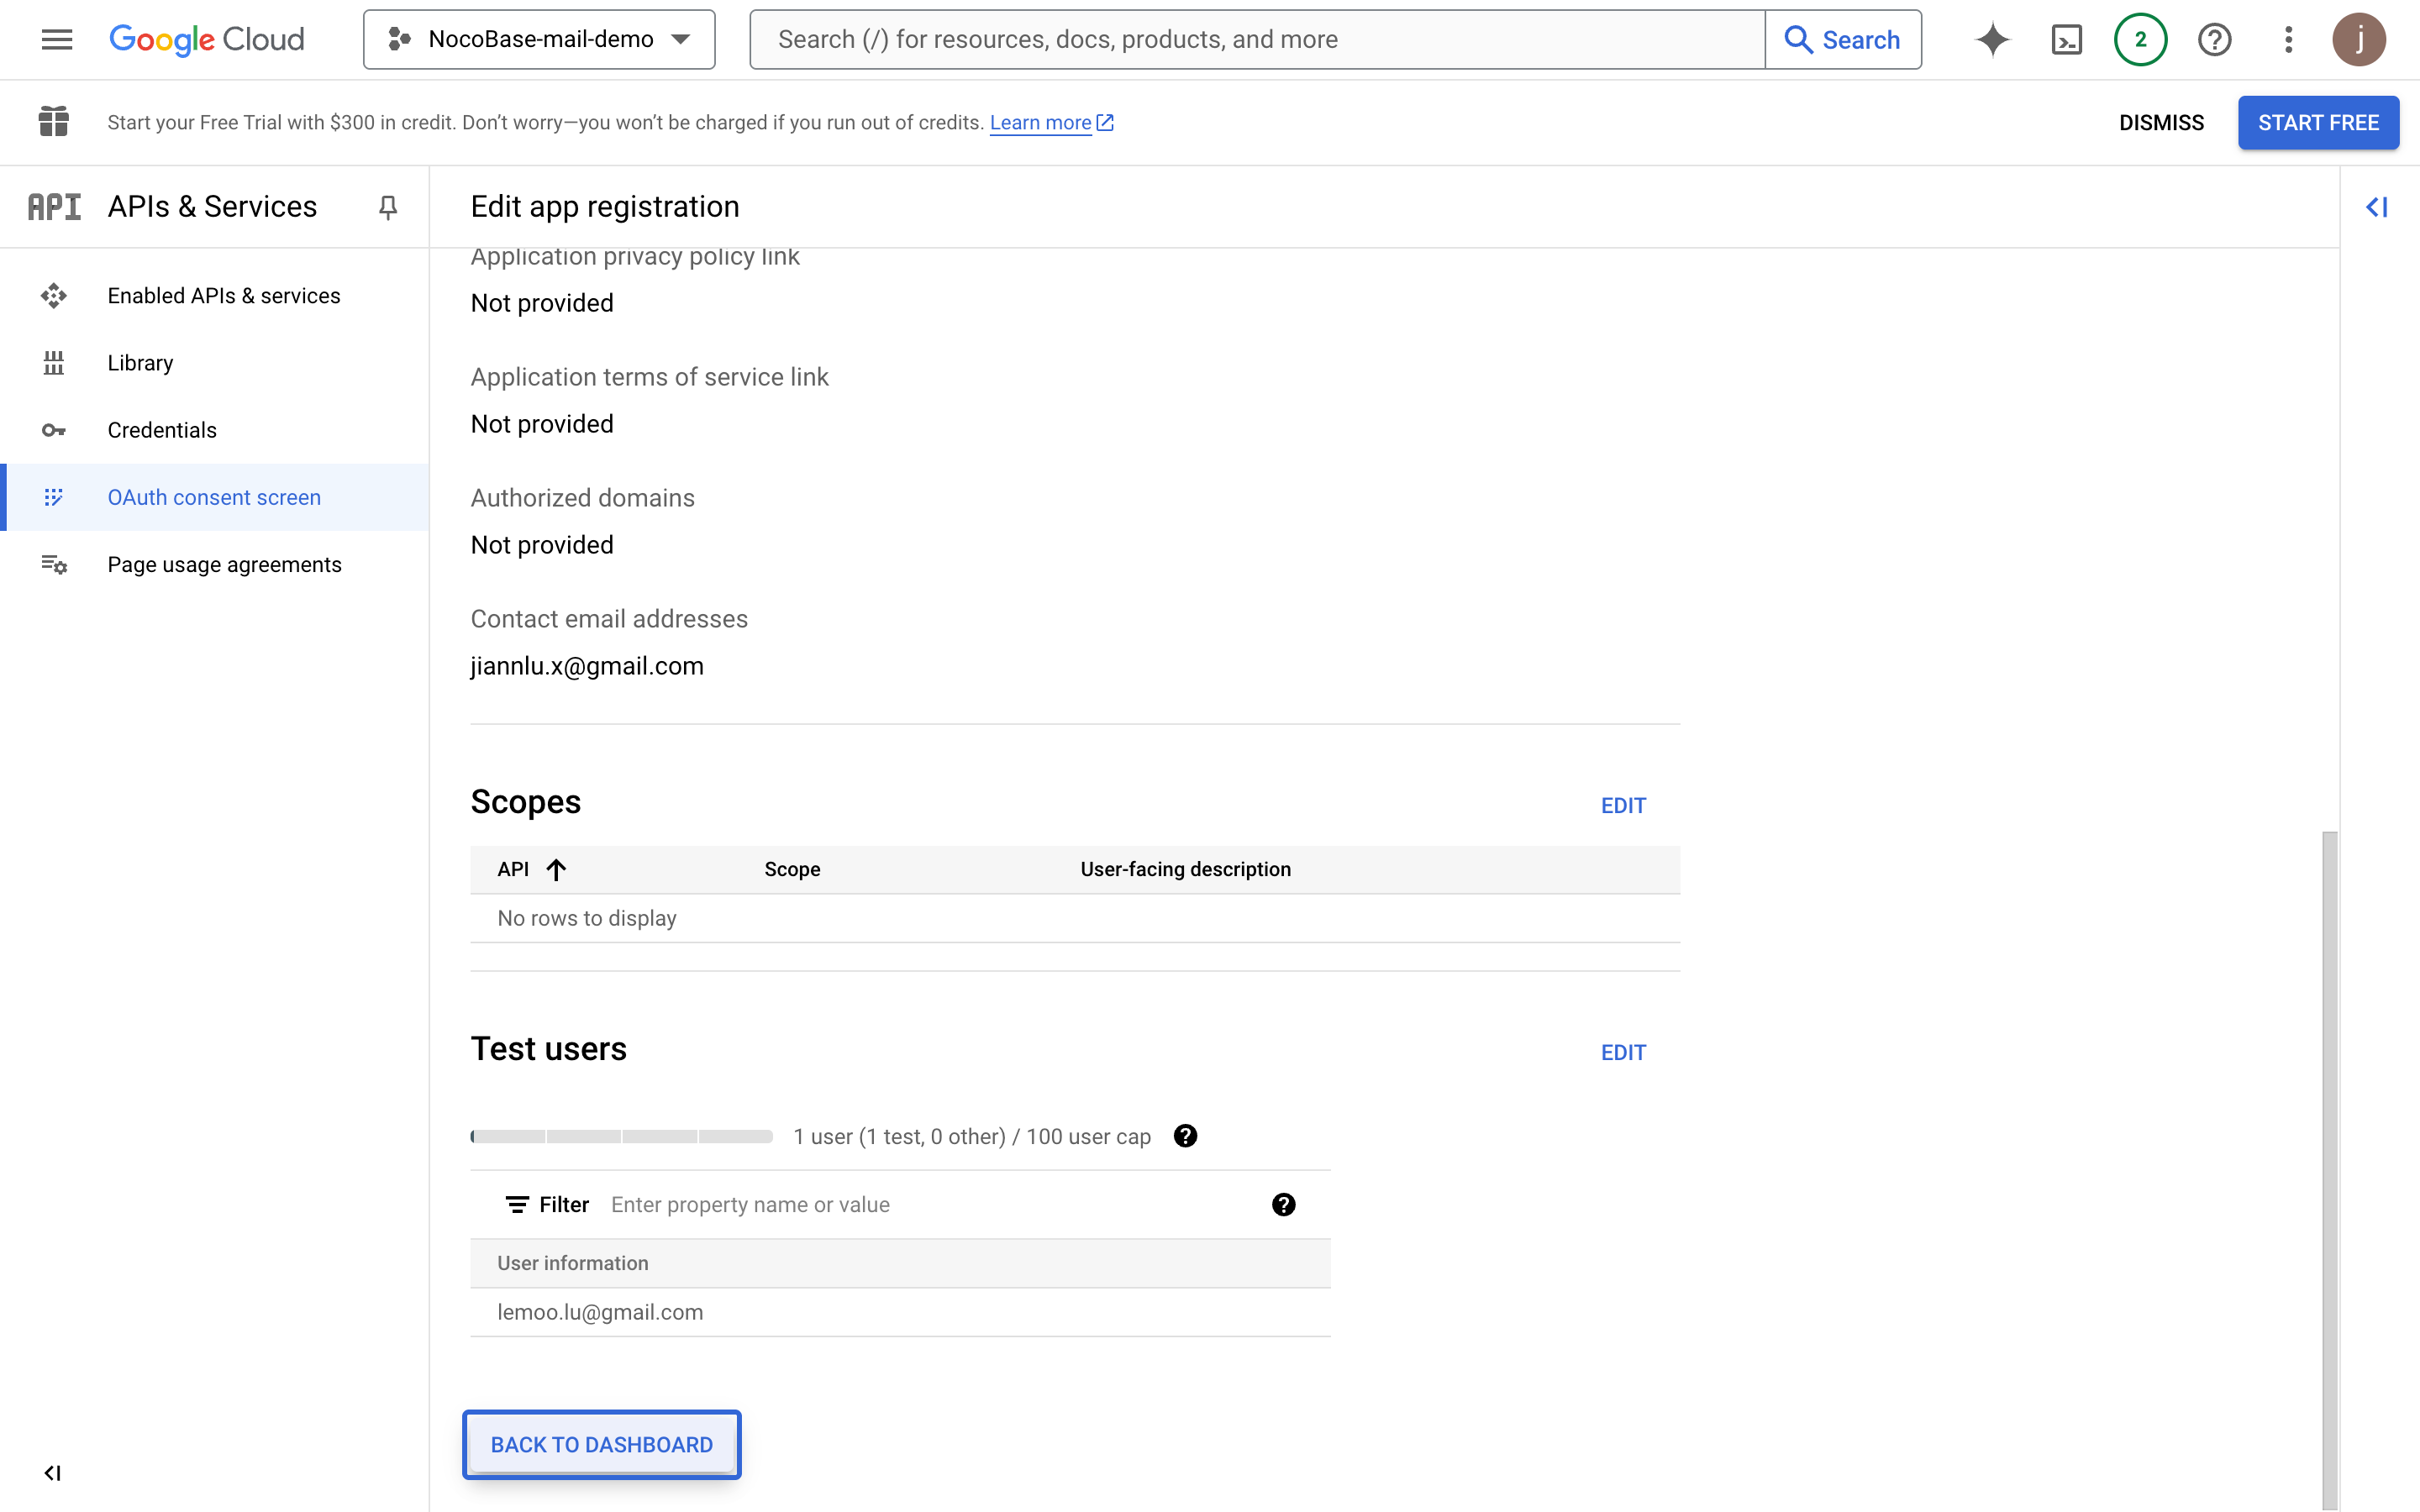
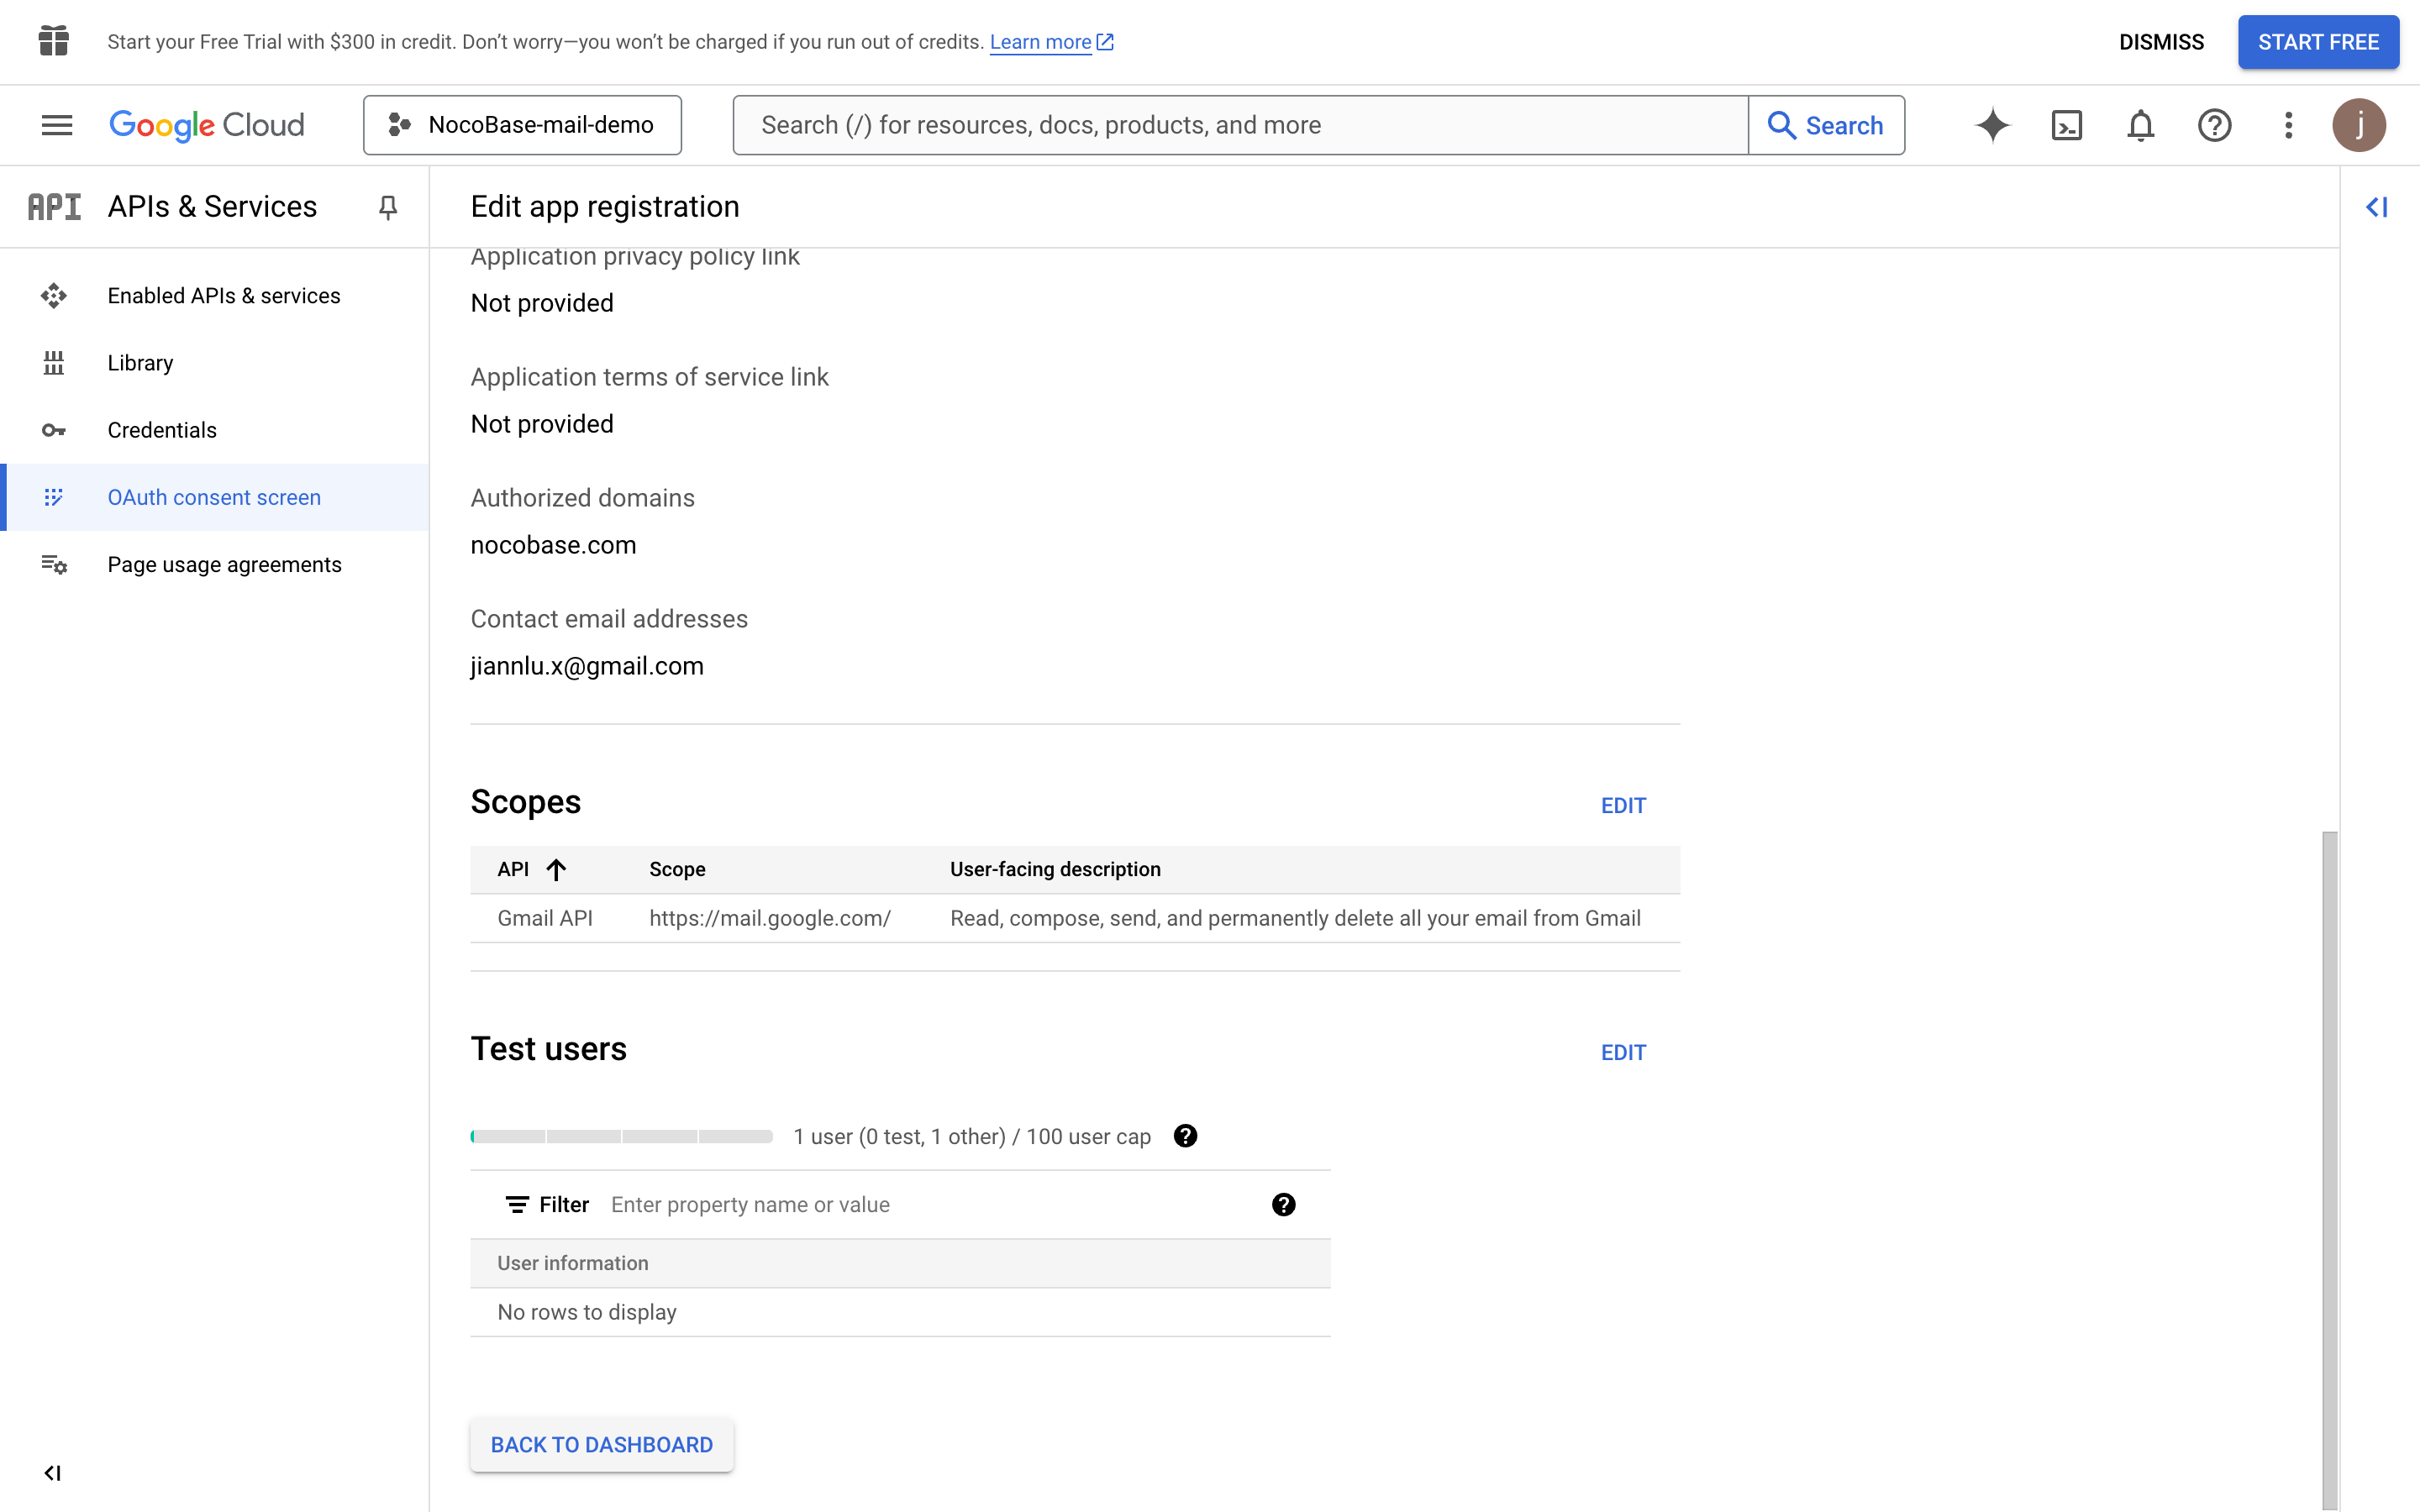
- Review the overview information and return to the dashboard
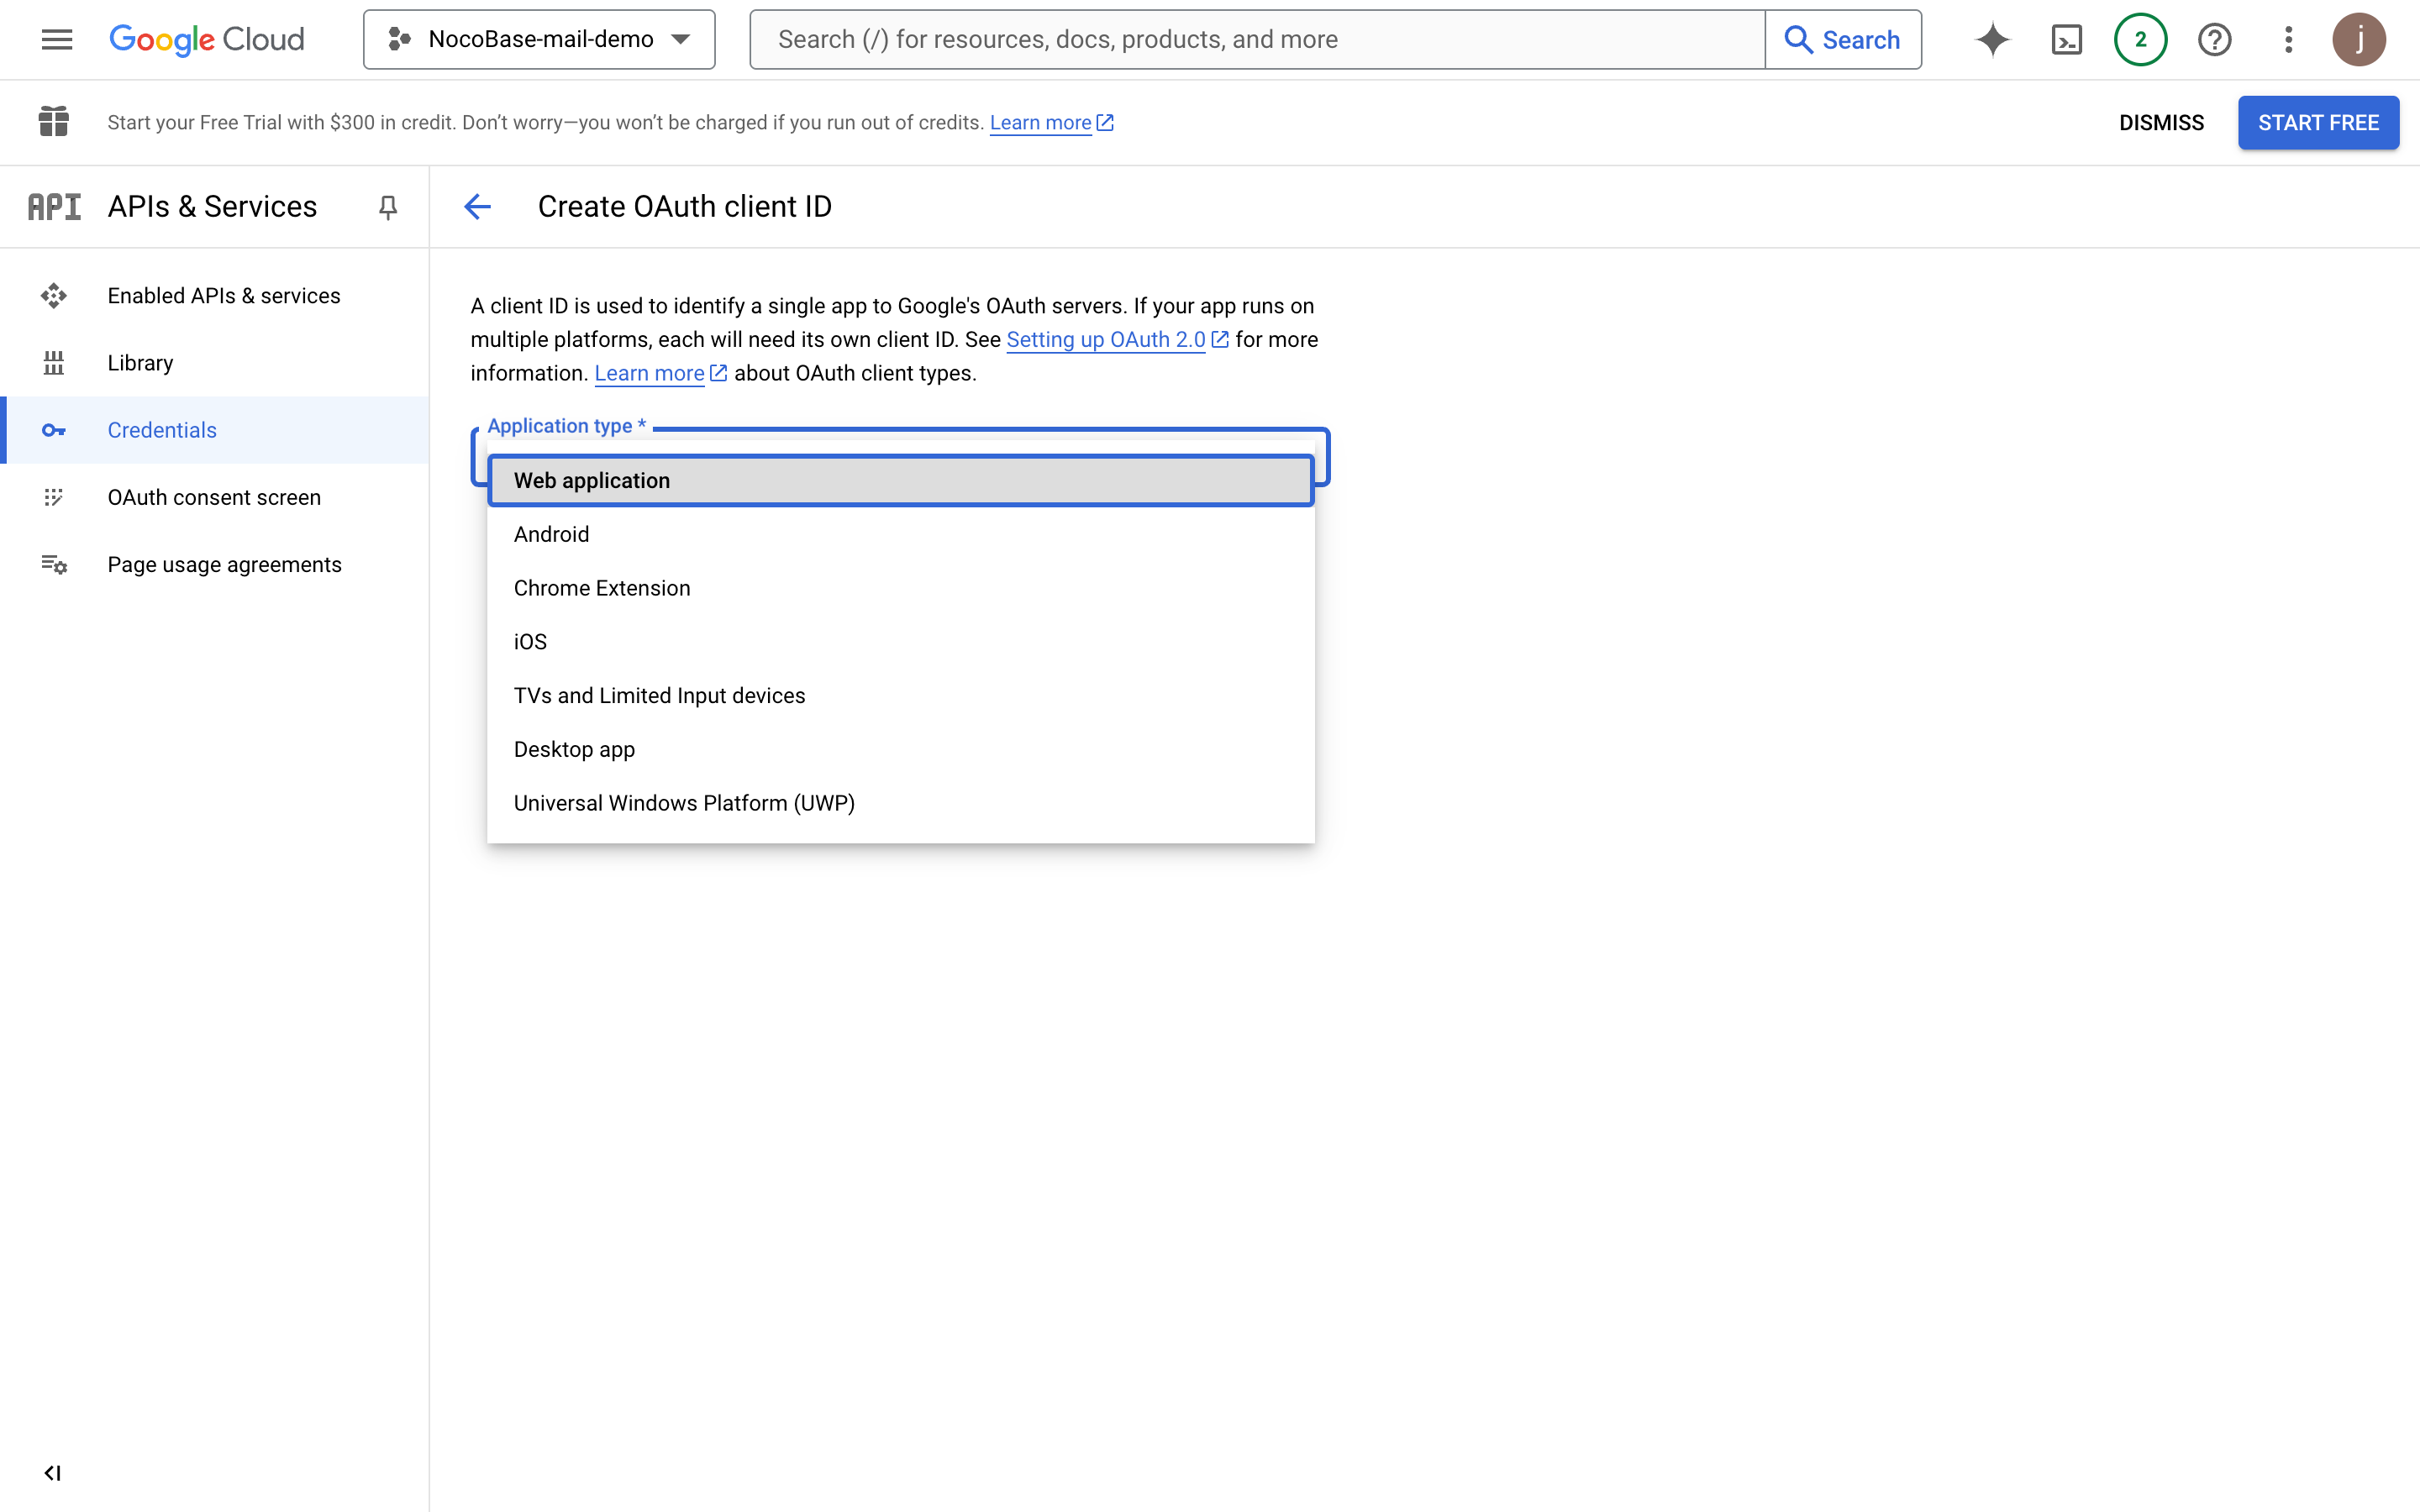
Create Credentials
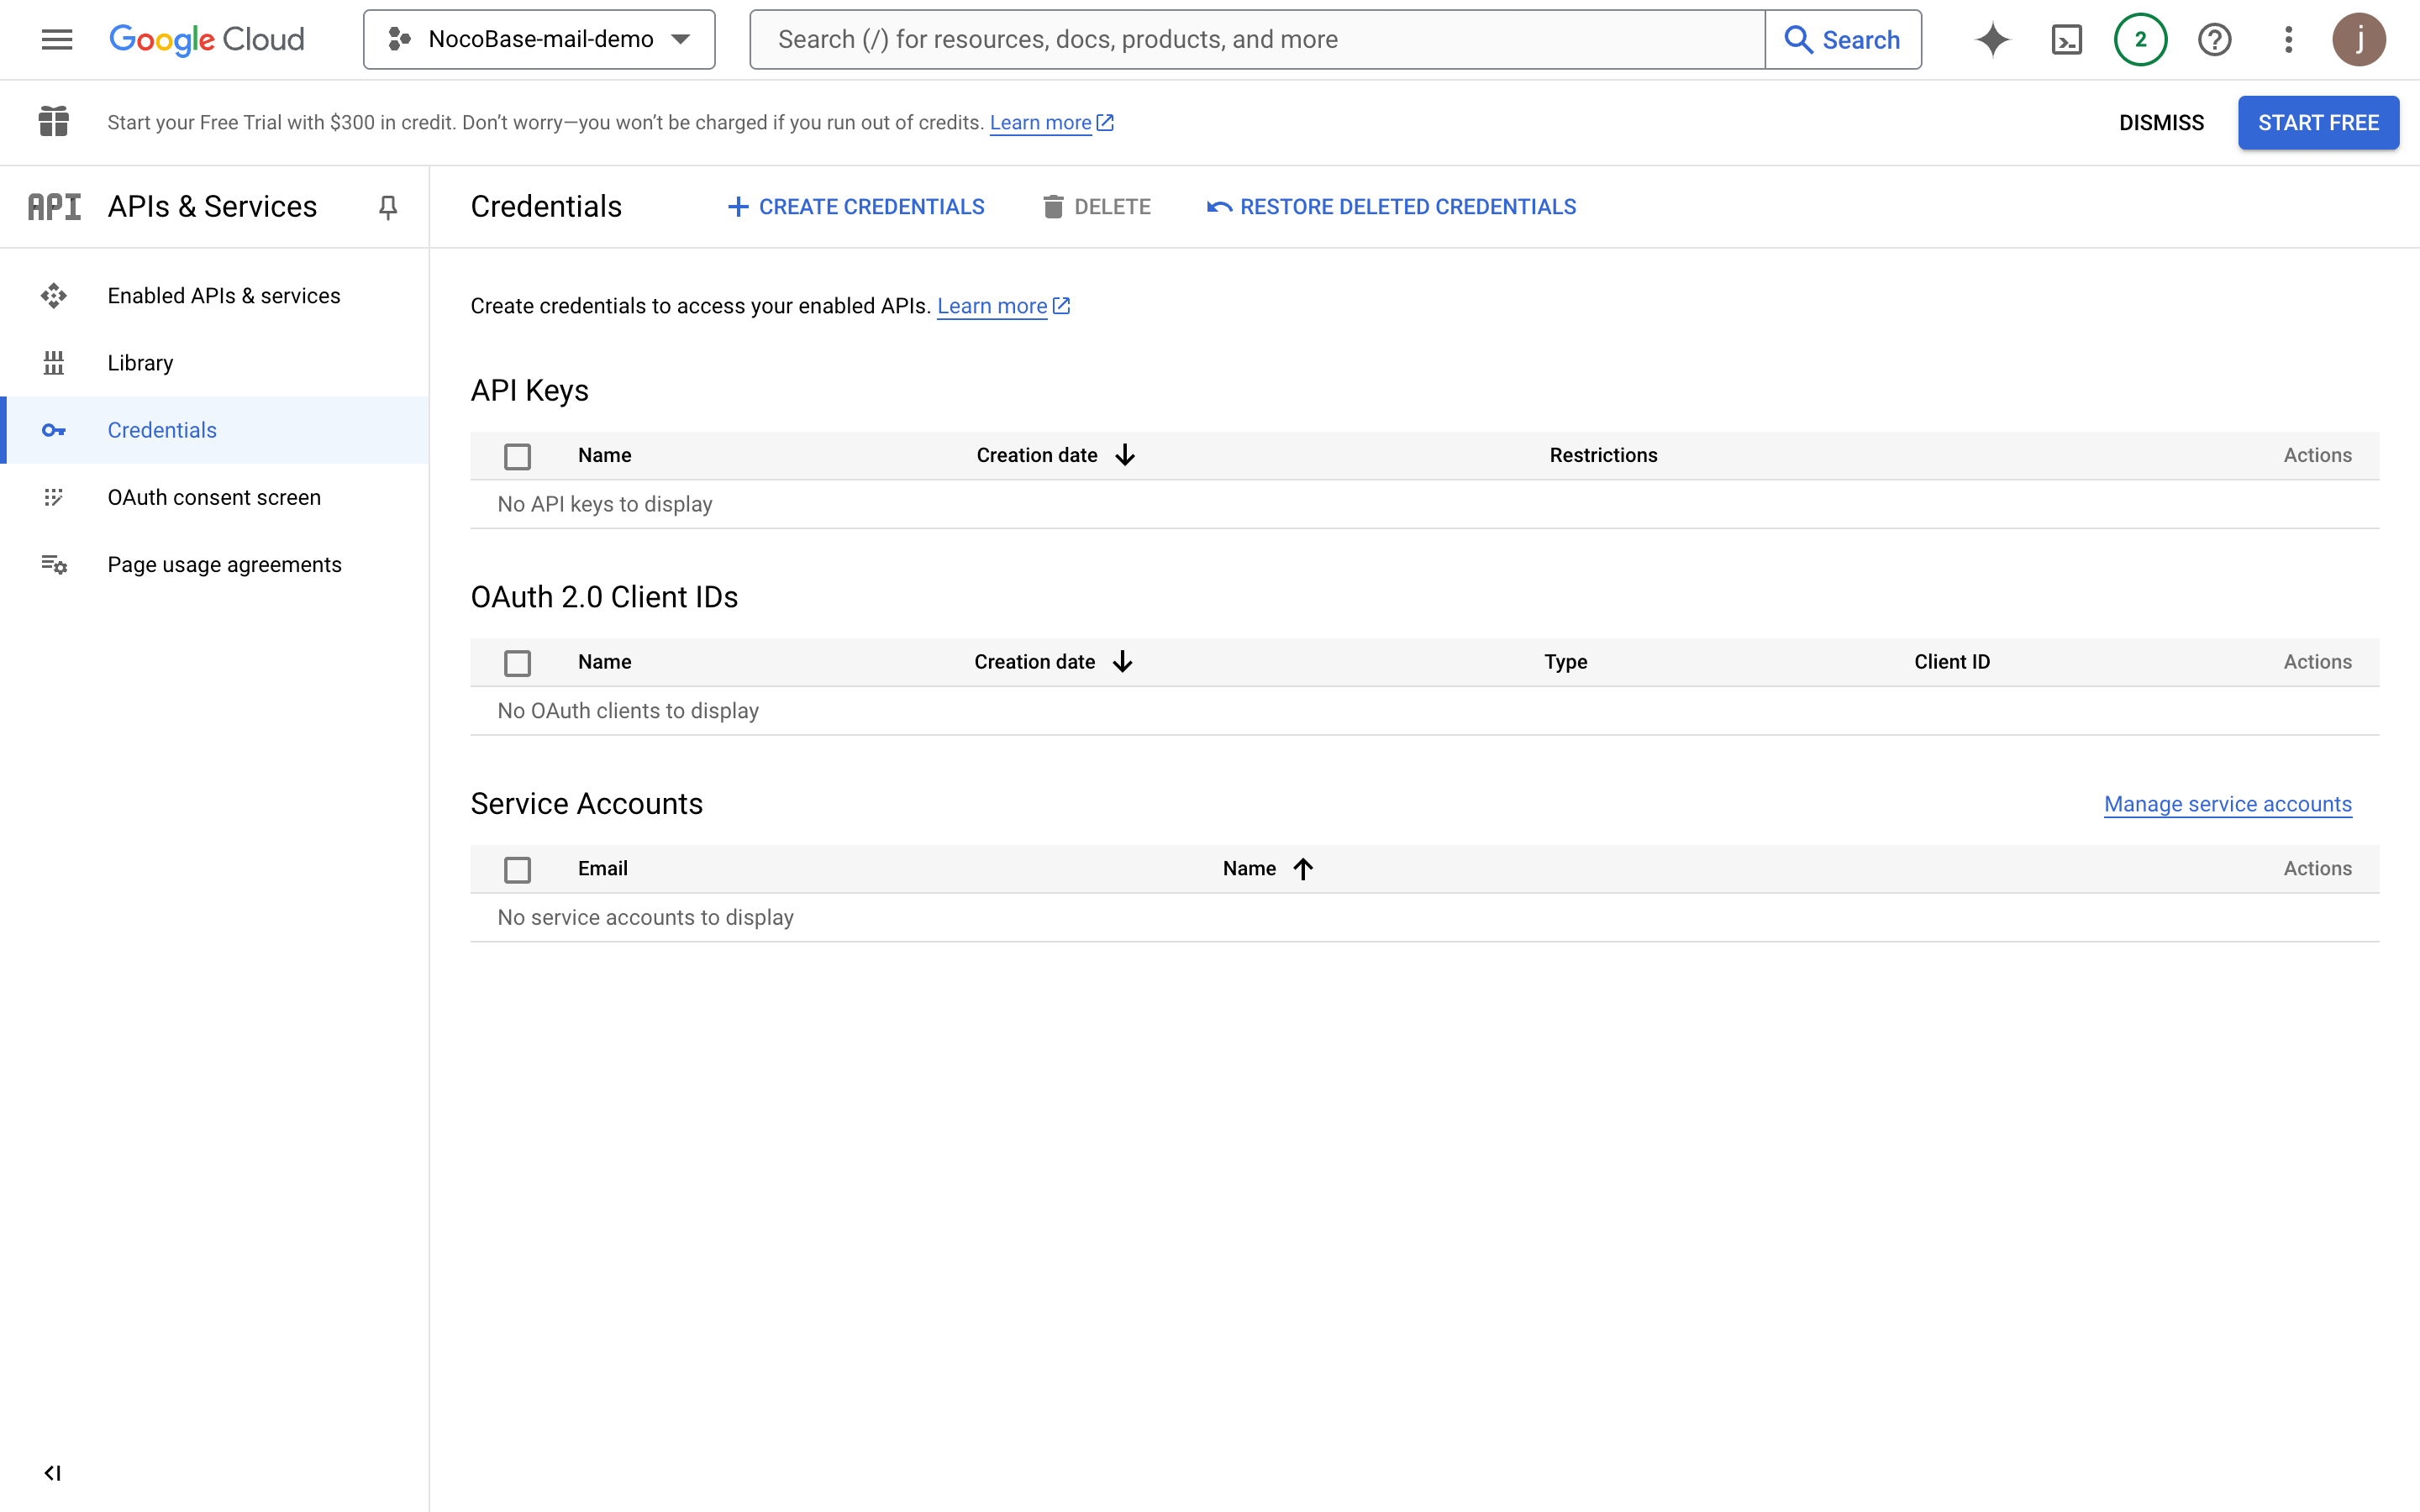
- Click the Credentials menu on the left
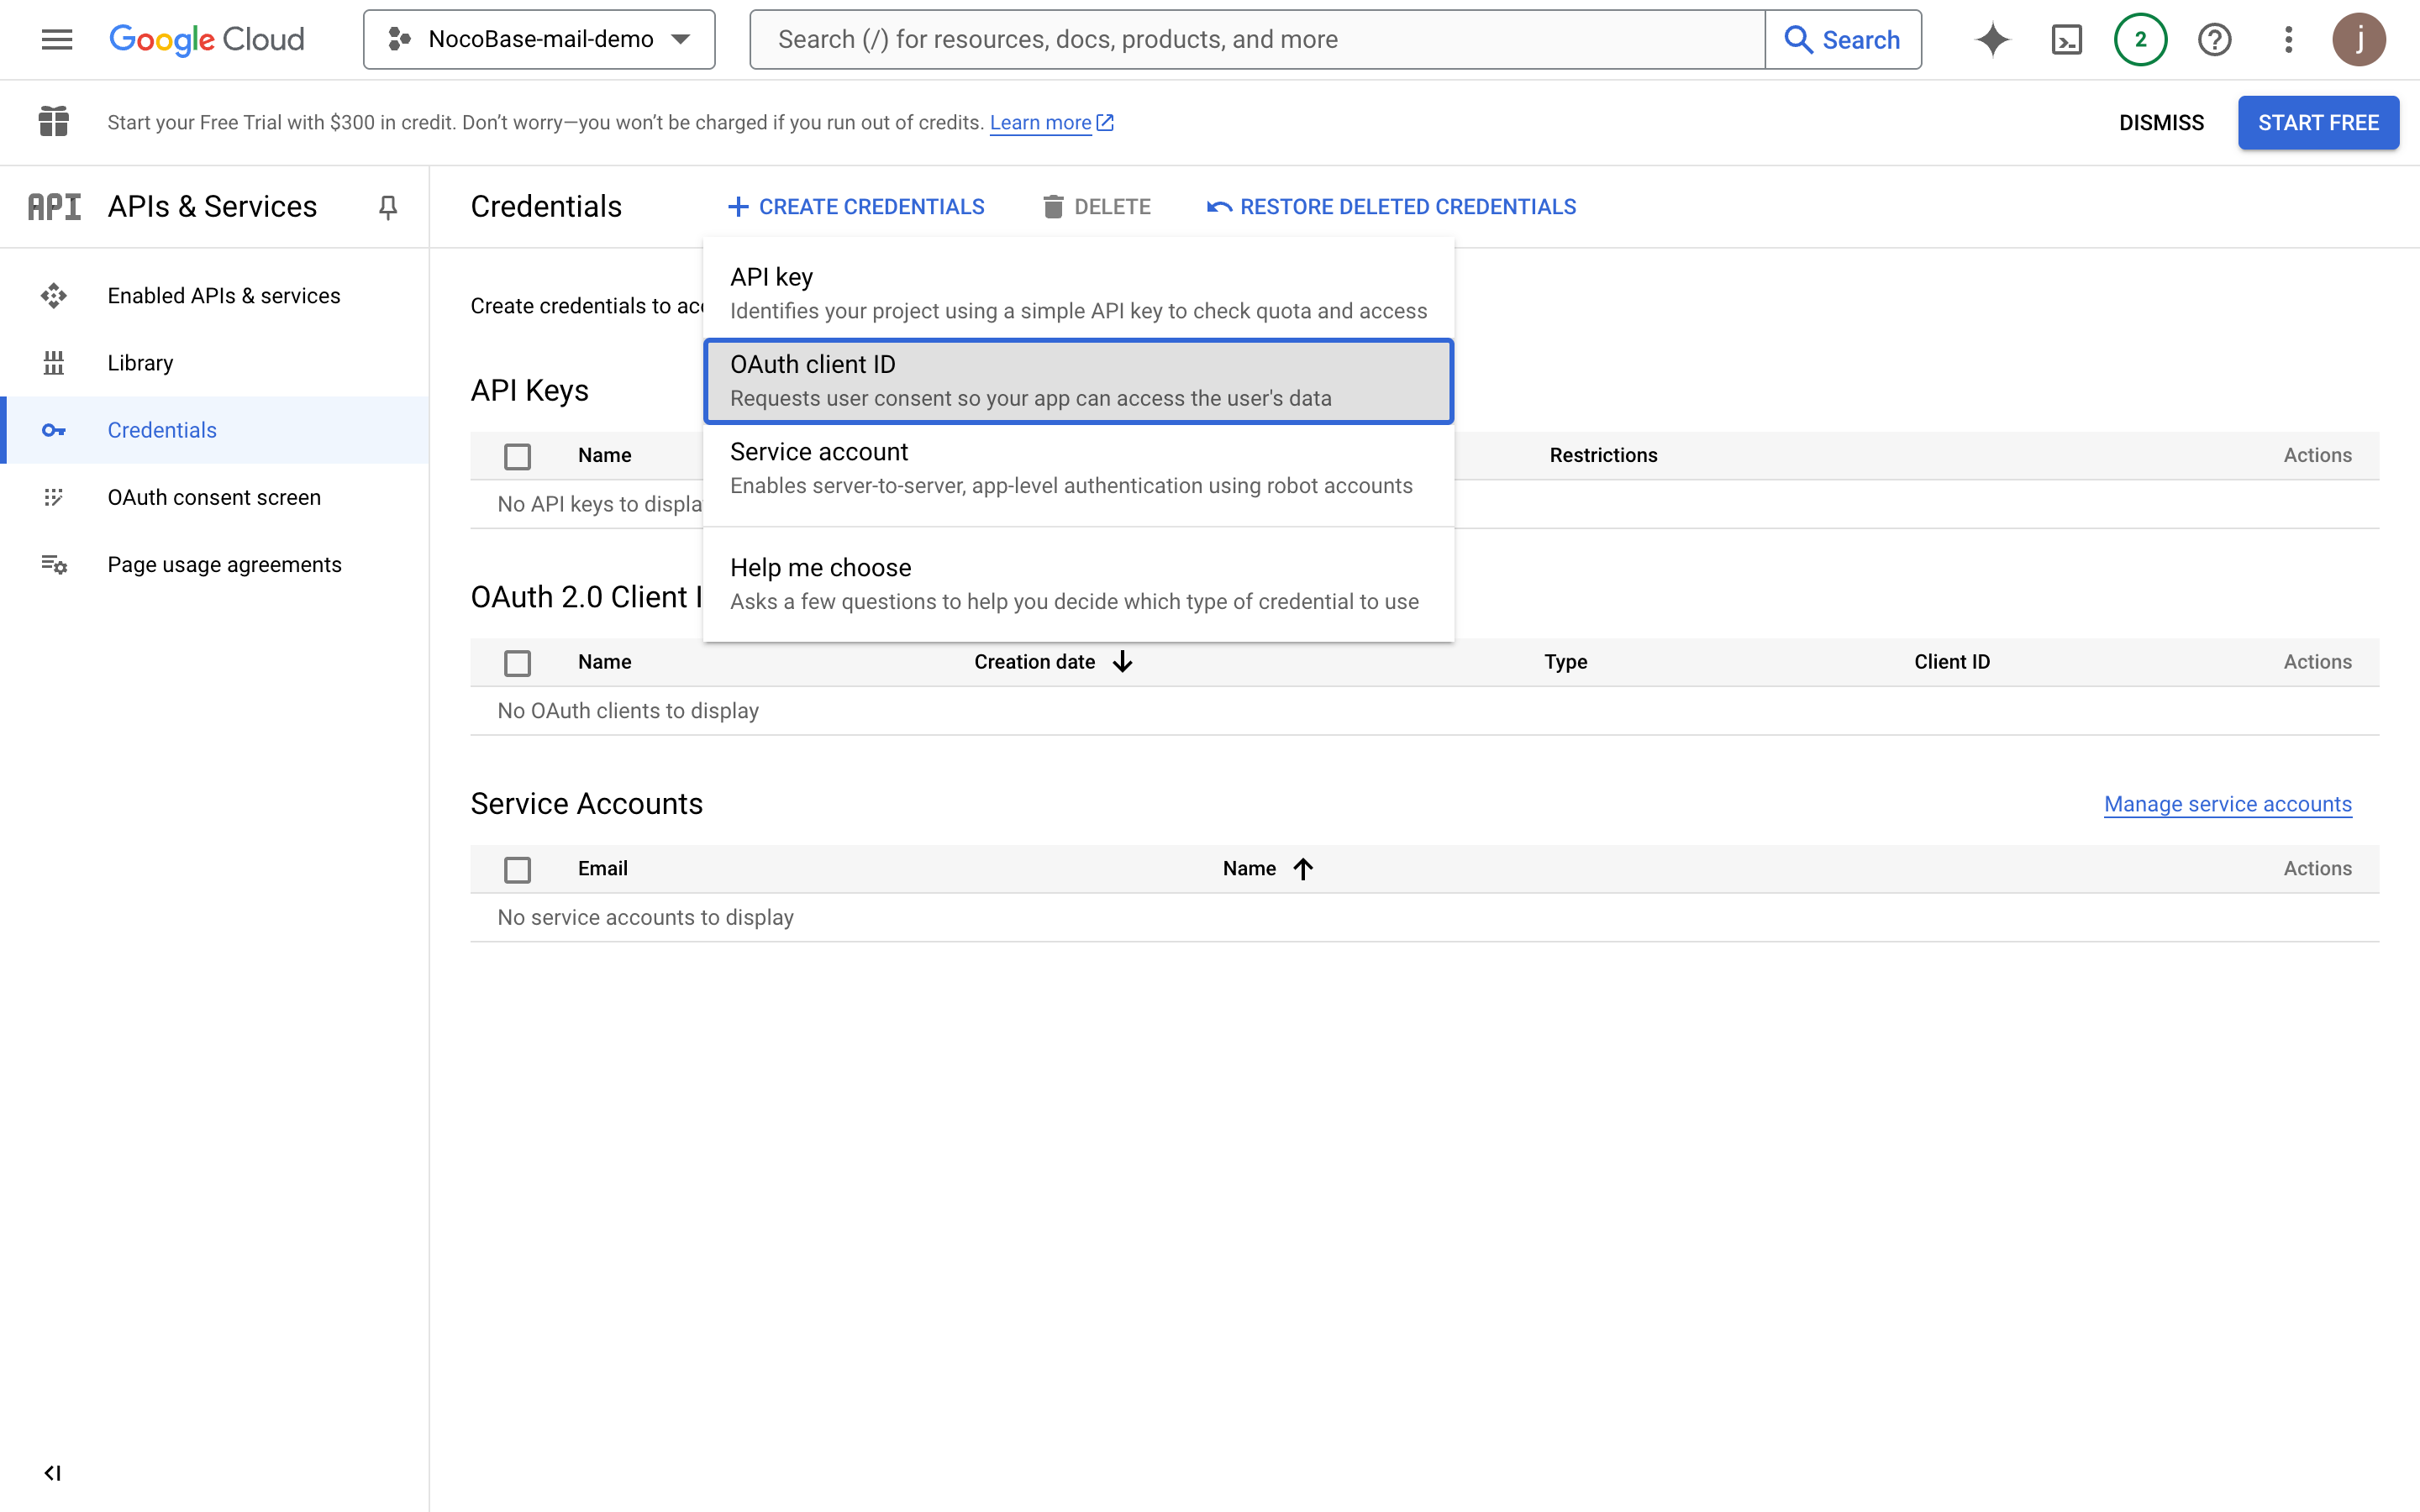
- Click the "CREATE CREDENTIALS" button and select "OAuth client ID"
- Select "Web application"
- Fill in the application information
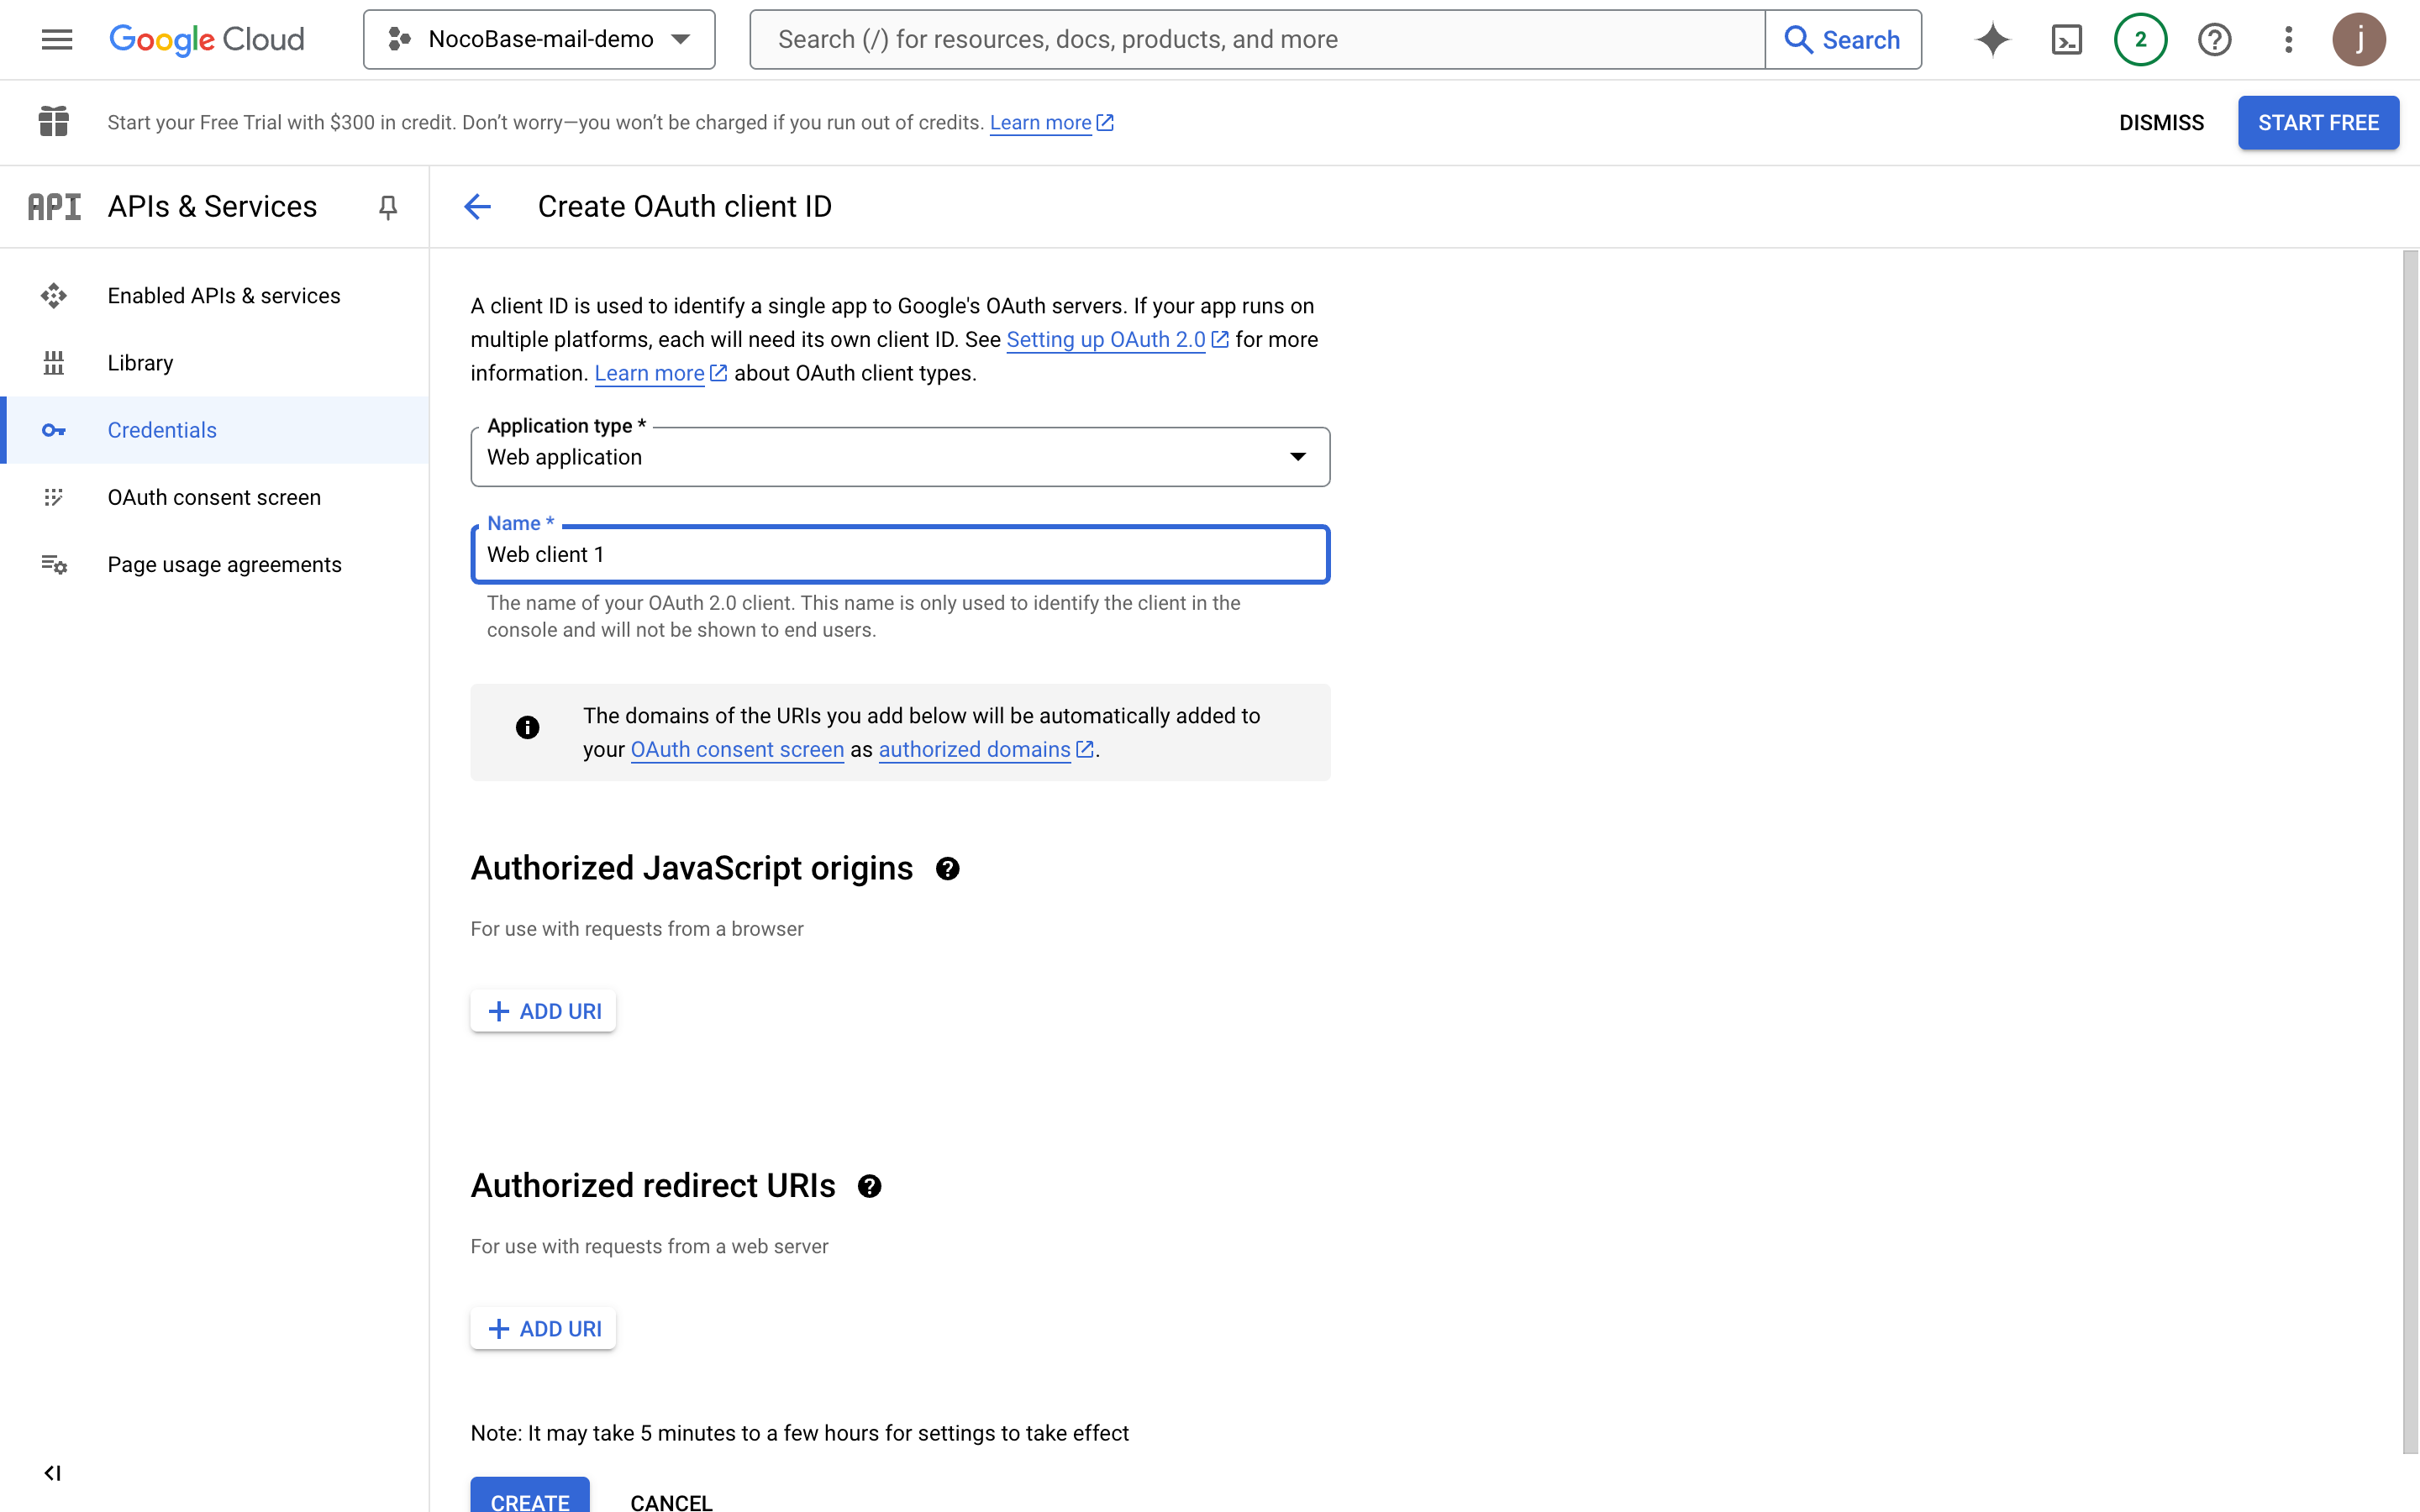
- Fill in the domain where the application will be finally deployed (this example is NocoBase's test address)
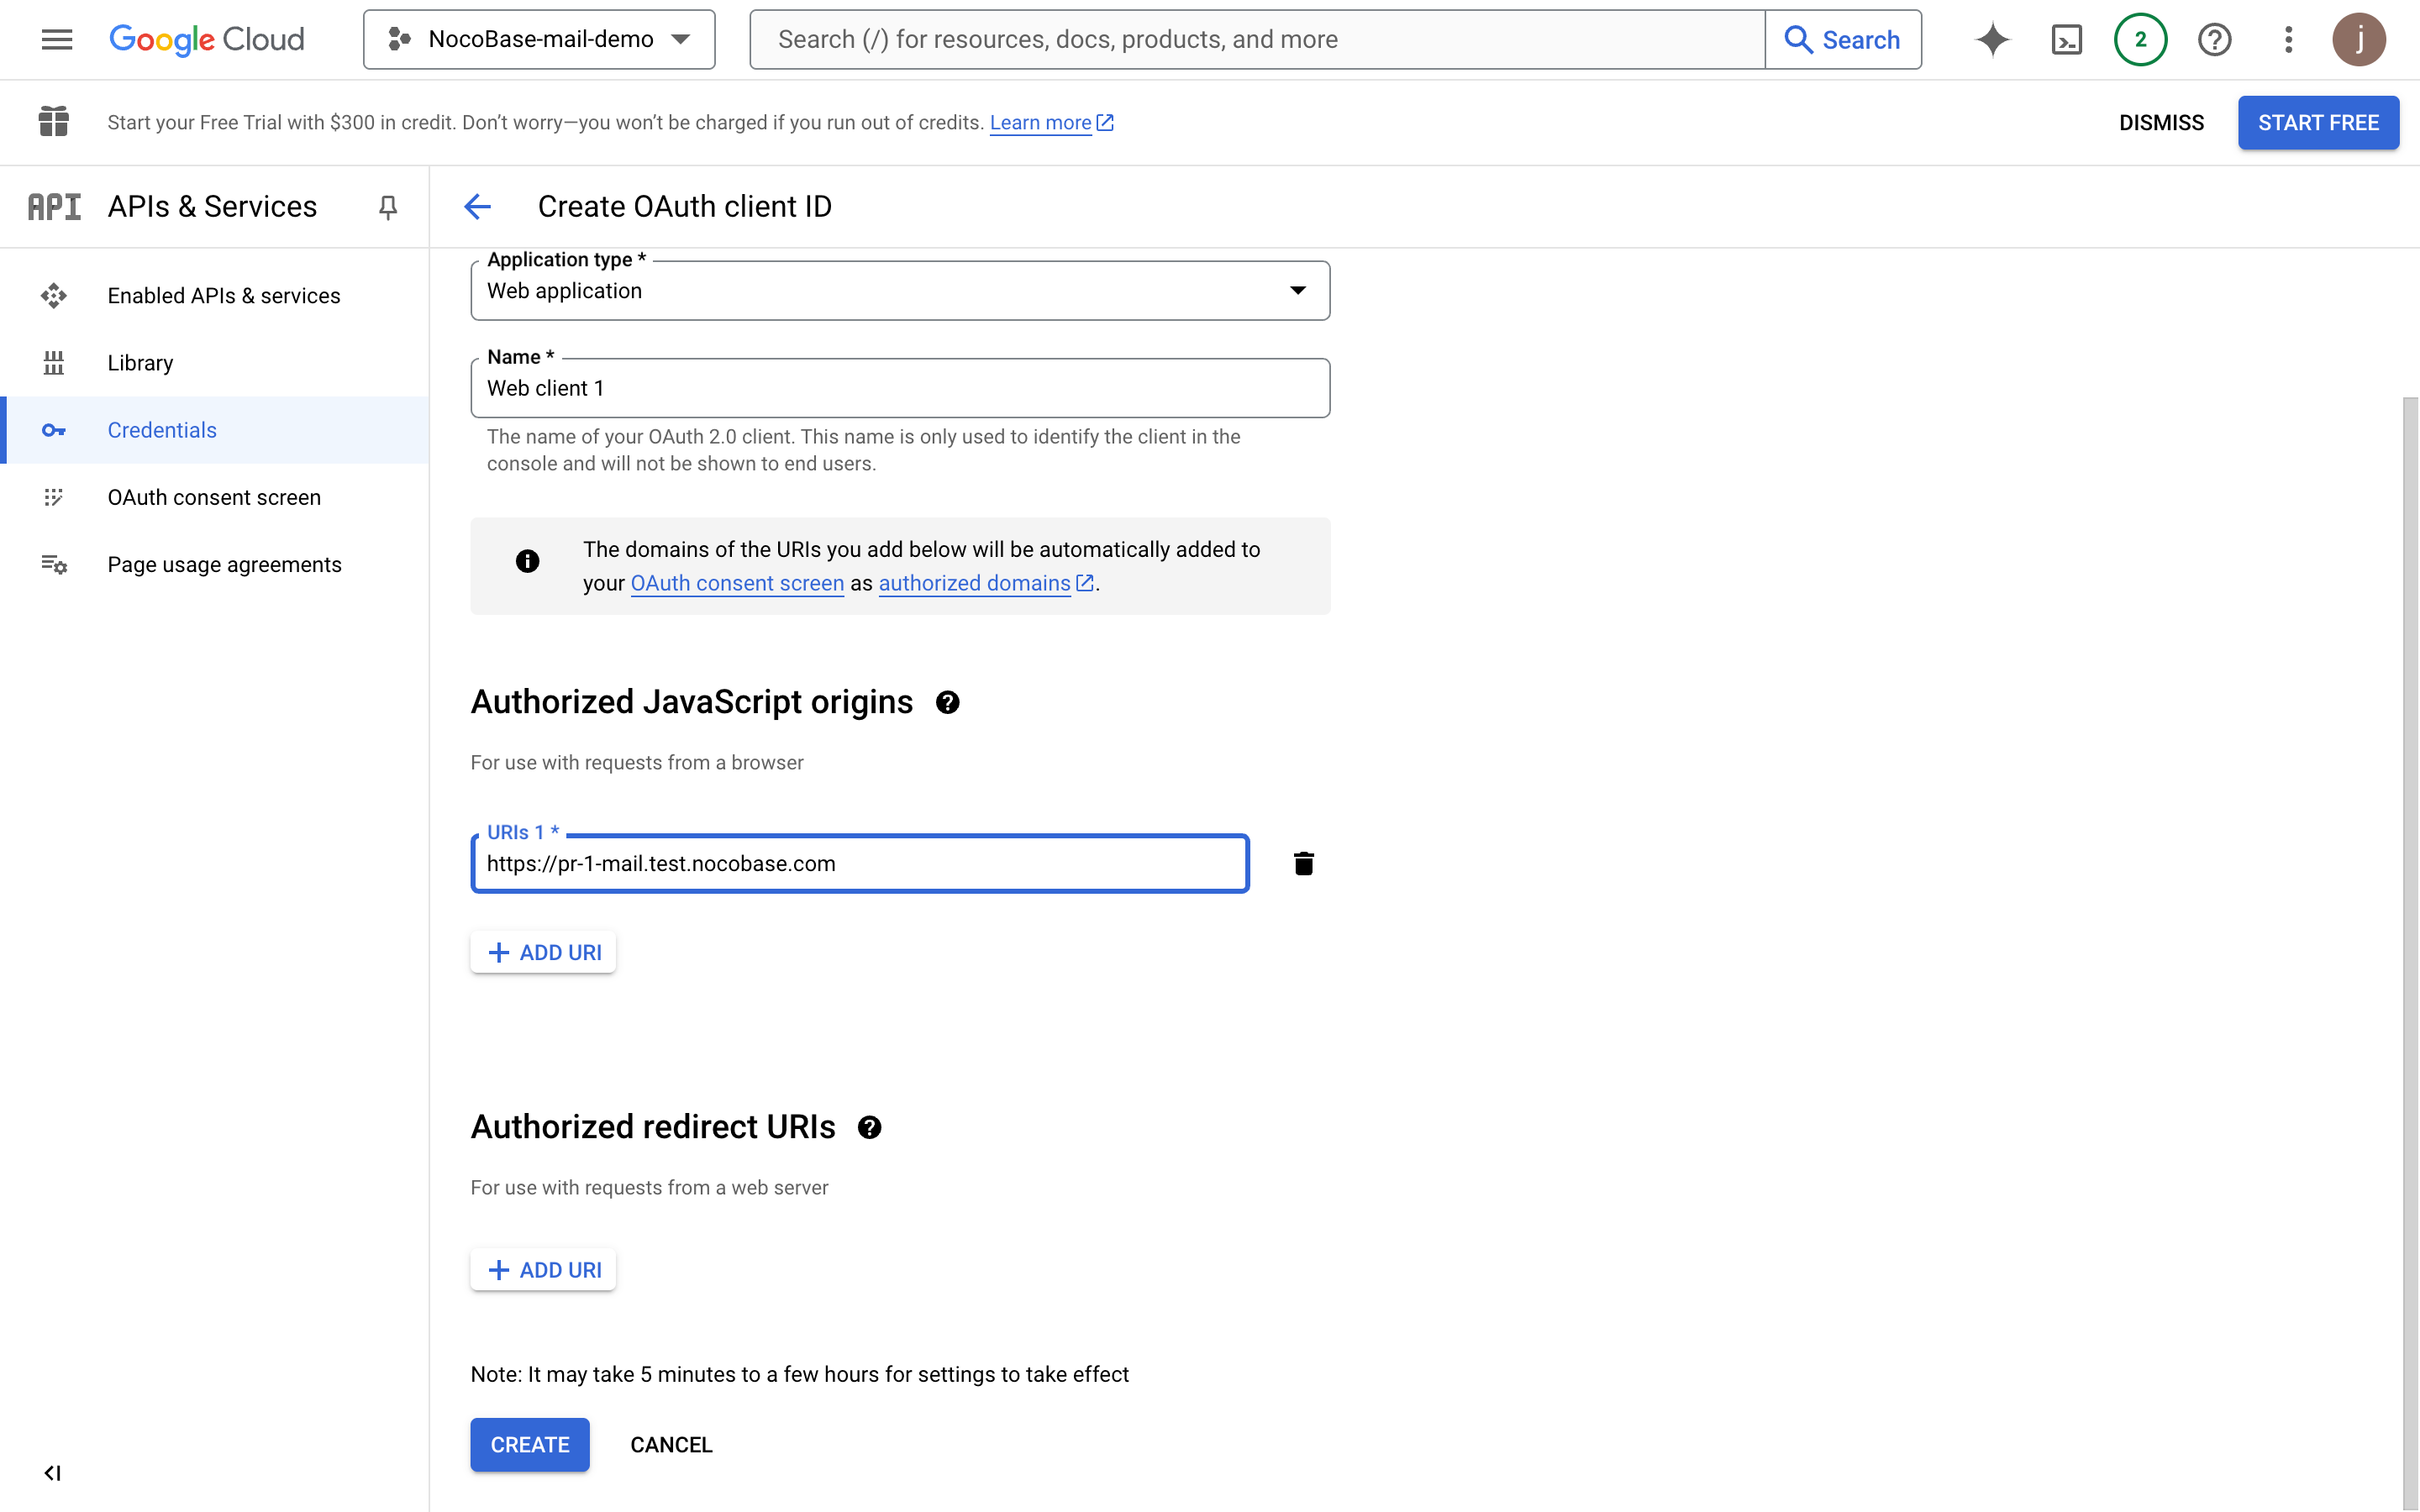
- Add the authorized callback address, which must be
domain + "/admin/settings/mail/oauth2", for example:https://pr-1-mail.test.nocobase.com/admin/settings/mail/oauth2
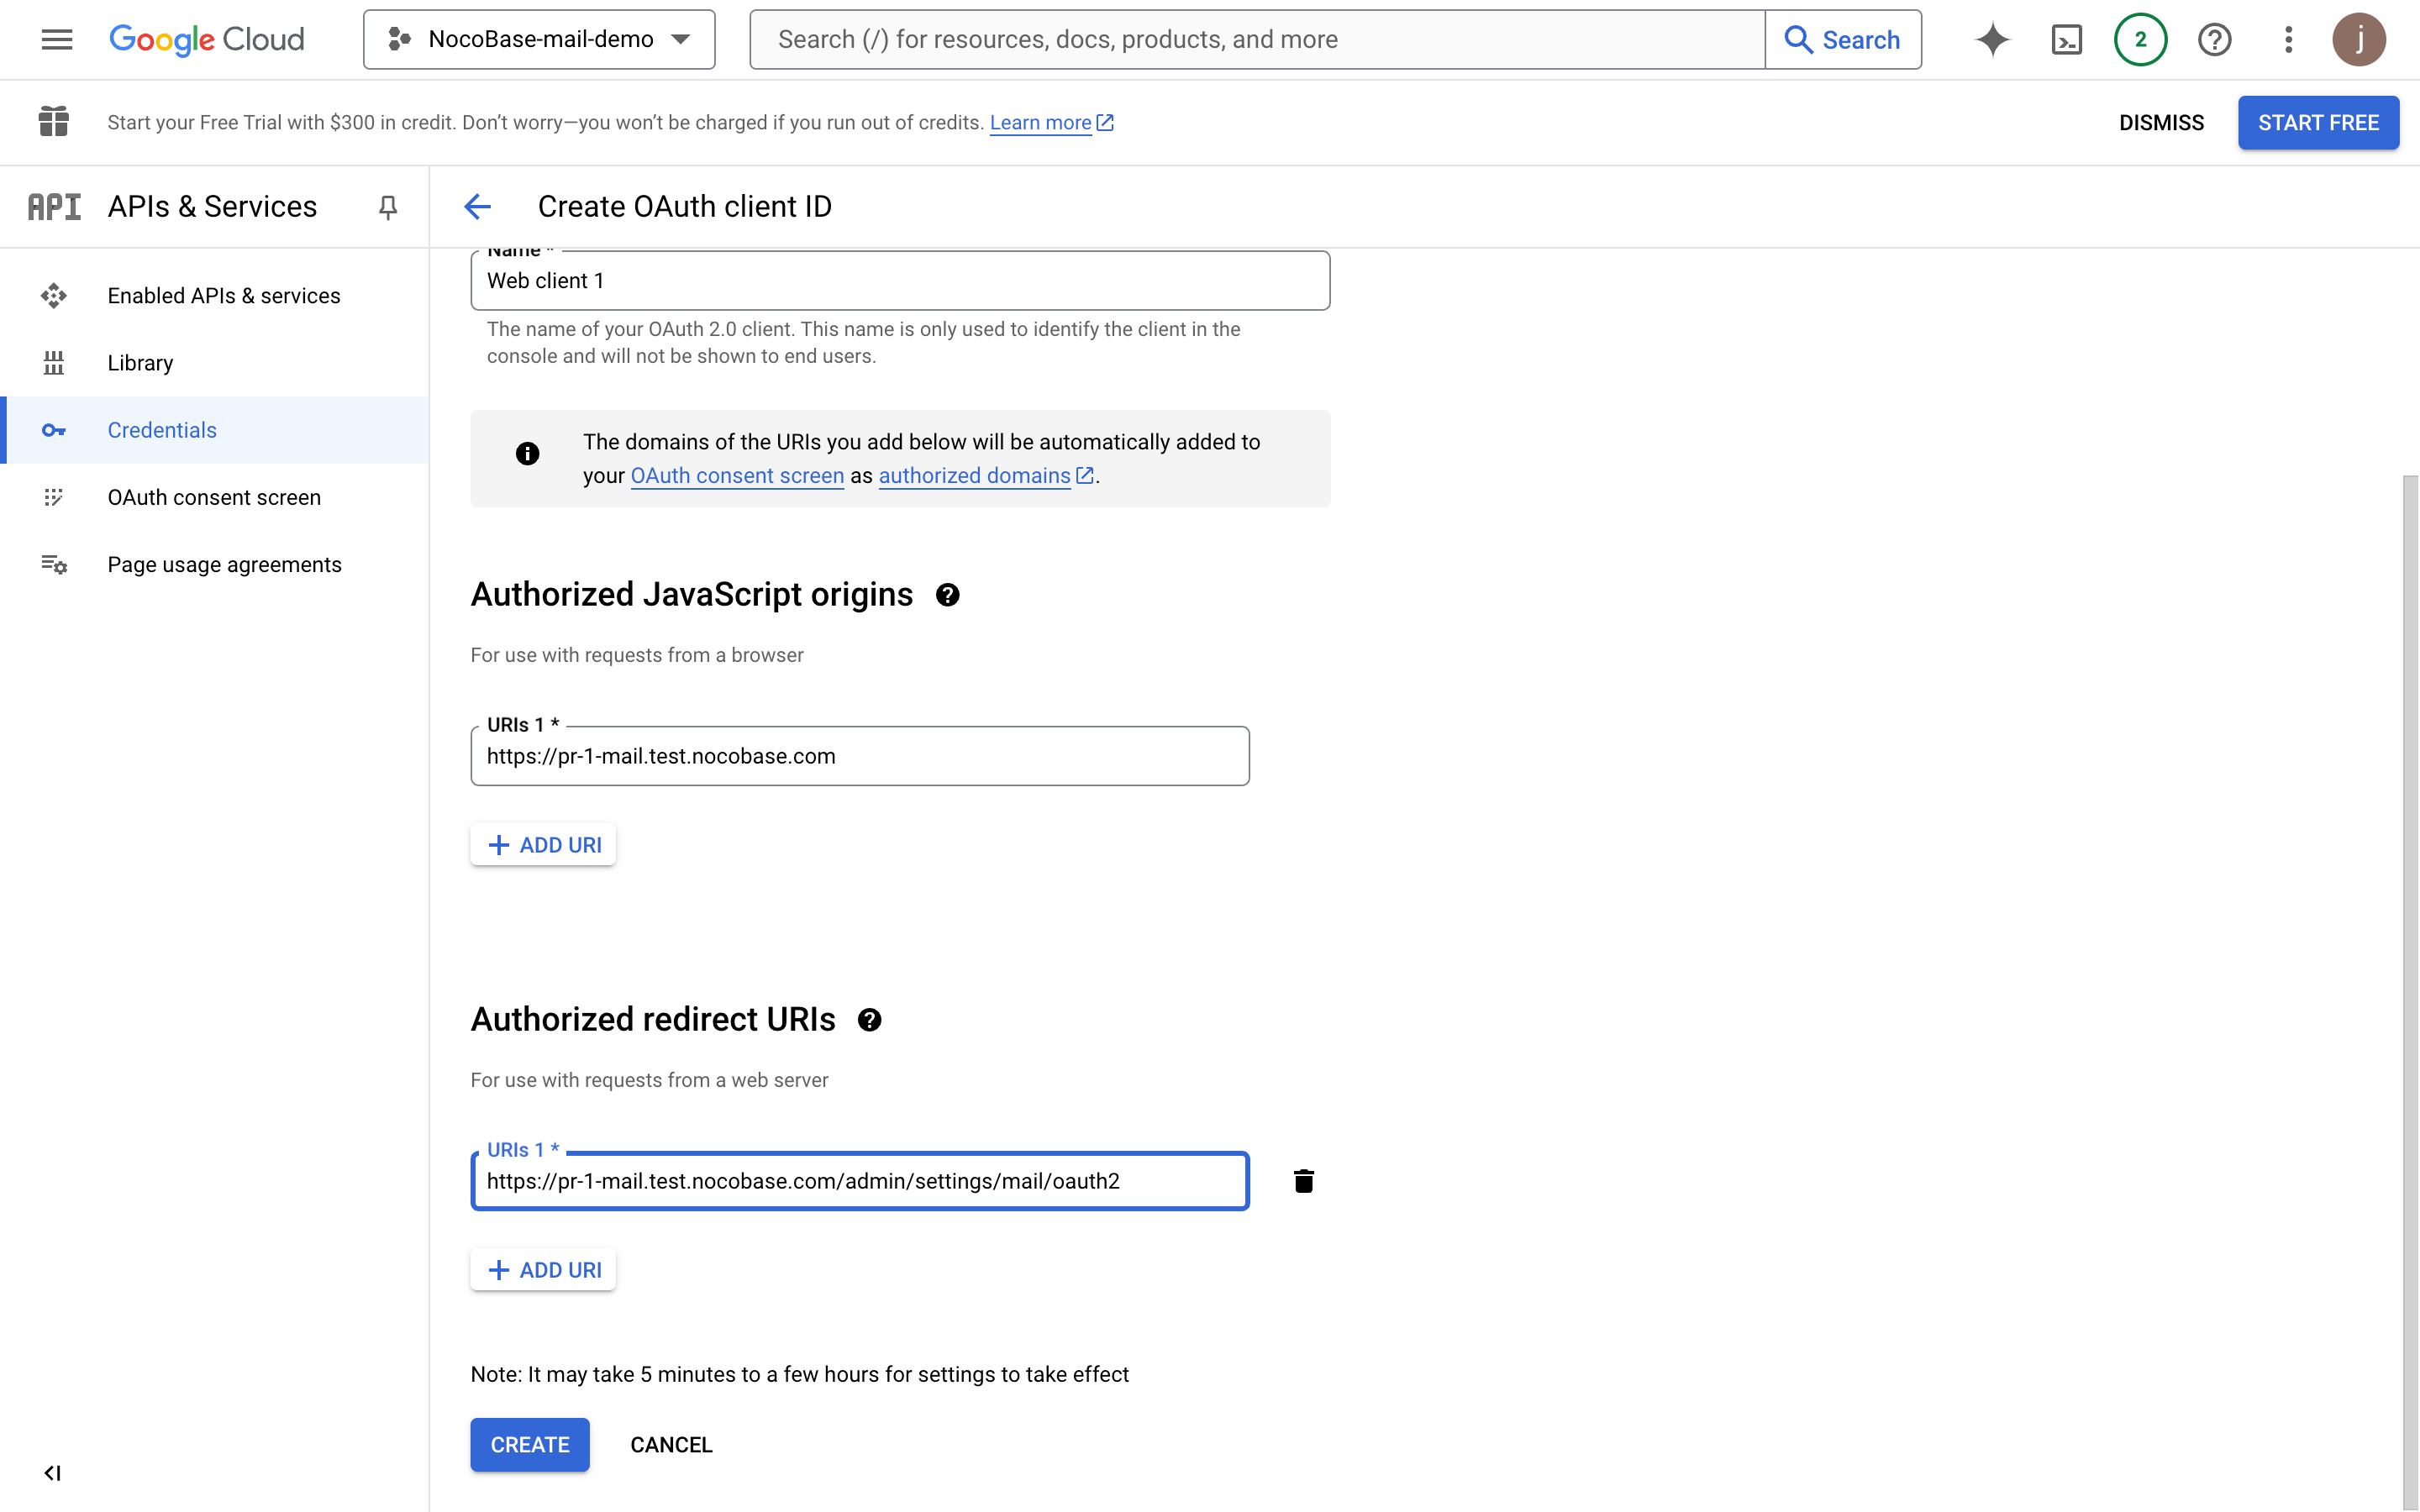
- Click create to view OAuth information

- Copy the Client ID and Client Secret content and fill them into the email configuration page
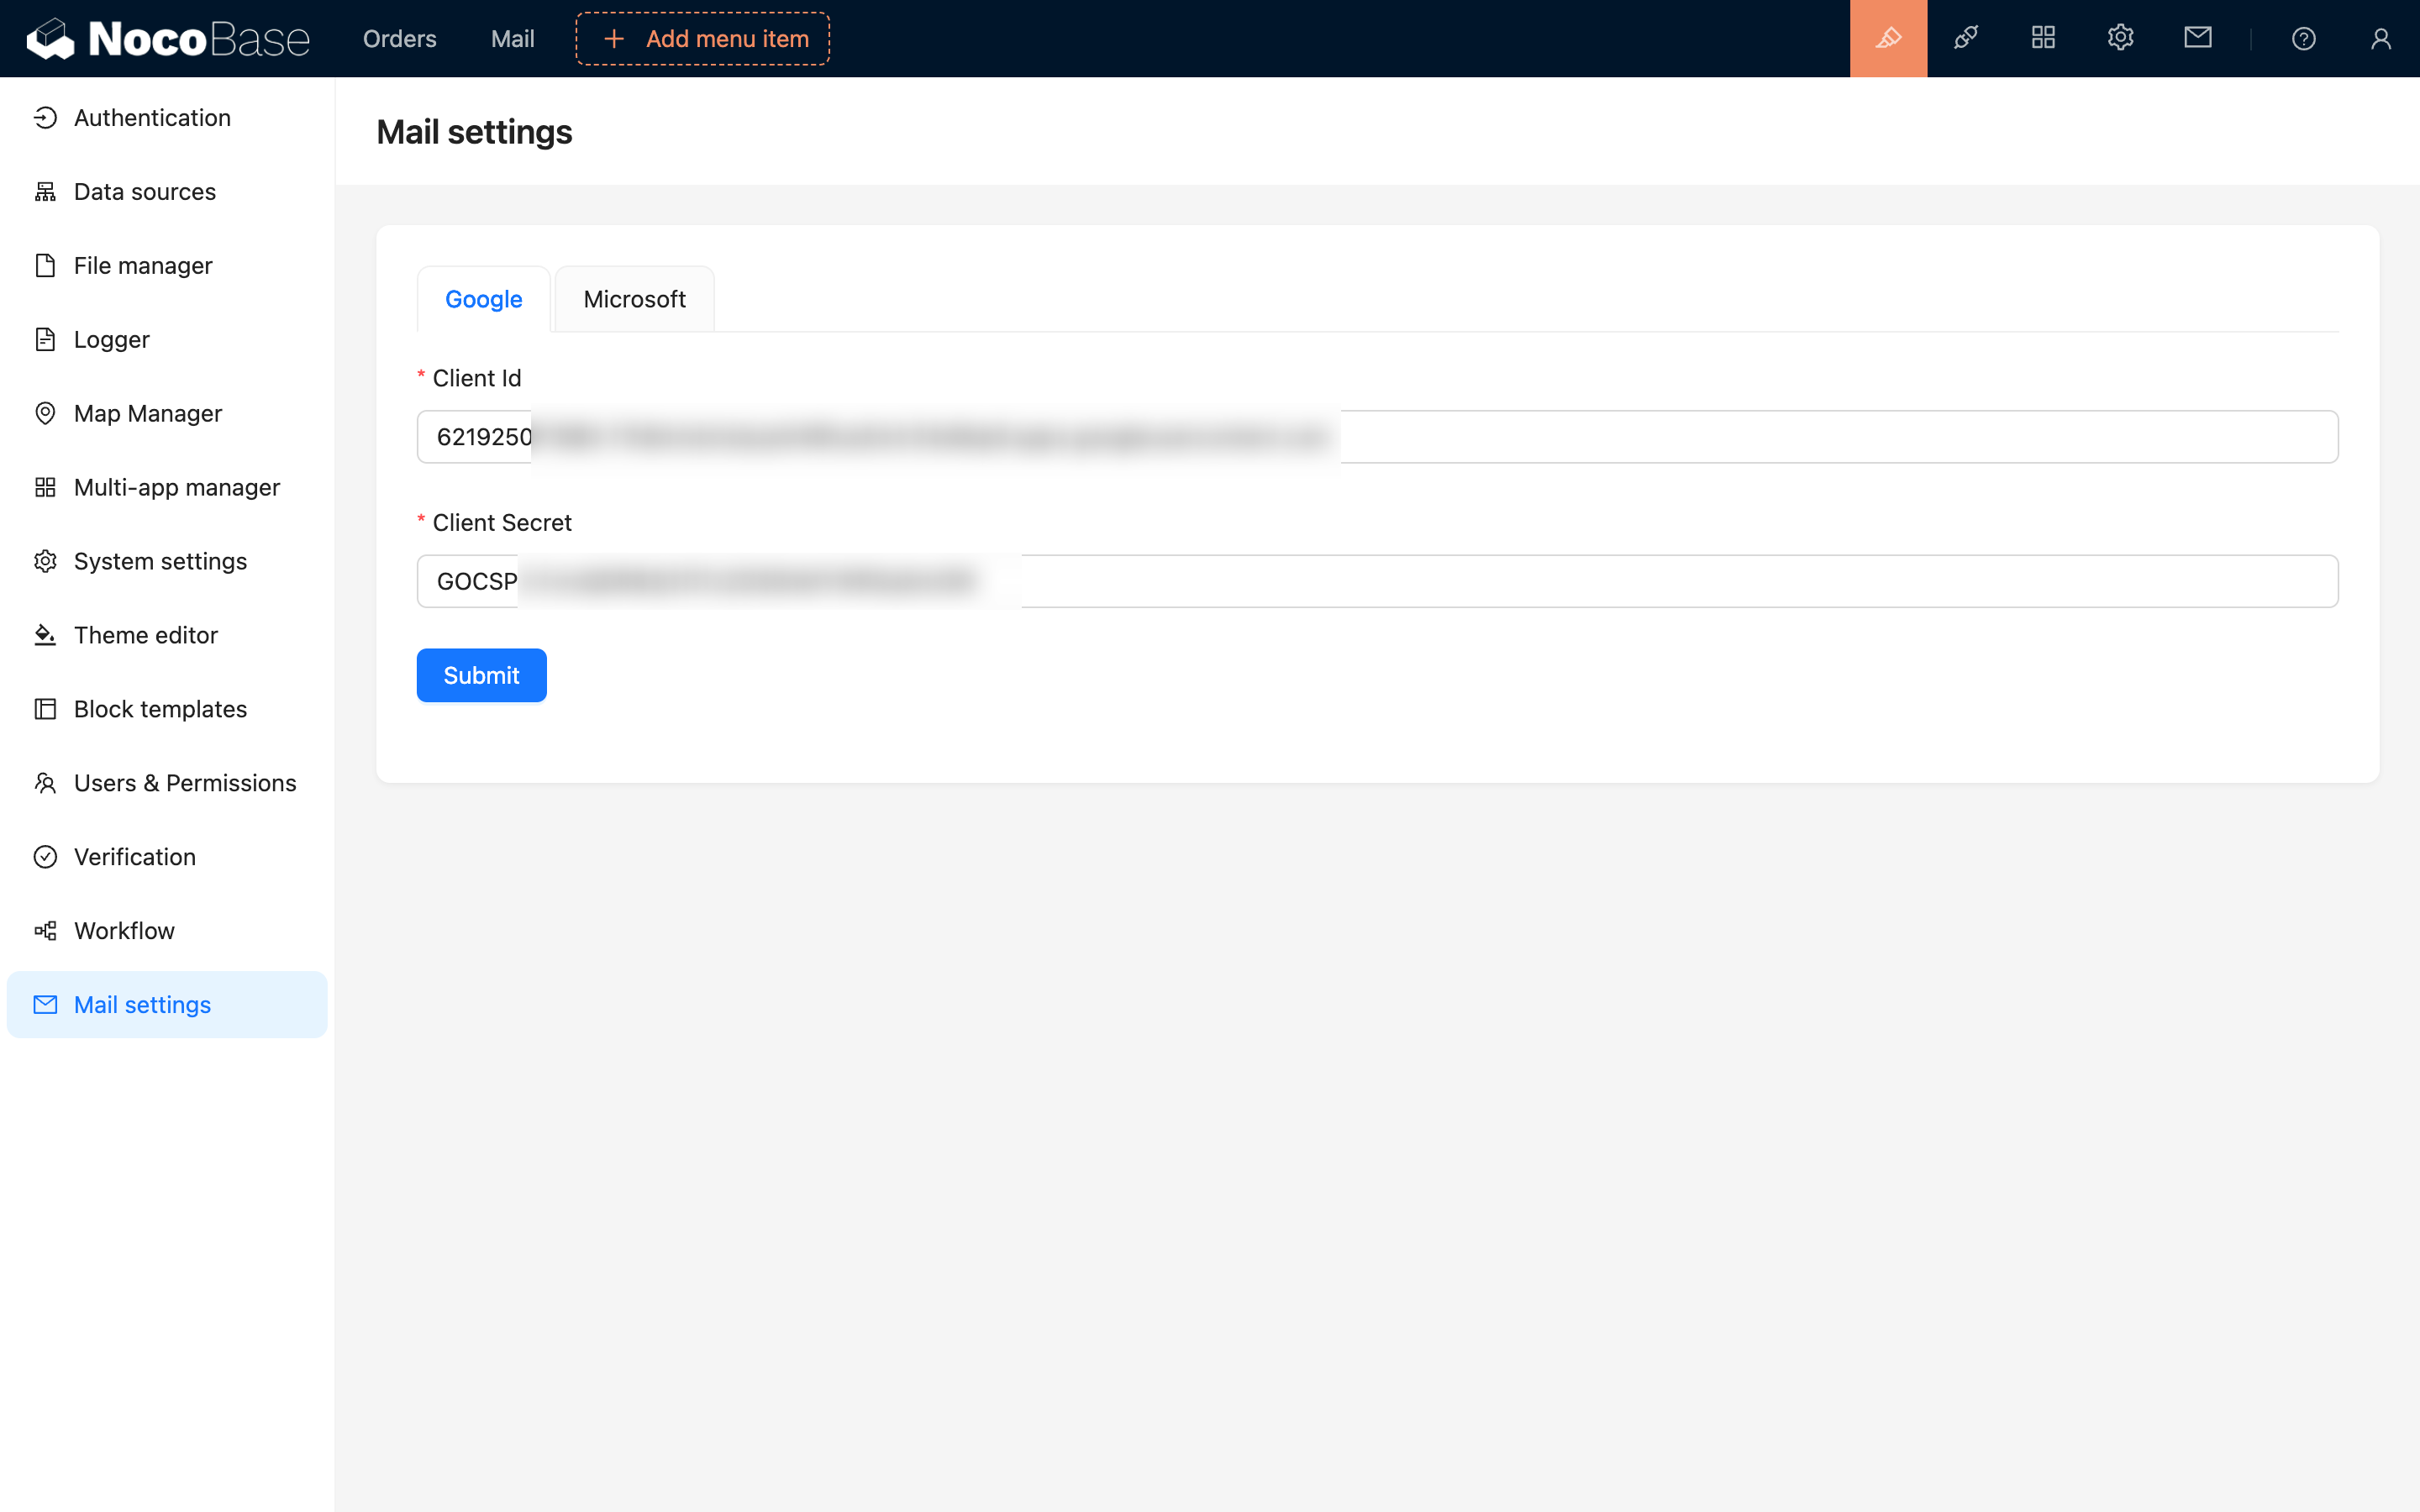
- Click save to complete the configuration
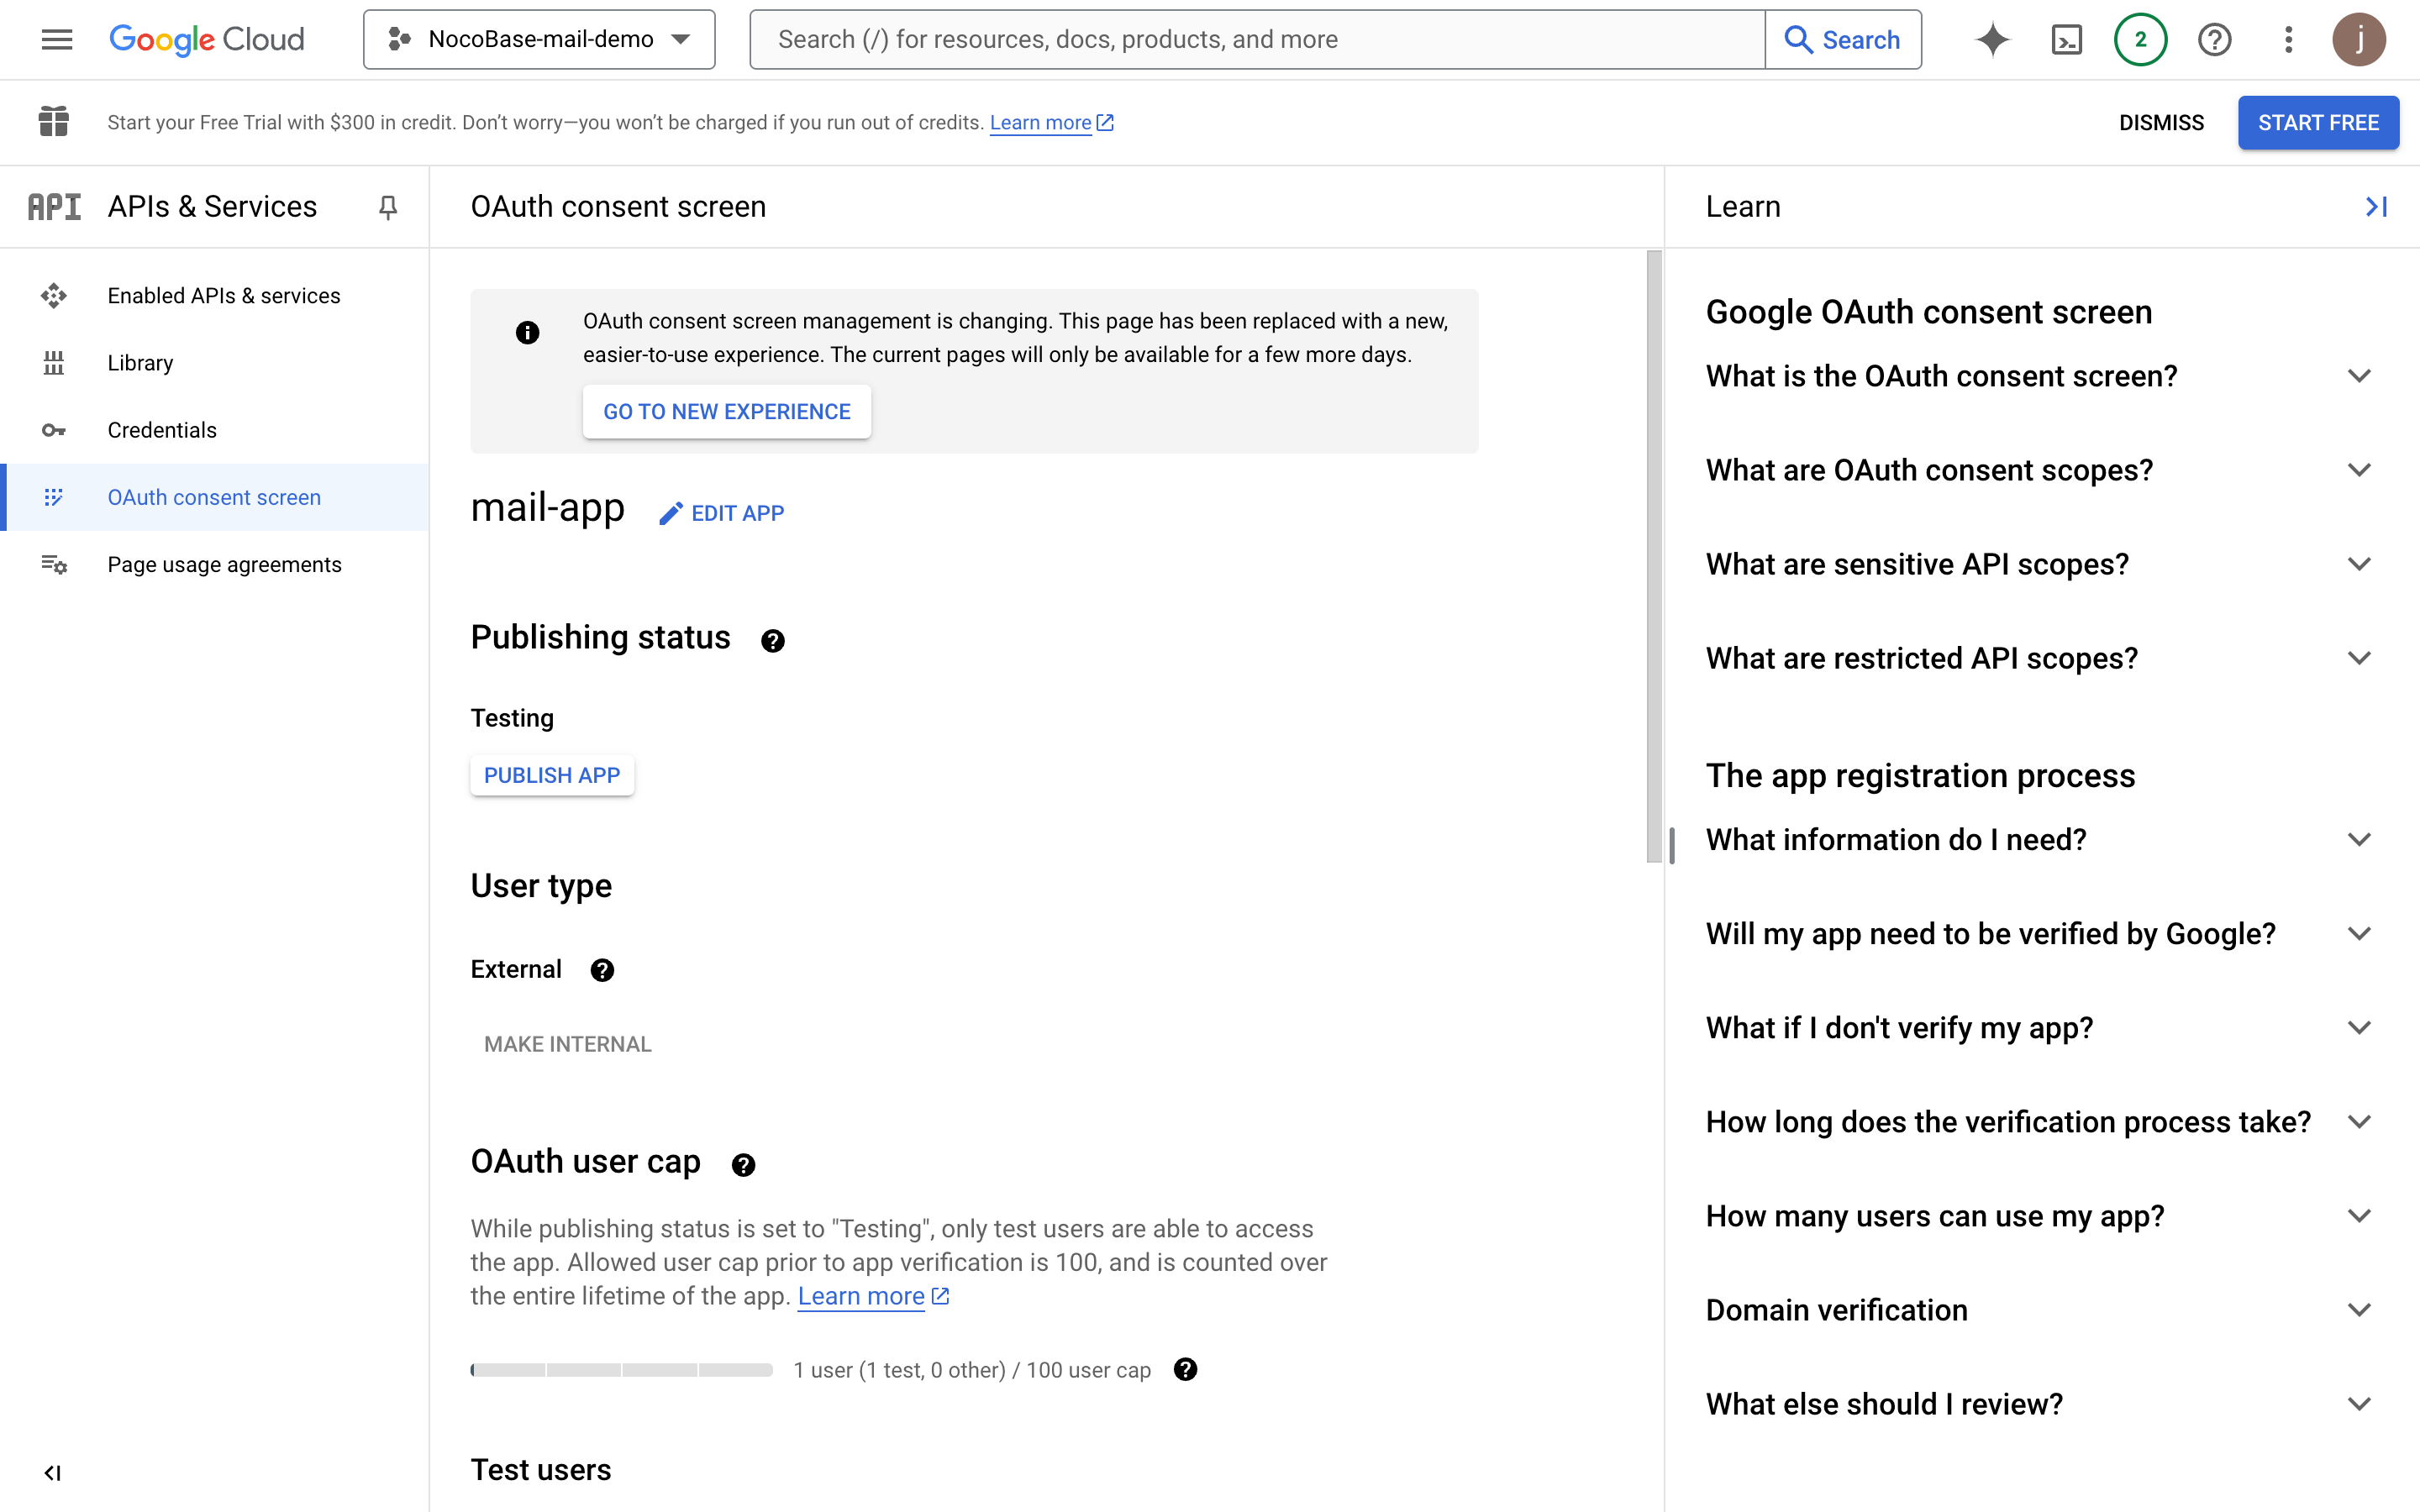
Application Publication
Proceed with publication after the above process is completed and test users authorize login, email sending, and other feature tests are finished.
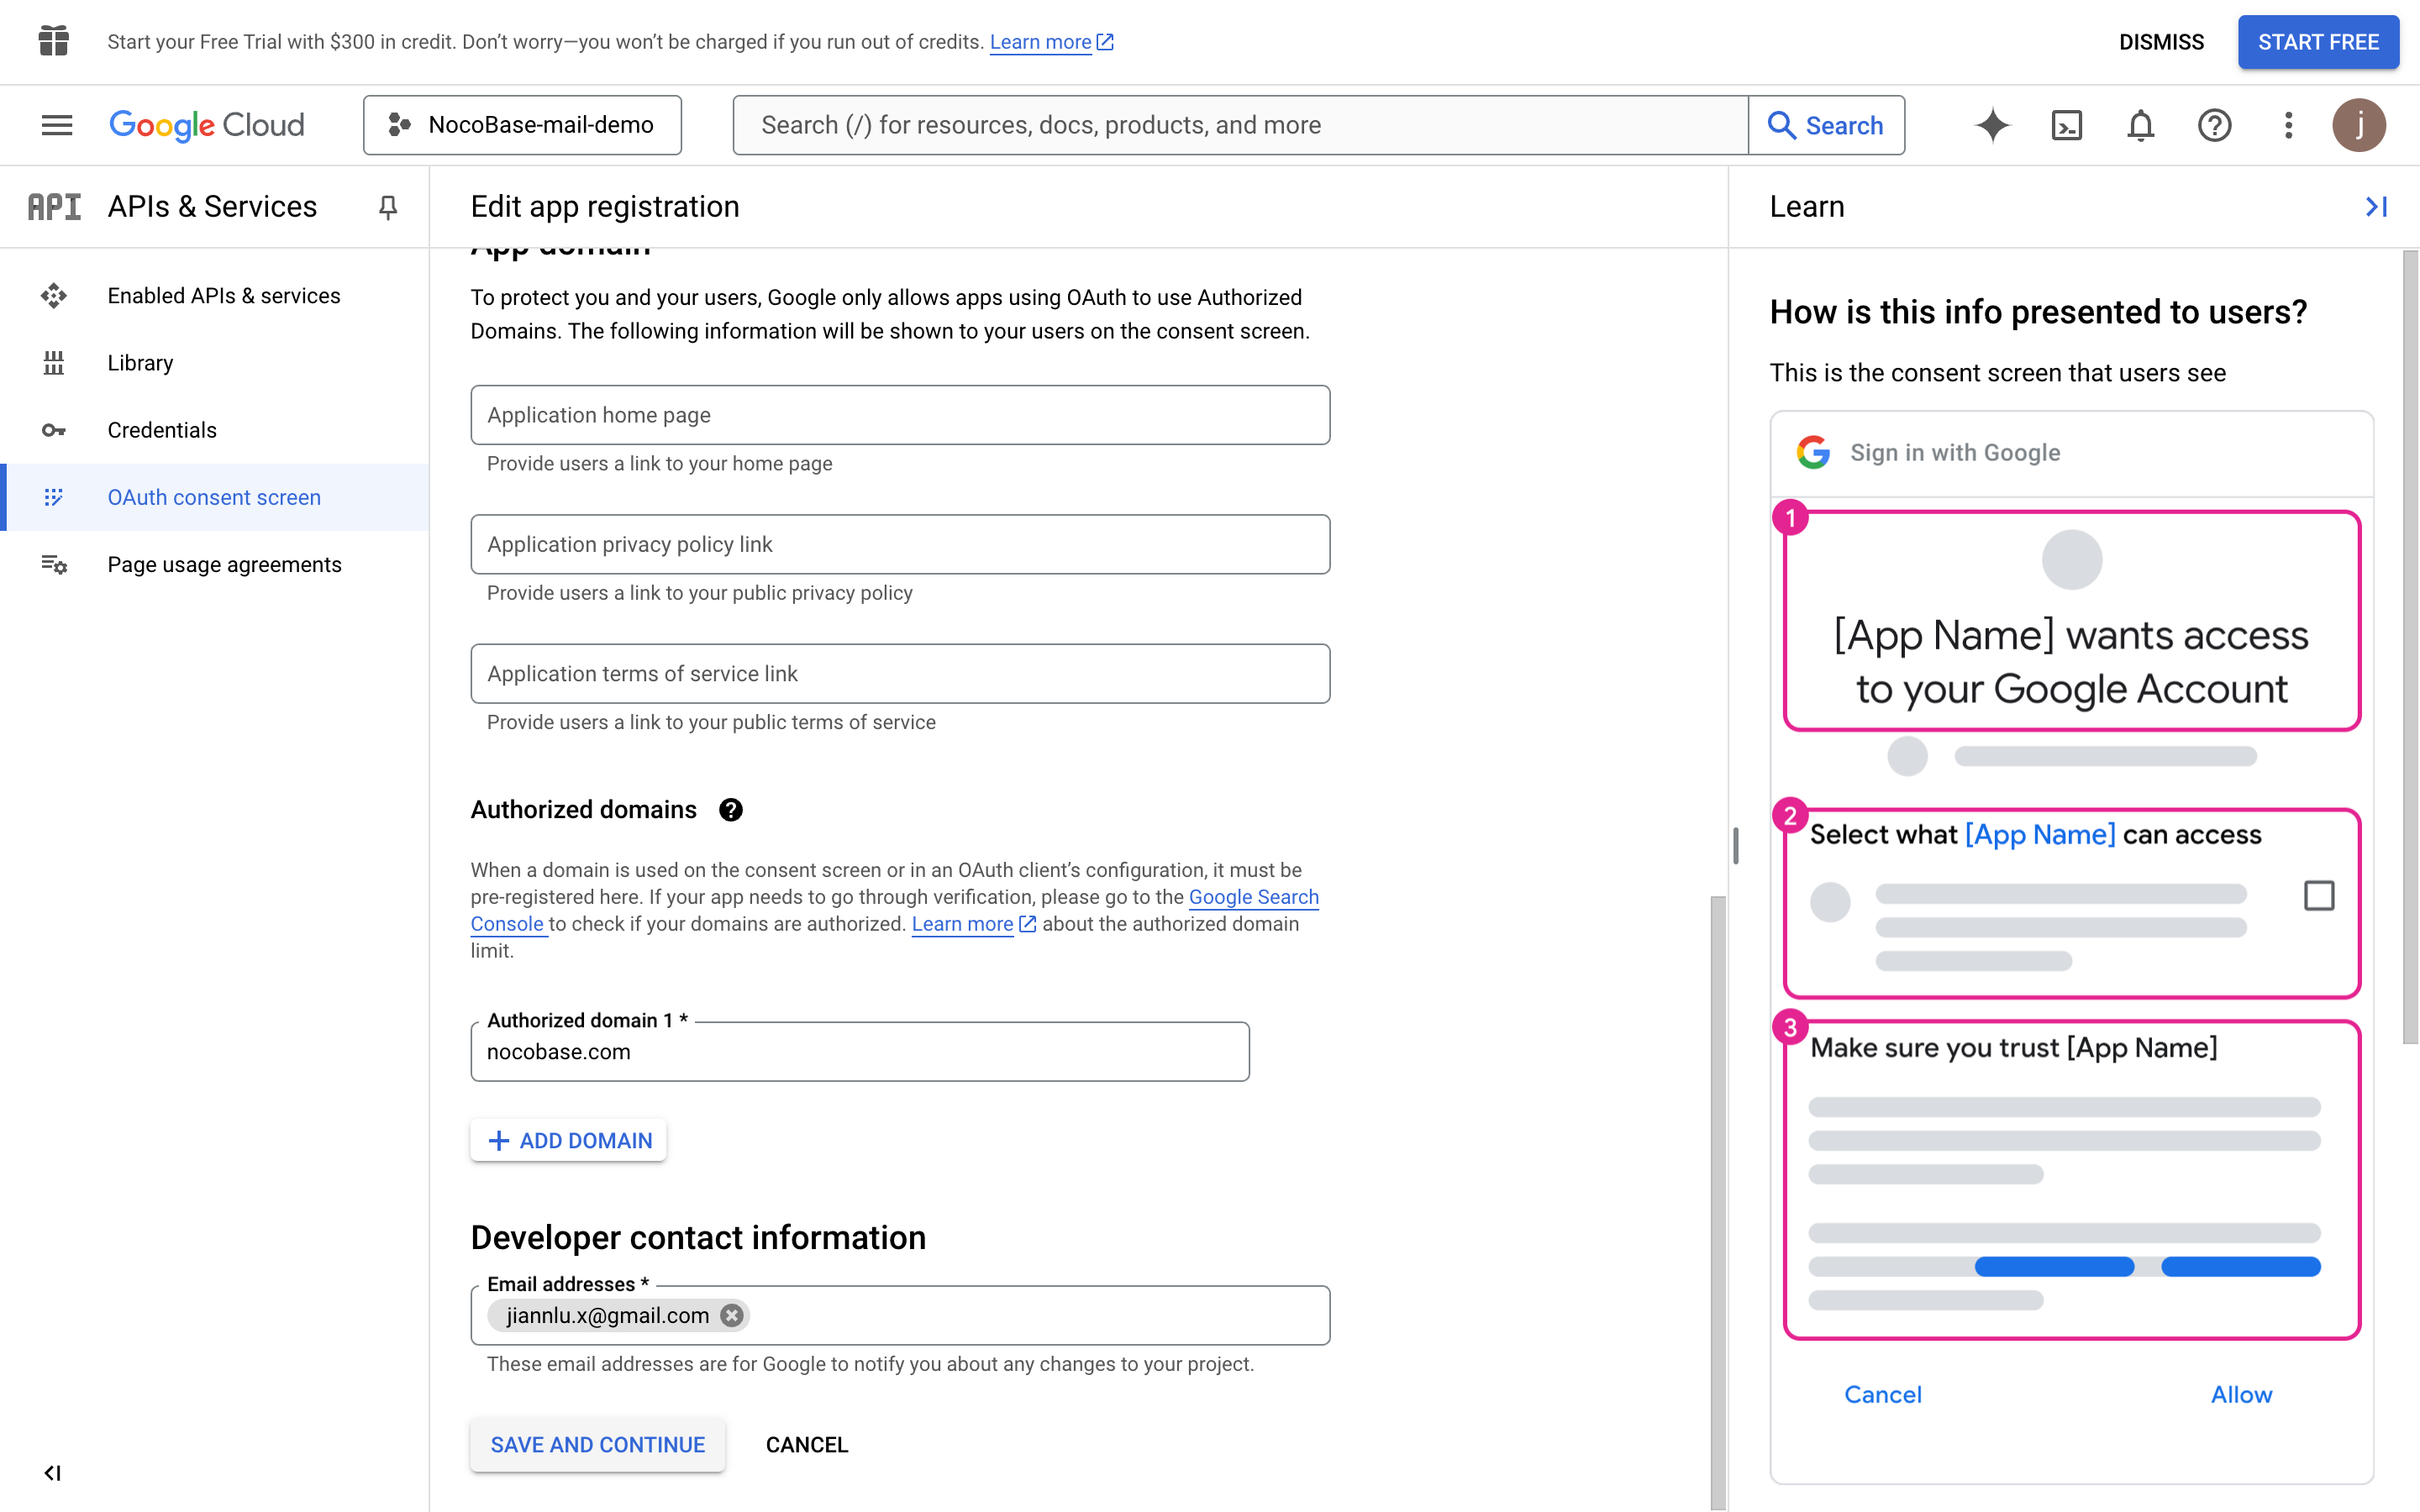
- Click the "OAuth consent screen" menu
- Click the "EDIT APP" button, then click "SAVE AND CONTINUE" button at the bottom

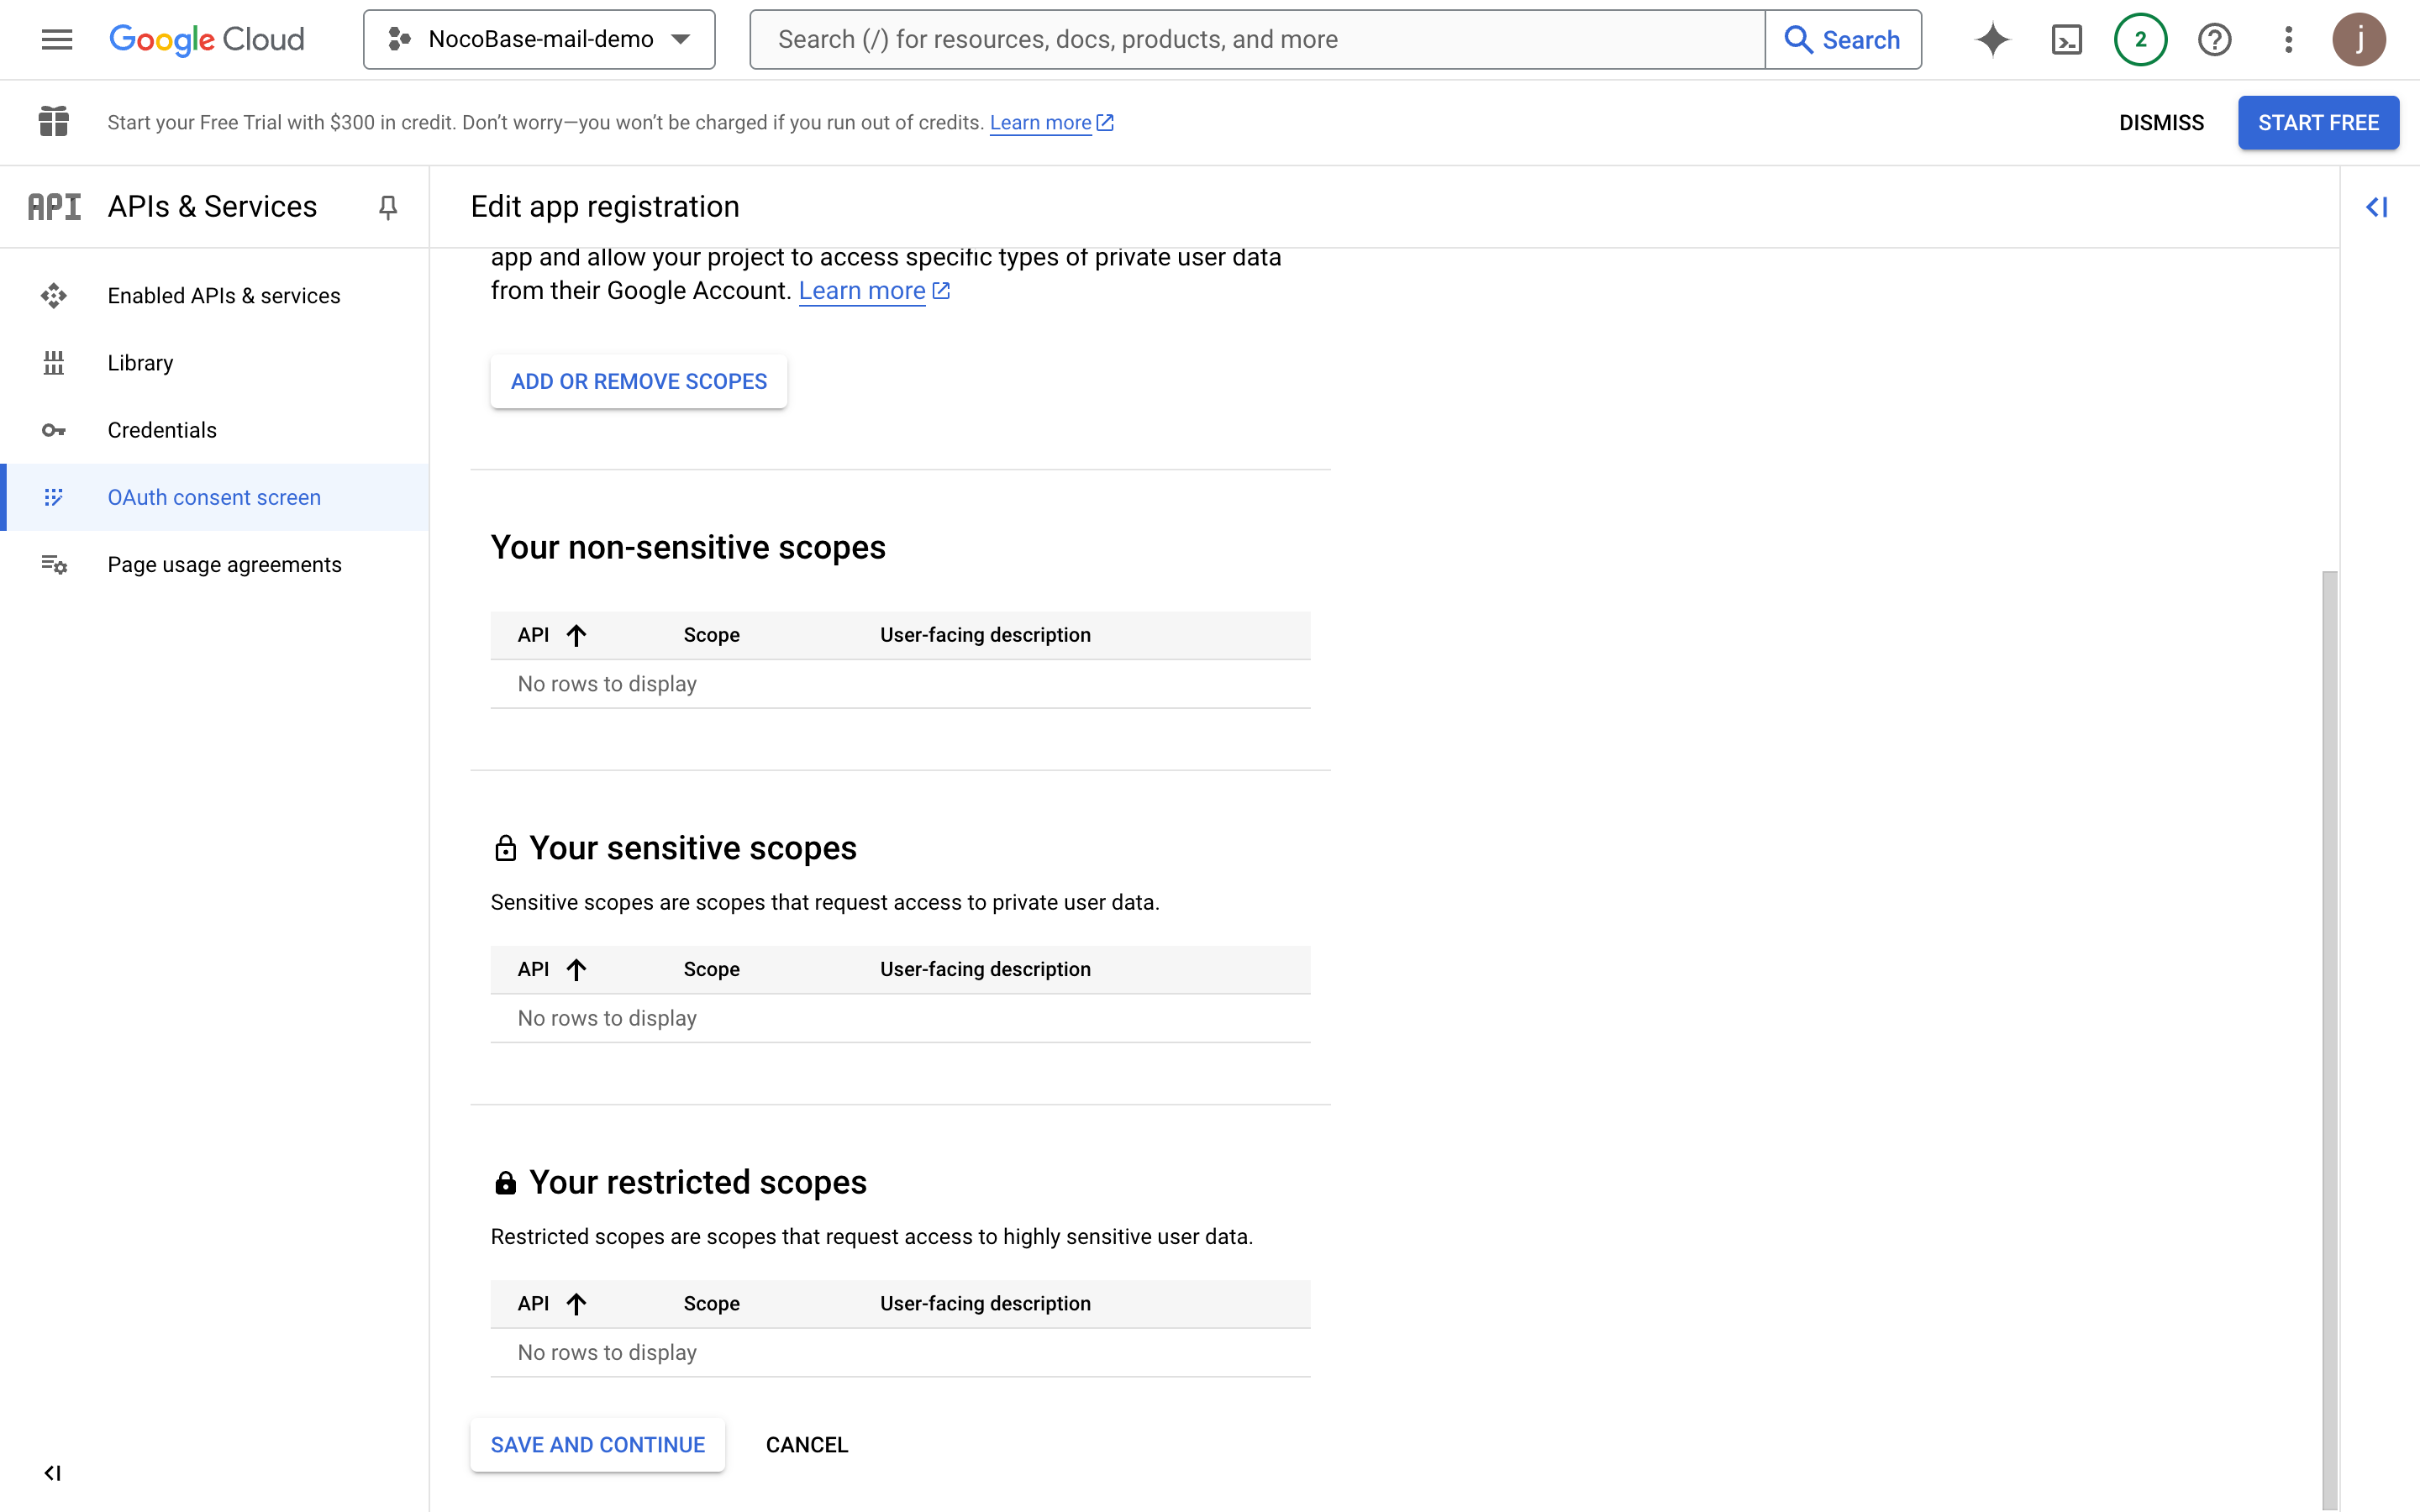
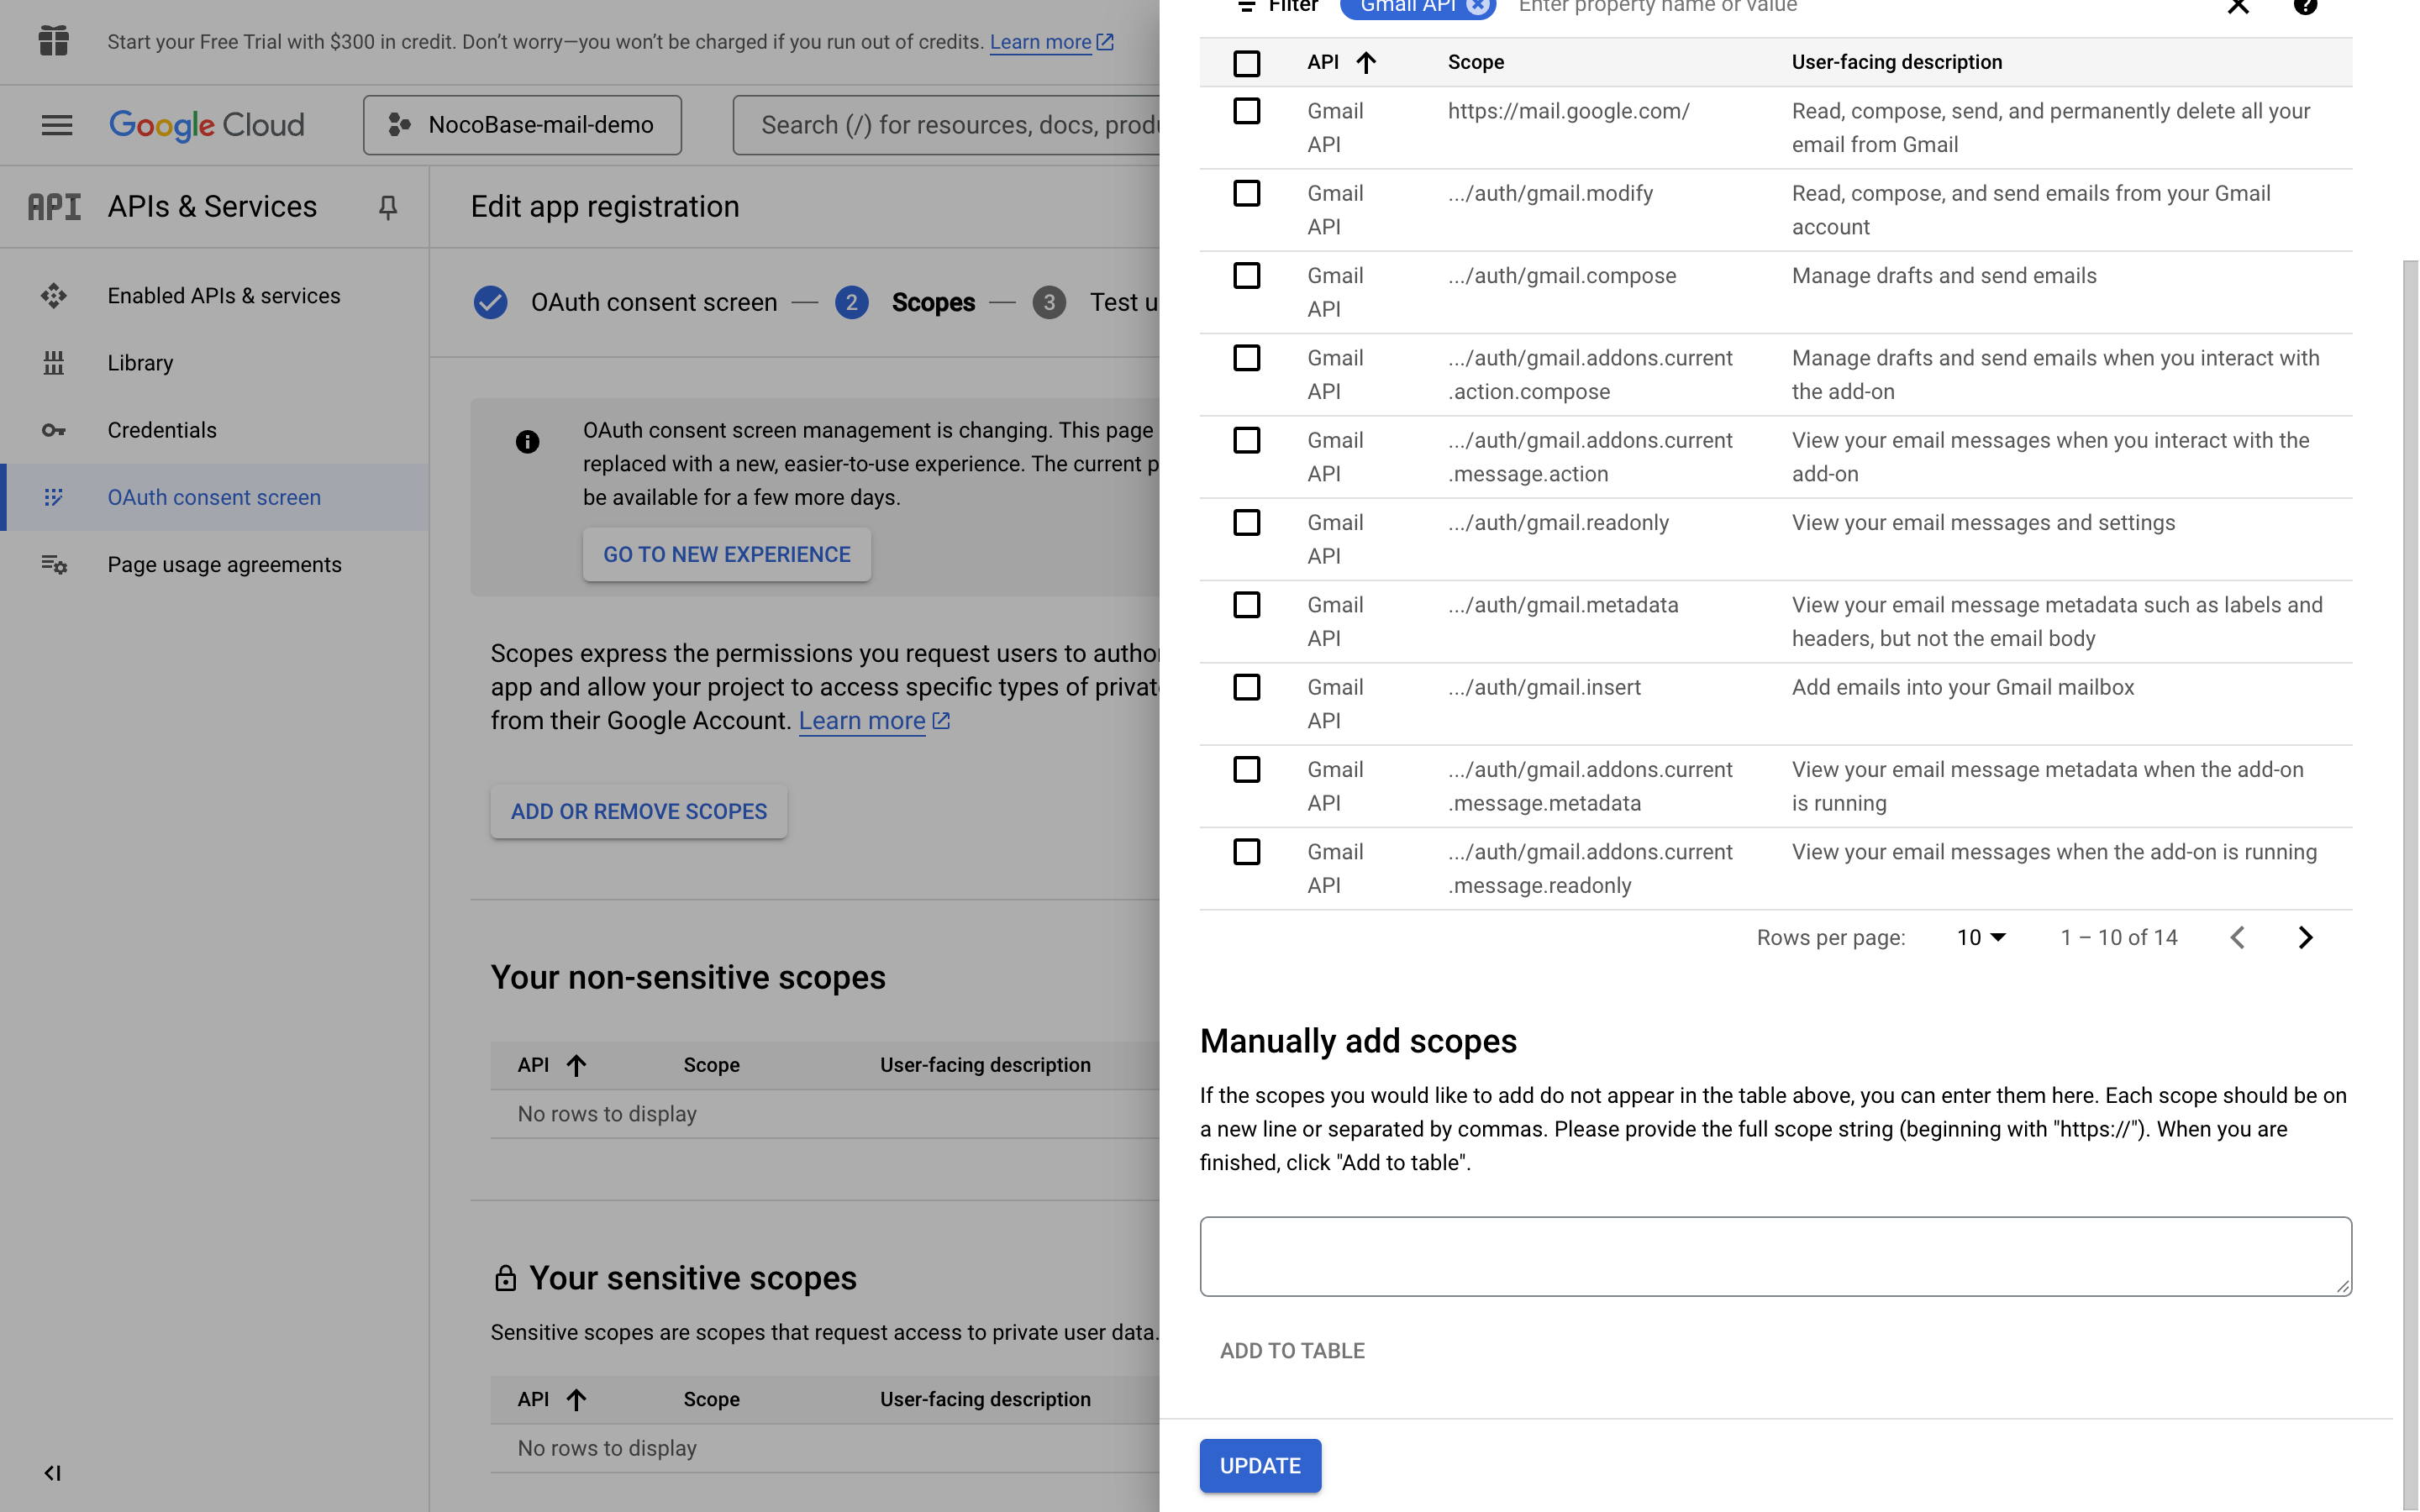
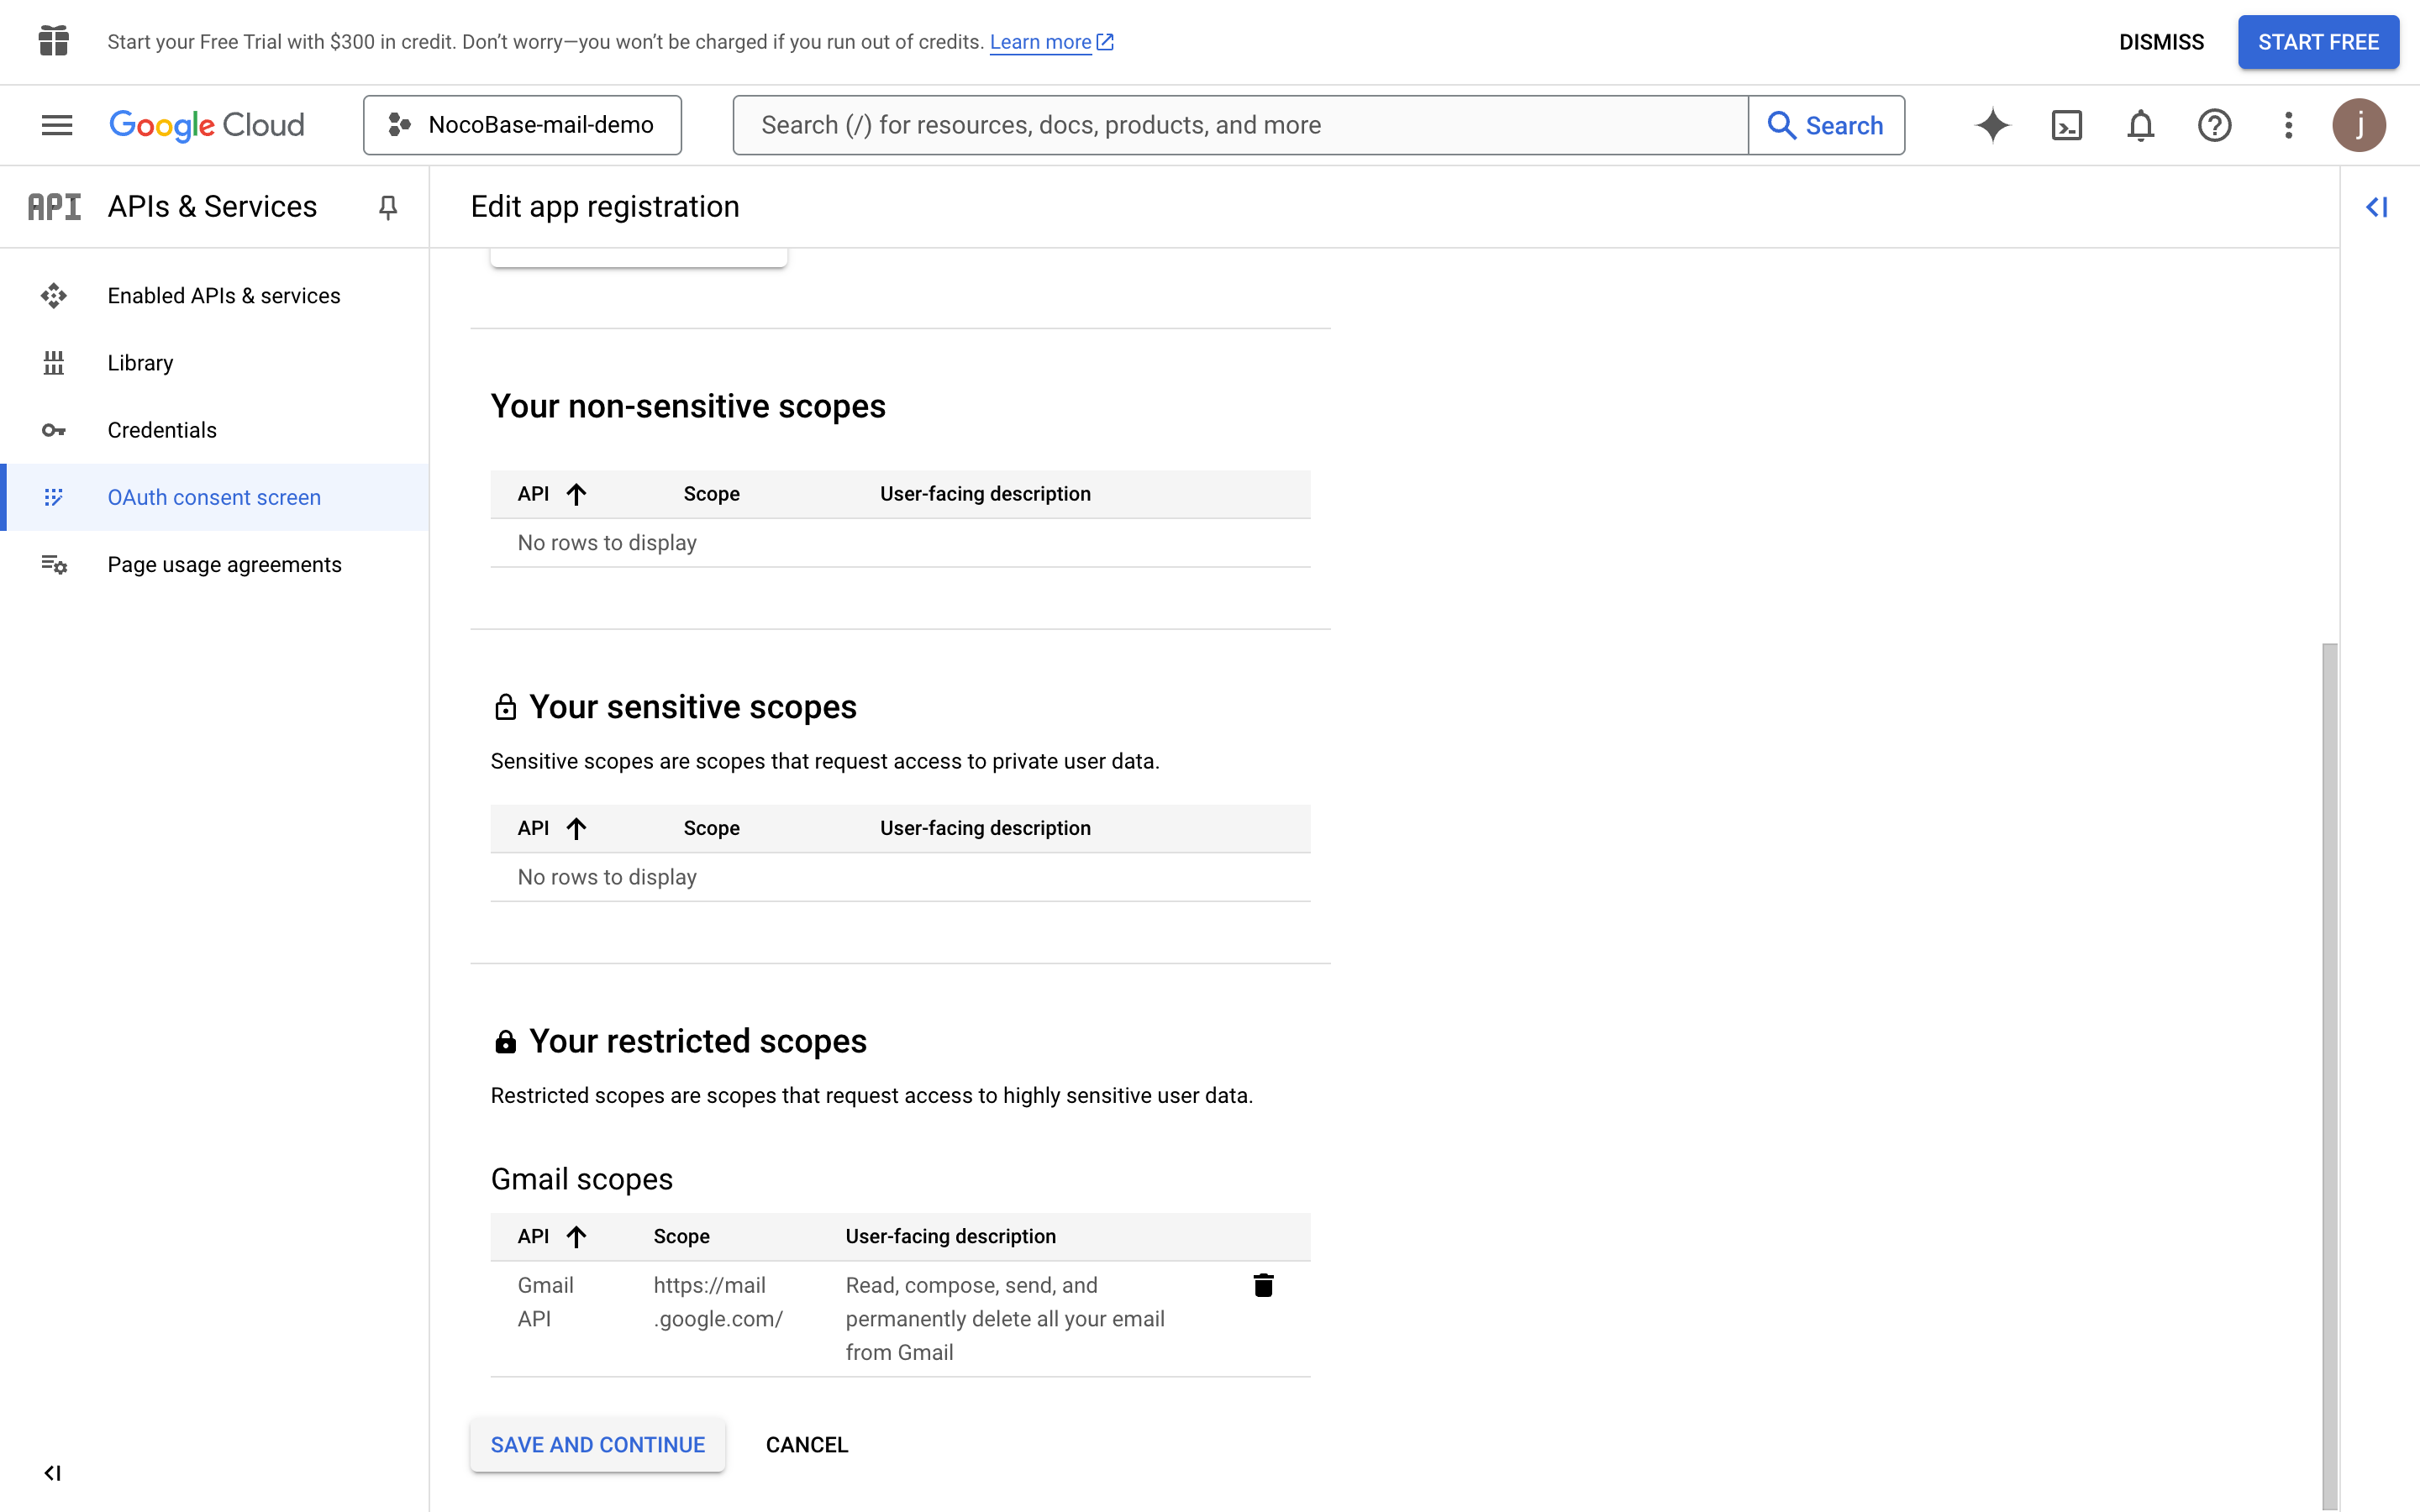
- Click the "ADD OR REMOVE SCOPES" button to select user permission scopes
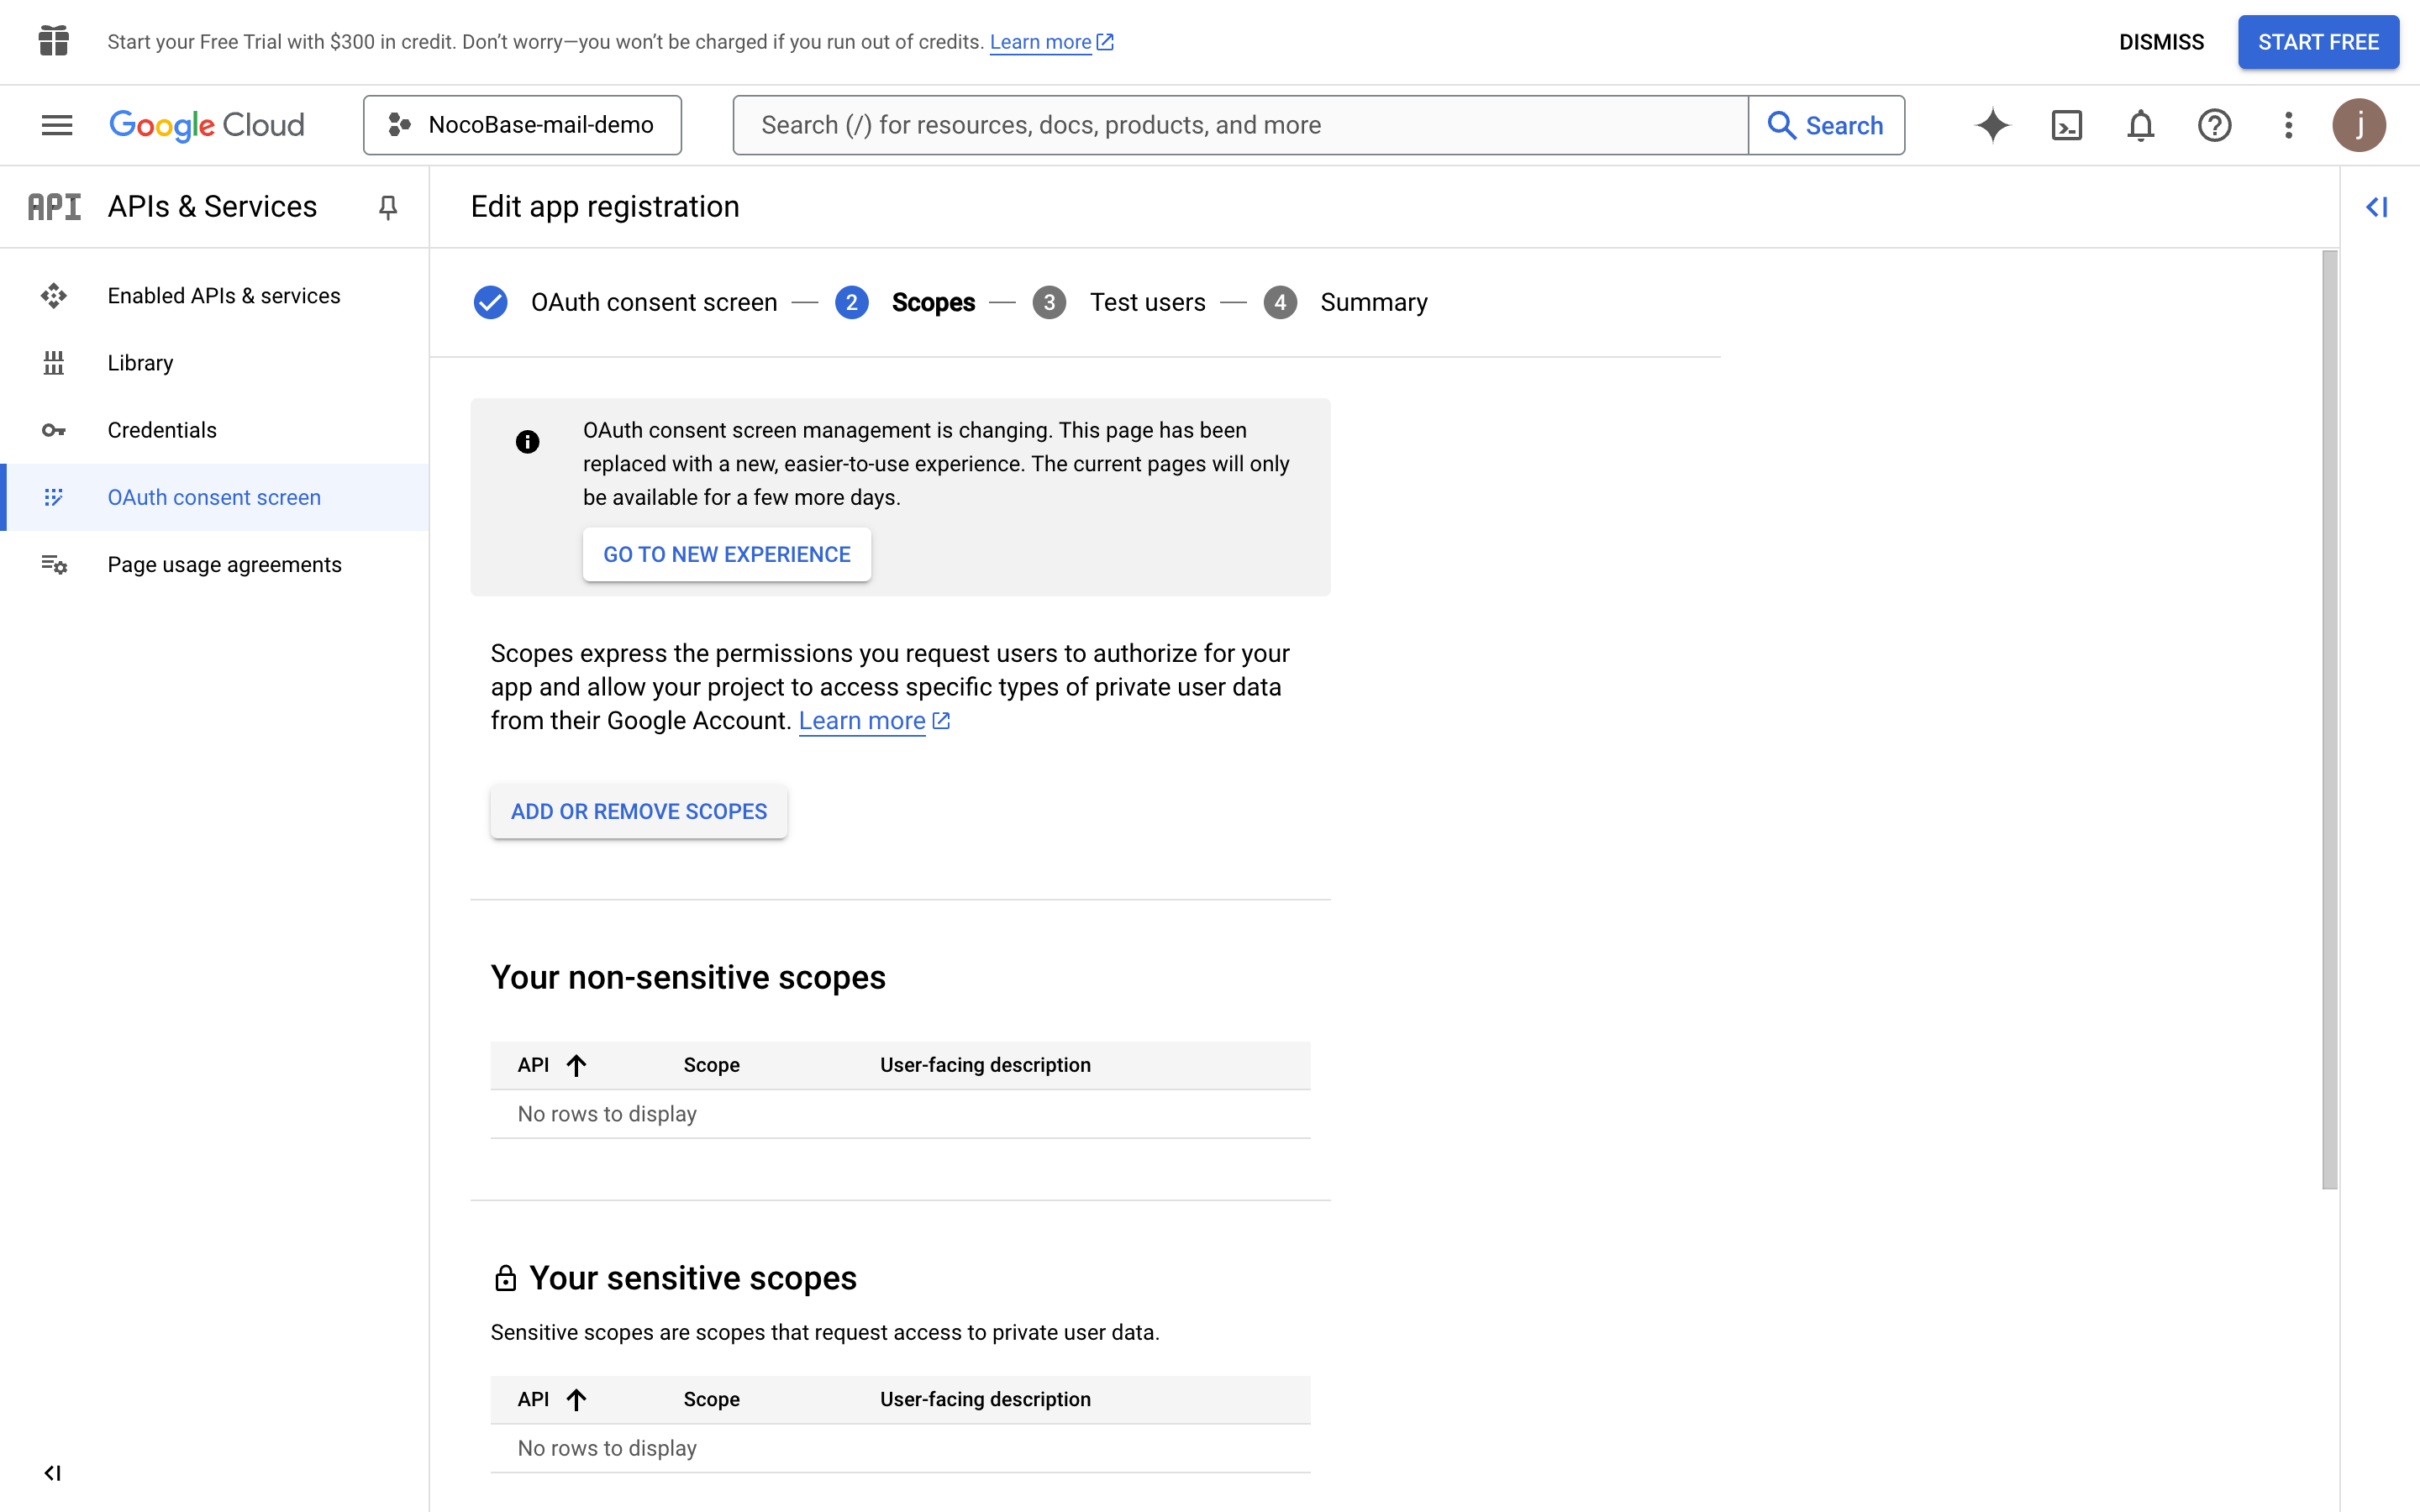
- Search for "Gmail API" and check "Gmail API" (confirm that the Scope value is "https://mail.google.com/")

- Click the UPDATE button at the bottom to save
- Click "SAVE AND CONTINUE" button at the bottom of each page, then finally click "BACK TO DASHBOARD" button to return to the dashboard page
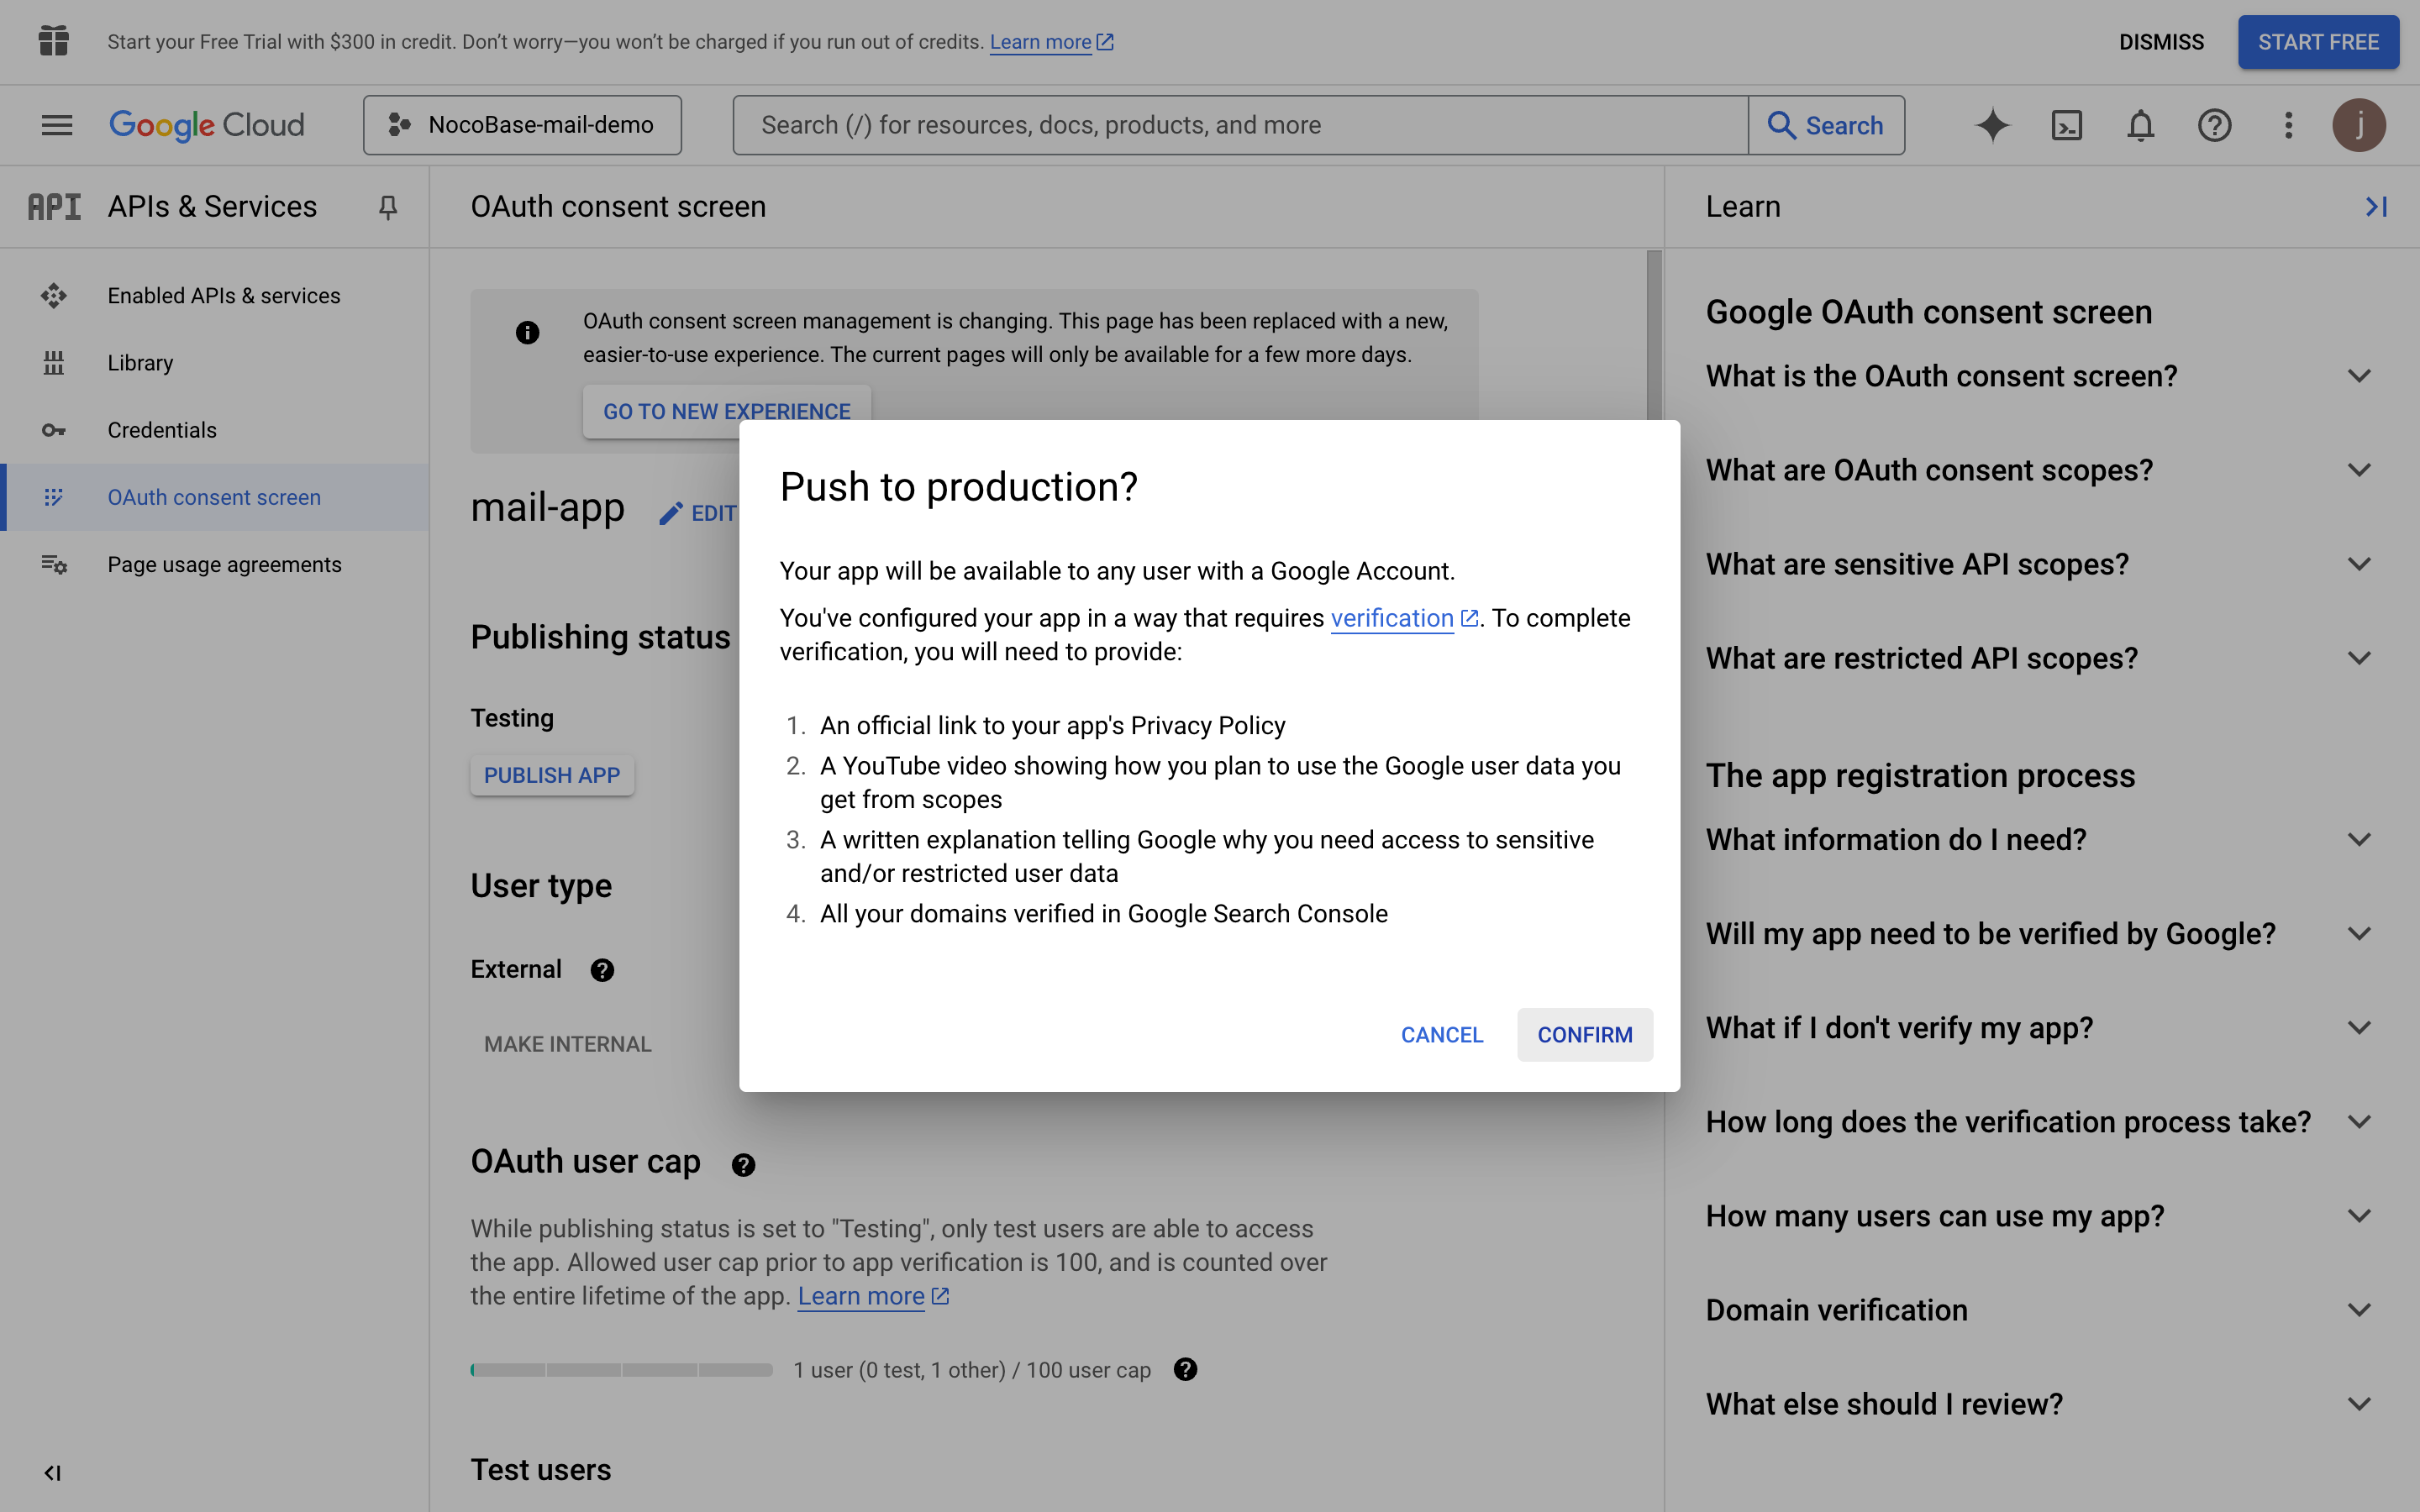
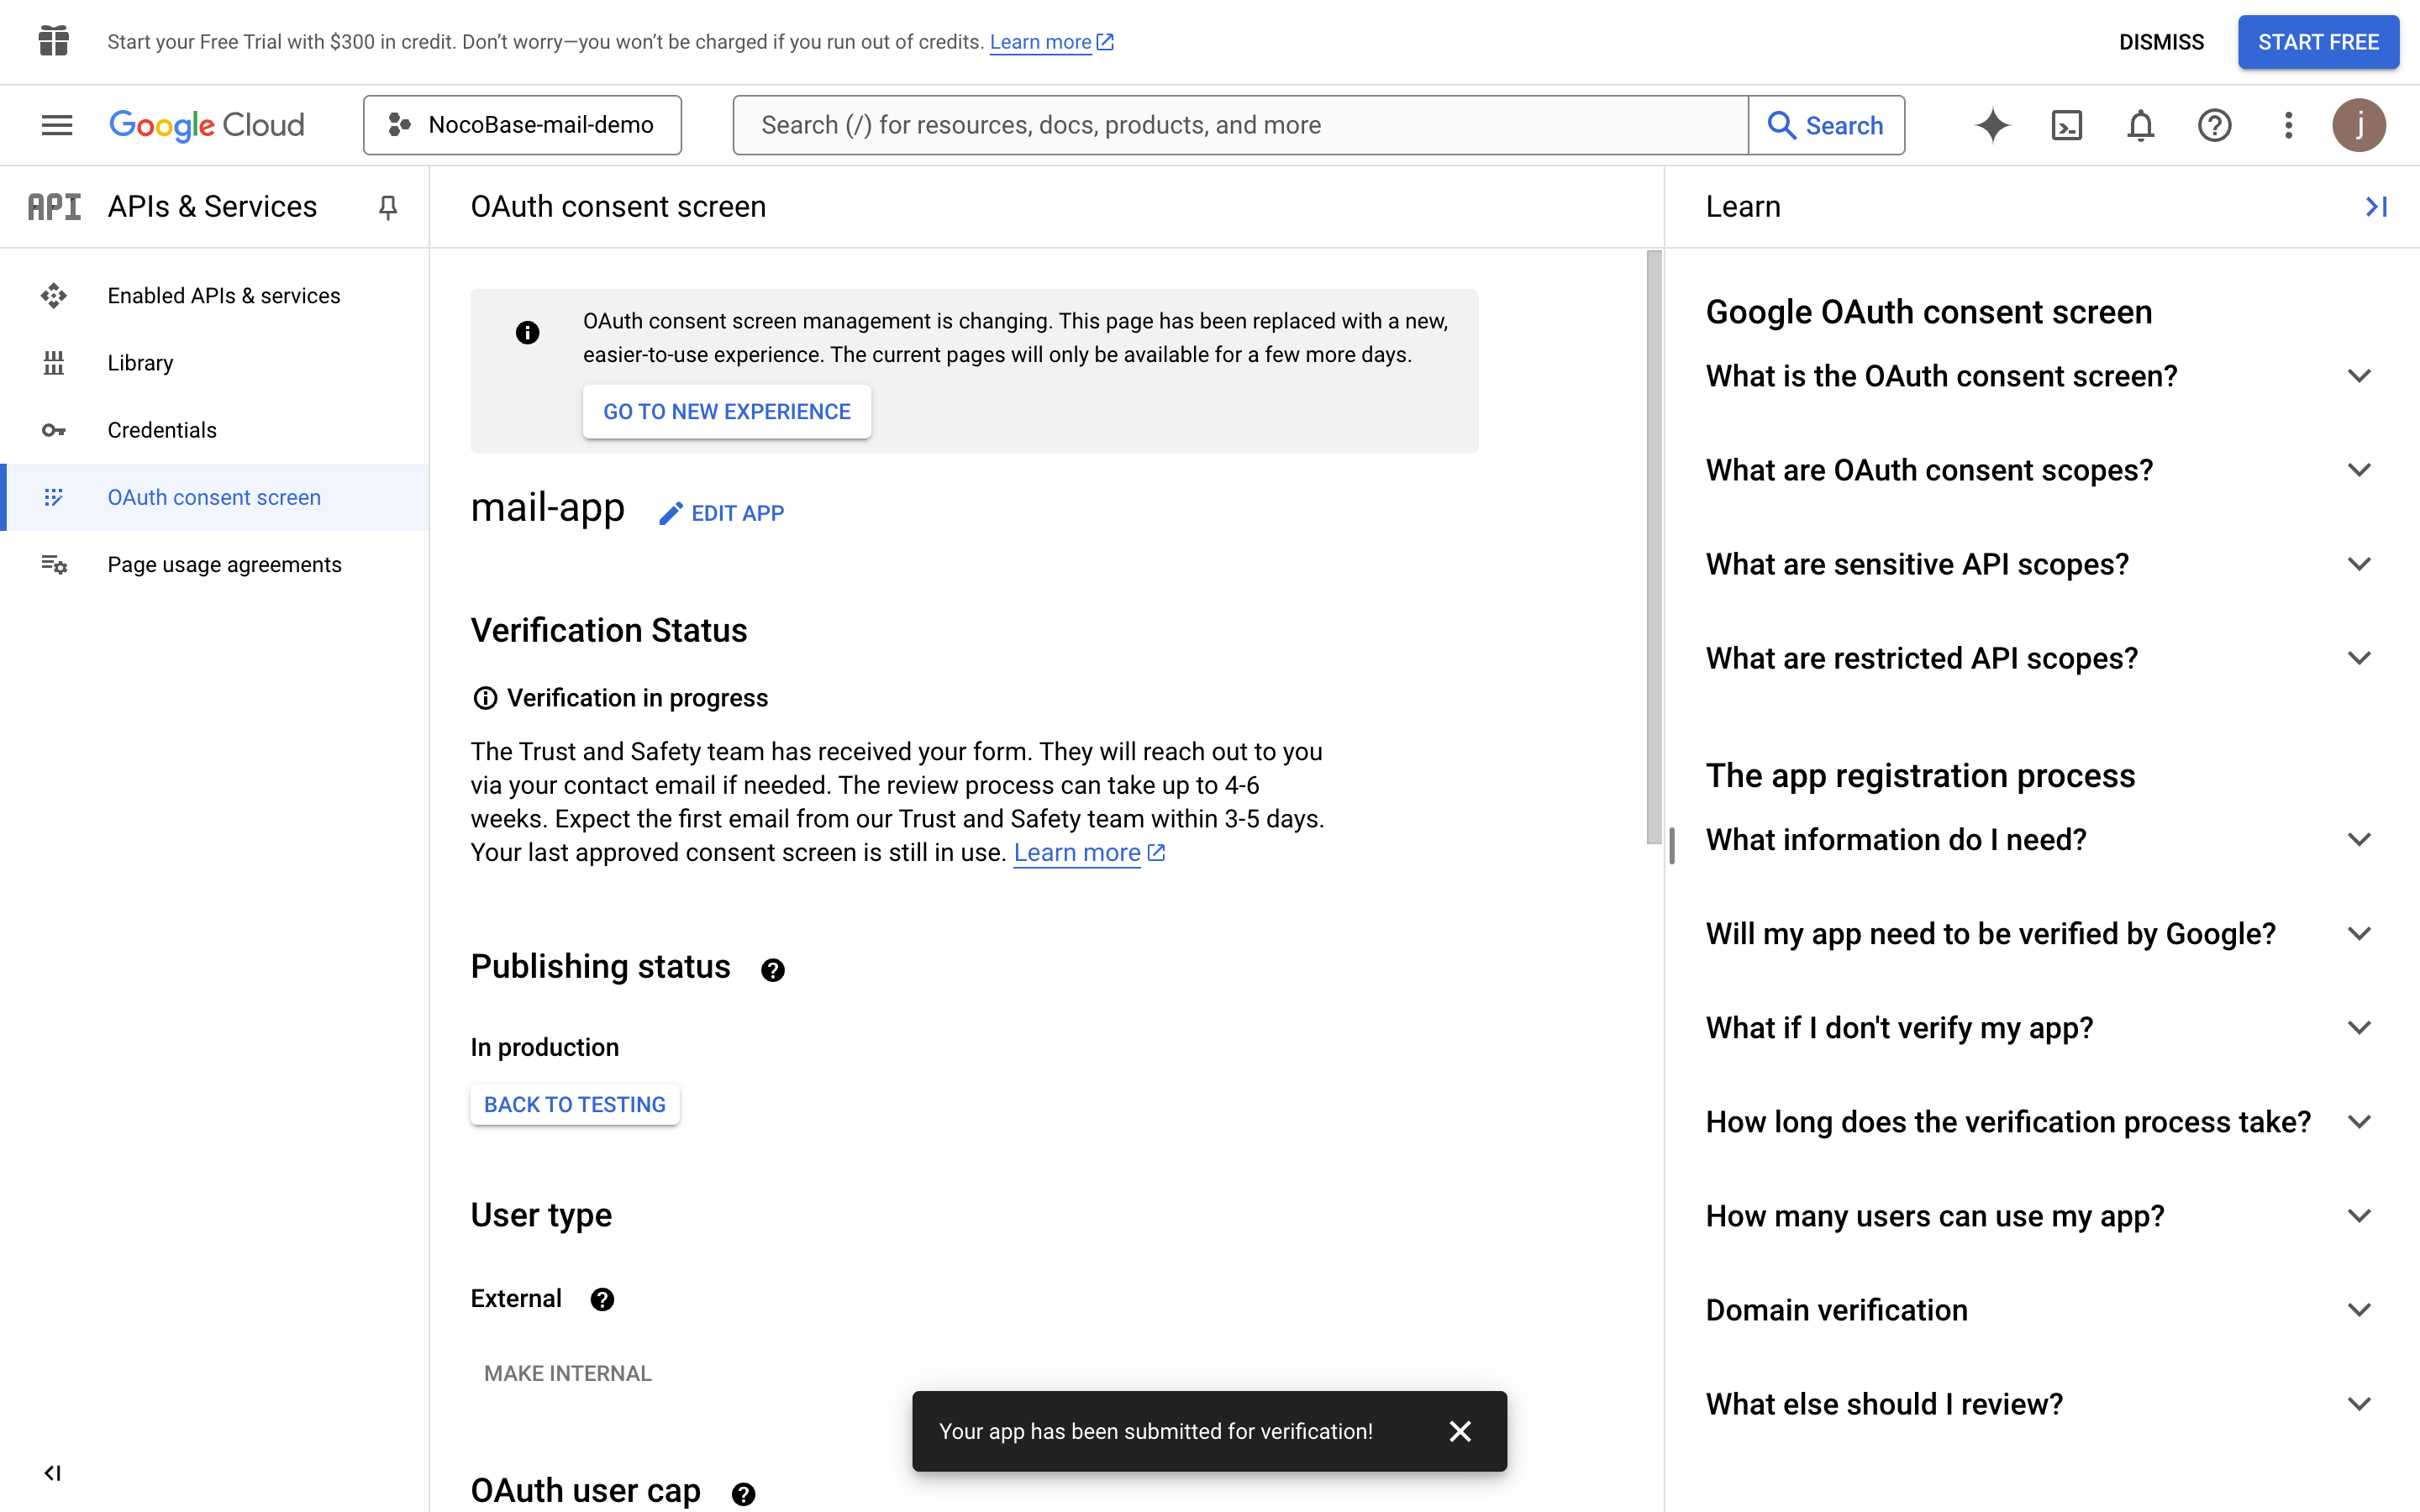
- Click the PUBLISH APP button and a publication confirmation page appears showing the information required for publication. Then click the CONFIRM button
- Return to the console page again, and you can see the publication status is "In production"

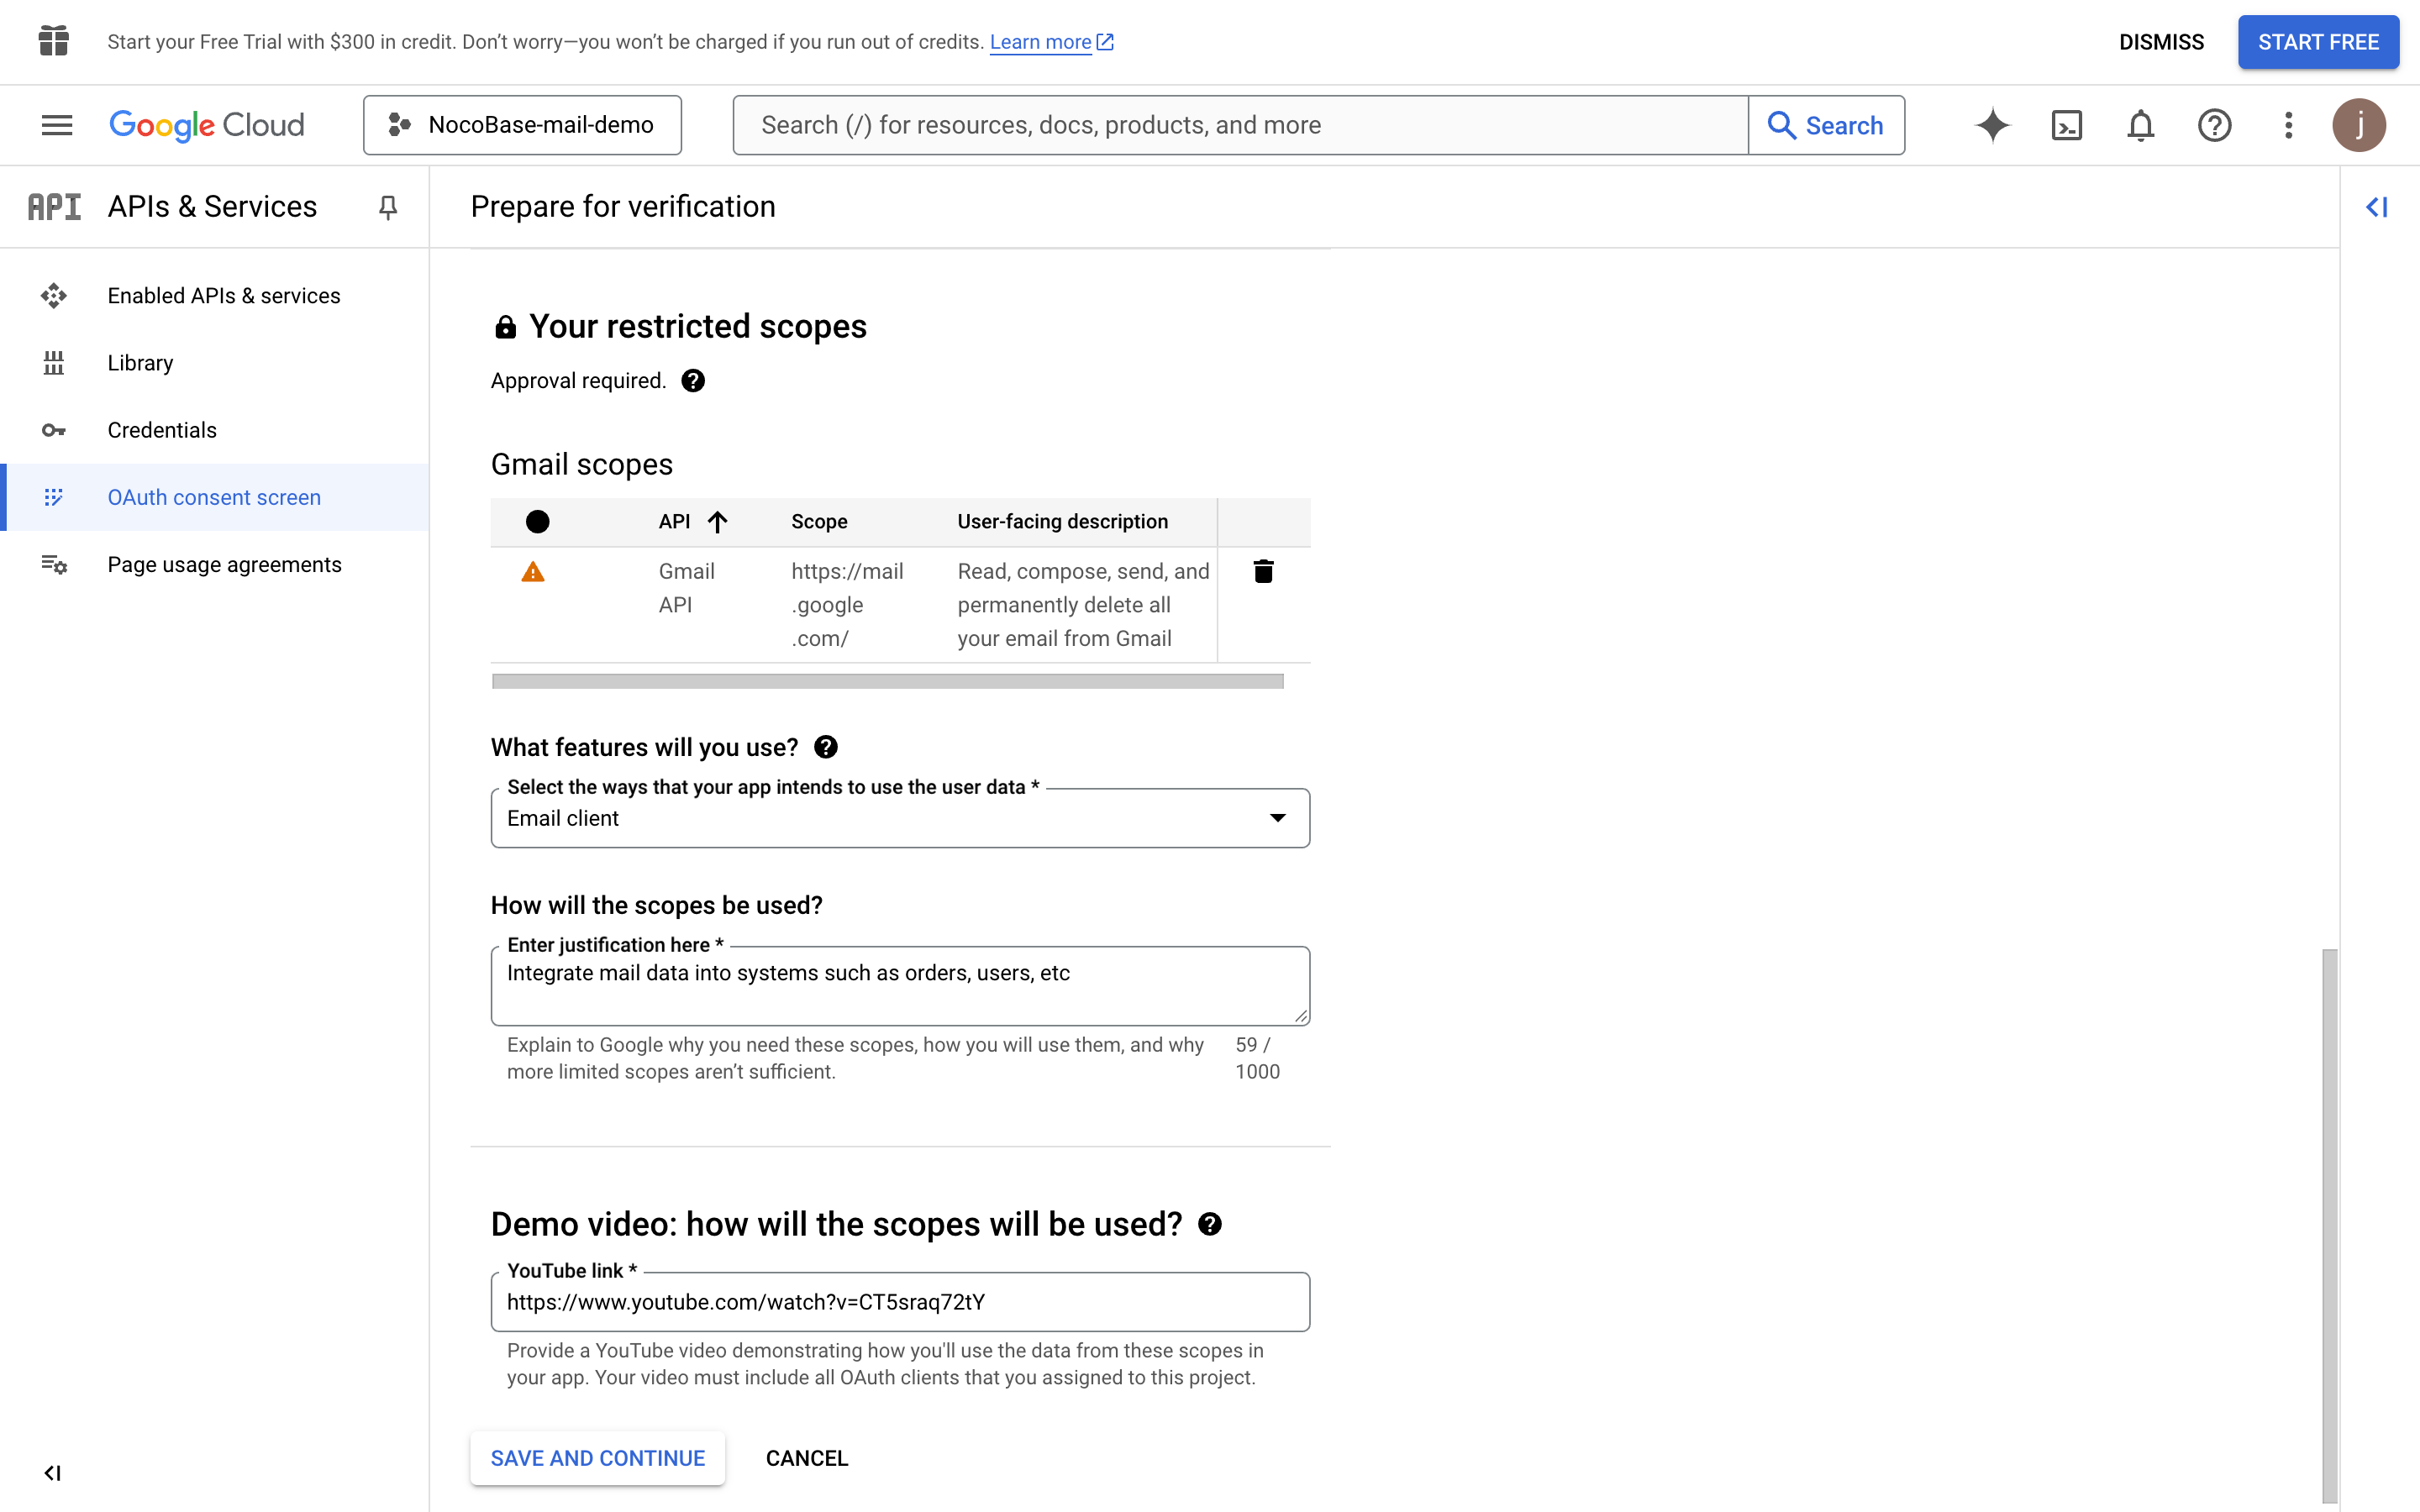
- Click the "PREPARE FOR VERIFICATION" button, fill in the required information, and click the "SAVE AND CONTINUE" button (data in the image is for example only)


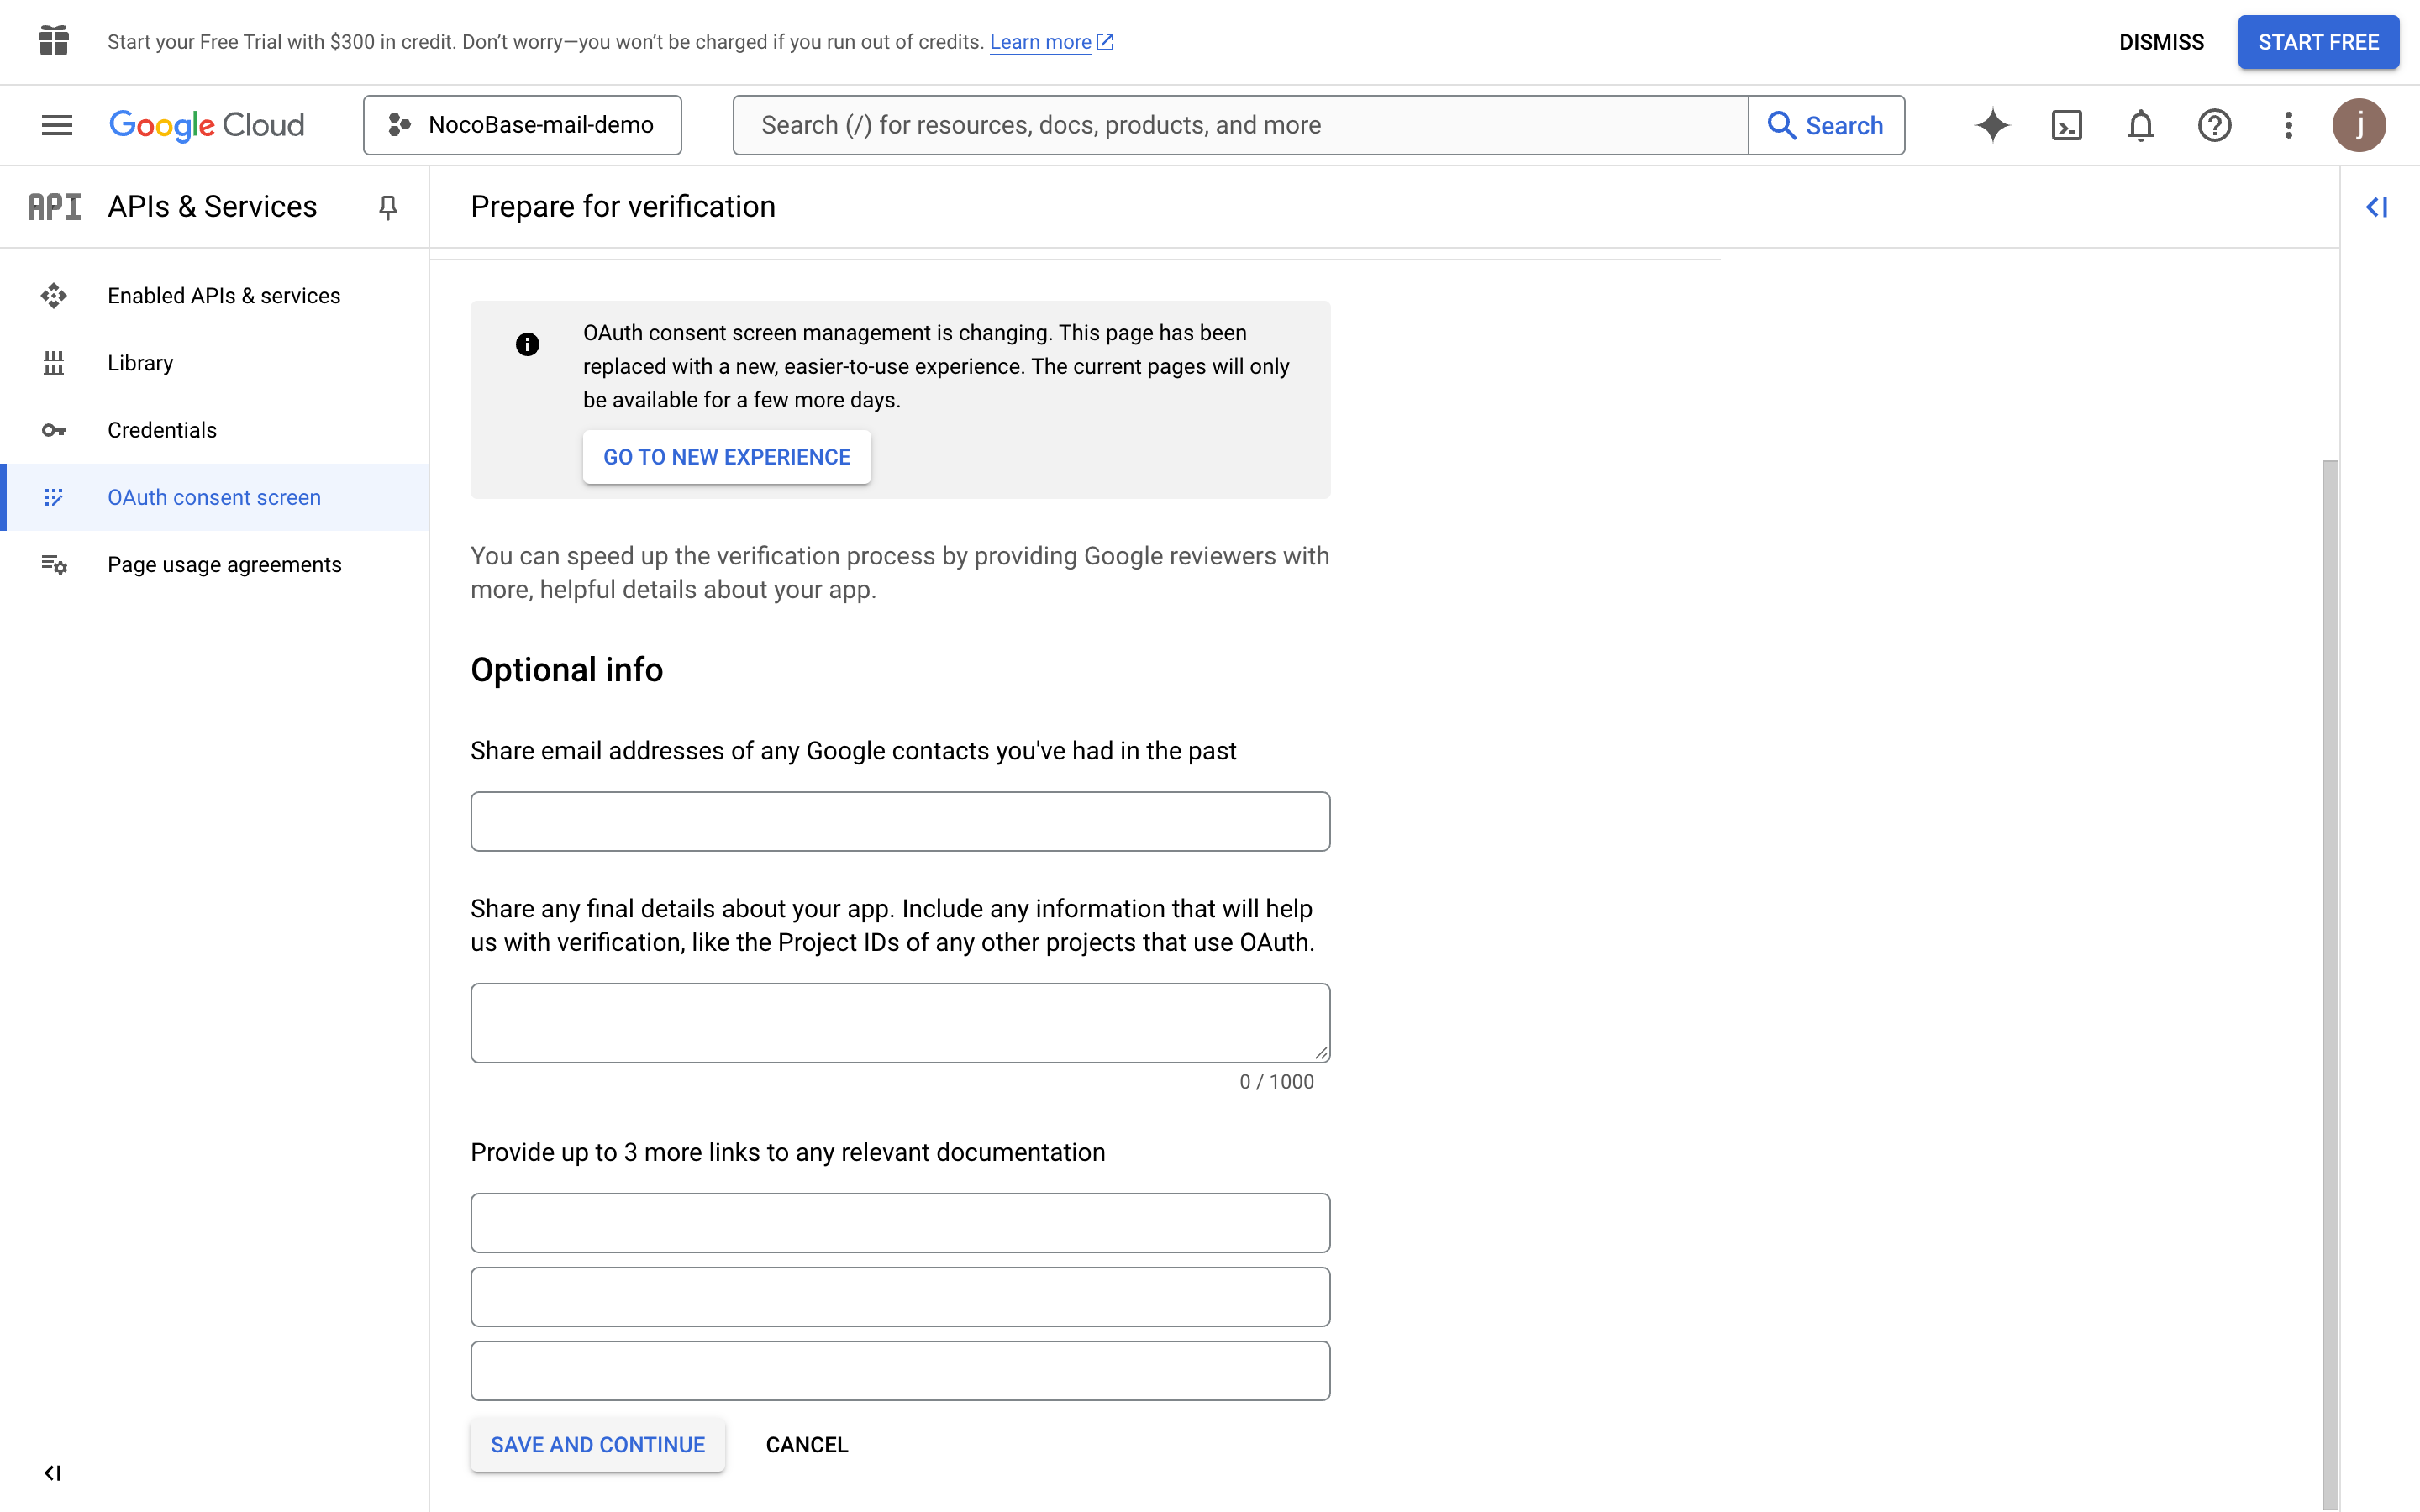
- Continue filling in the necessary information (data in the image is for example only)
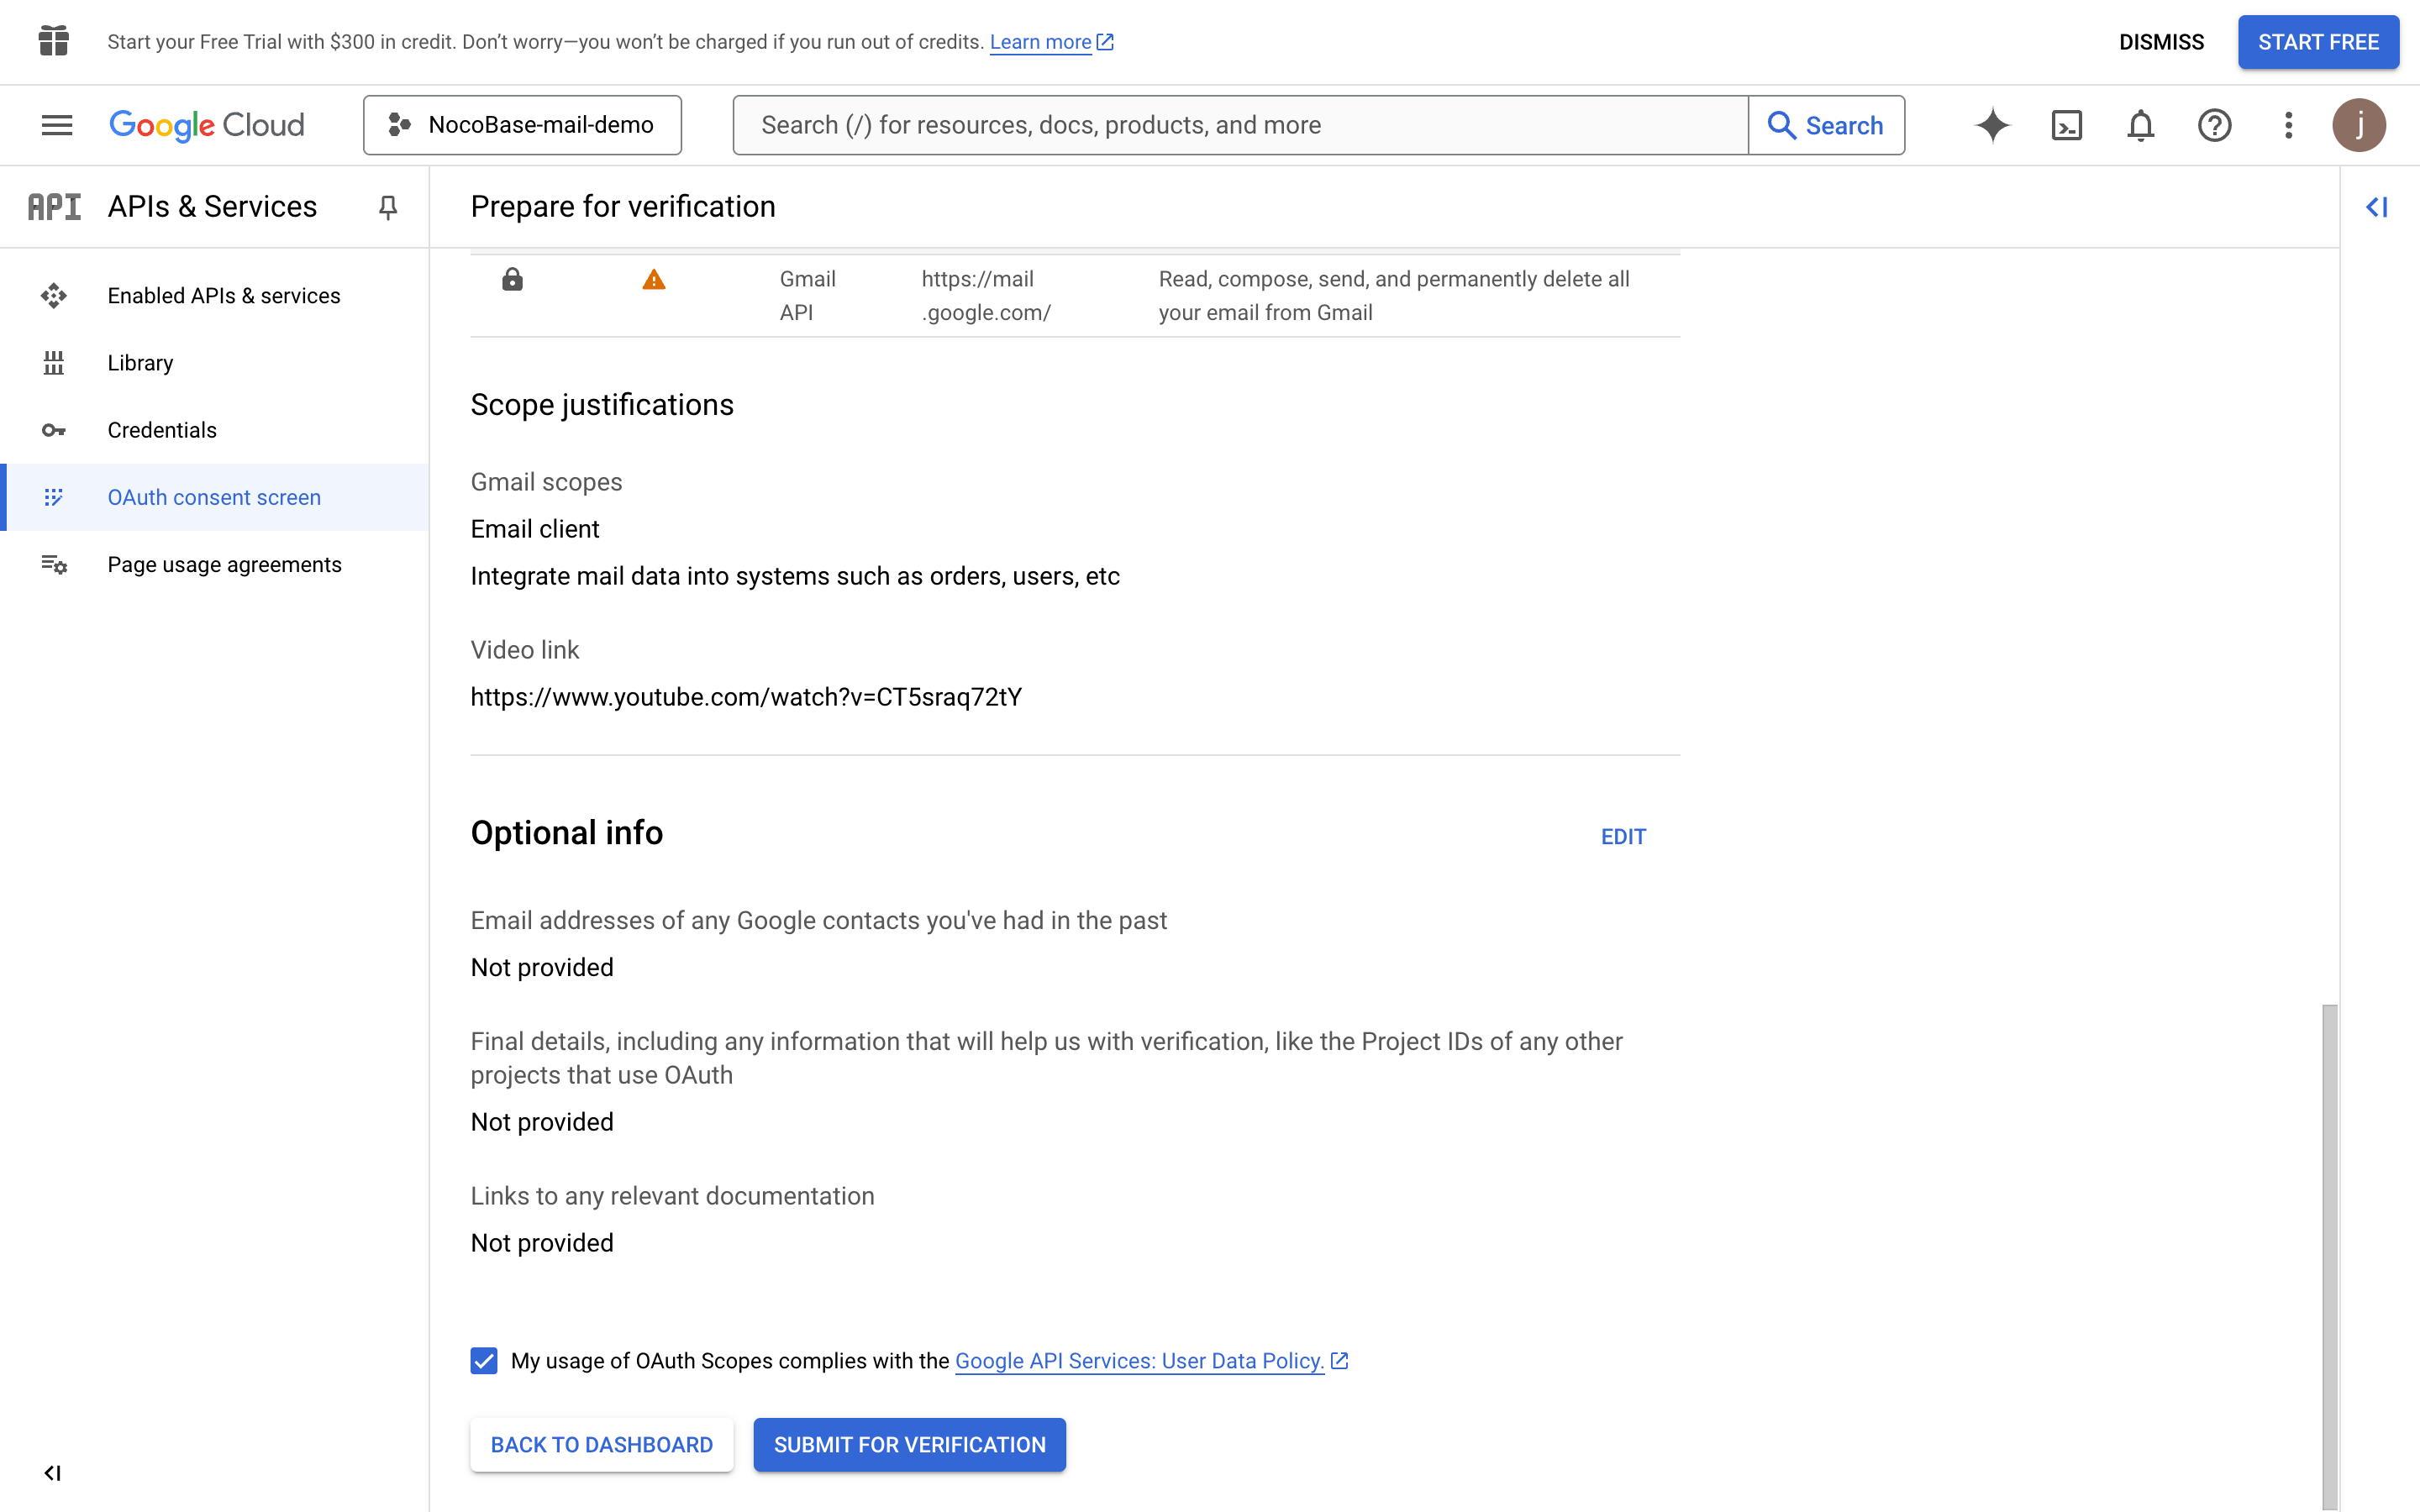
- Click the "SAVE AND CONTINUE" button
- Click the "SUBMIT FOR VERIFICATION" button to submit Verification
- Wait for the approval result
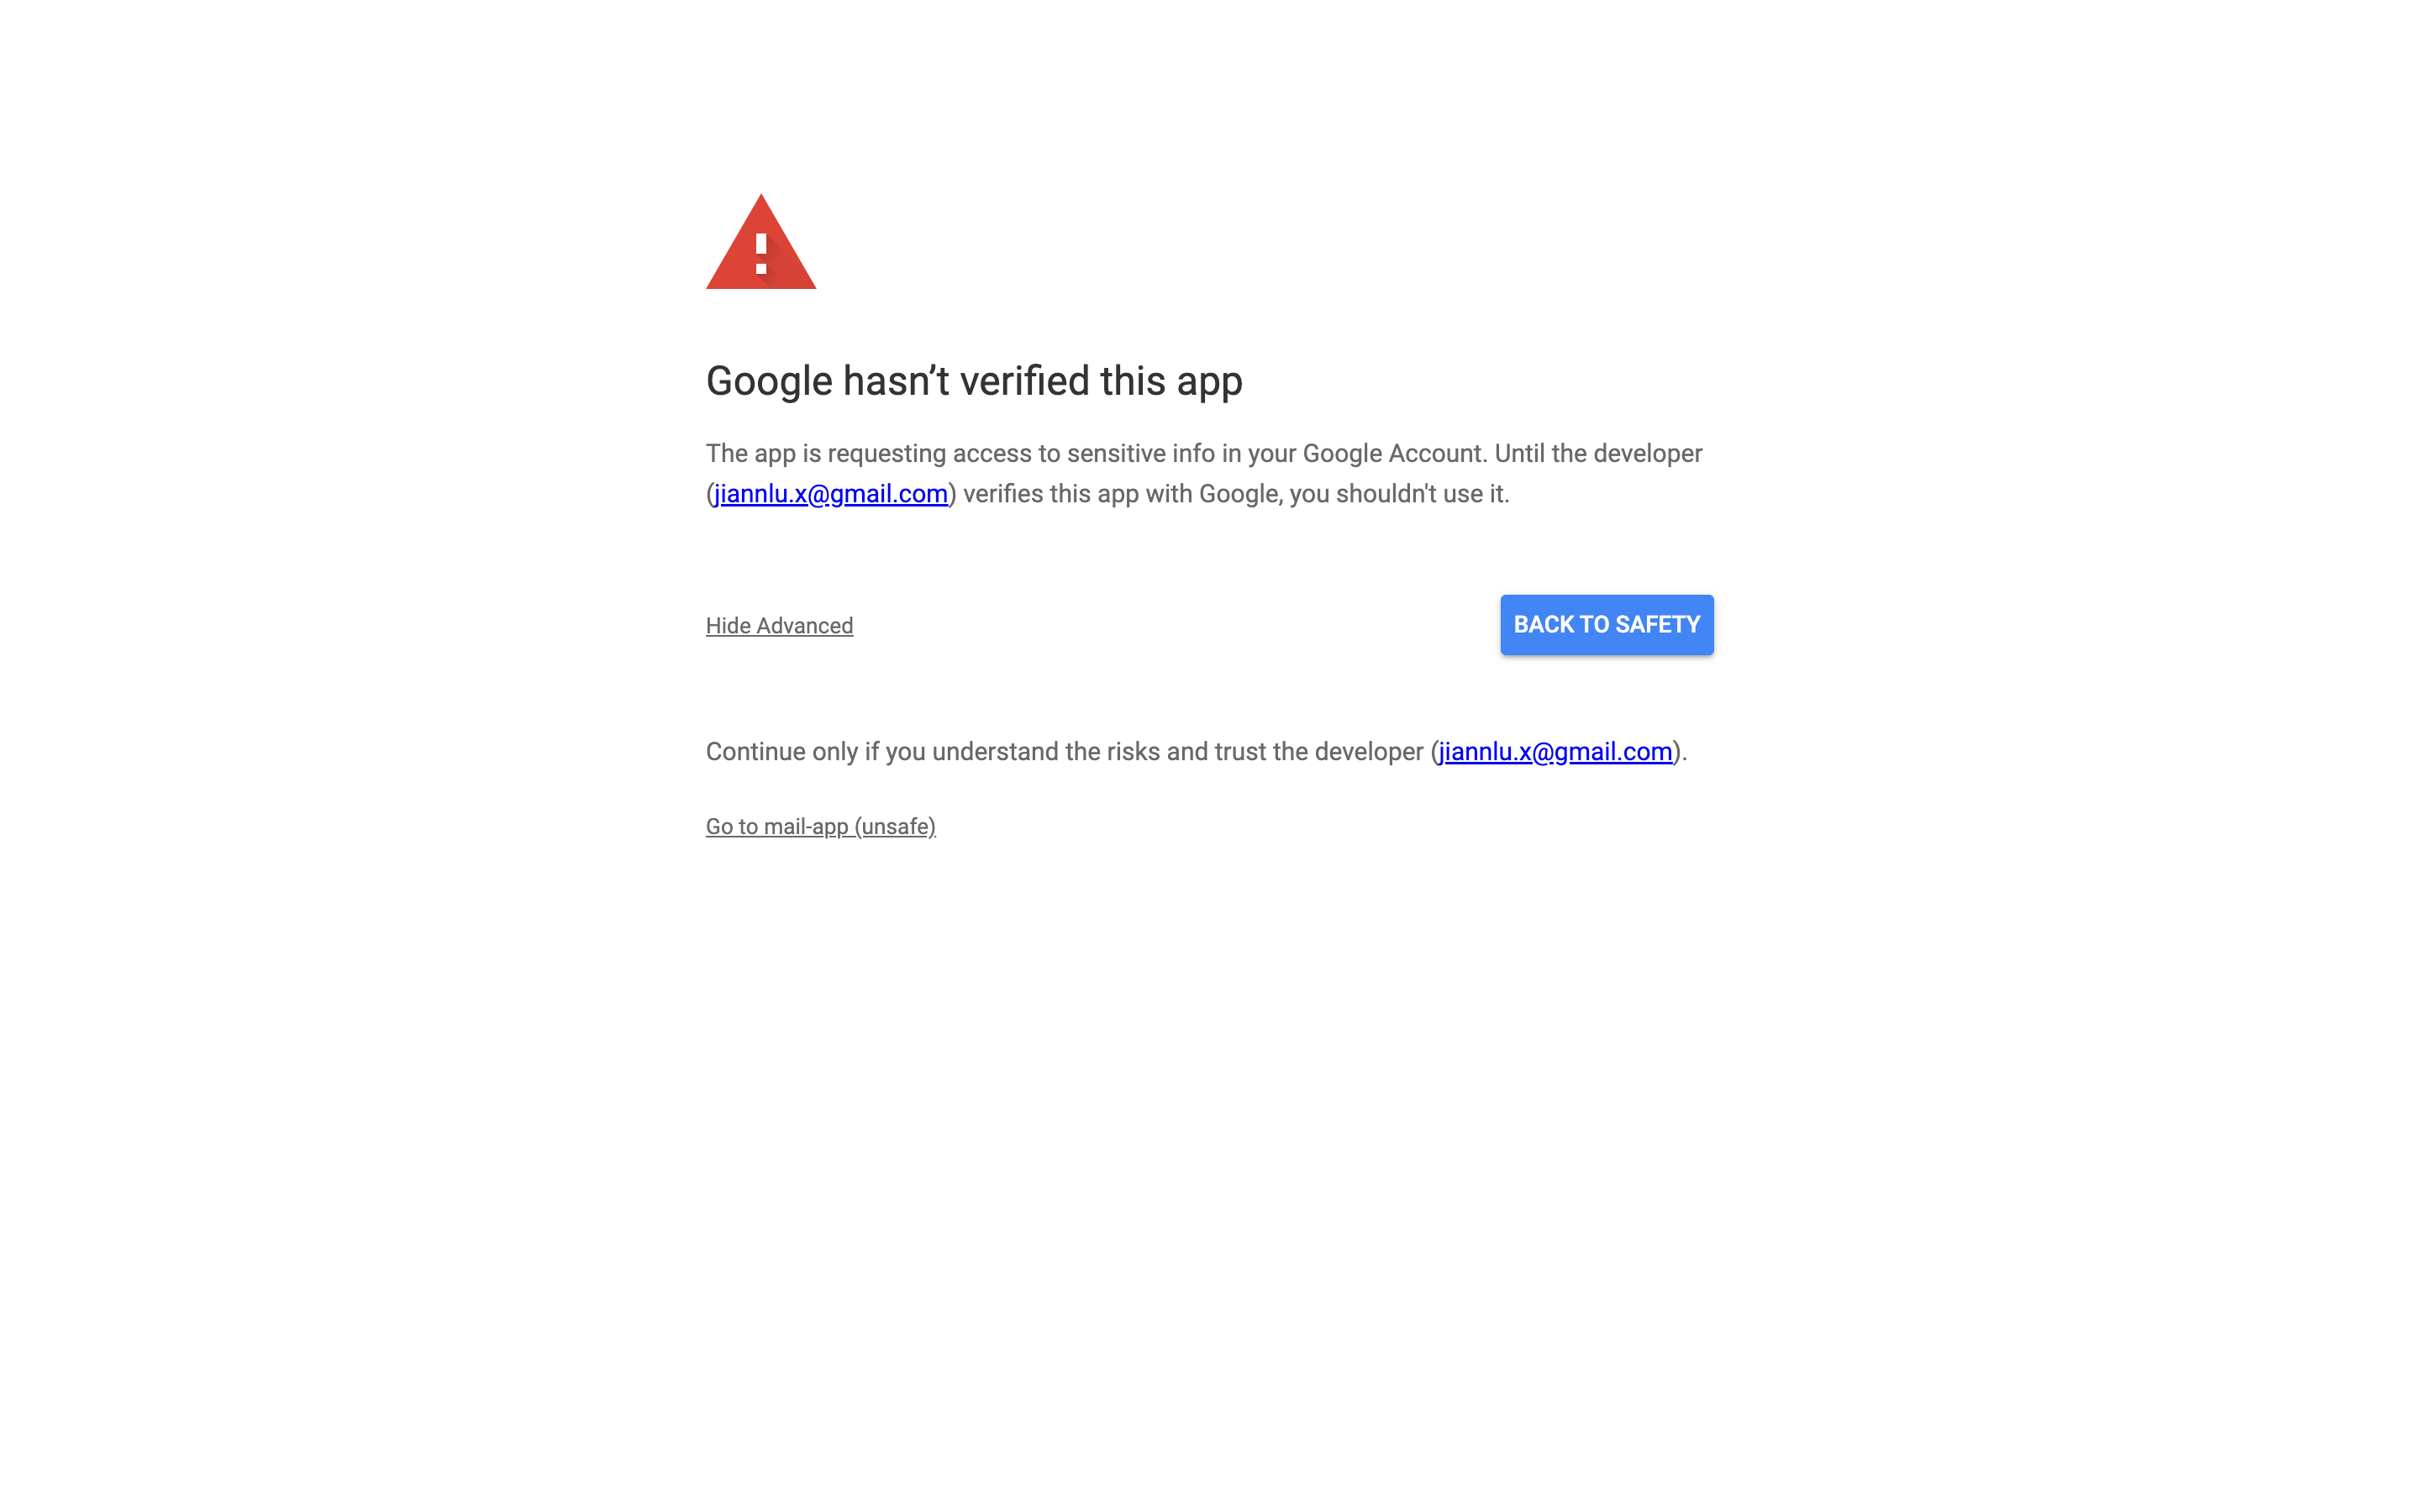
- In case the approval has not been passed yet, users can click the unsafe link to authorize login