Block Configuration
This feature is provided by the commercial plugin «Email manager», please purchase to useEmail Message Block
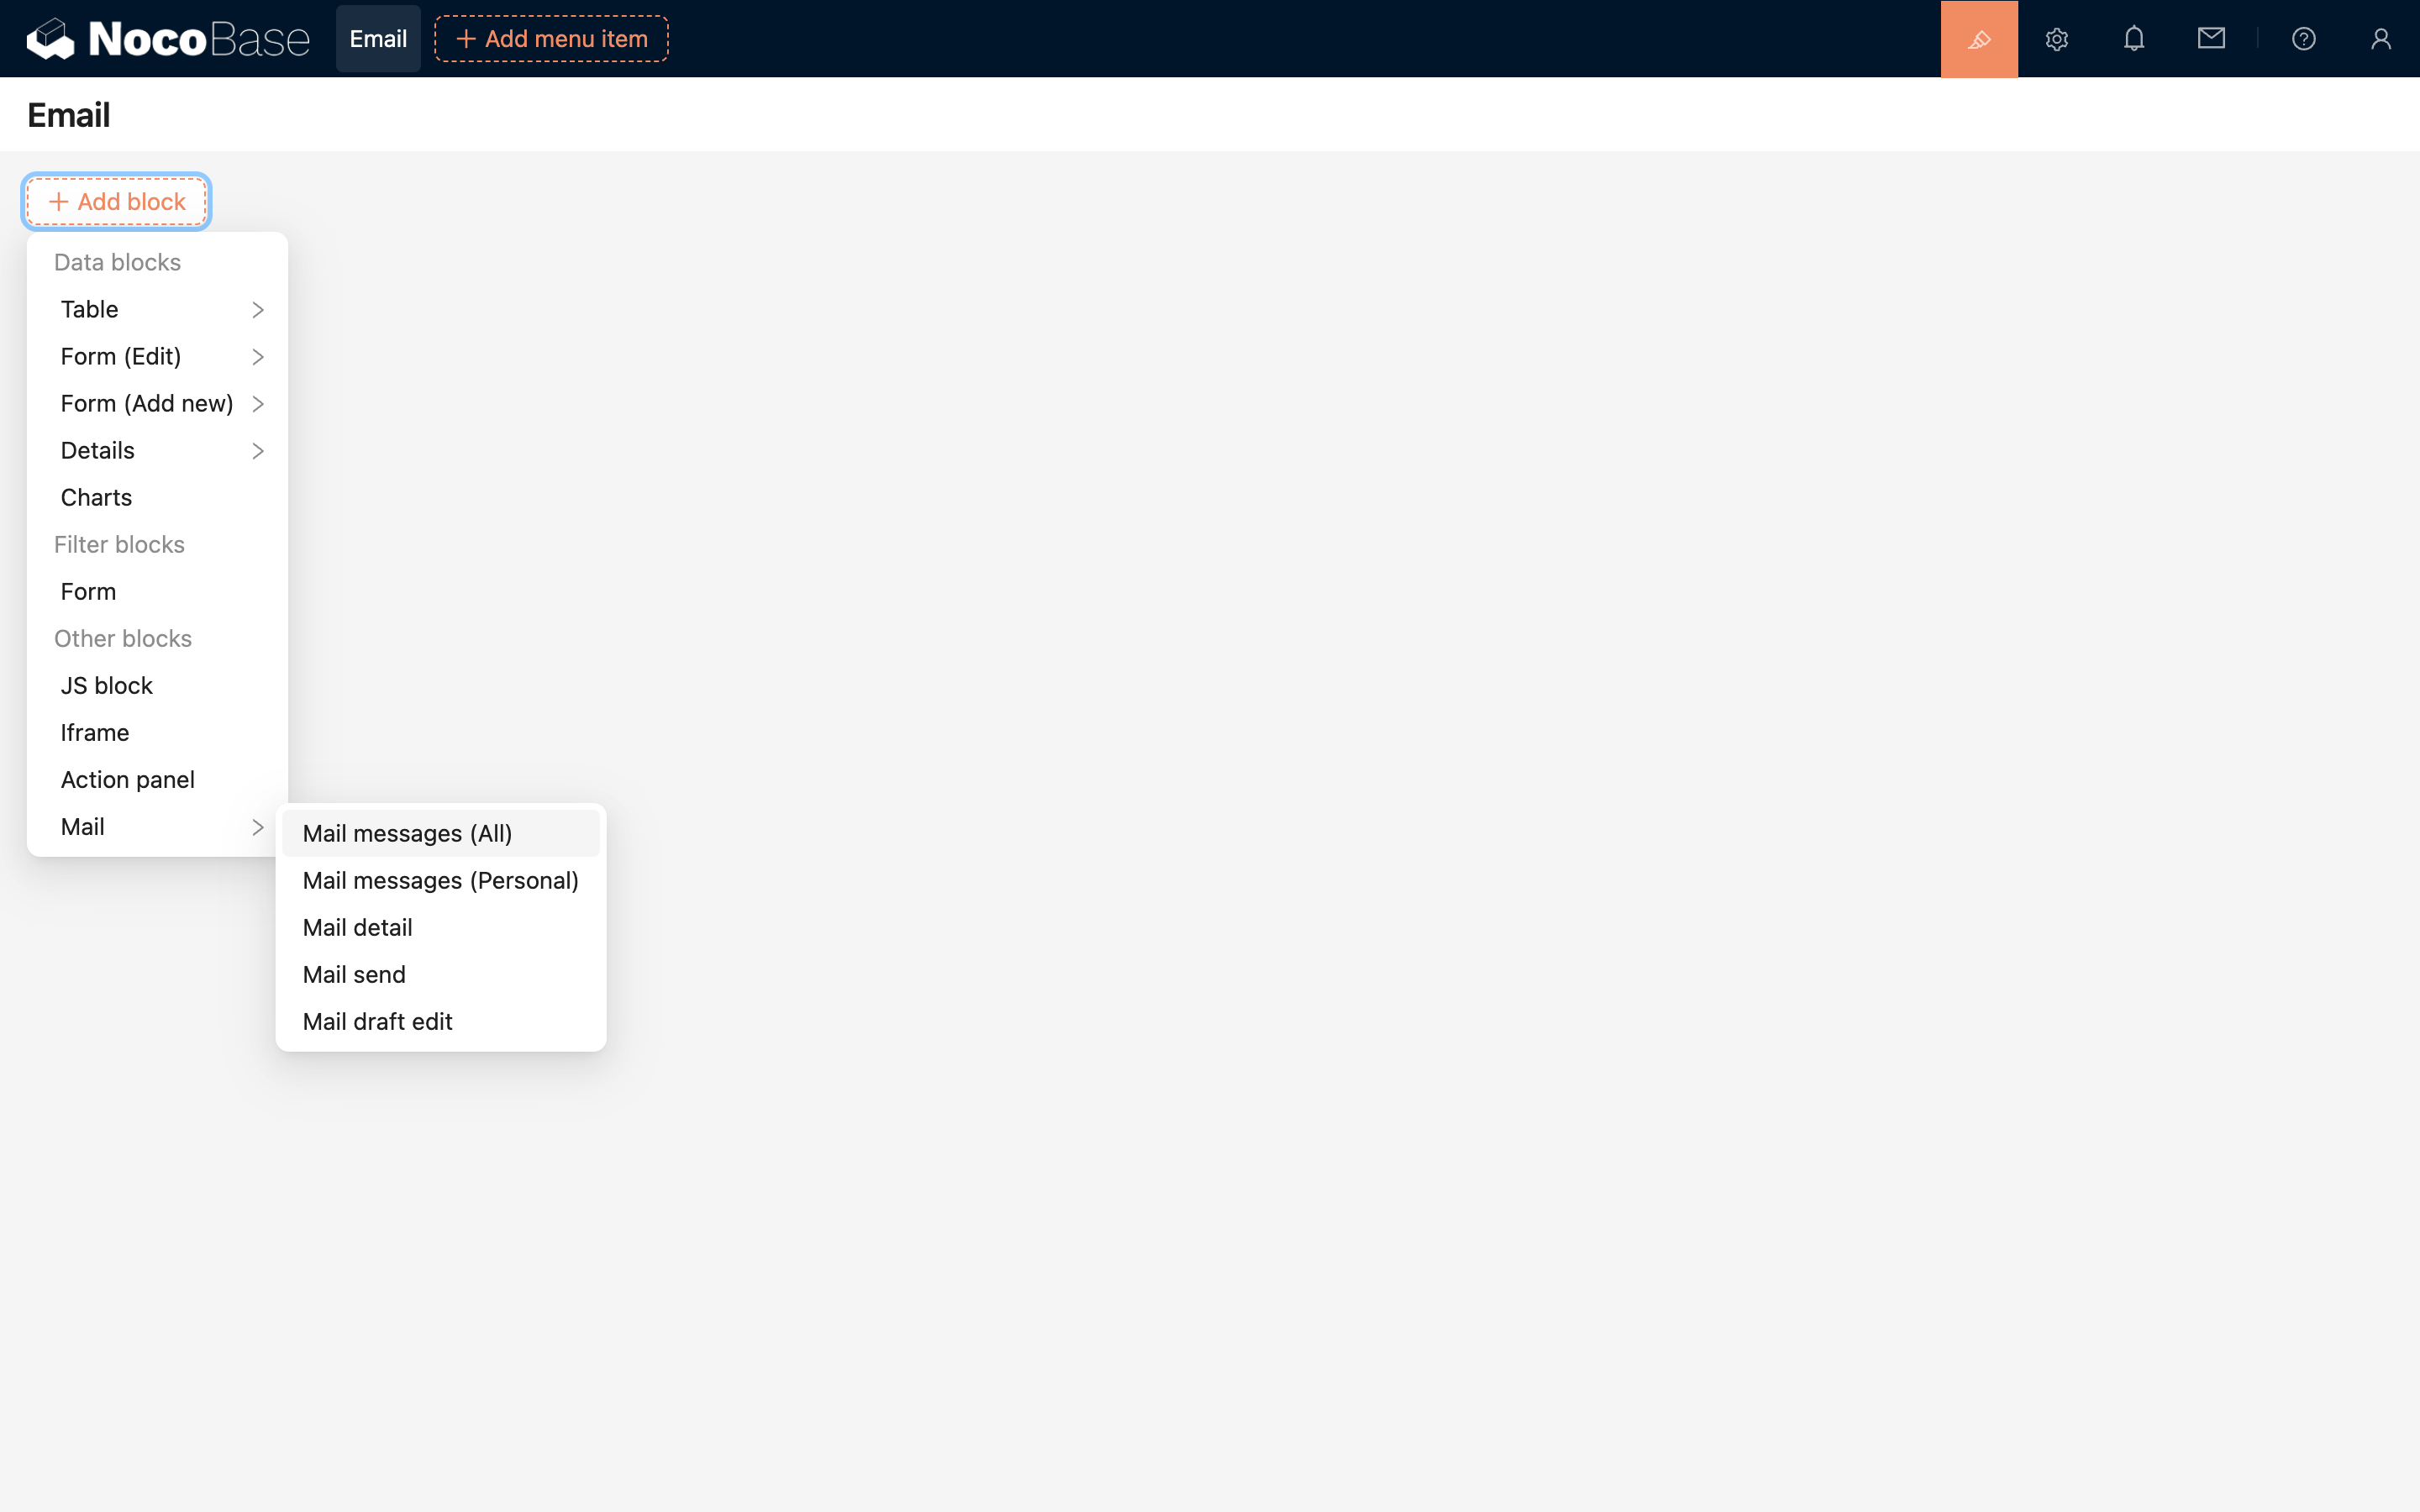
Add Block
On the configuration page, click the Create block button and select the Email table block to add an email message block.

Field Configuration
Click the Fields button of the block to select the fields you need to display. For detailed operations, refer to the table's field configuration.

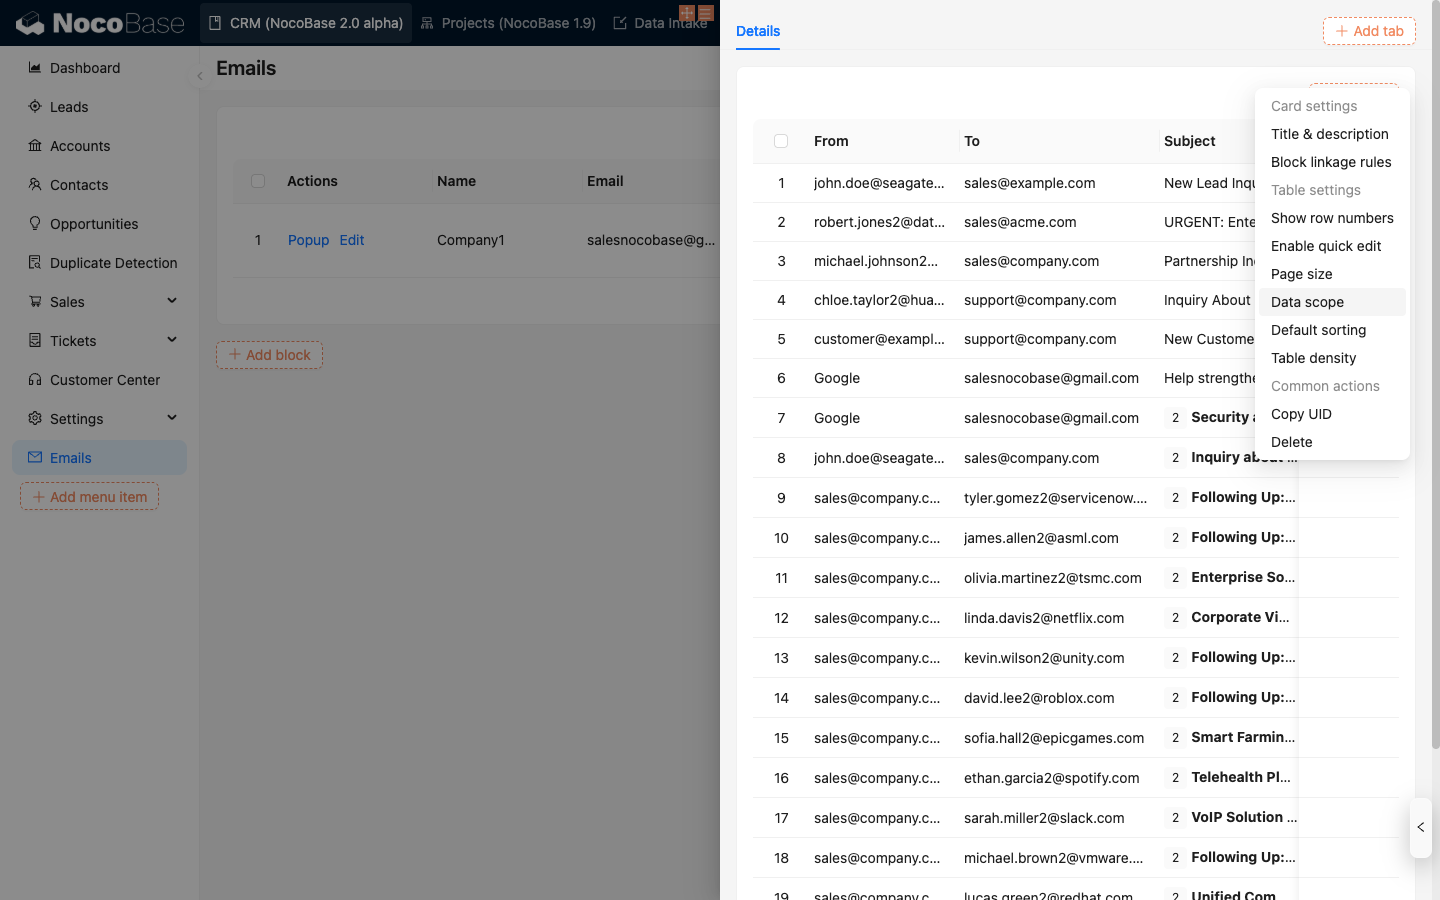
Set Data Scope
The block's right-side configuration can select the data scope: all emails or the current logged-in user's emails.
.png)
Filter Data by Email Address
Click the configuration button on the right side of the email message block and select Data scope to set the data range for filtering emails.
Configure the filter conditions, select the email address field you need to filter, and click OK to save.
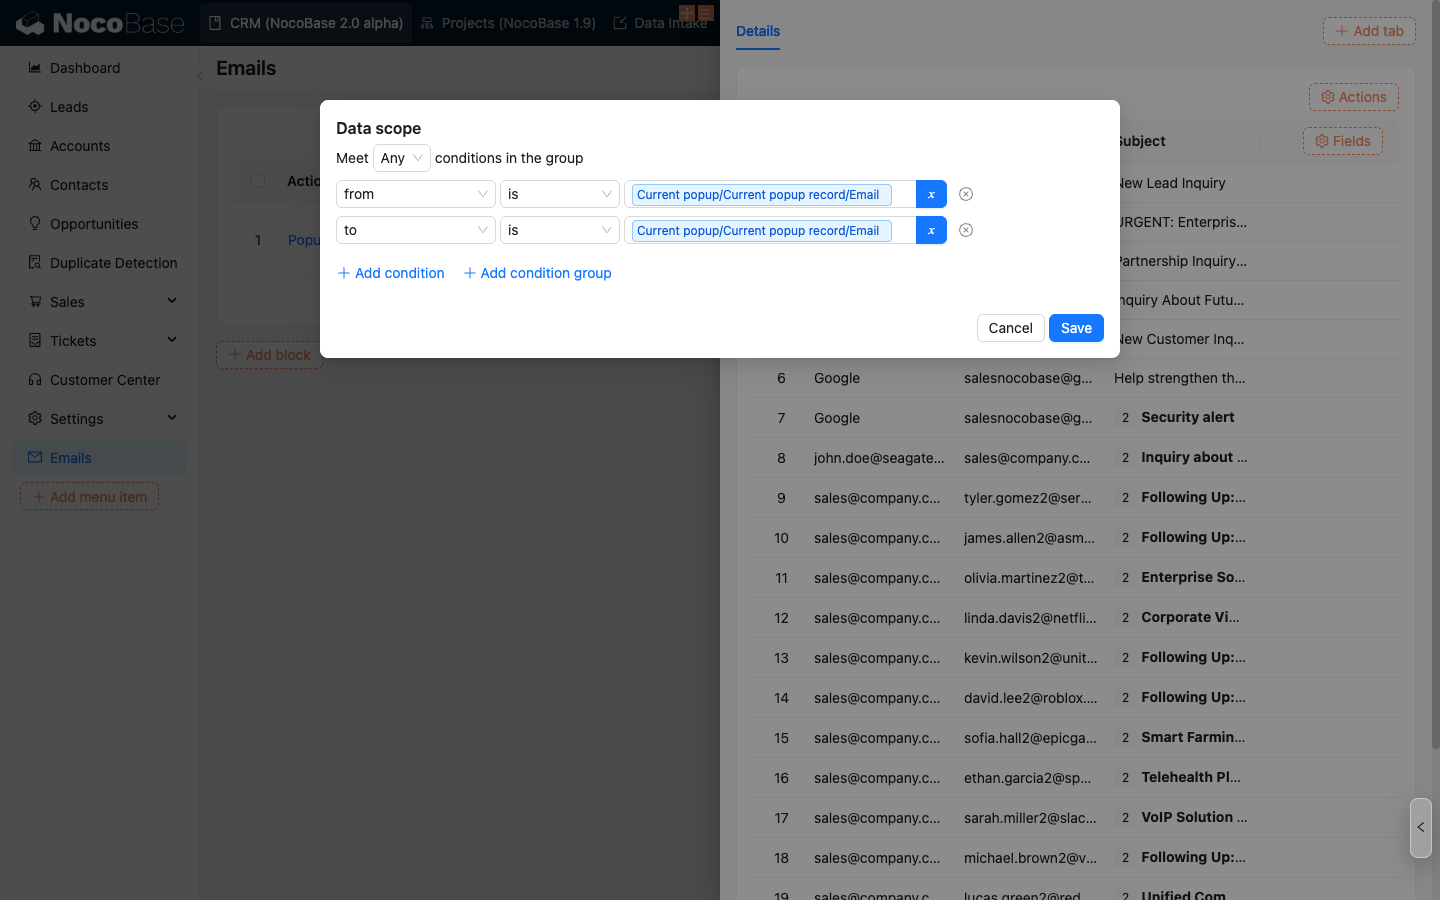
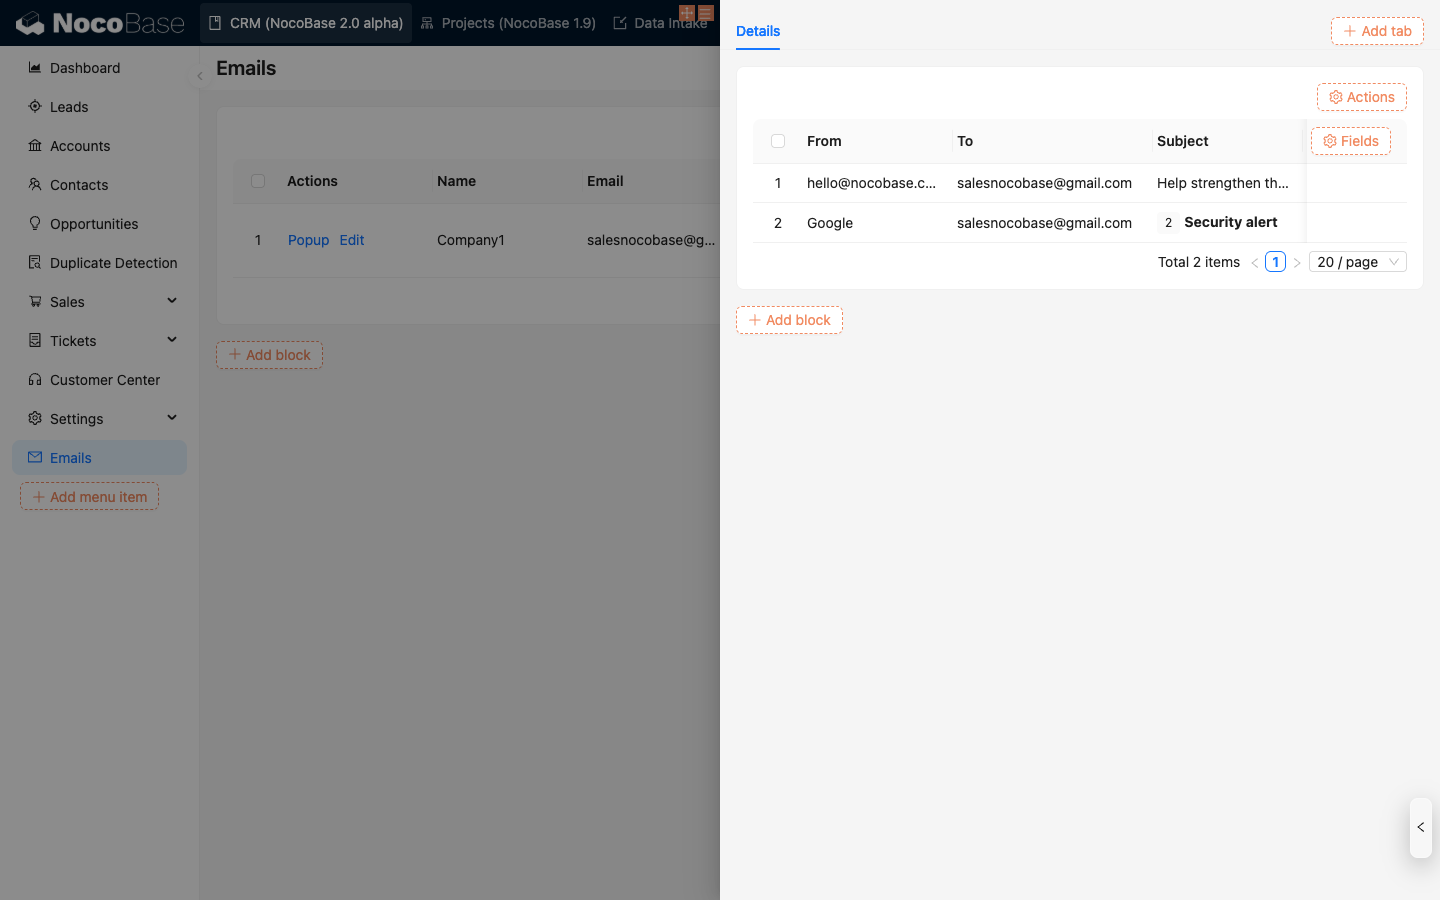
The email message block will display emails that meet the filter conditions.
Email address filtering is case-insensitive
Filter Data by Email Domain
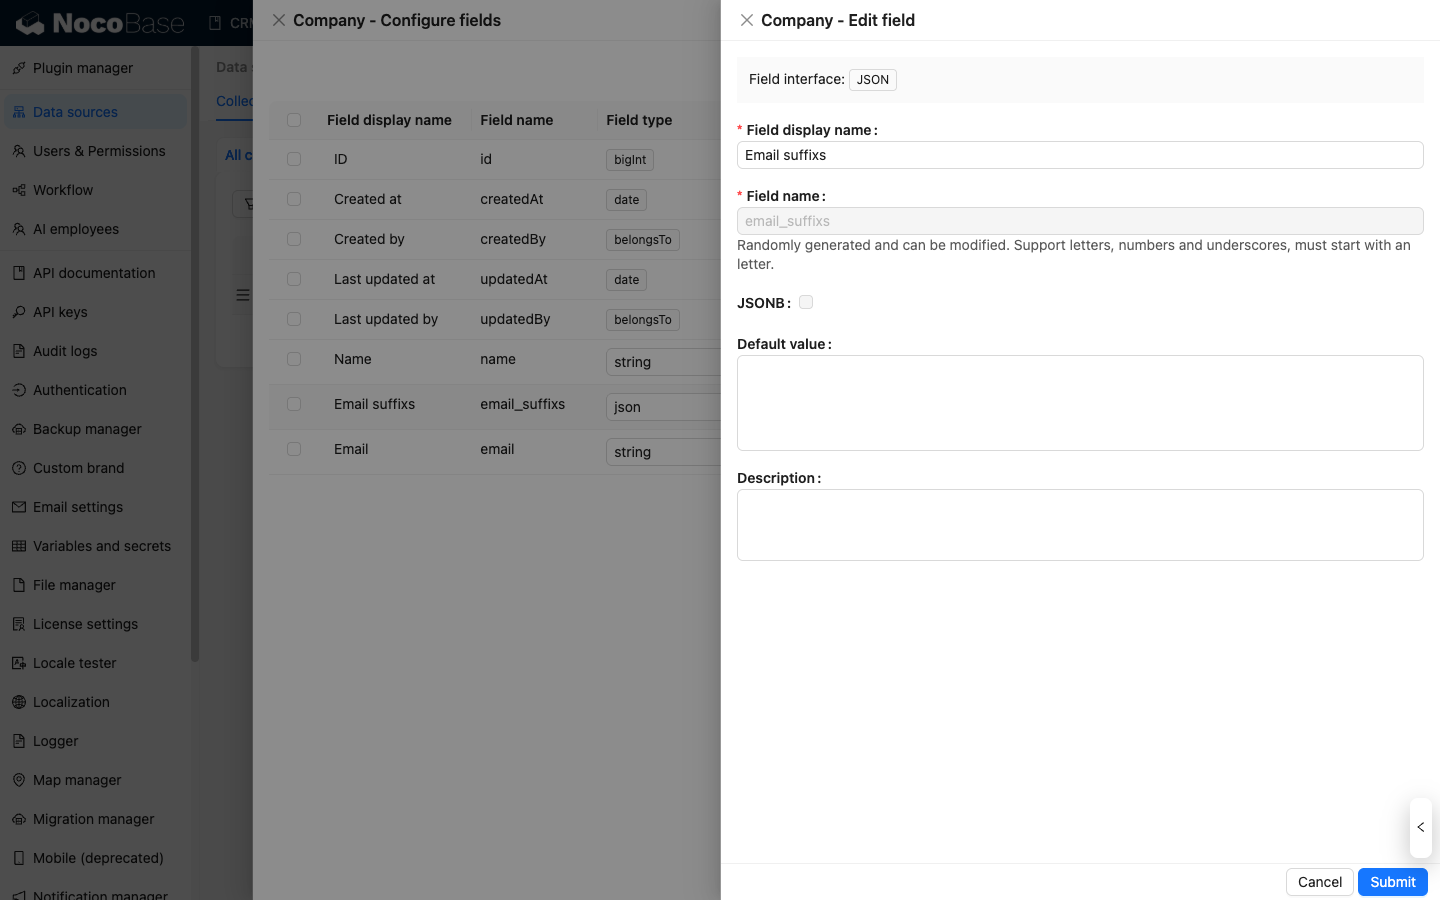
Create a field in the business table to store email domain information (type as JSON) for filtering email messages in subsequent operations.
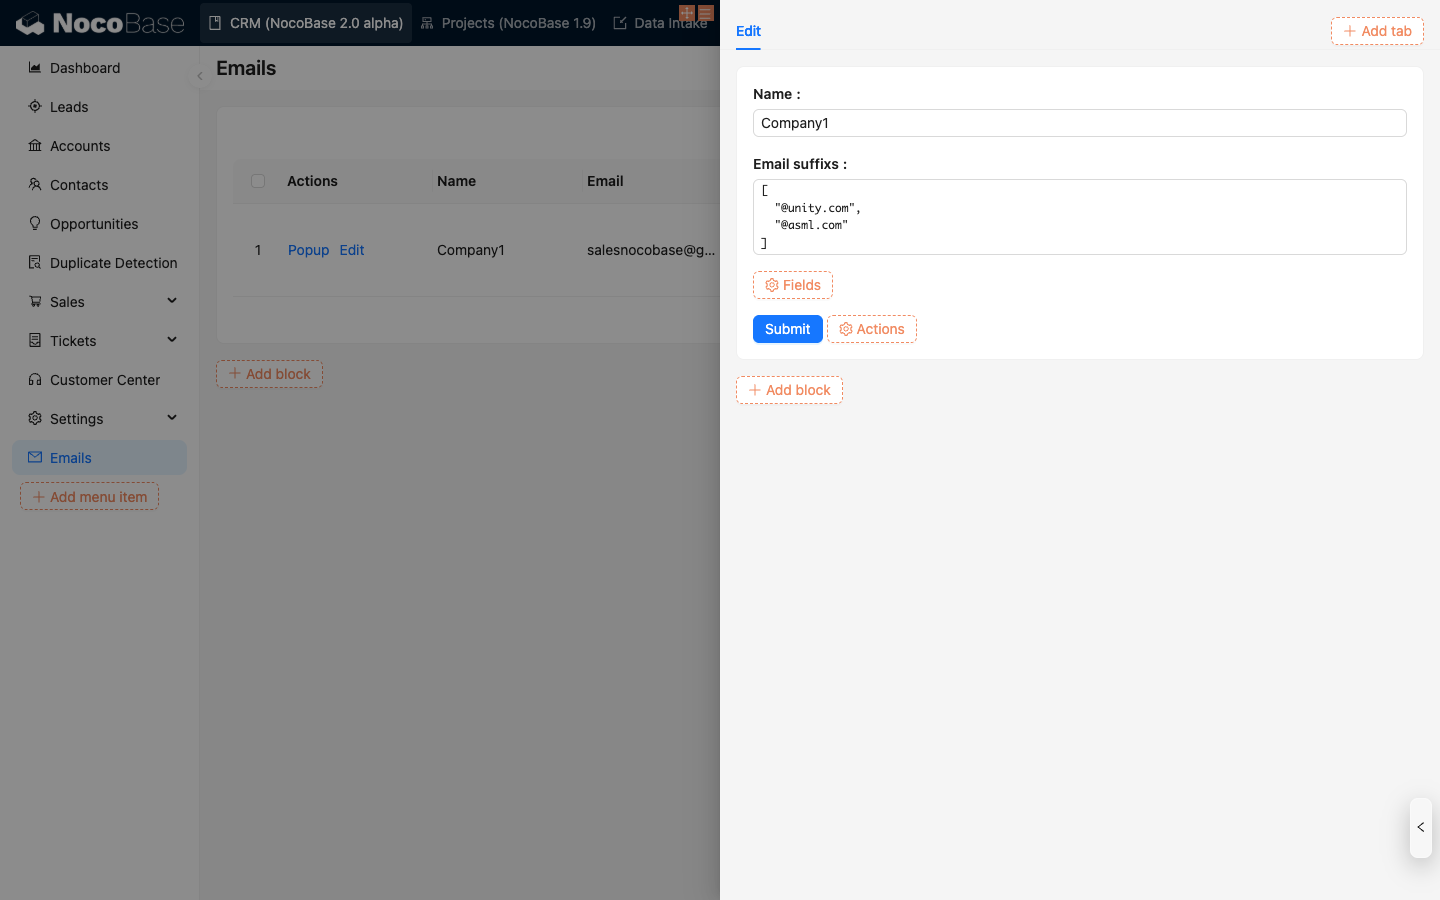
Maintain email domain information.
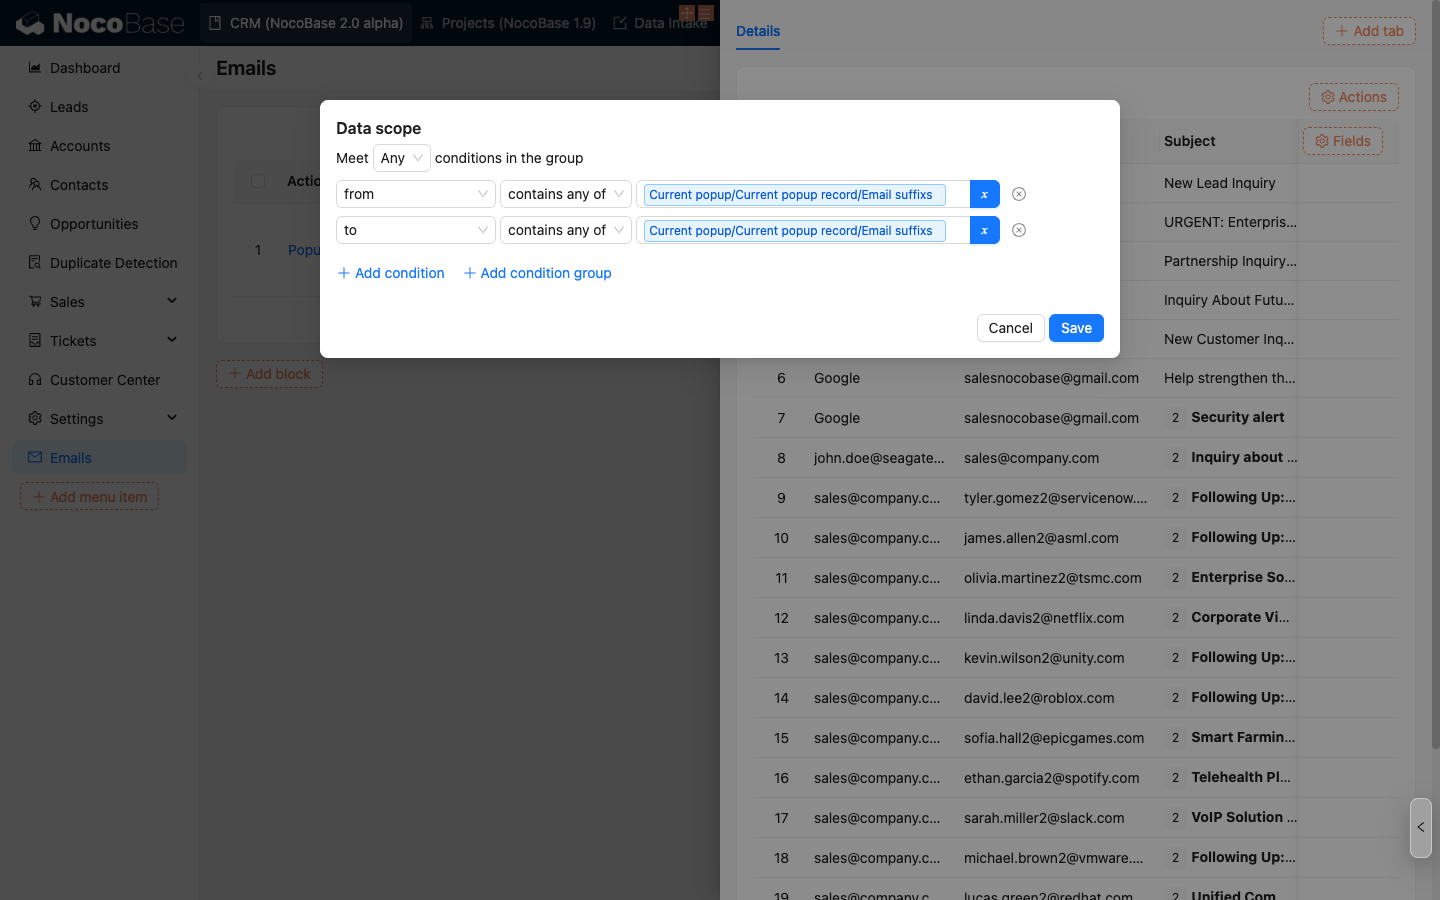
Click the configuration button on the right side of the email message block and select Data scope to set the data range for filtering emails.
Configure the filter conditions, select the email domain field you need to filter, and click OK to save.
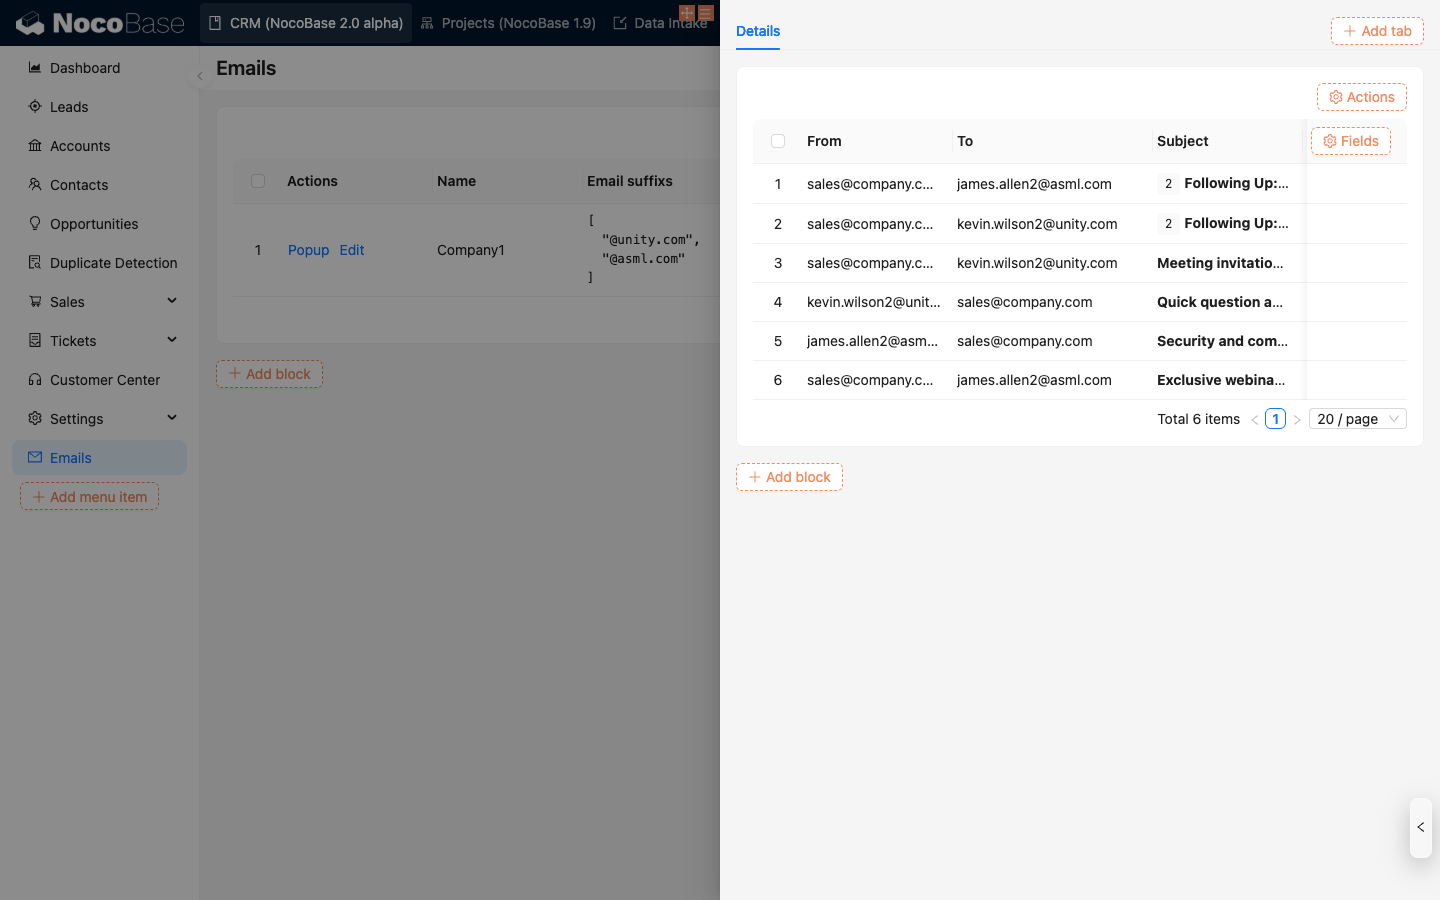
The email message table will display emails that meet the filter conditions.
Email Detail Block
First, enable the Enable click to open feature in the fields of the email message block.

Add an Email details block in the pop-up window.

You can view the detailed content of the email.

You can customize the buttons you need at the bottom.
If the current email is in draft status, the draft editing form is displayed by default.
Email Send Block
There are two ways to create an email sending form:
-
Add a Send email button at the top of the table:

-
Add an Email send block:

Both methods can create a complete email sending form.
.png)
Each field in the email form is consistent with ordinary forms and can be configured with default values or linkage rules, etc.