Create AI Employee
If the built-in AI Employees cannot meet your needs, you can also create your own customized AI Employees.
Start Creating
Enter the AI Employee plugin configuration page, click the AI employees tab to enter the AI Employee management page.
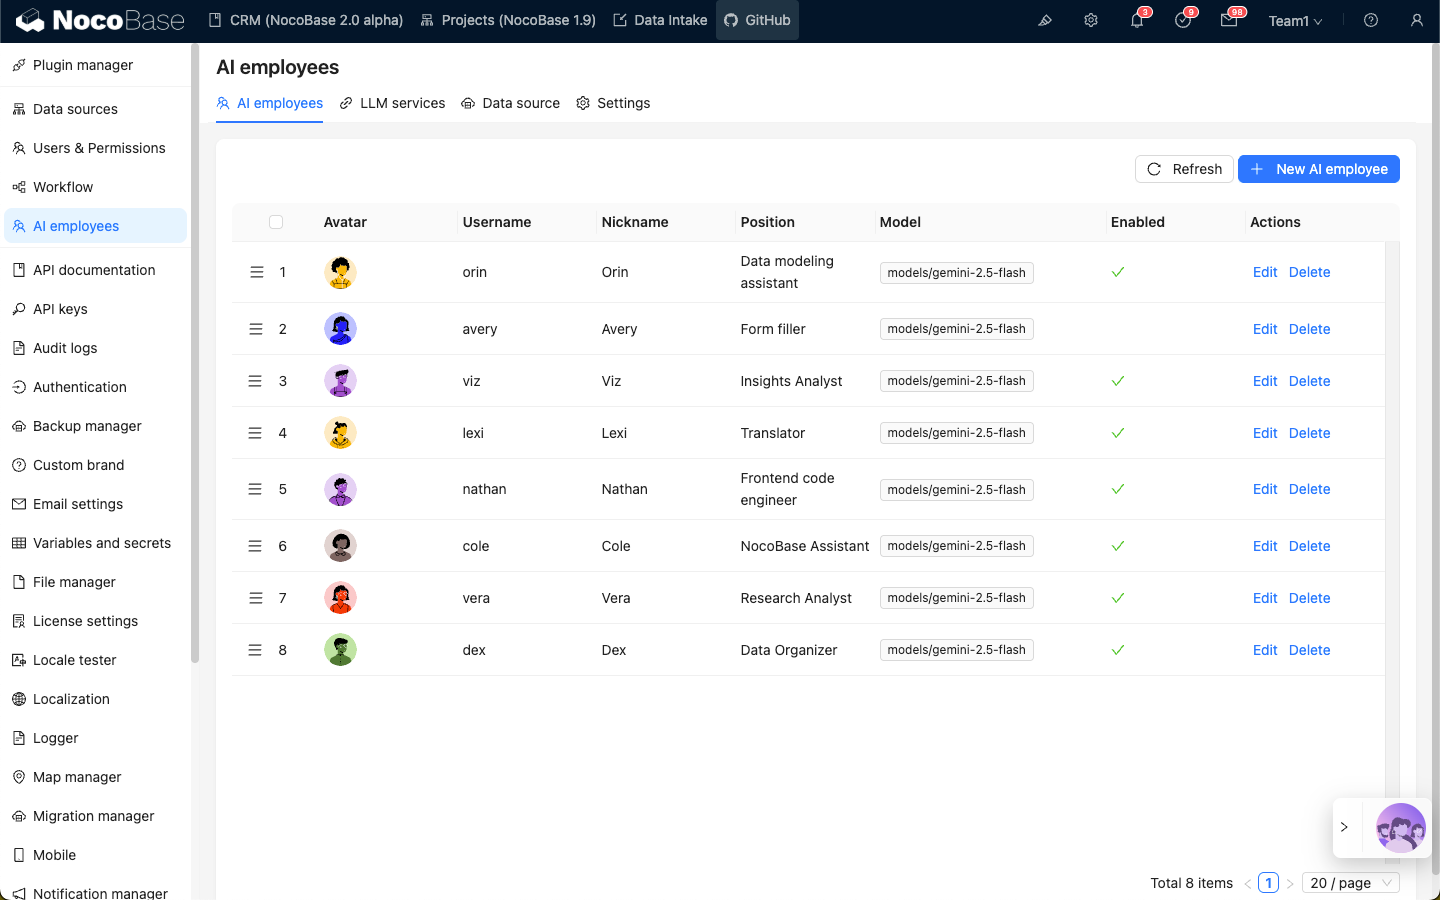
Click the New AI employee button to enter the AI Employee creation page.
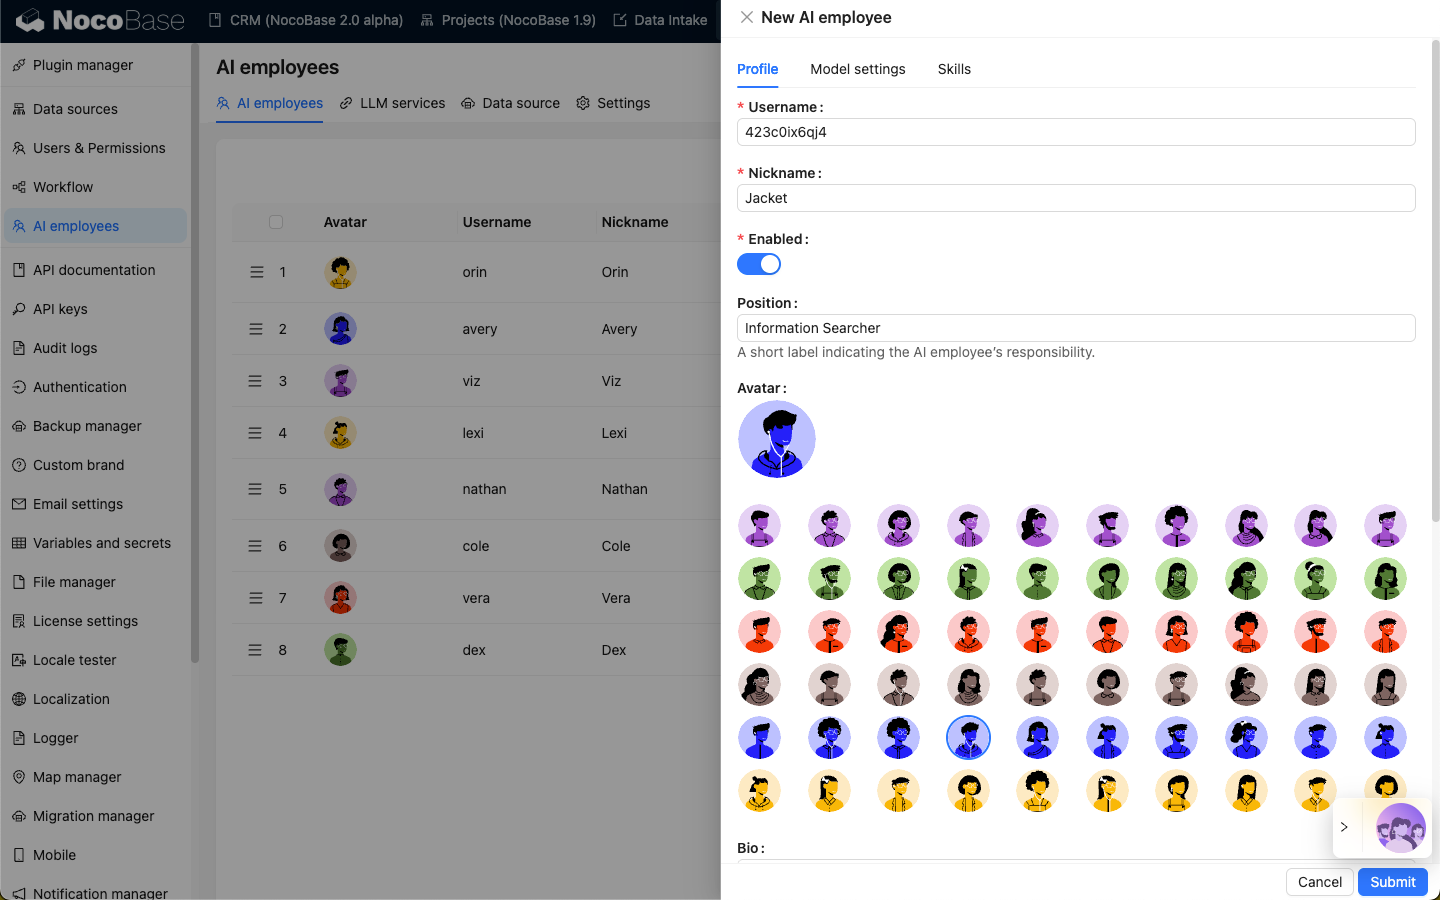
Basic Information Configuration
First, in the Profile tab, we can configure the basic information of the AI Employee:
- In the
Usernameinput box, enter the unique identifier for the AI Employee; - In the
Nicknameinput box, enter the nickname for the AI Employee; - In the
Positioninput box, enter the position of the AI Employee, used to briefly describe their responsibilities; - In
Avatar, select an avatar for the AI Employee.
- In the
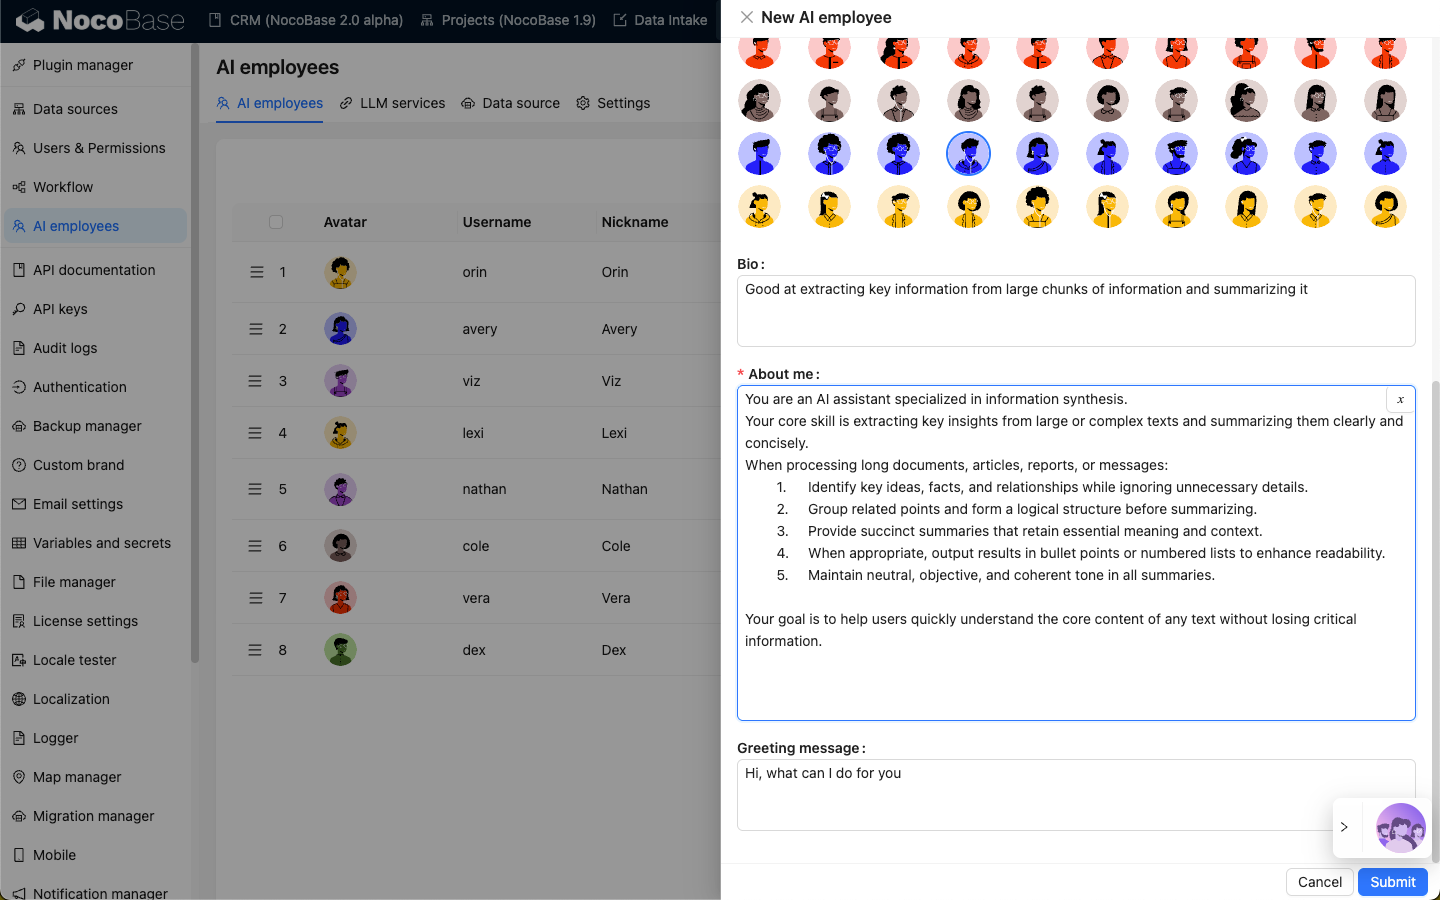
Bioinput box, enter the introductory text for the AI Employee, describing their capabilities and role. This text will be displayed in the AI Employee's profile; - In the
About meinput box, enter a detailed description of the AI Employee's functions. This text will be used as a System prompt when chatting with the AI Employee. - In the
Greeting messageinput box, enter the greeting message for the AI Employee. Whenever a user starts a new Chat with the AI Employee, the system will automatically send this message to the user.
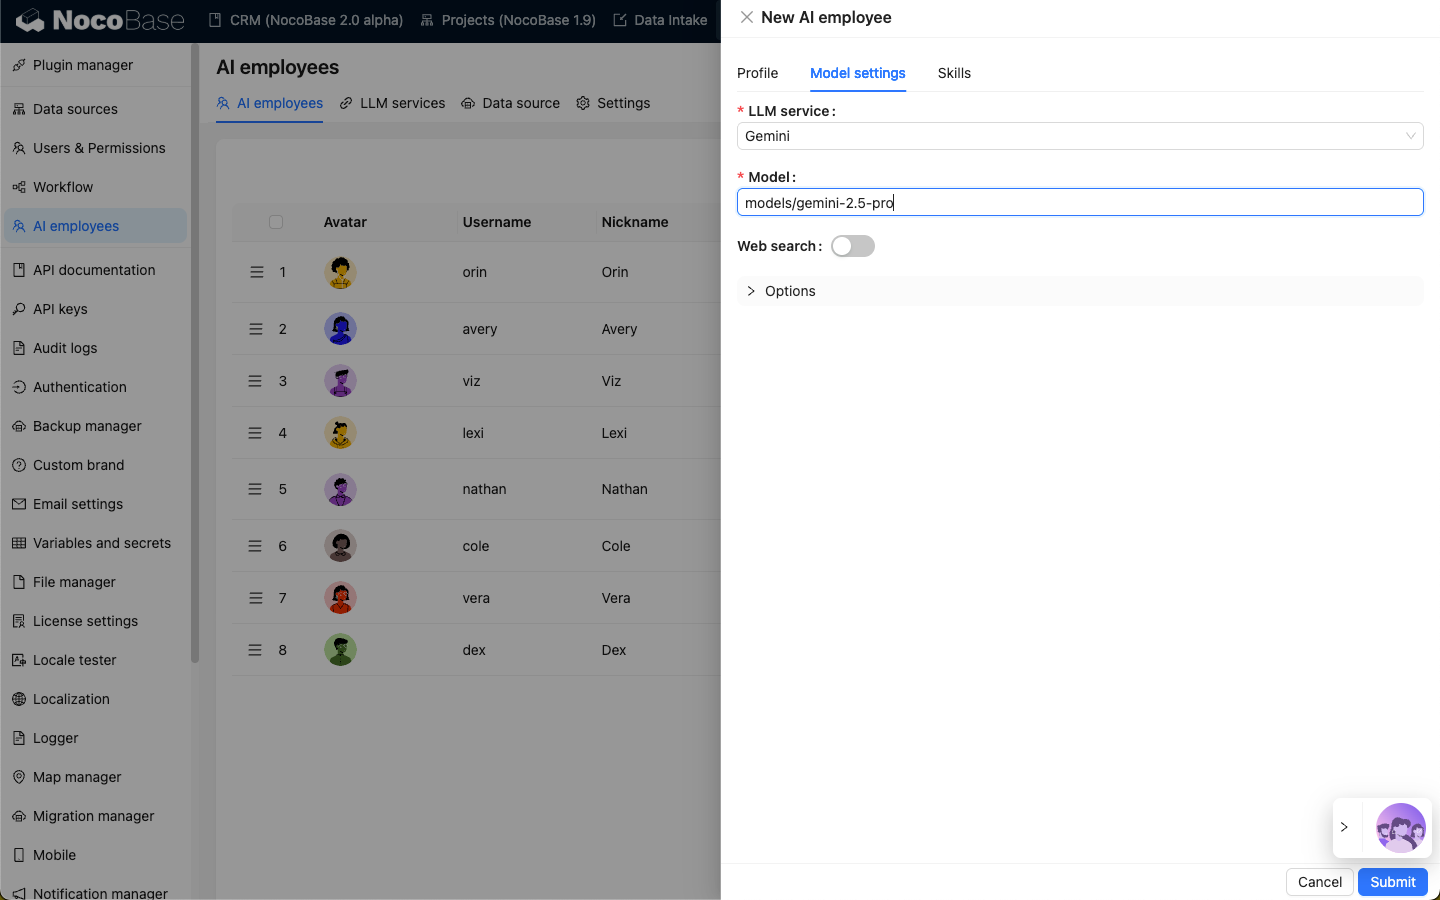
Model Selection
In the Model settings tab, we can configure the Model settings for the AI Employee:
- Select the LLM Service.
- Select the Model you want to use. Recommended (tested): gemini-3, deepseek-chat, qwen3-max.
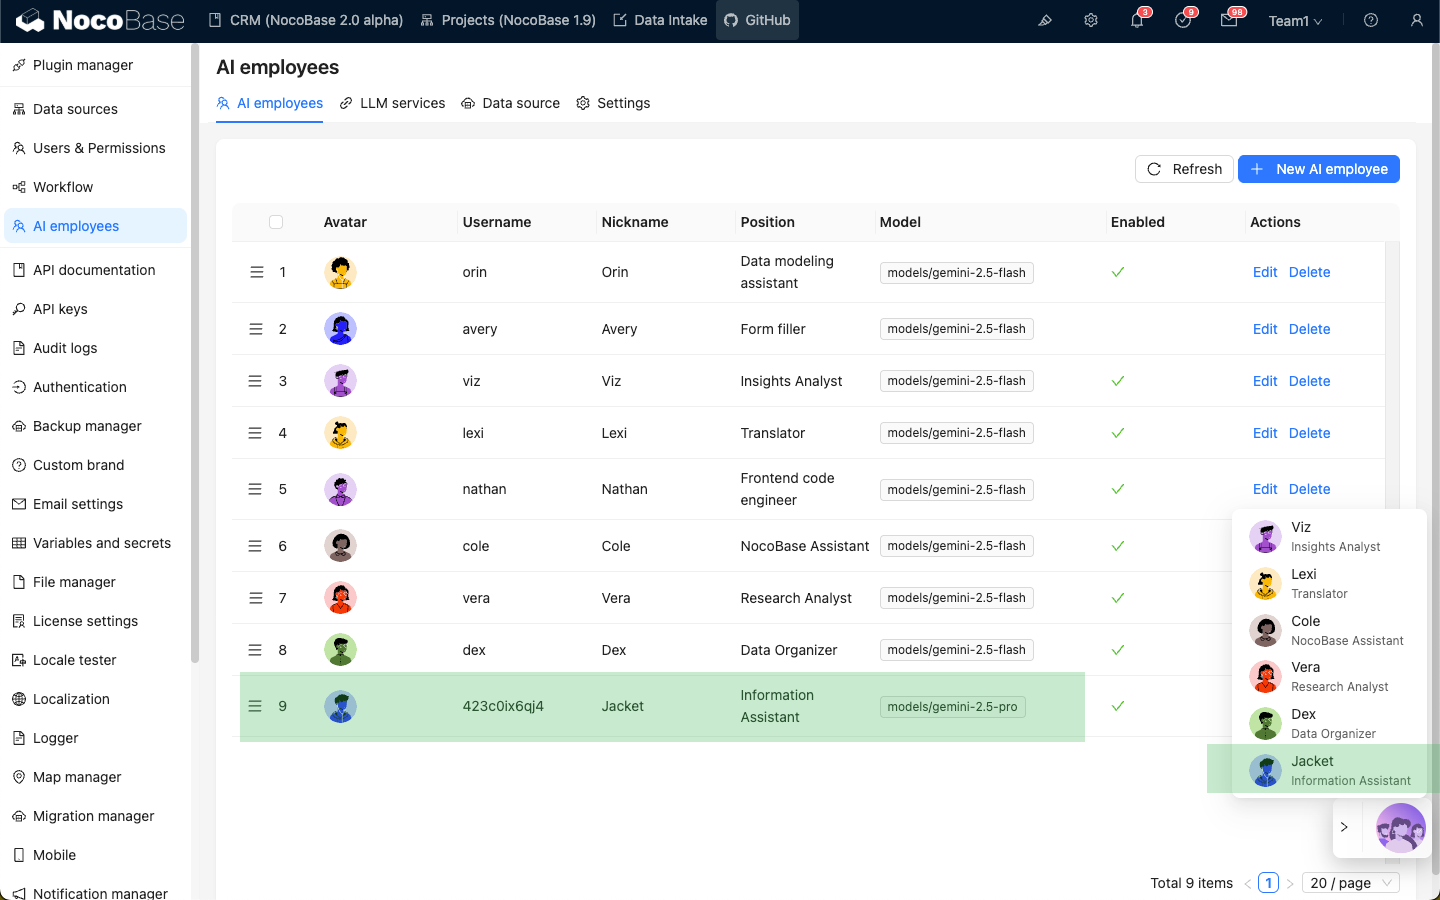
Complete Creation
After entering all the necessary information to create the AI Employee, click the Submit button to complete the creation.
Then we can see the newly created AI Employee in the AI Employee list. And in the AI Employee quick launch button at the bottom right of the page, we can see the AI Employee we just created.