

Shortcut Tasks
To let AI Employees start working more efficiently, we can bind AI Employees to scene pages and Blocks, and preset several commonly used Tasks.
This way, users can click to quickly start task processing with one click, without having to Select Block and Input Command every time.
Page Binding AI Employee
After the page enters UI editing mode, a "+" sign will appear next to the AI Employee quick launch button in the bottom right corner. Hovering over the "+" sign will display the AI Employee list. After selecting an AI Employee, this AI Employee is bound to the current page.
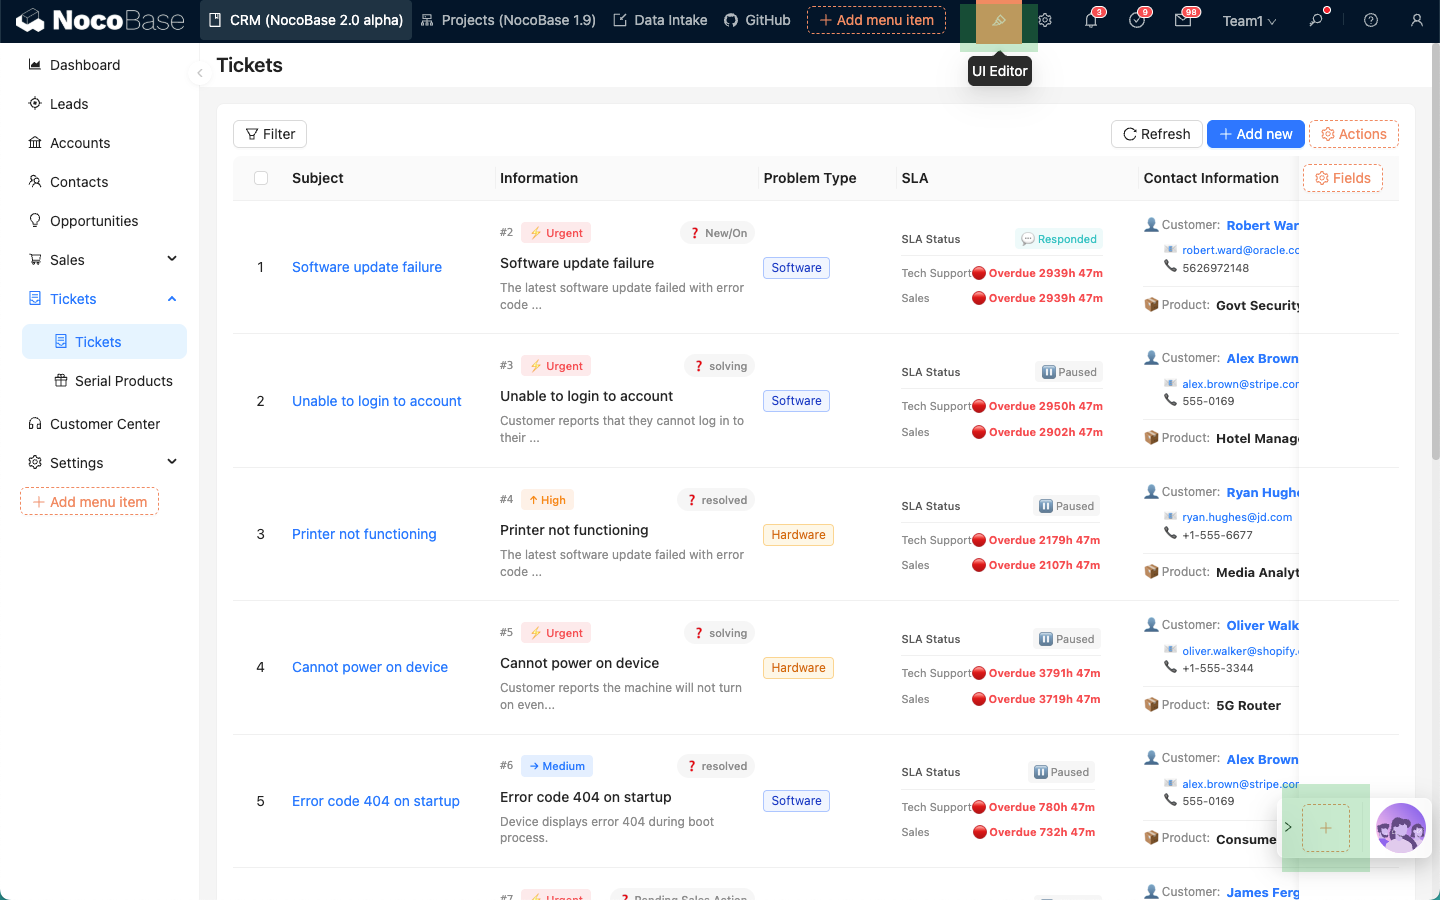
After binding is completed, every time you enter the page, the bottom right corner will display the AI Employee bound to the current page.
Block Binding AI Employee
After the page enters UI editing mode, on Blocks that support setting Actions, select the AI employees menu under Actions, and then select an AI Employee. This AI Employee will be bound to the current Block.
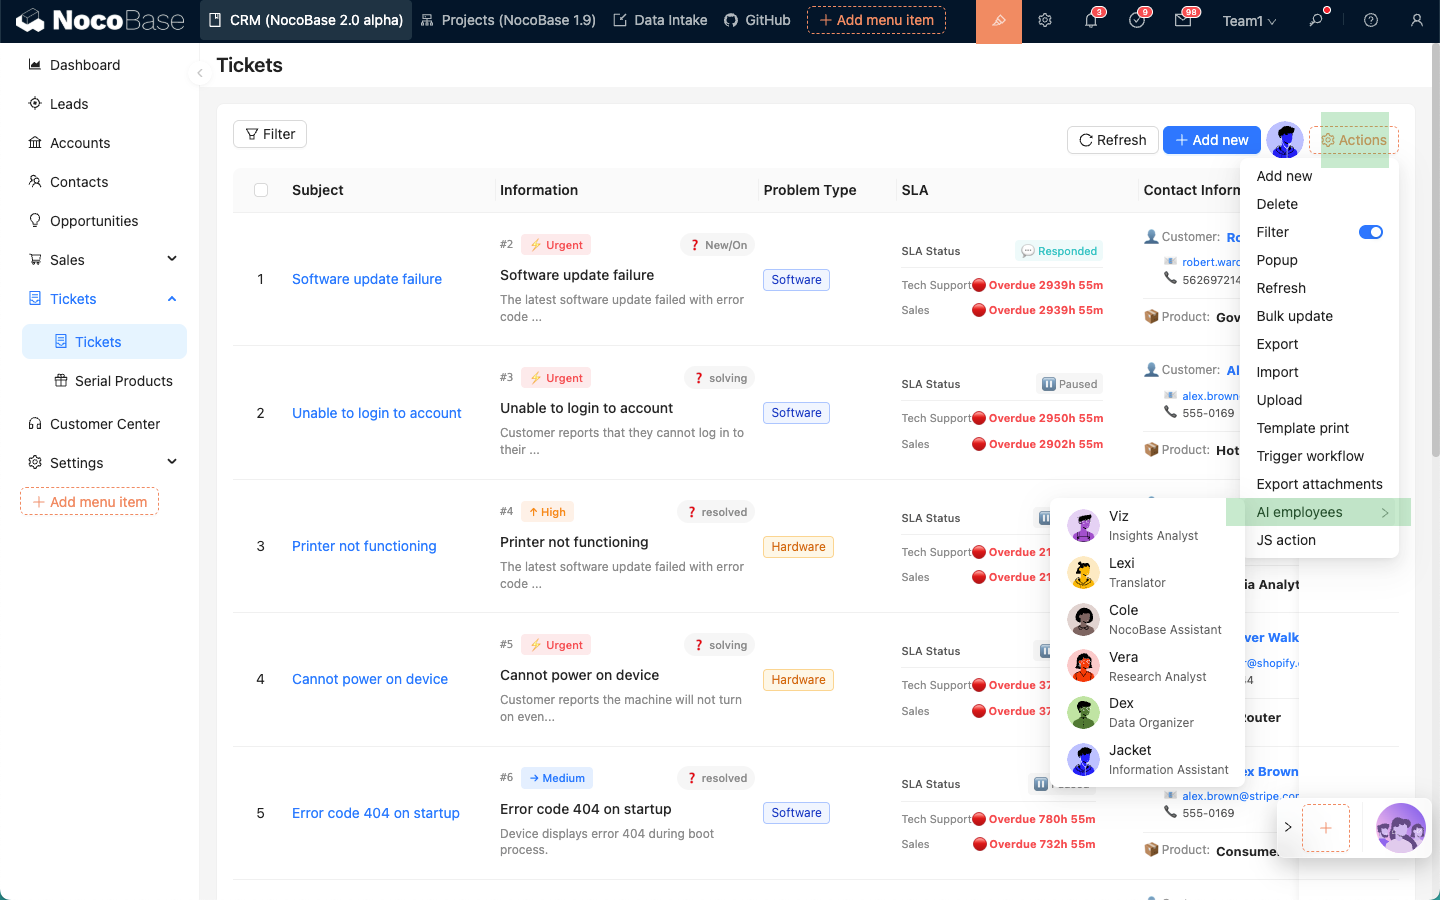
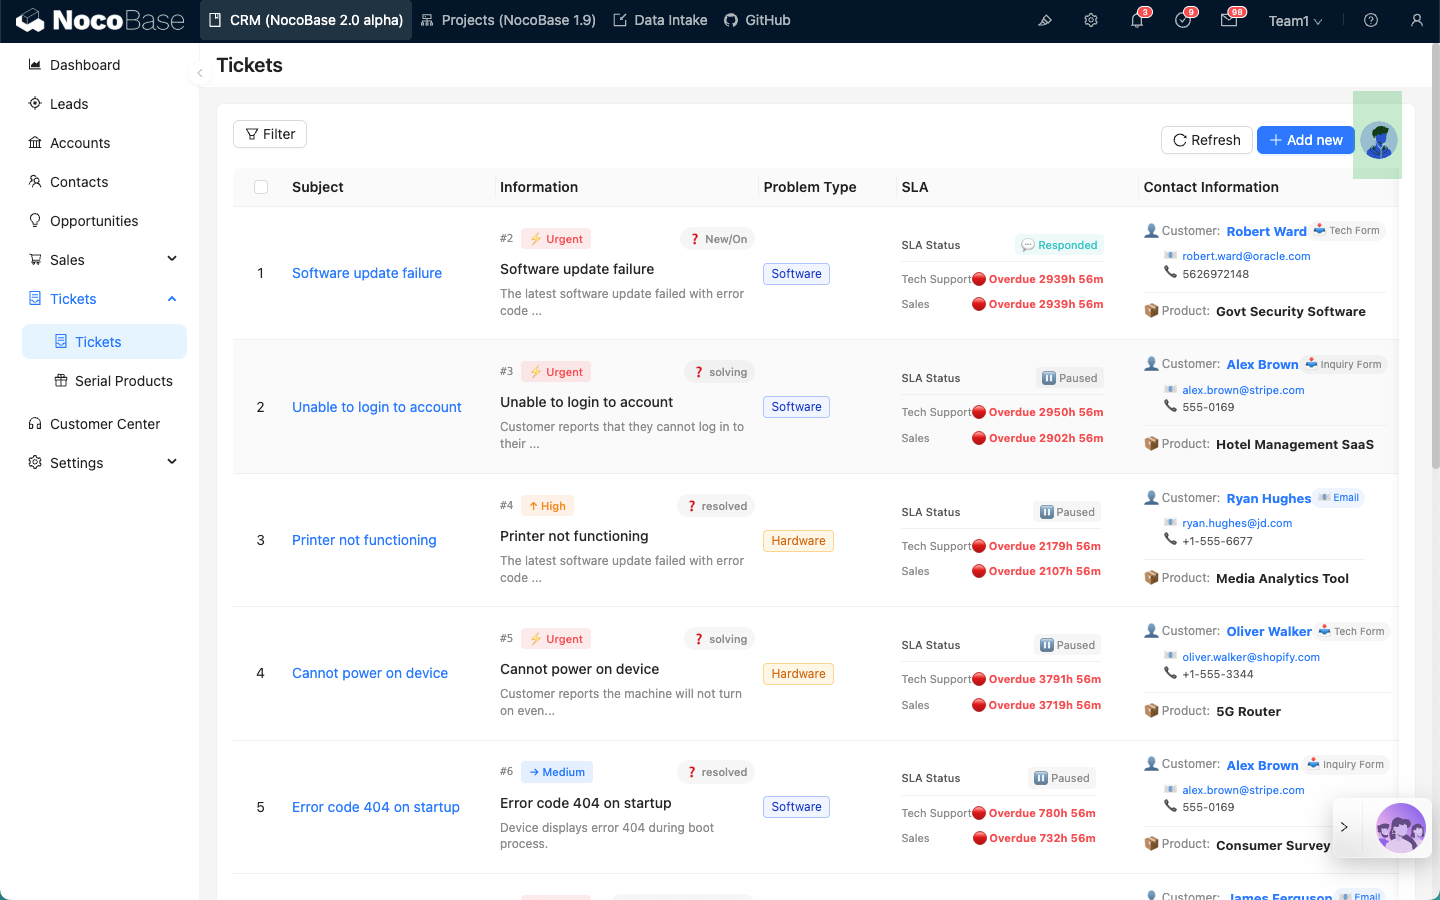
After binding is completed, every time you enter the page, the Block Actions area will display the AI Employee bound to the current Block.
Configure Tasks
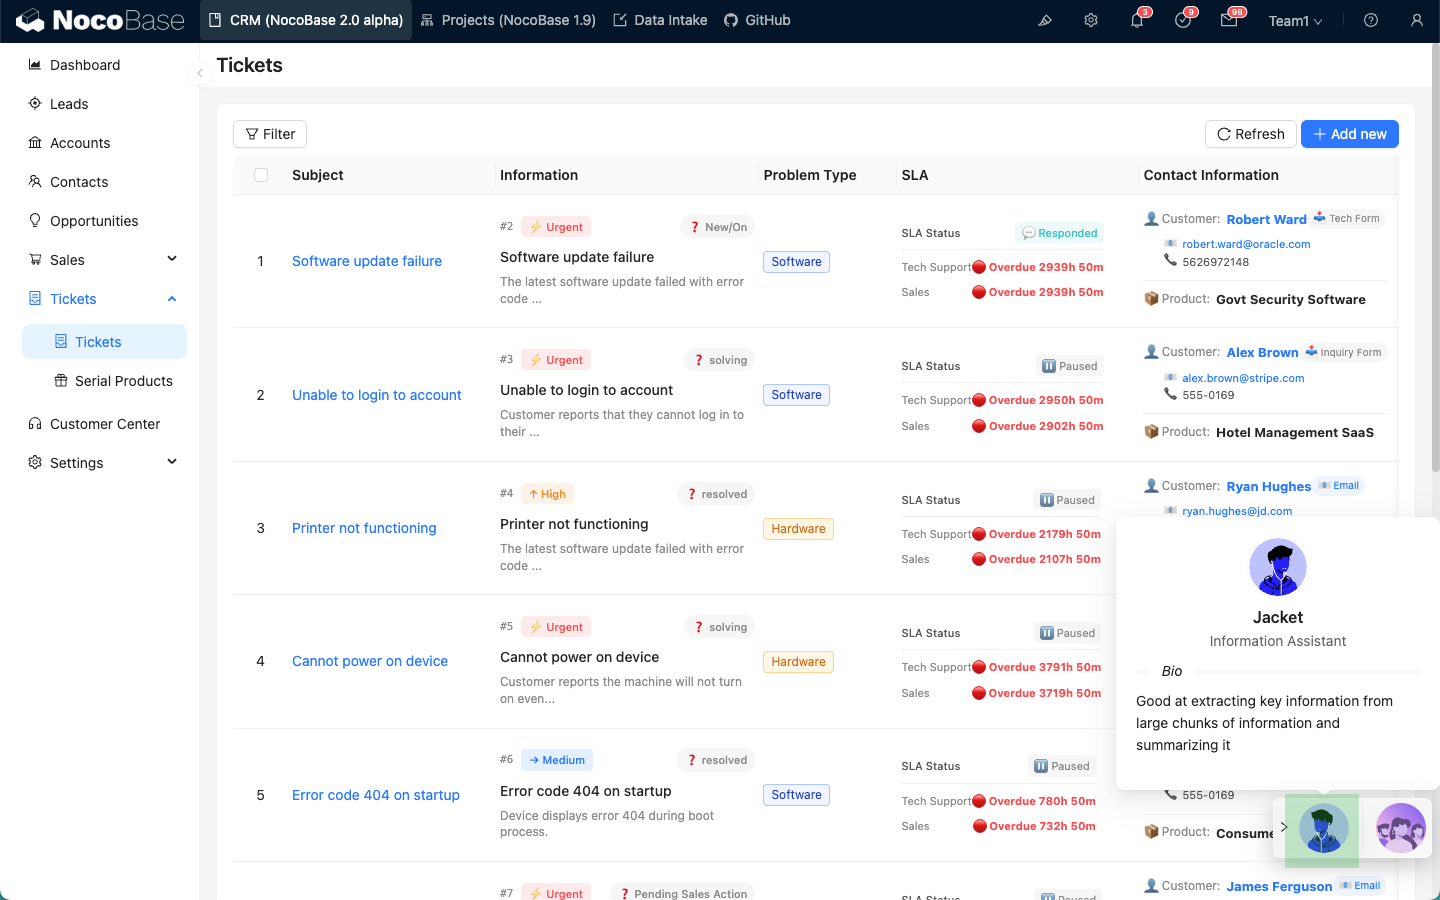
After the page enters UI editing mode, hover over the AI Employee icon bound to the page or Block, a menu button will appear. Select Edit tasks to enter the Task configuration page.
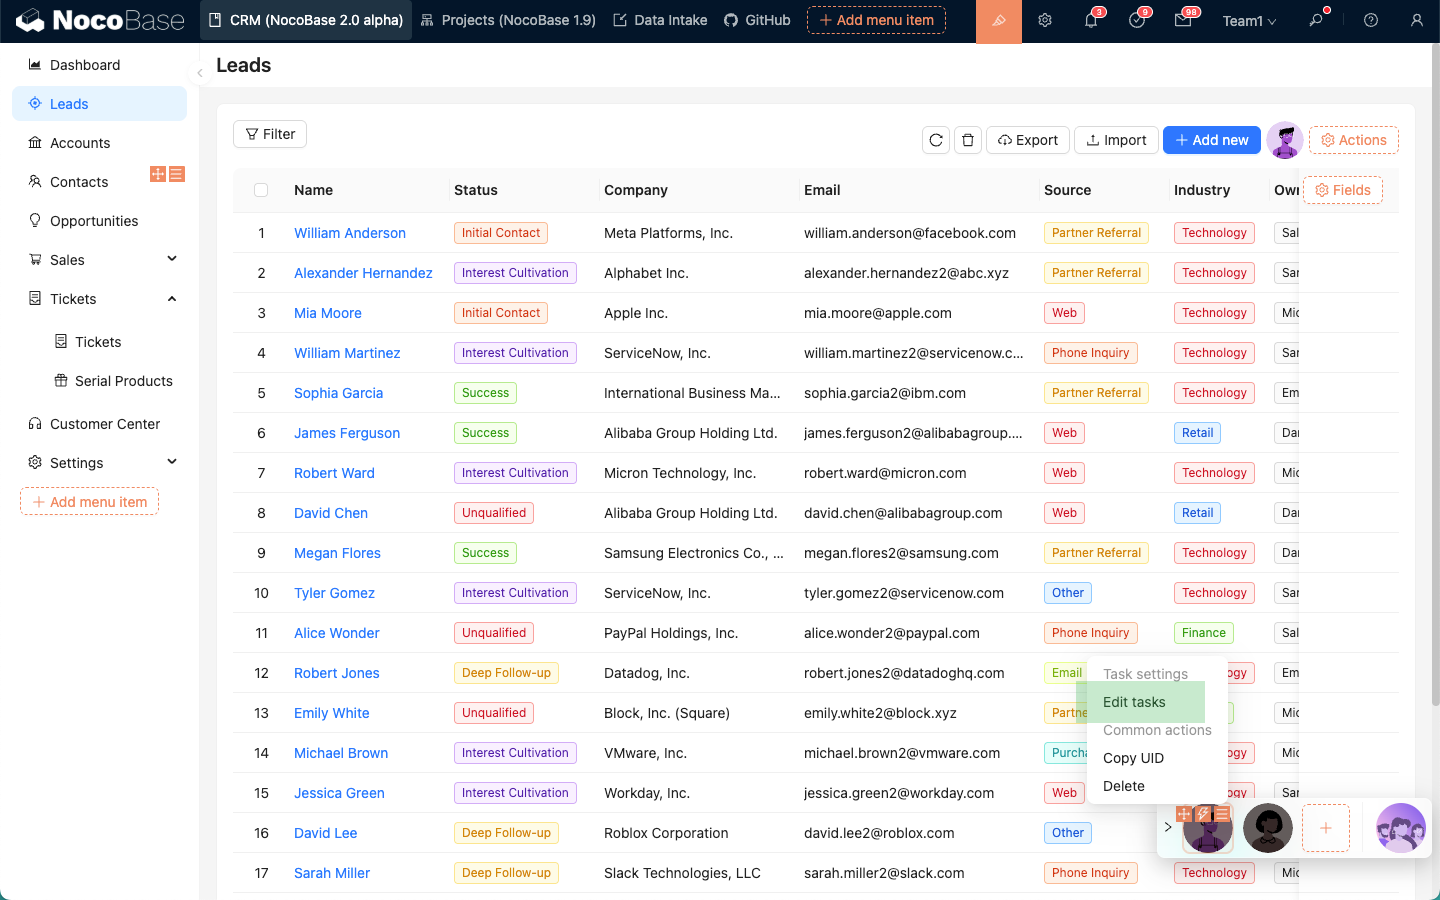
Entering the Task configuration page, you can add multiple Tasks for the current AI Employee.
Each tab represents an independent Task. Click the "+" sign next to it to add a new Task.
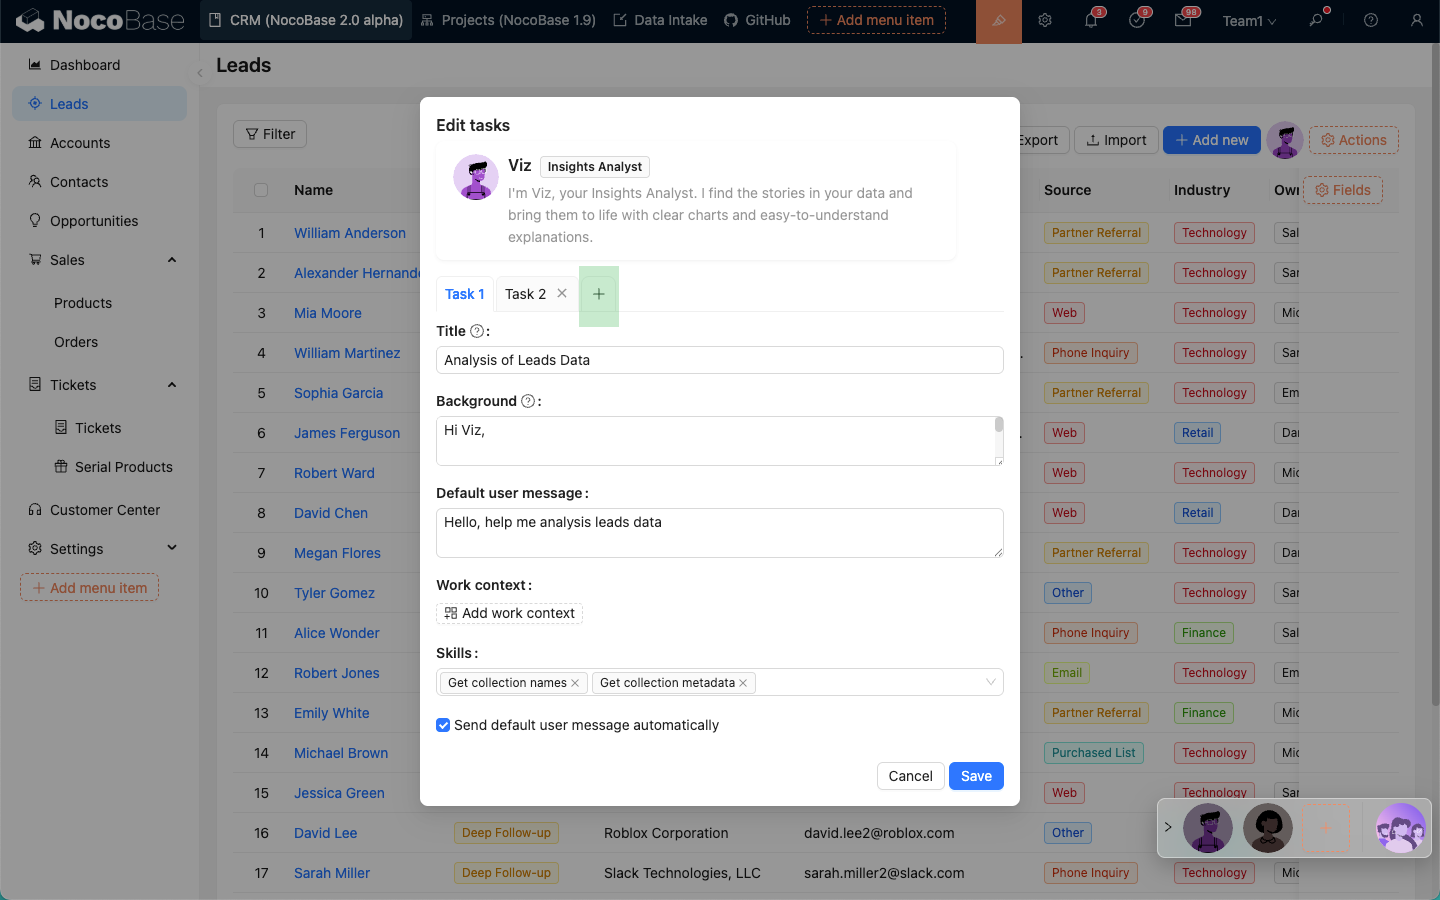
Task configuration form:
- In the
Titleinput box, enter the Task title, briefly describing the task content. This title will appear in the AI Employee's task list. - In the
Backgroundinput box, enter the main content of the Task. This content will be used as the System prompt when chatting with the AI Employee. - In the
Default user messageinput box, enter the user message sent by default, which is automatically filled into the user input box after selecting the Task. - In
Work context, select the application Context information sent to the AI Employee by default. This operation is the same as the operation in the Chatbox. - The
Toolsselection box displays the Tools available to the current AI Employee. You can uncheck a Tool to let the AI Employee ignore using that Tool when executing the task. - The
Send default user message automaticallycheckbox configures whether to automatically send the default user message after clicking to execute the Task.
Task List
After configuring Tasks for the AI Employee, these Tasks will be displayed in the AI Employee's introduction floating window and the greeting message before the session starts. Click to execute the Task.
