

Chapter 3: Task Data Management
With the requirements of our task management system outlined, it’s time to dive into the practical steps! Recall that our system should support Creating, Editing, and Deleting tasks, along with viewing the task list. All of this functionality can be achieved using NocoBase’s pages, blocks, and actions.
For further details, see Menus and Pages in the official documentation.
3.1 How to Begin?
You may remember that we previously covered how to create pages and display user lists. These pages act as canvases where you can arrange various blocks in any order and size. Here’s a quick recap of the steps:
- Create a Page: Just a few clicks, and your page is ready.
- Create a Table Block: Select a table block to display various data.
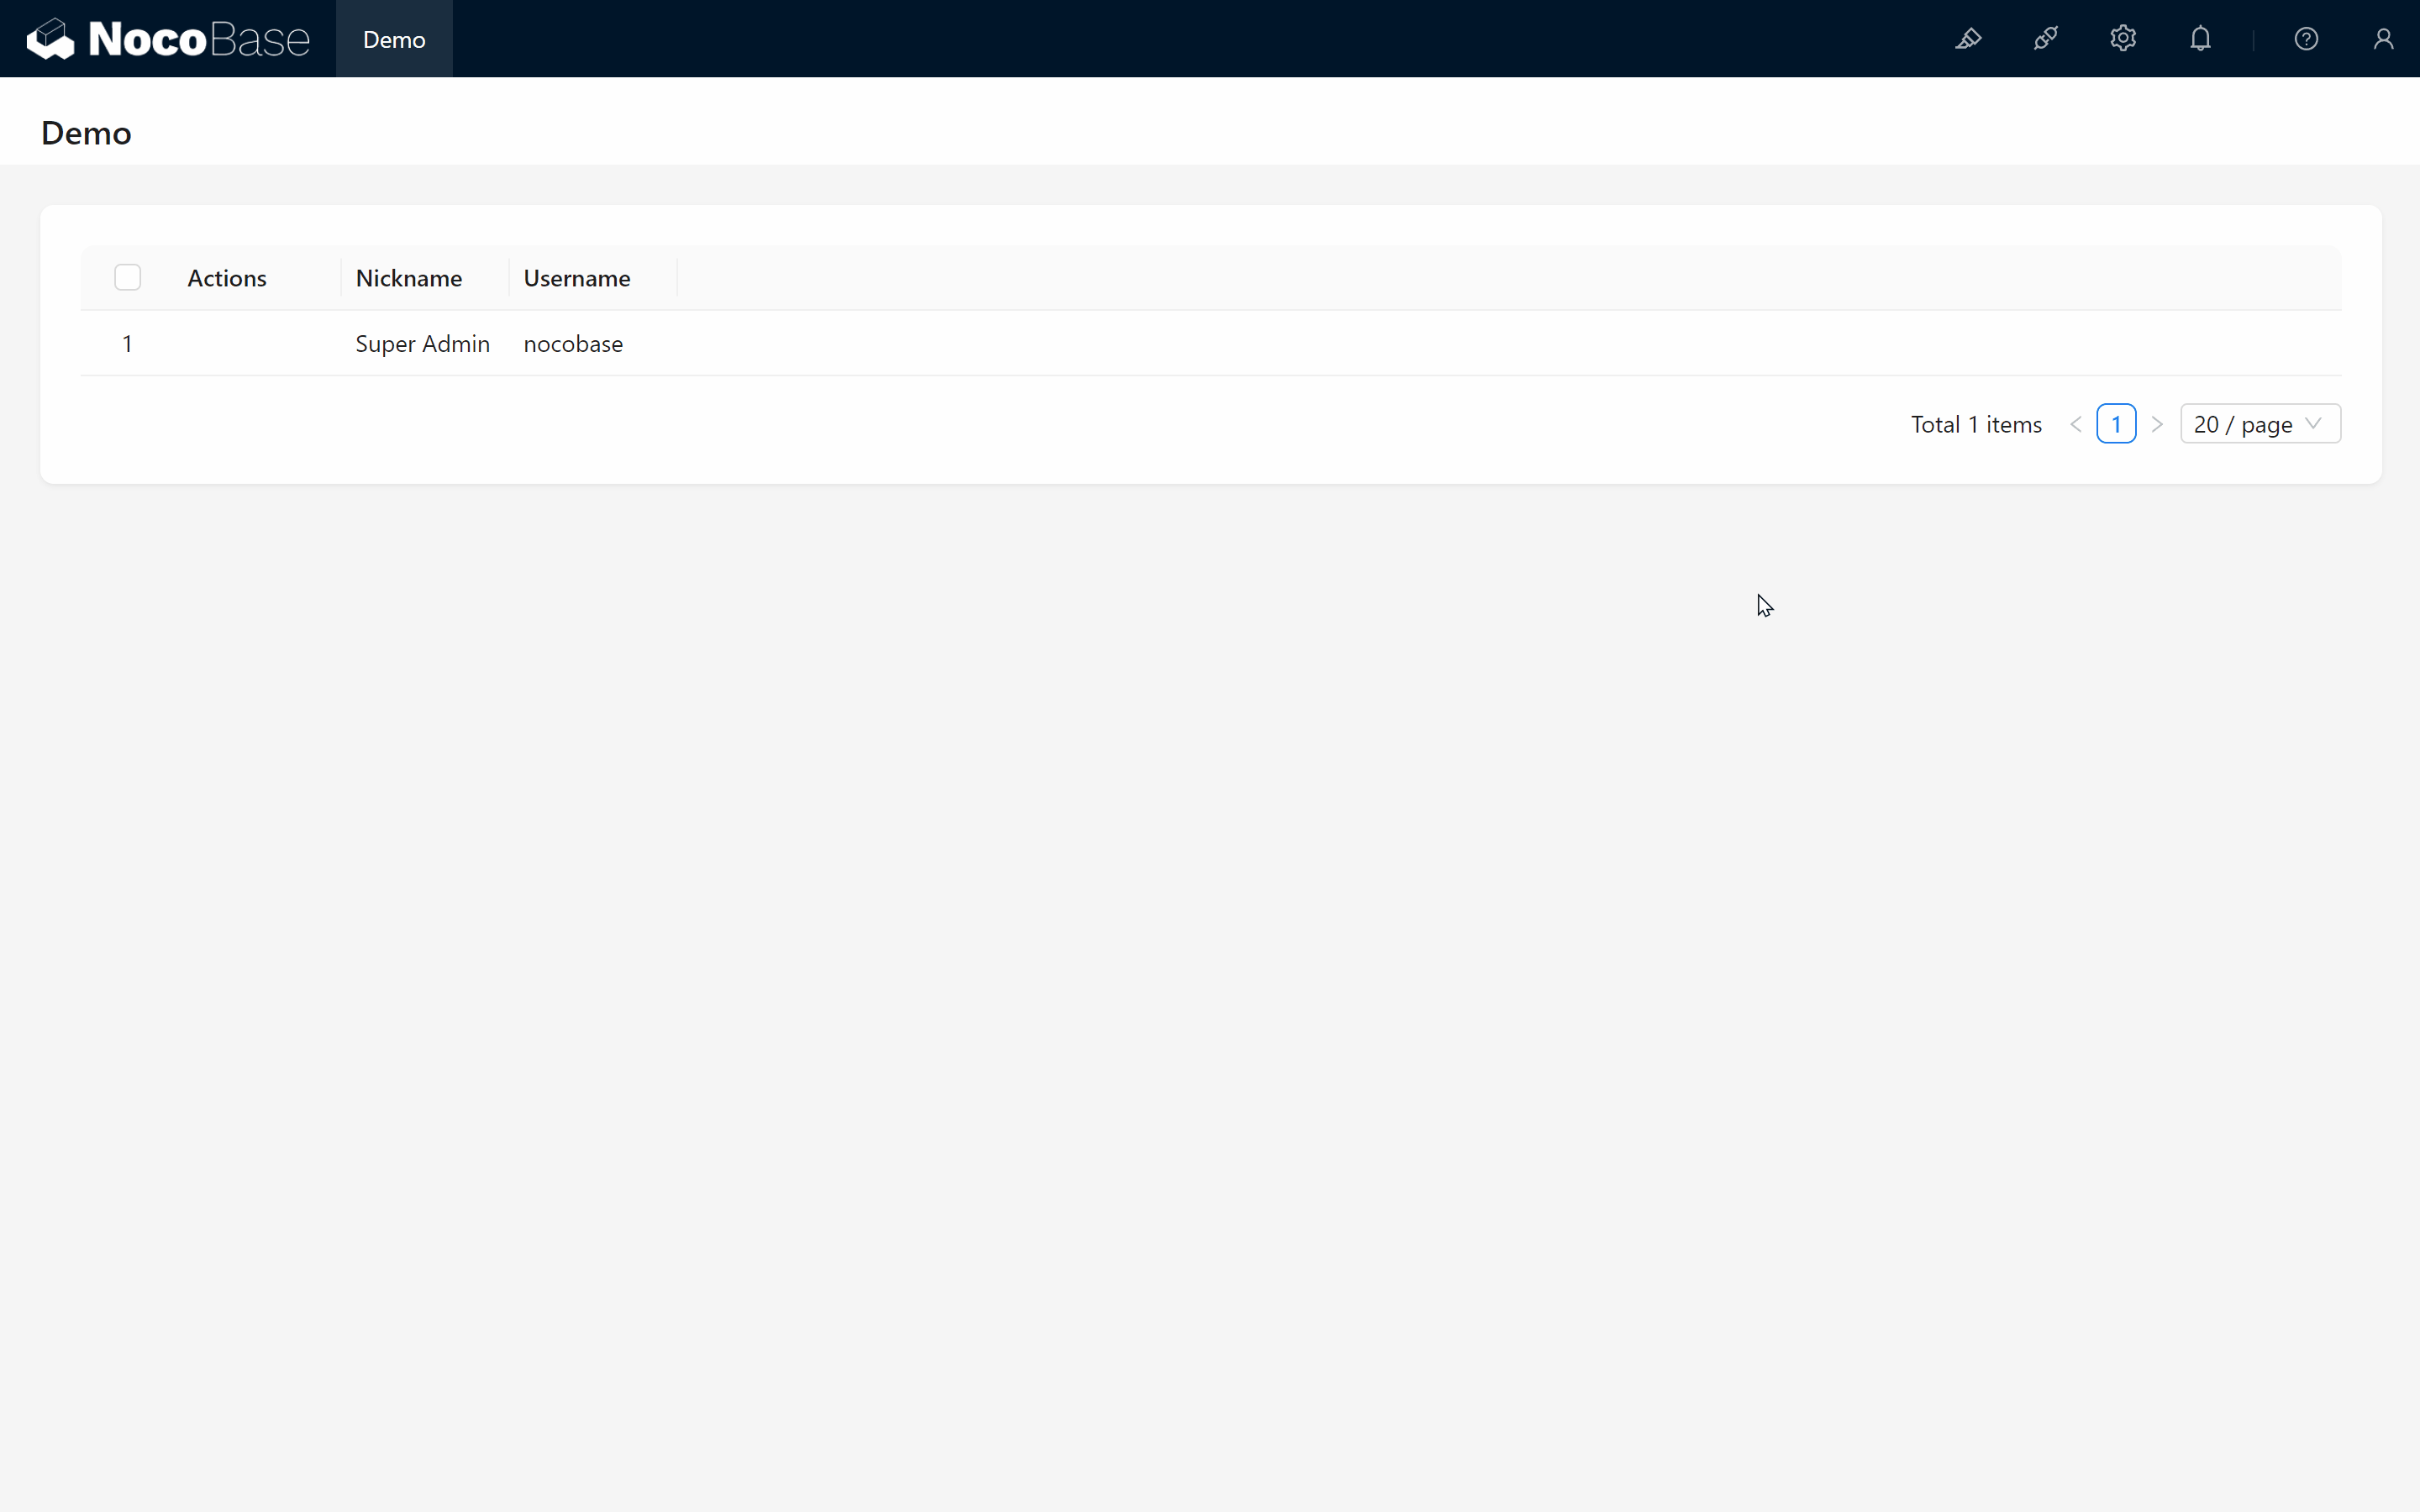
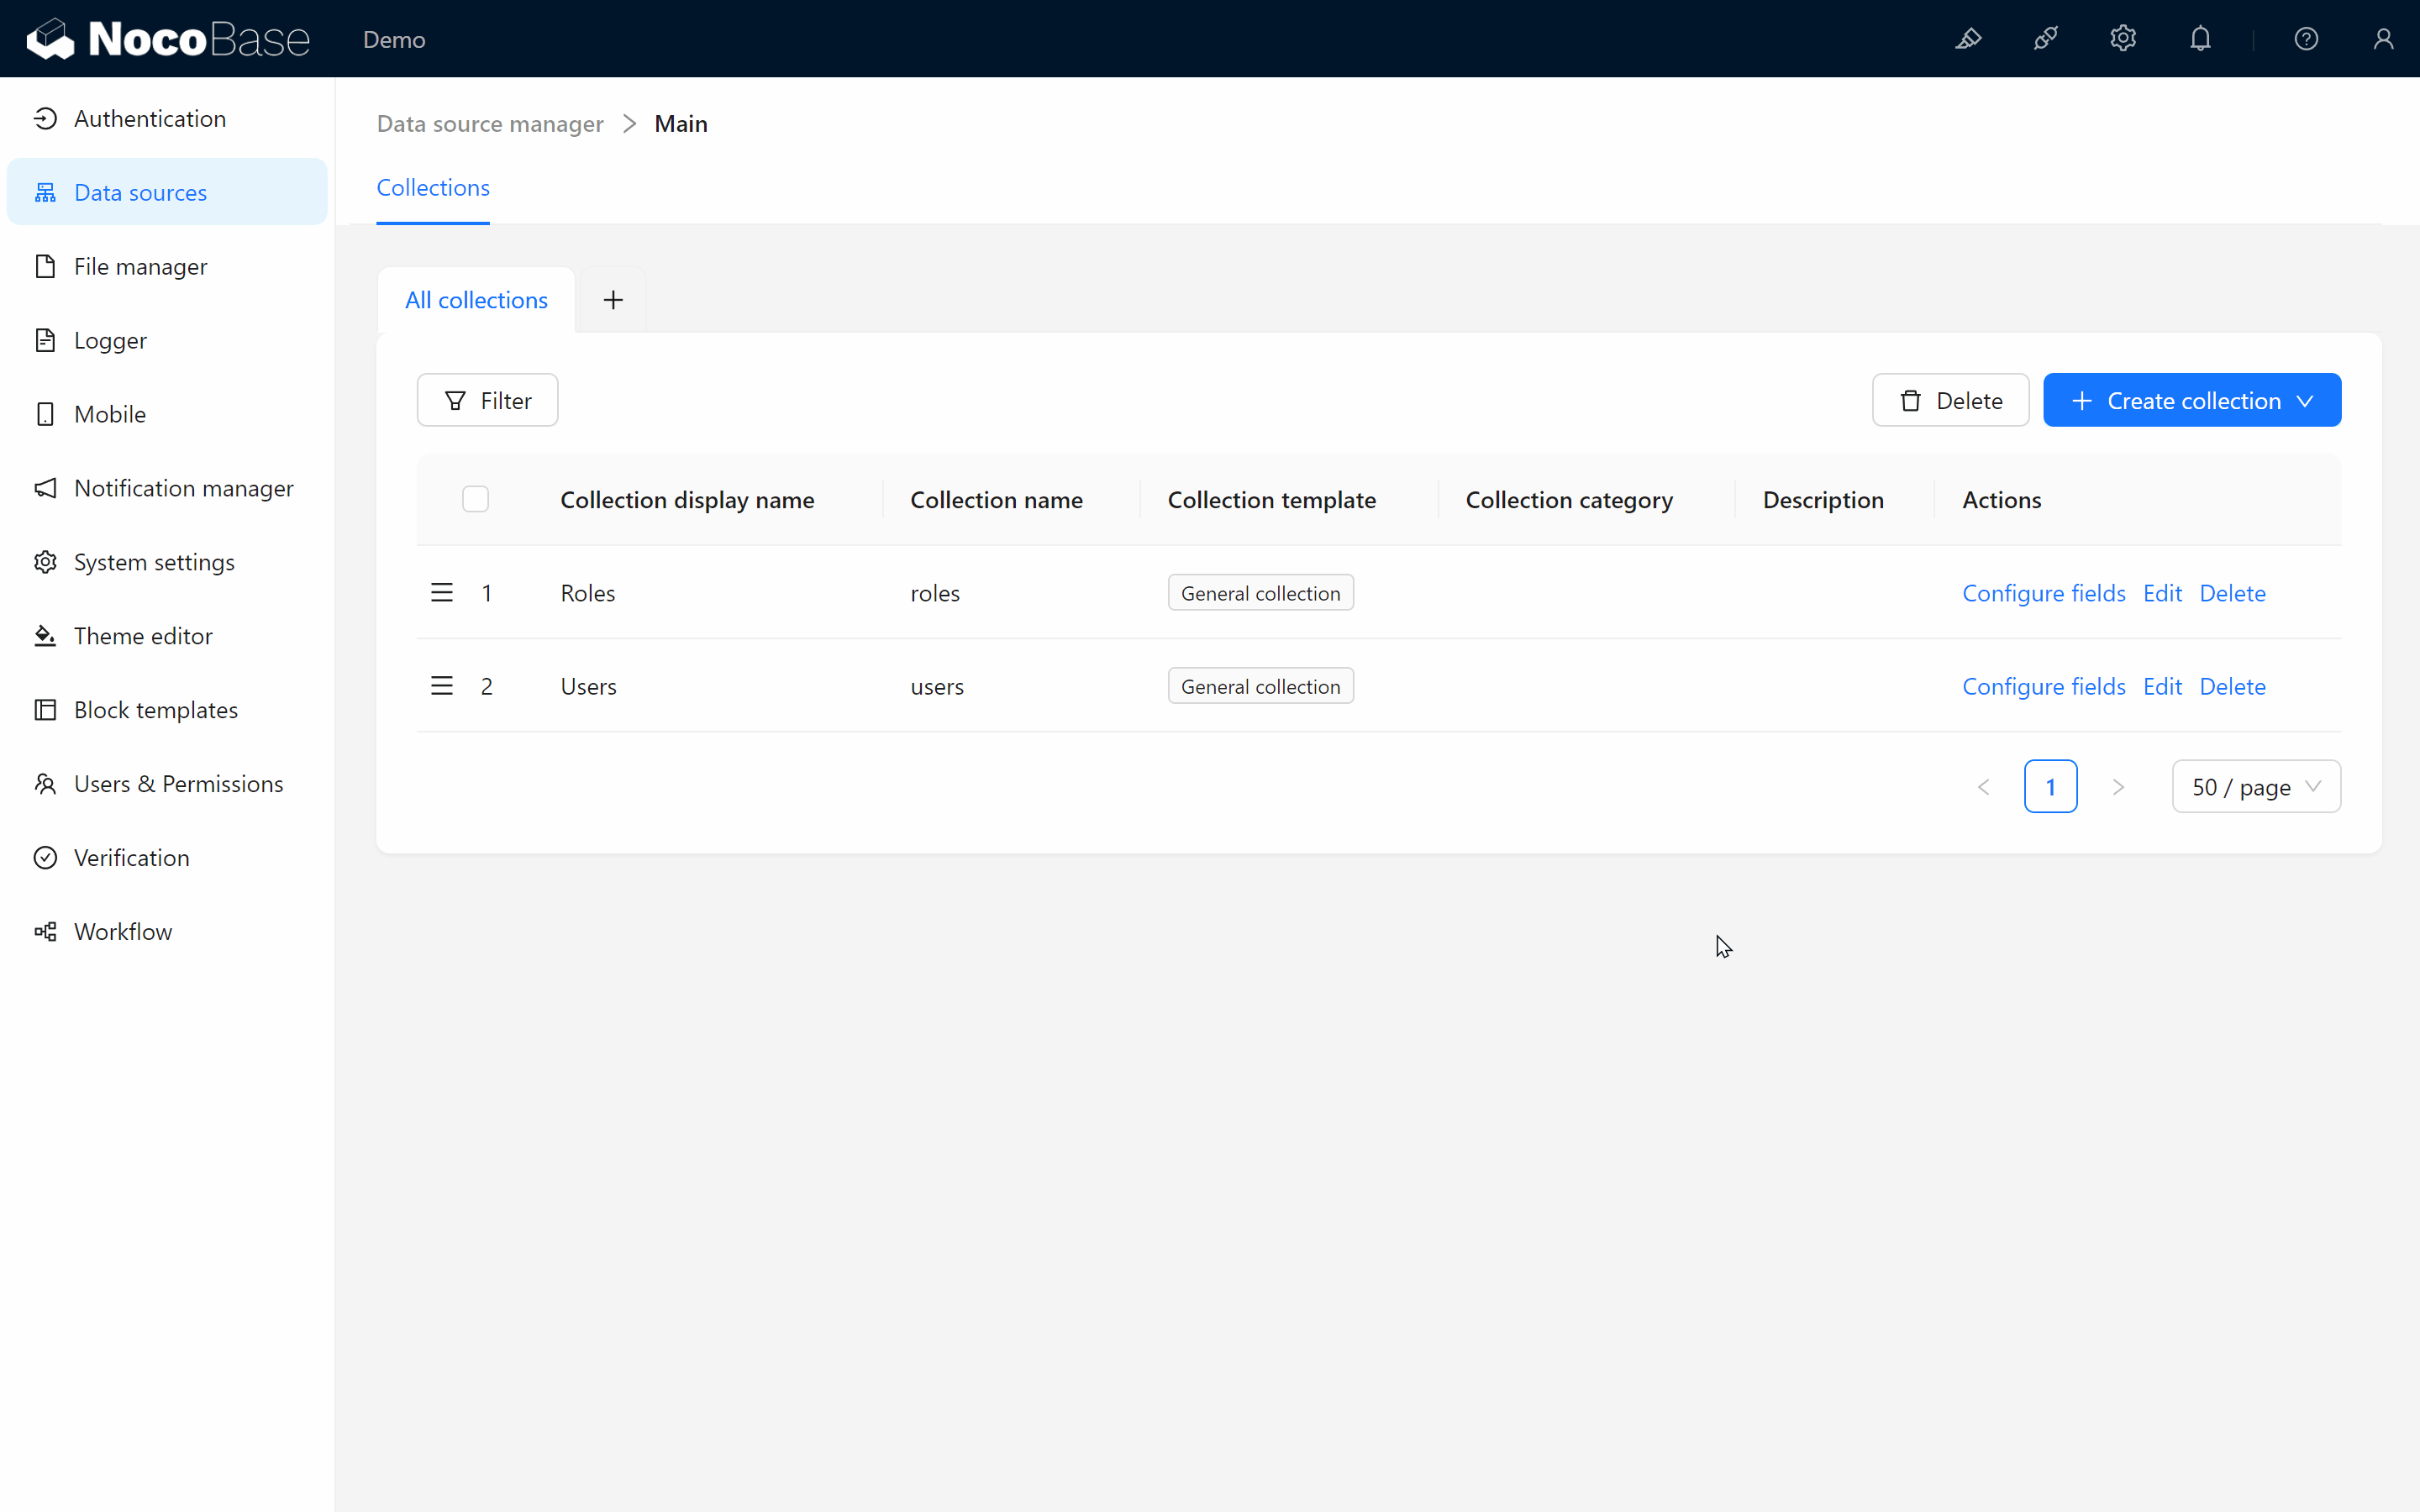
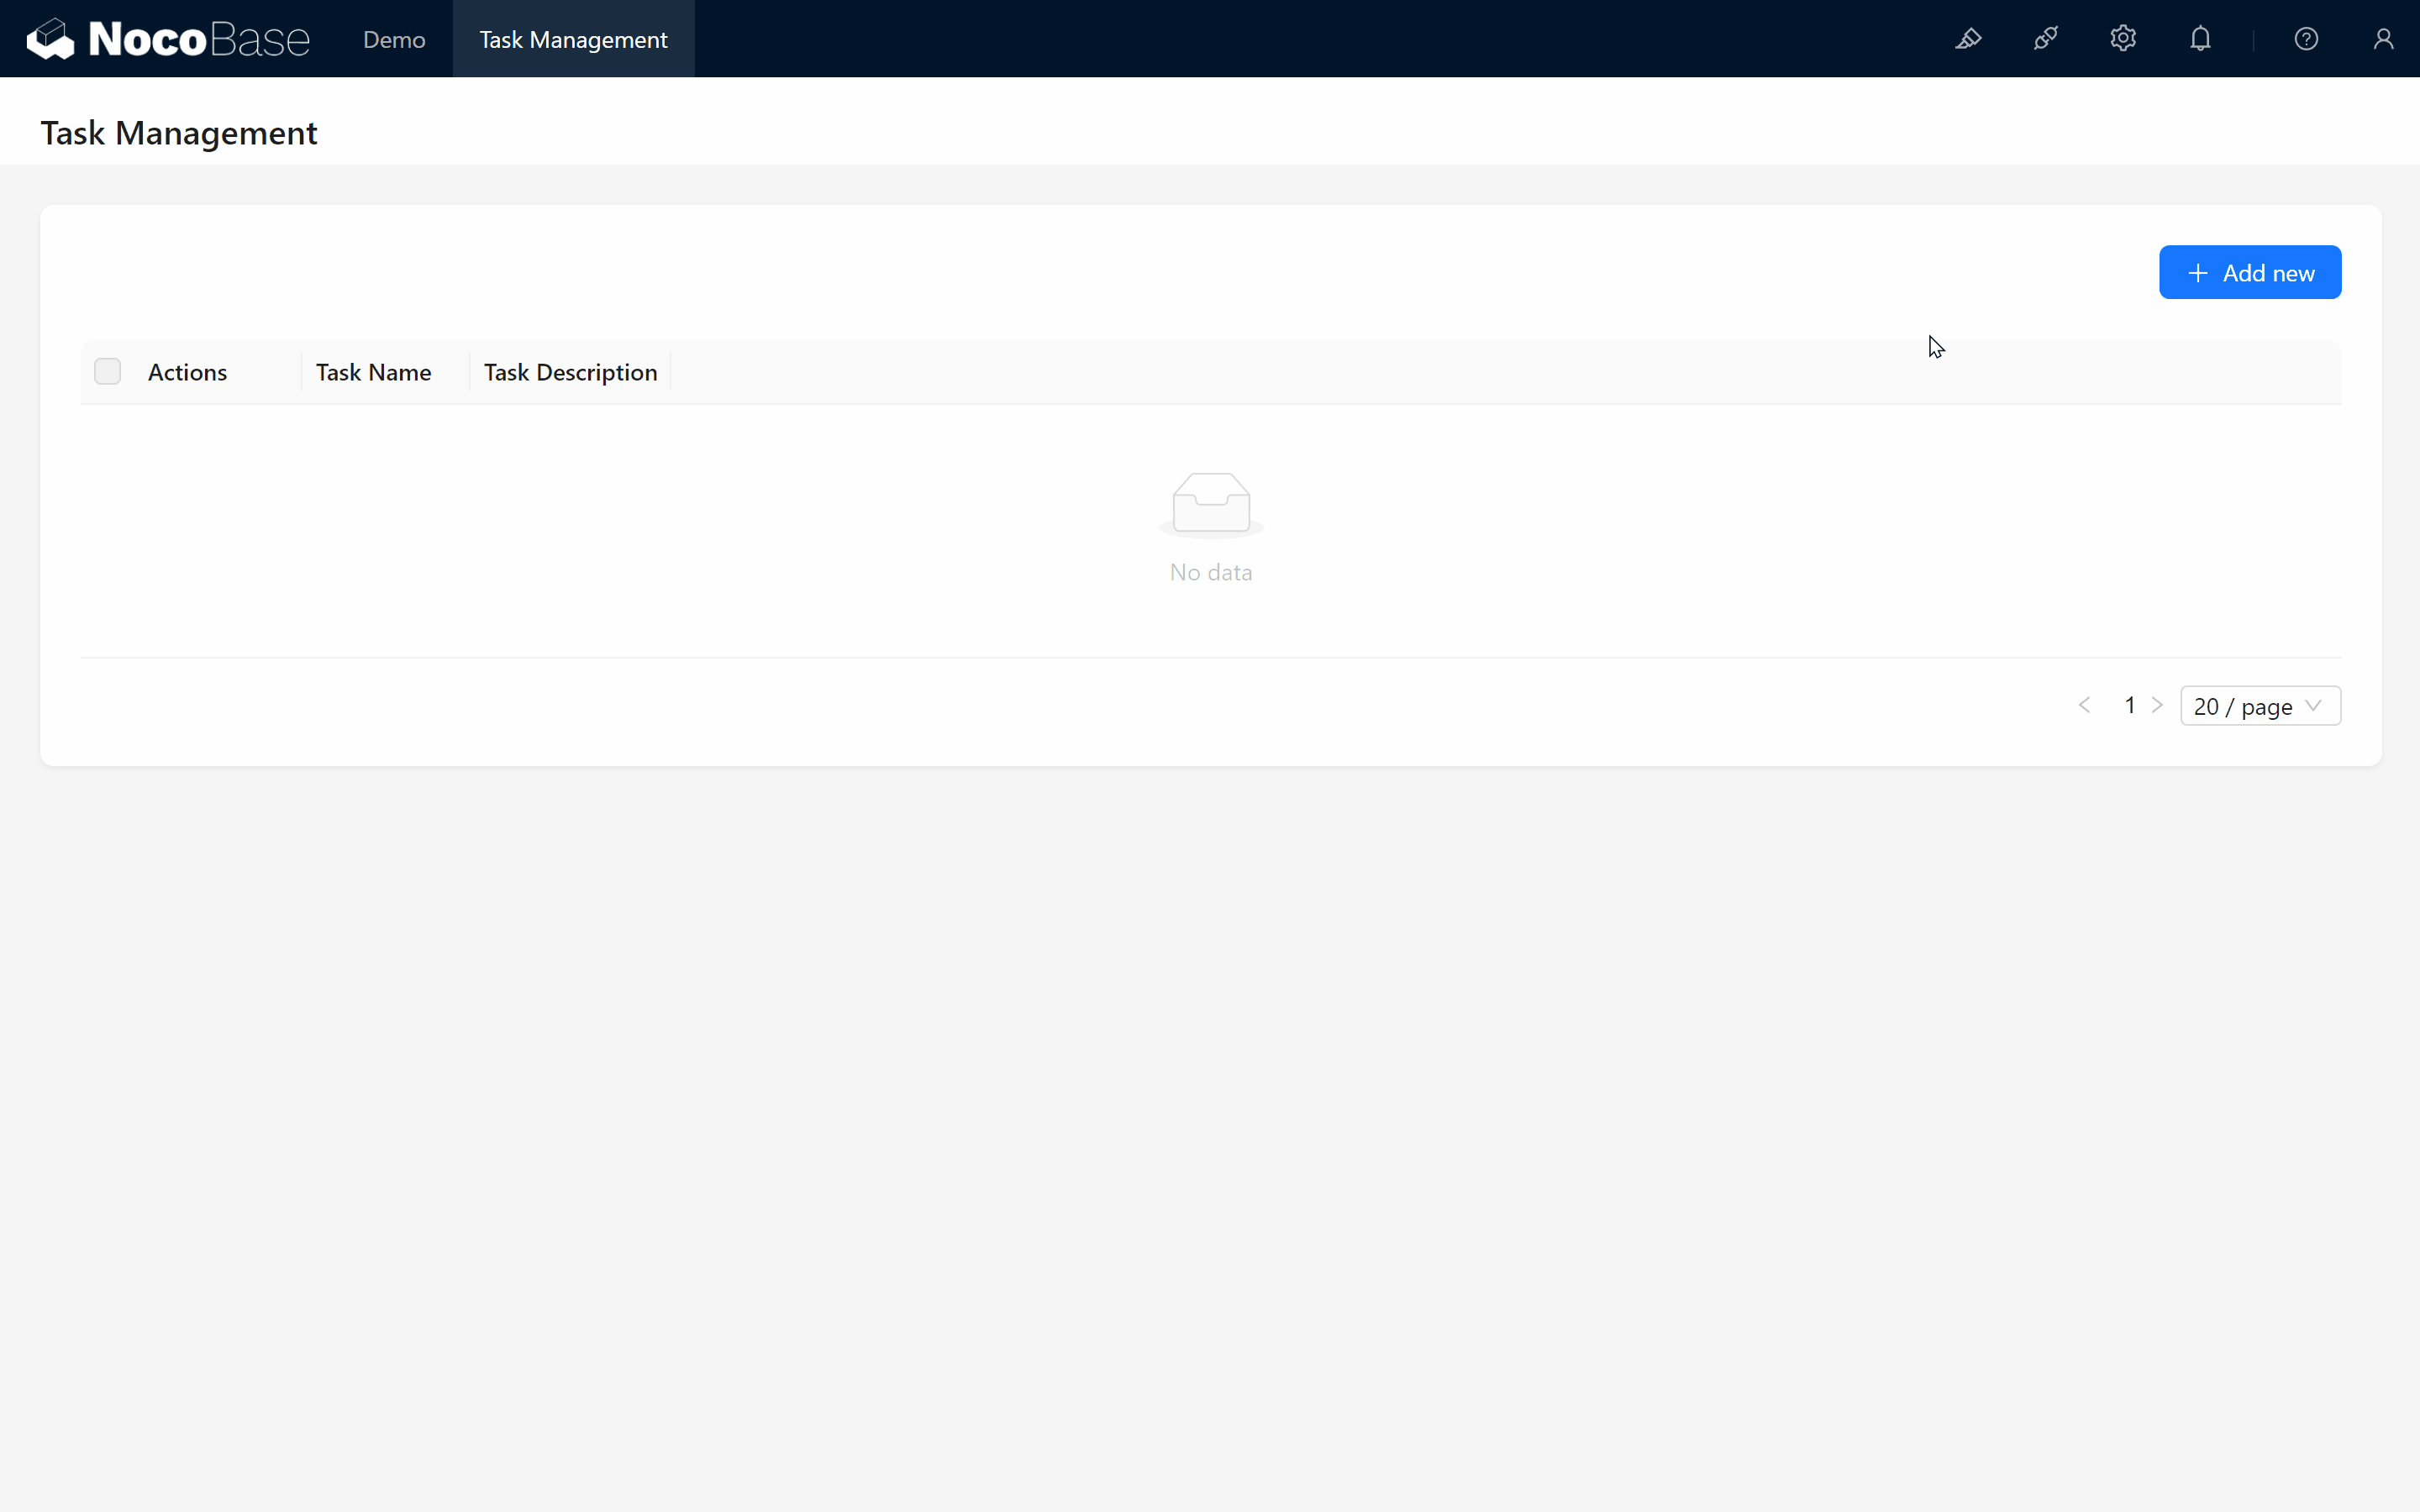
Simple, right? But upon opening “Data List,” you might notice only the “User” and “Role”collections. Where is the task table? Don’t worry; it’s accessible through NocoBase’s Data Source feature.
About Data Sources: A data source can be a database, API, or other data storage types. NocoBase supports various relational databases, including MySQL, PostgreSQL, SQLite, and MariaDB.
NocoBase provides a Data Source Management Plugin for managing data sources and tables. However, to connect to data sources, you’ll also need specific Data Source Plugins.
3.2 Data Source: Your Collections Repository
In NocoBase, all collections are stored within Data Sources, which act like books containing the design and structure of each collection. Let’s add our new chapter by creating a task collection.
To explore more on data sources and collections, refer to Data Source Management and Collection Overview.
- Accessing Data Source Settings:
- Click Settings > Data Sources > Main Data Source Configuration.
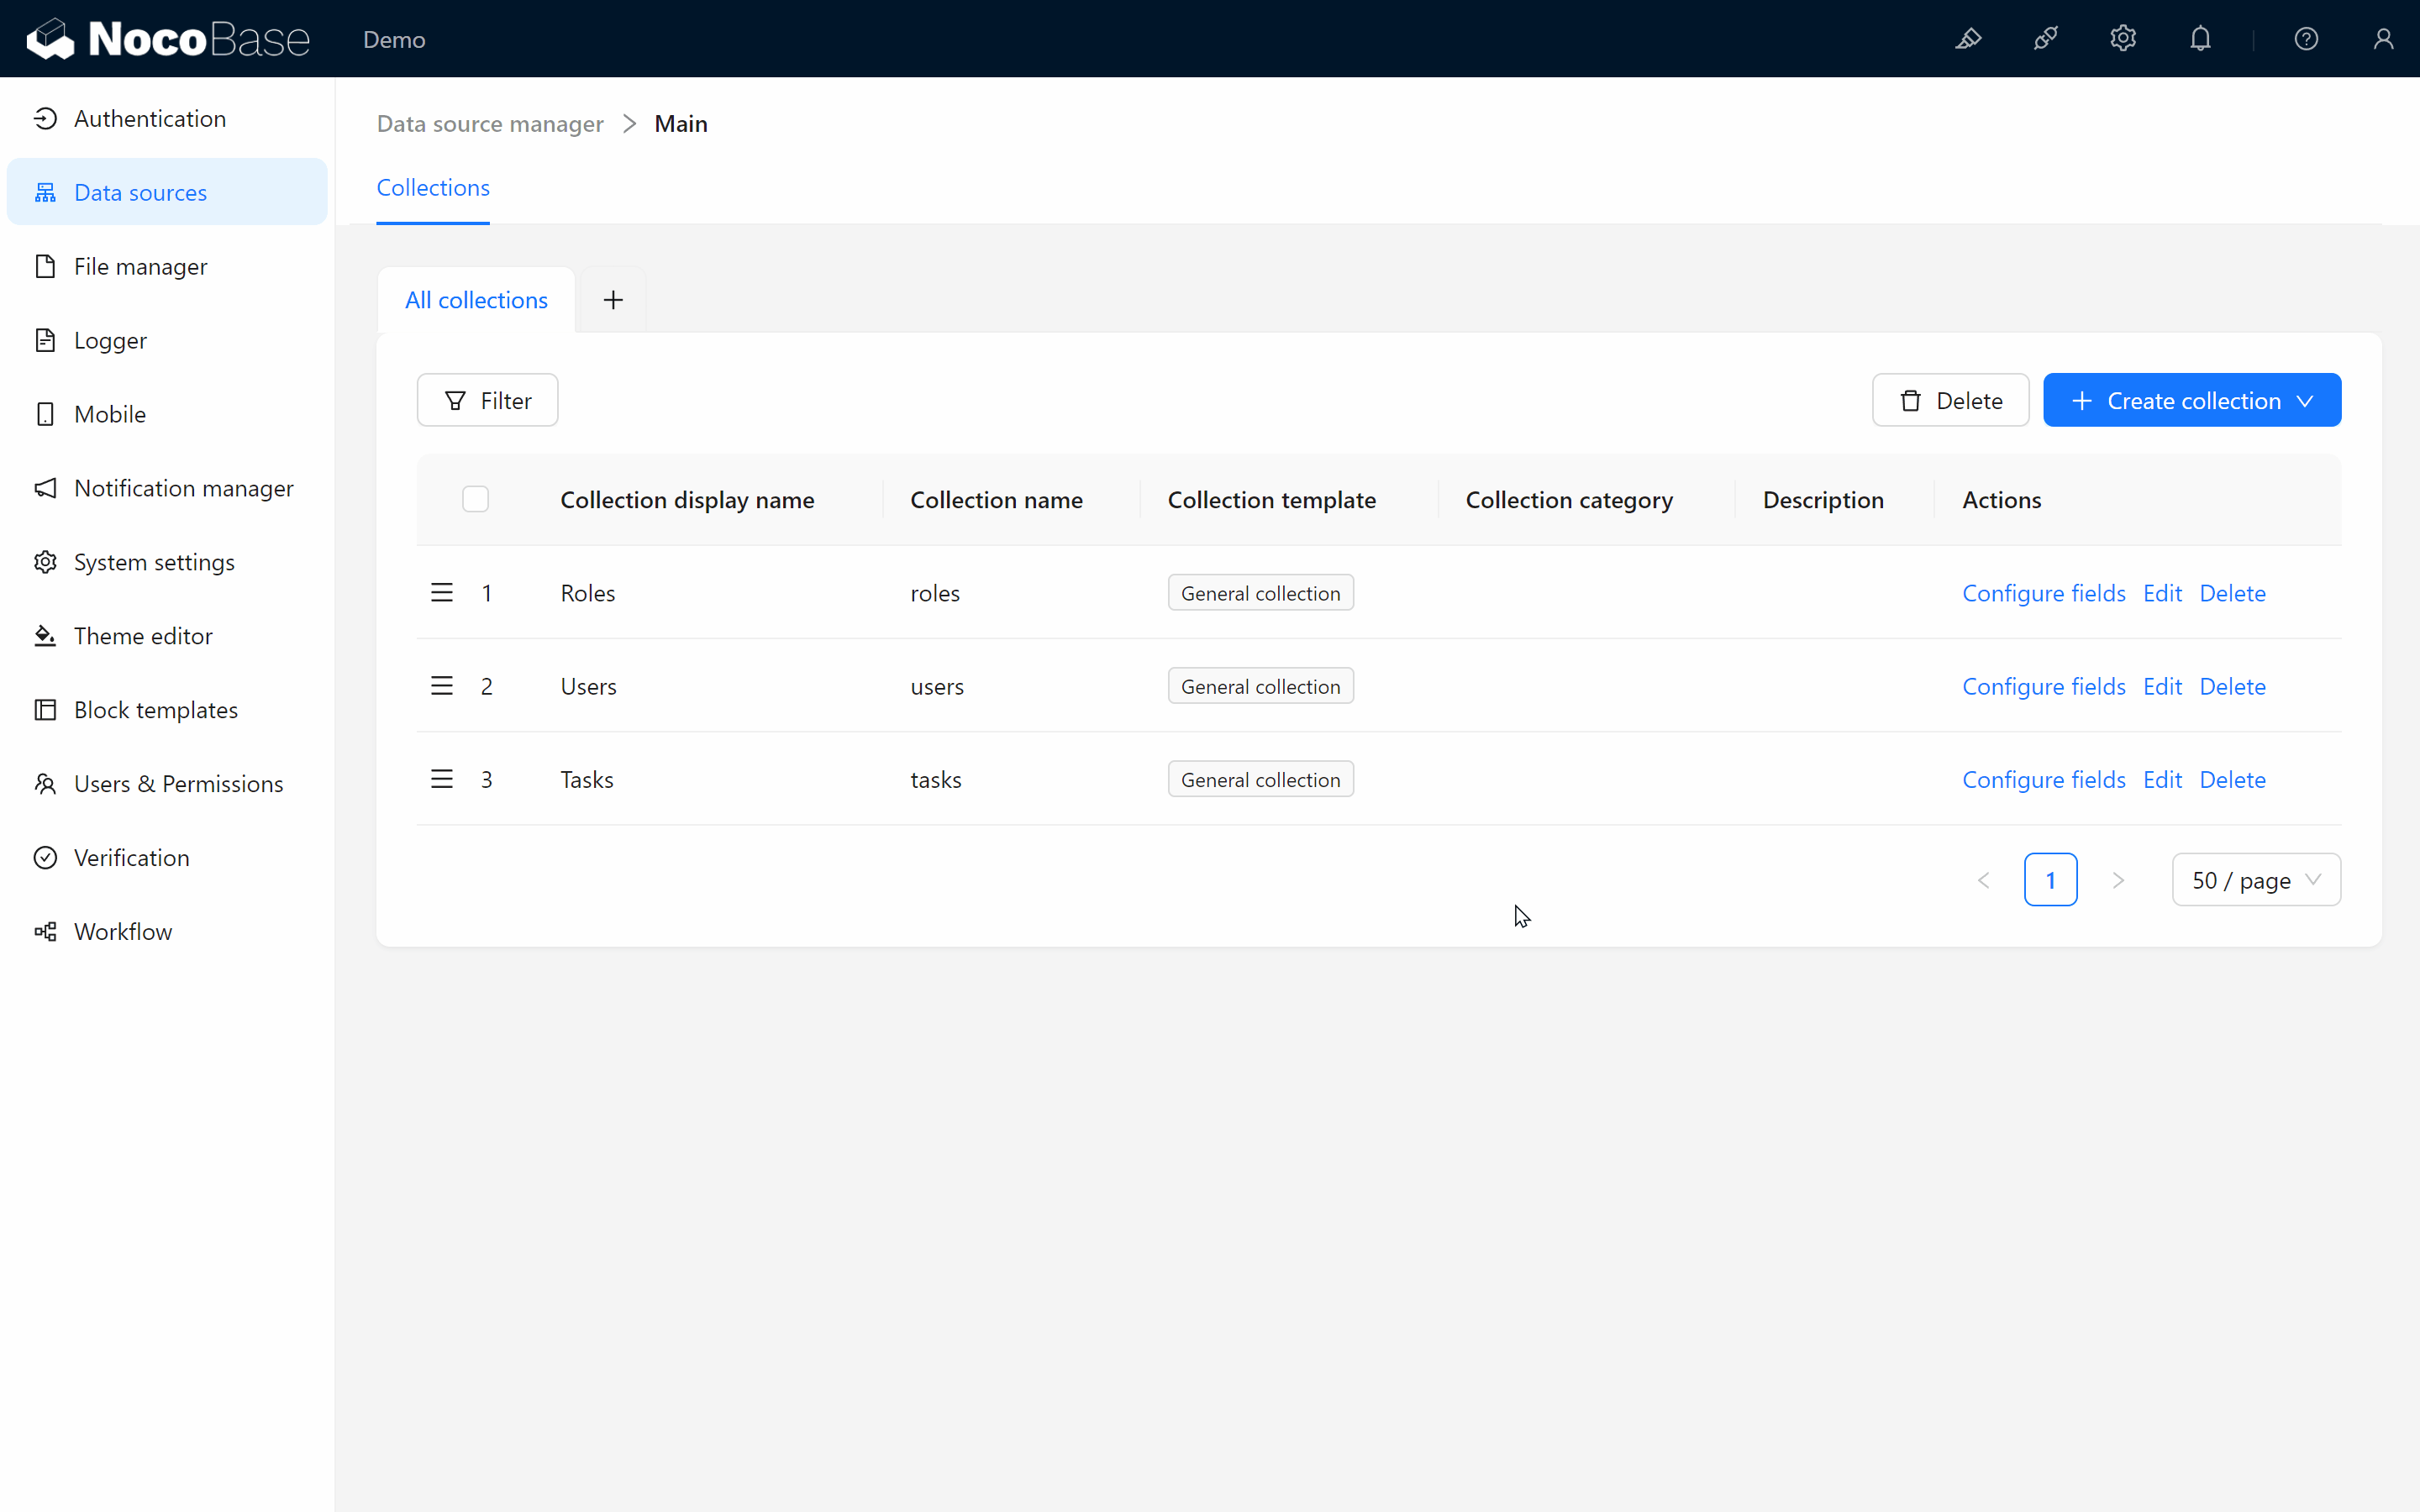
- In the main data source, you’ll see existing collections, usually just “User” and “Role” by default.
Now, let’s create the third collection – our task collection. We’ll follow our previous design to set up a simple task collection with the following fields:
3.3 Creating the Task collection
-
Create Task collection:
- Click “Create collection” > Select General collection > Enter Collection display name (e.g., “Task collection”) and Collection name (e.g., “tasks”).
- The Collection name is a unique ID, recommended to use English letters, numbers, or underscores for easier reference.
- Submit to create.
-
Default Fields: NocoBase generates default fields for each standard collection:
- ID: A unique identifier for each record.
- Created at: Automatically records when the task was created.
- Created By: Automatically records the task creator.
- Last updated at and Last updated by: Records each modification’s date and user.
These default fields are exactly what we need, saving us from adding them manually.
- Create Custom Fields:
- Task Name: Click “Add Field” > Choose Single line Text > Set the 'Field display name' to “Task Name,” and the field name as “task_name.”

- Task Description: Add another field of Long text with the field name“task_description.”
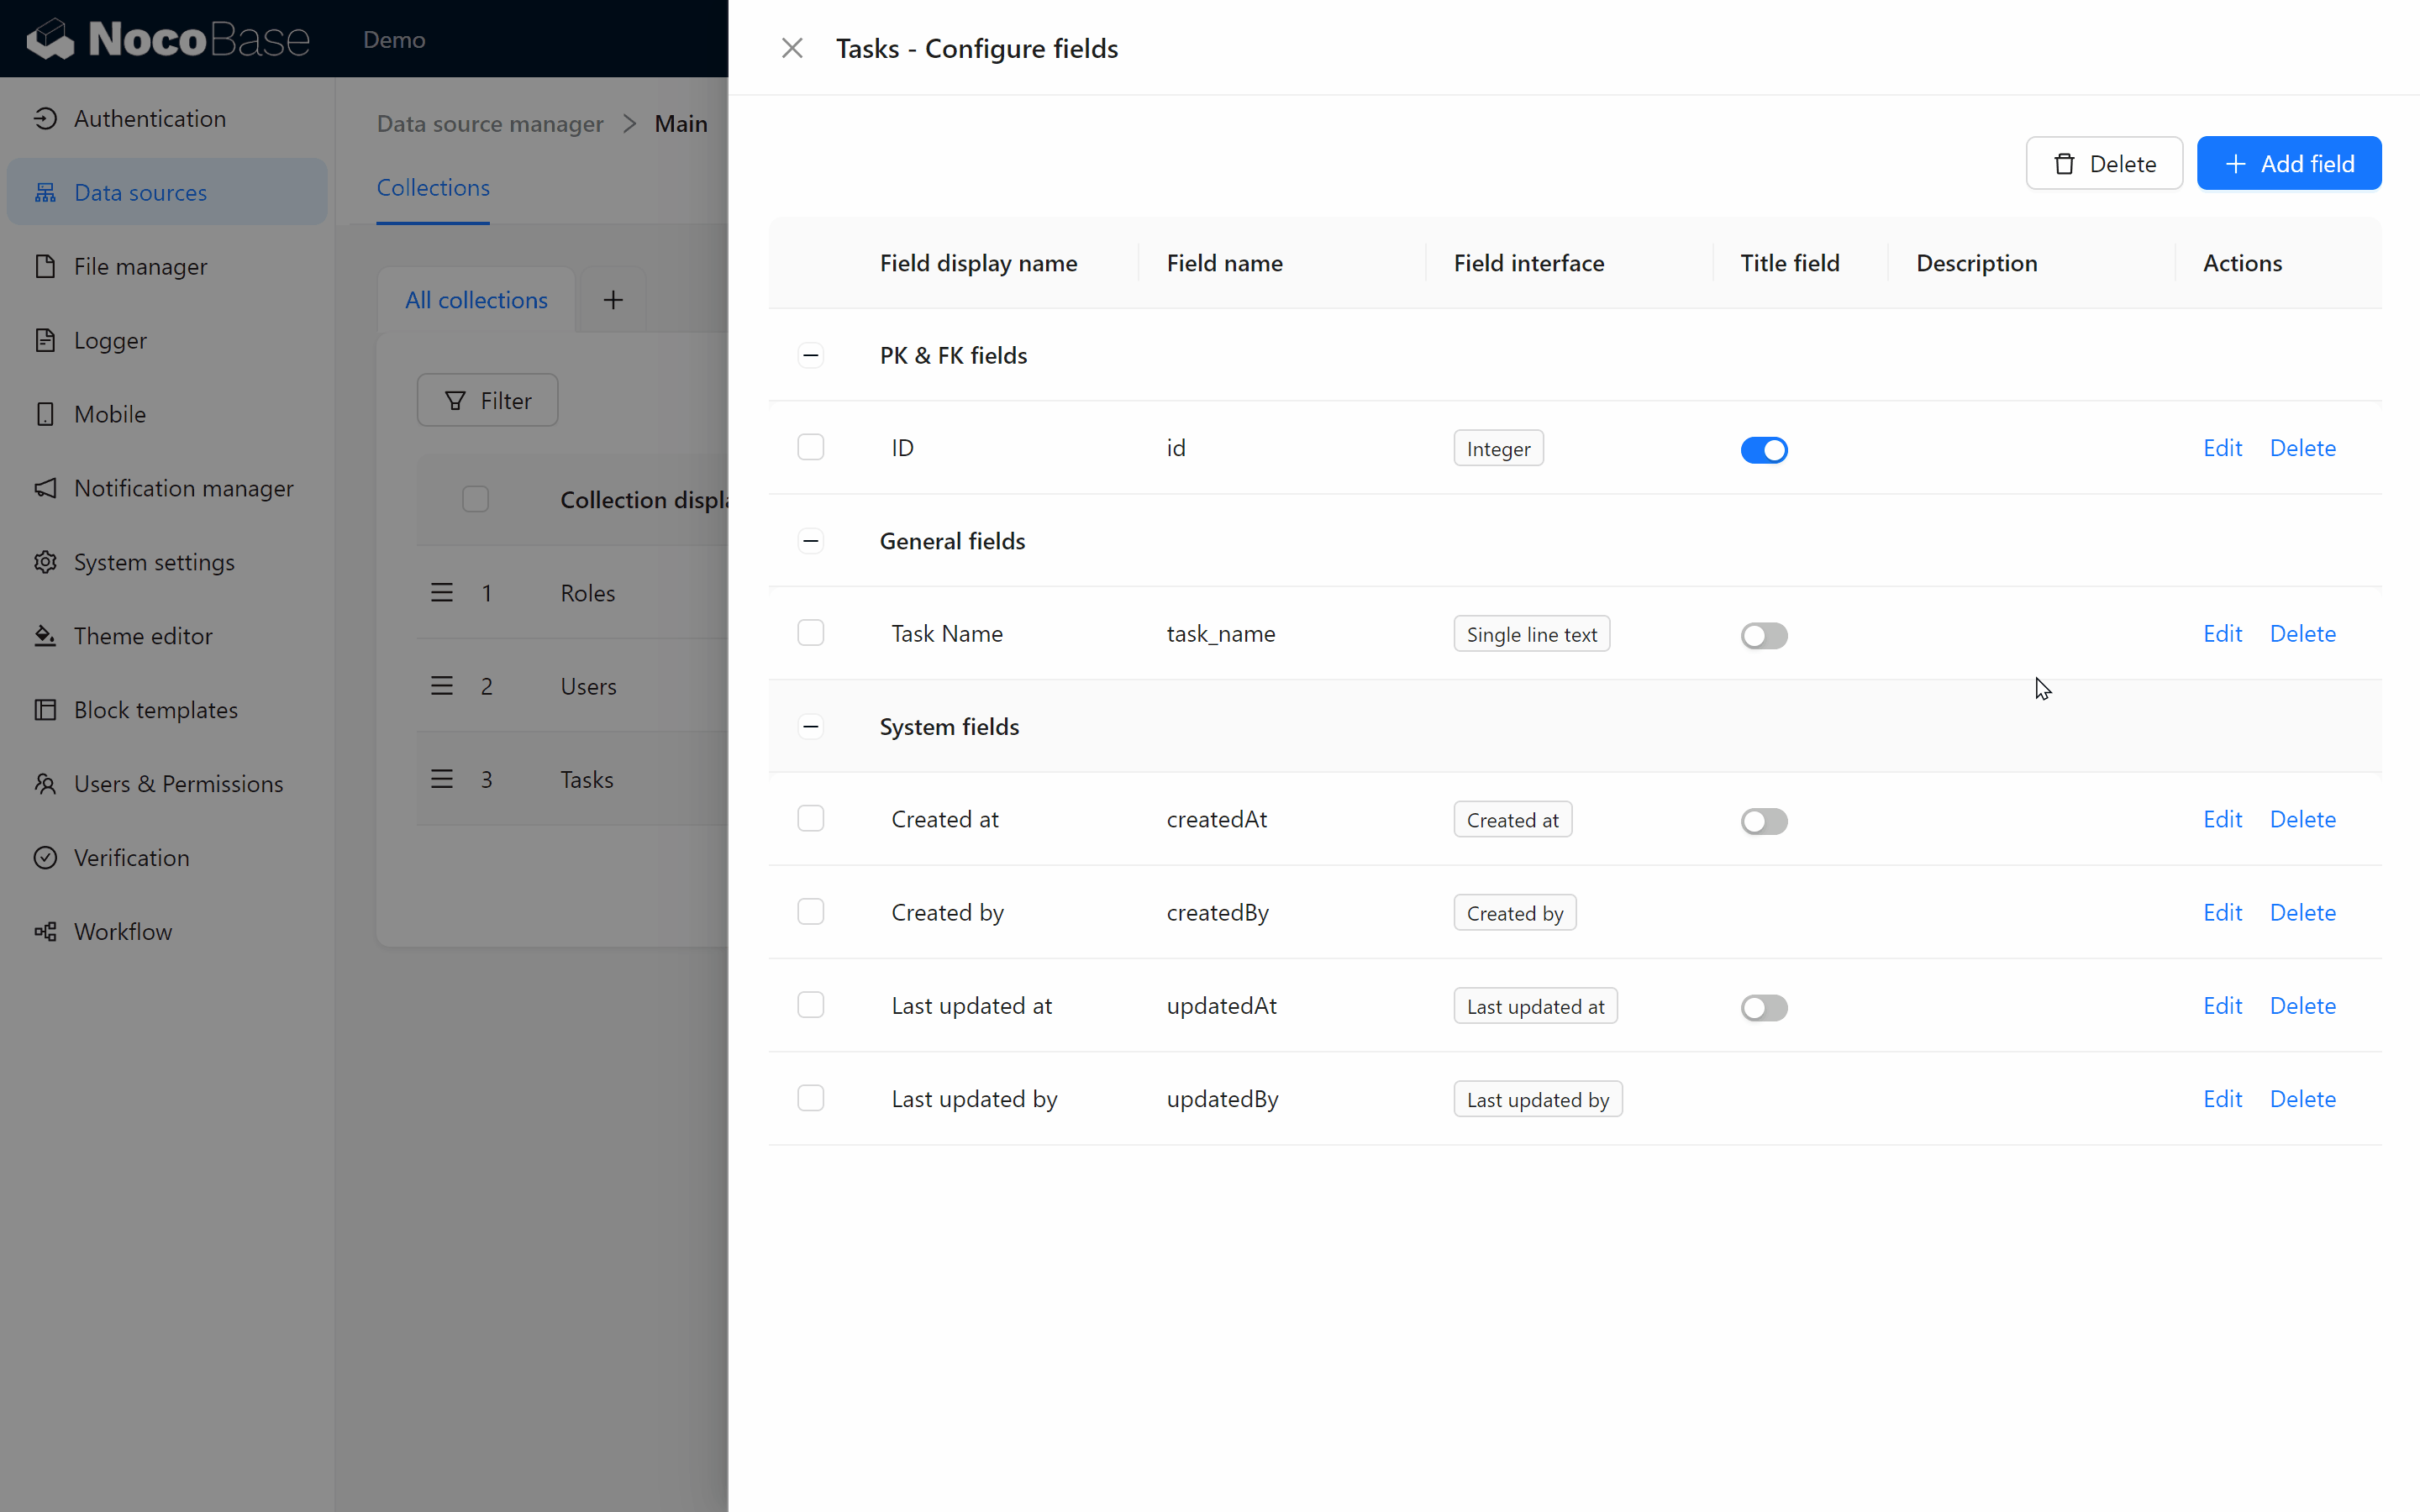
- Task Name: Click “Add Field” > Choose Single line Text > Set the 'Field display name' to “Task Name,” and the field name as “task_name.”
Congratulations! The task collection is now defined, and you have successfully created your own task data structure.
3.4 Creating the Task Management Page
With the task collection ready, let’s present it on a page using a table block.
-
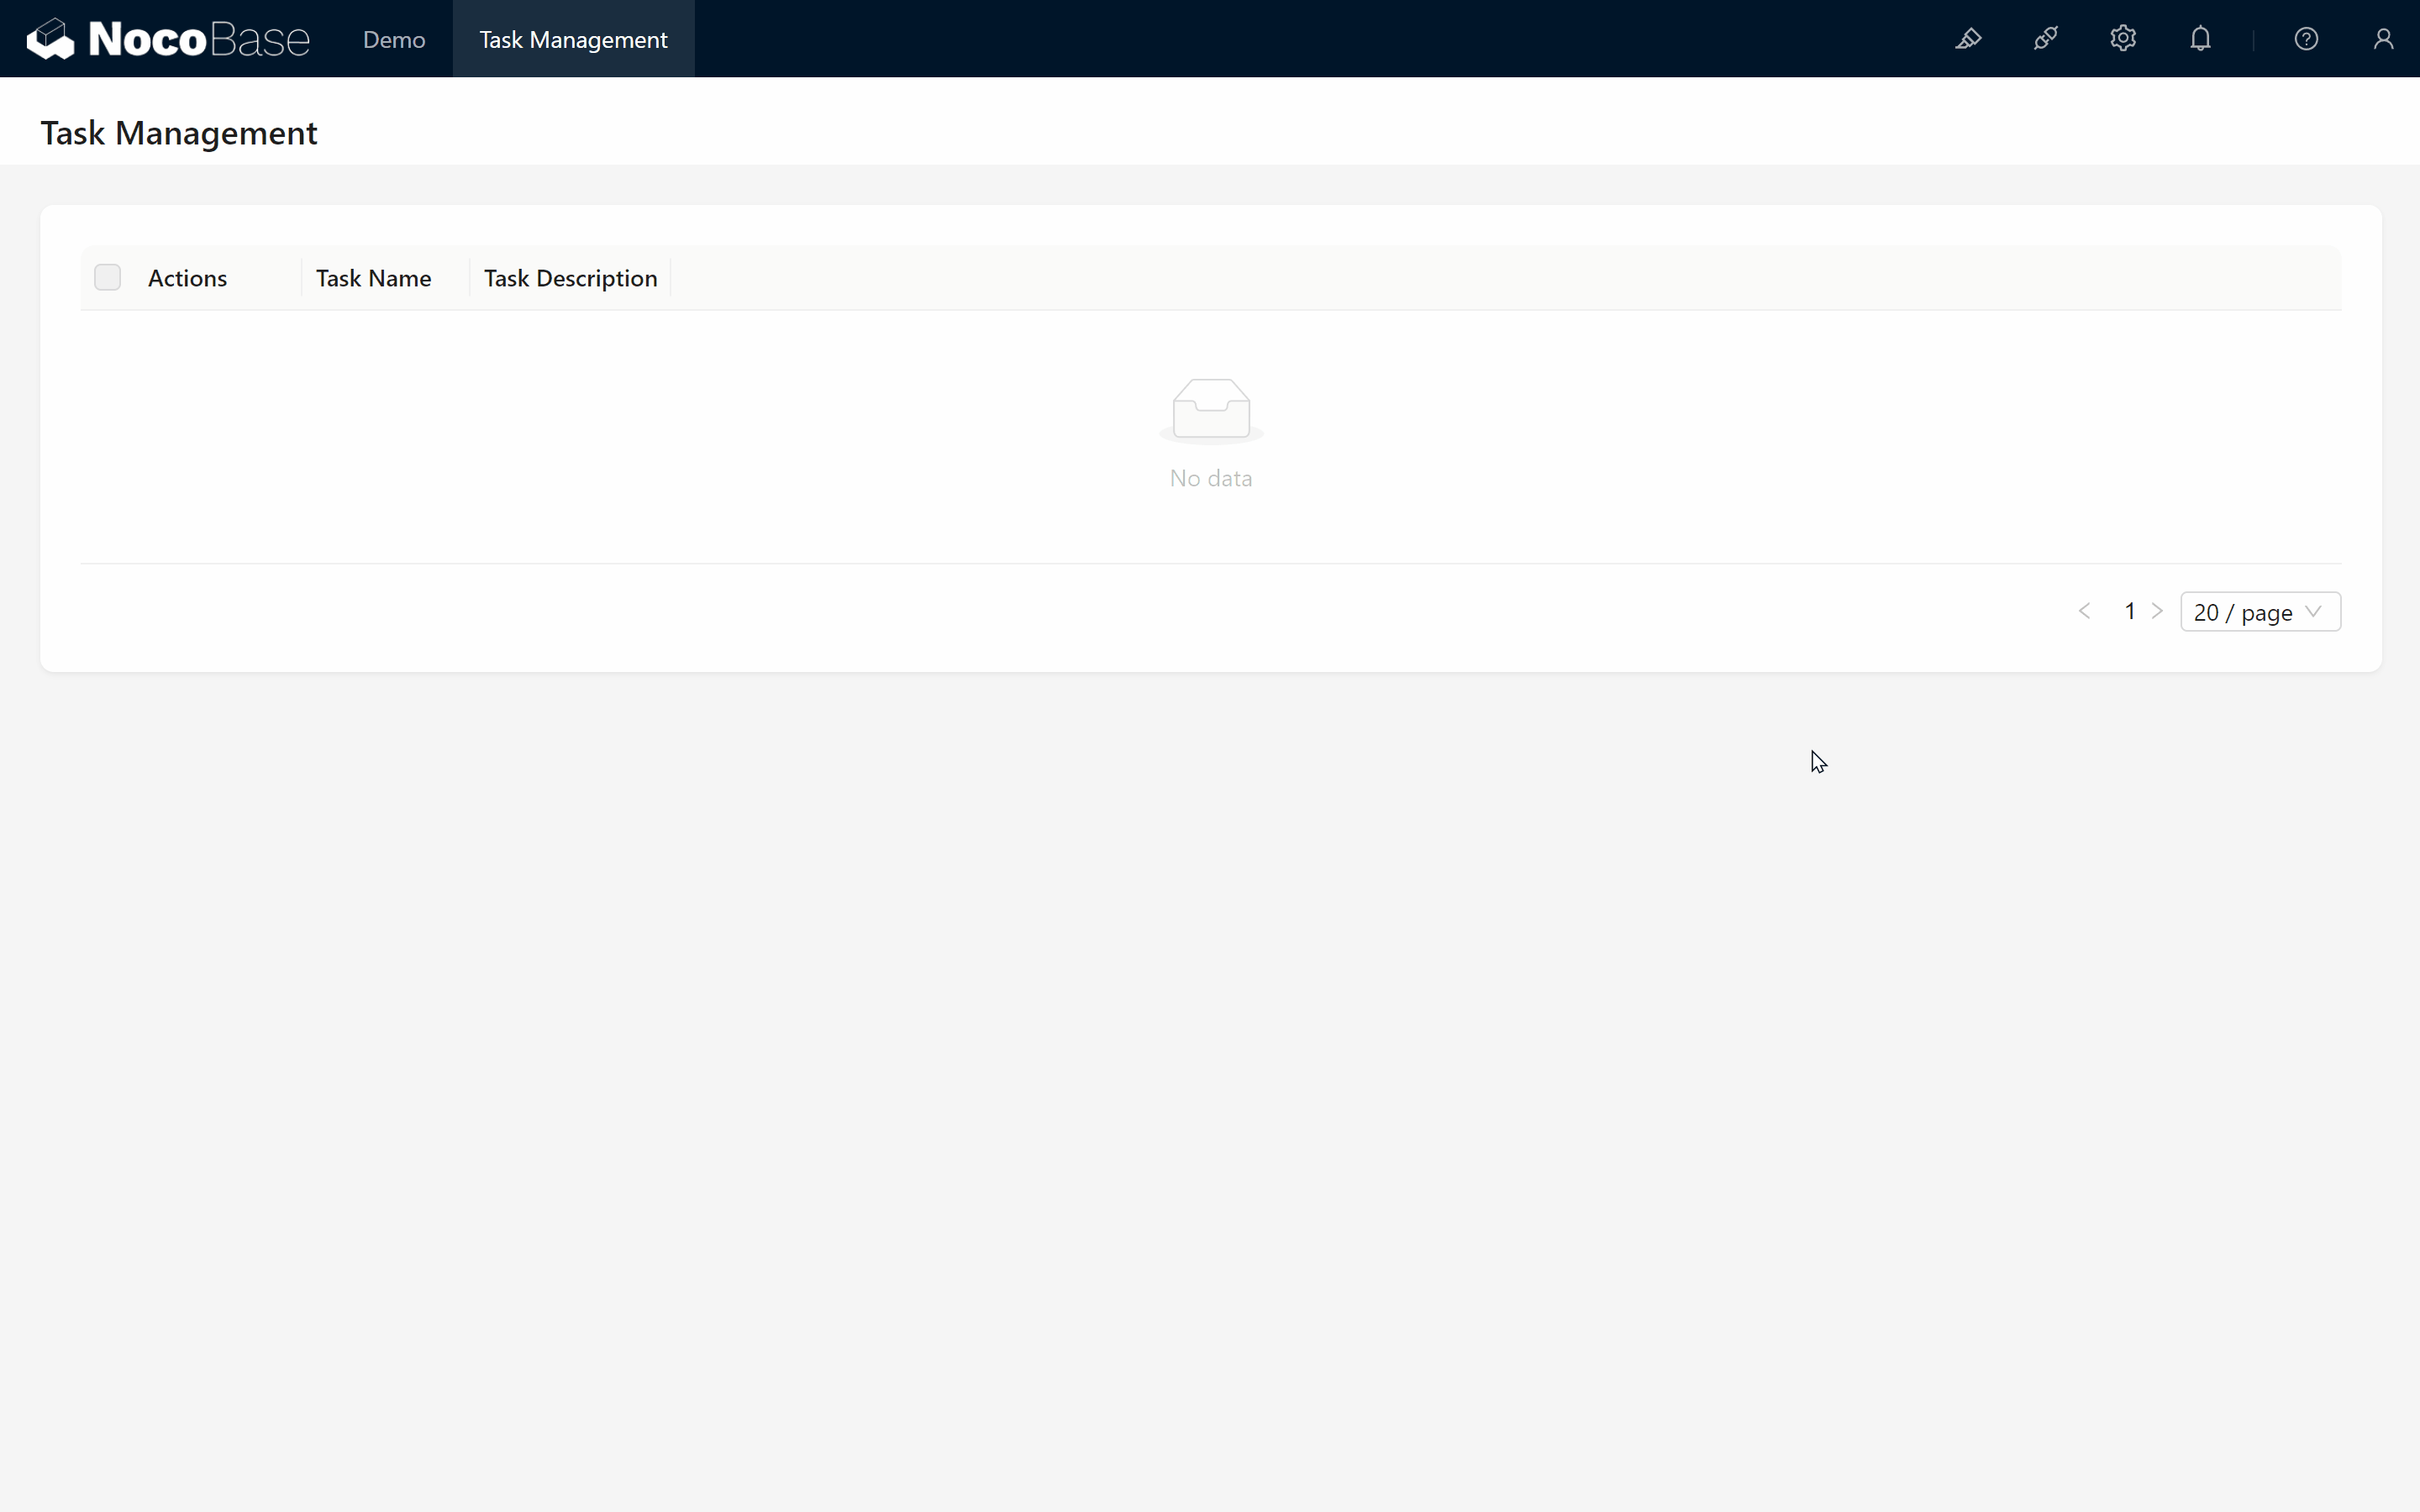
Create Task Management Page:
- Click “New Page,” name it “Task Management.”
- Add a table block to display task data.
-
Add Data:
- “Hmm, why is there no data?” Don’t worry; let’s add some!
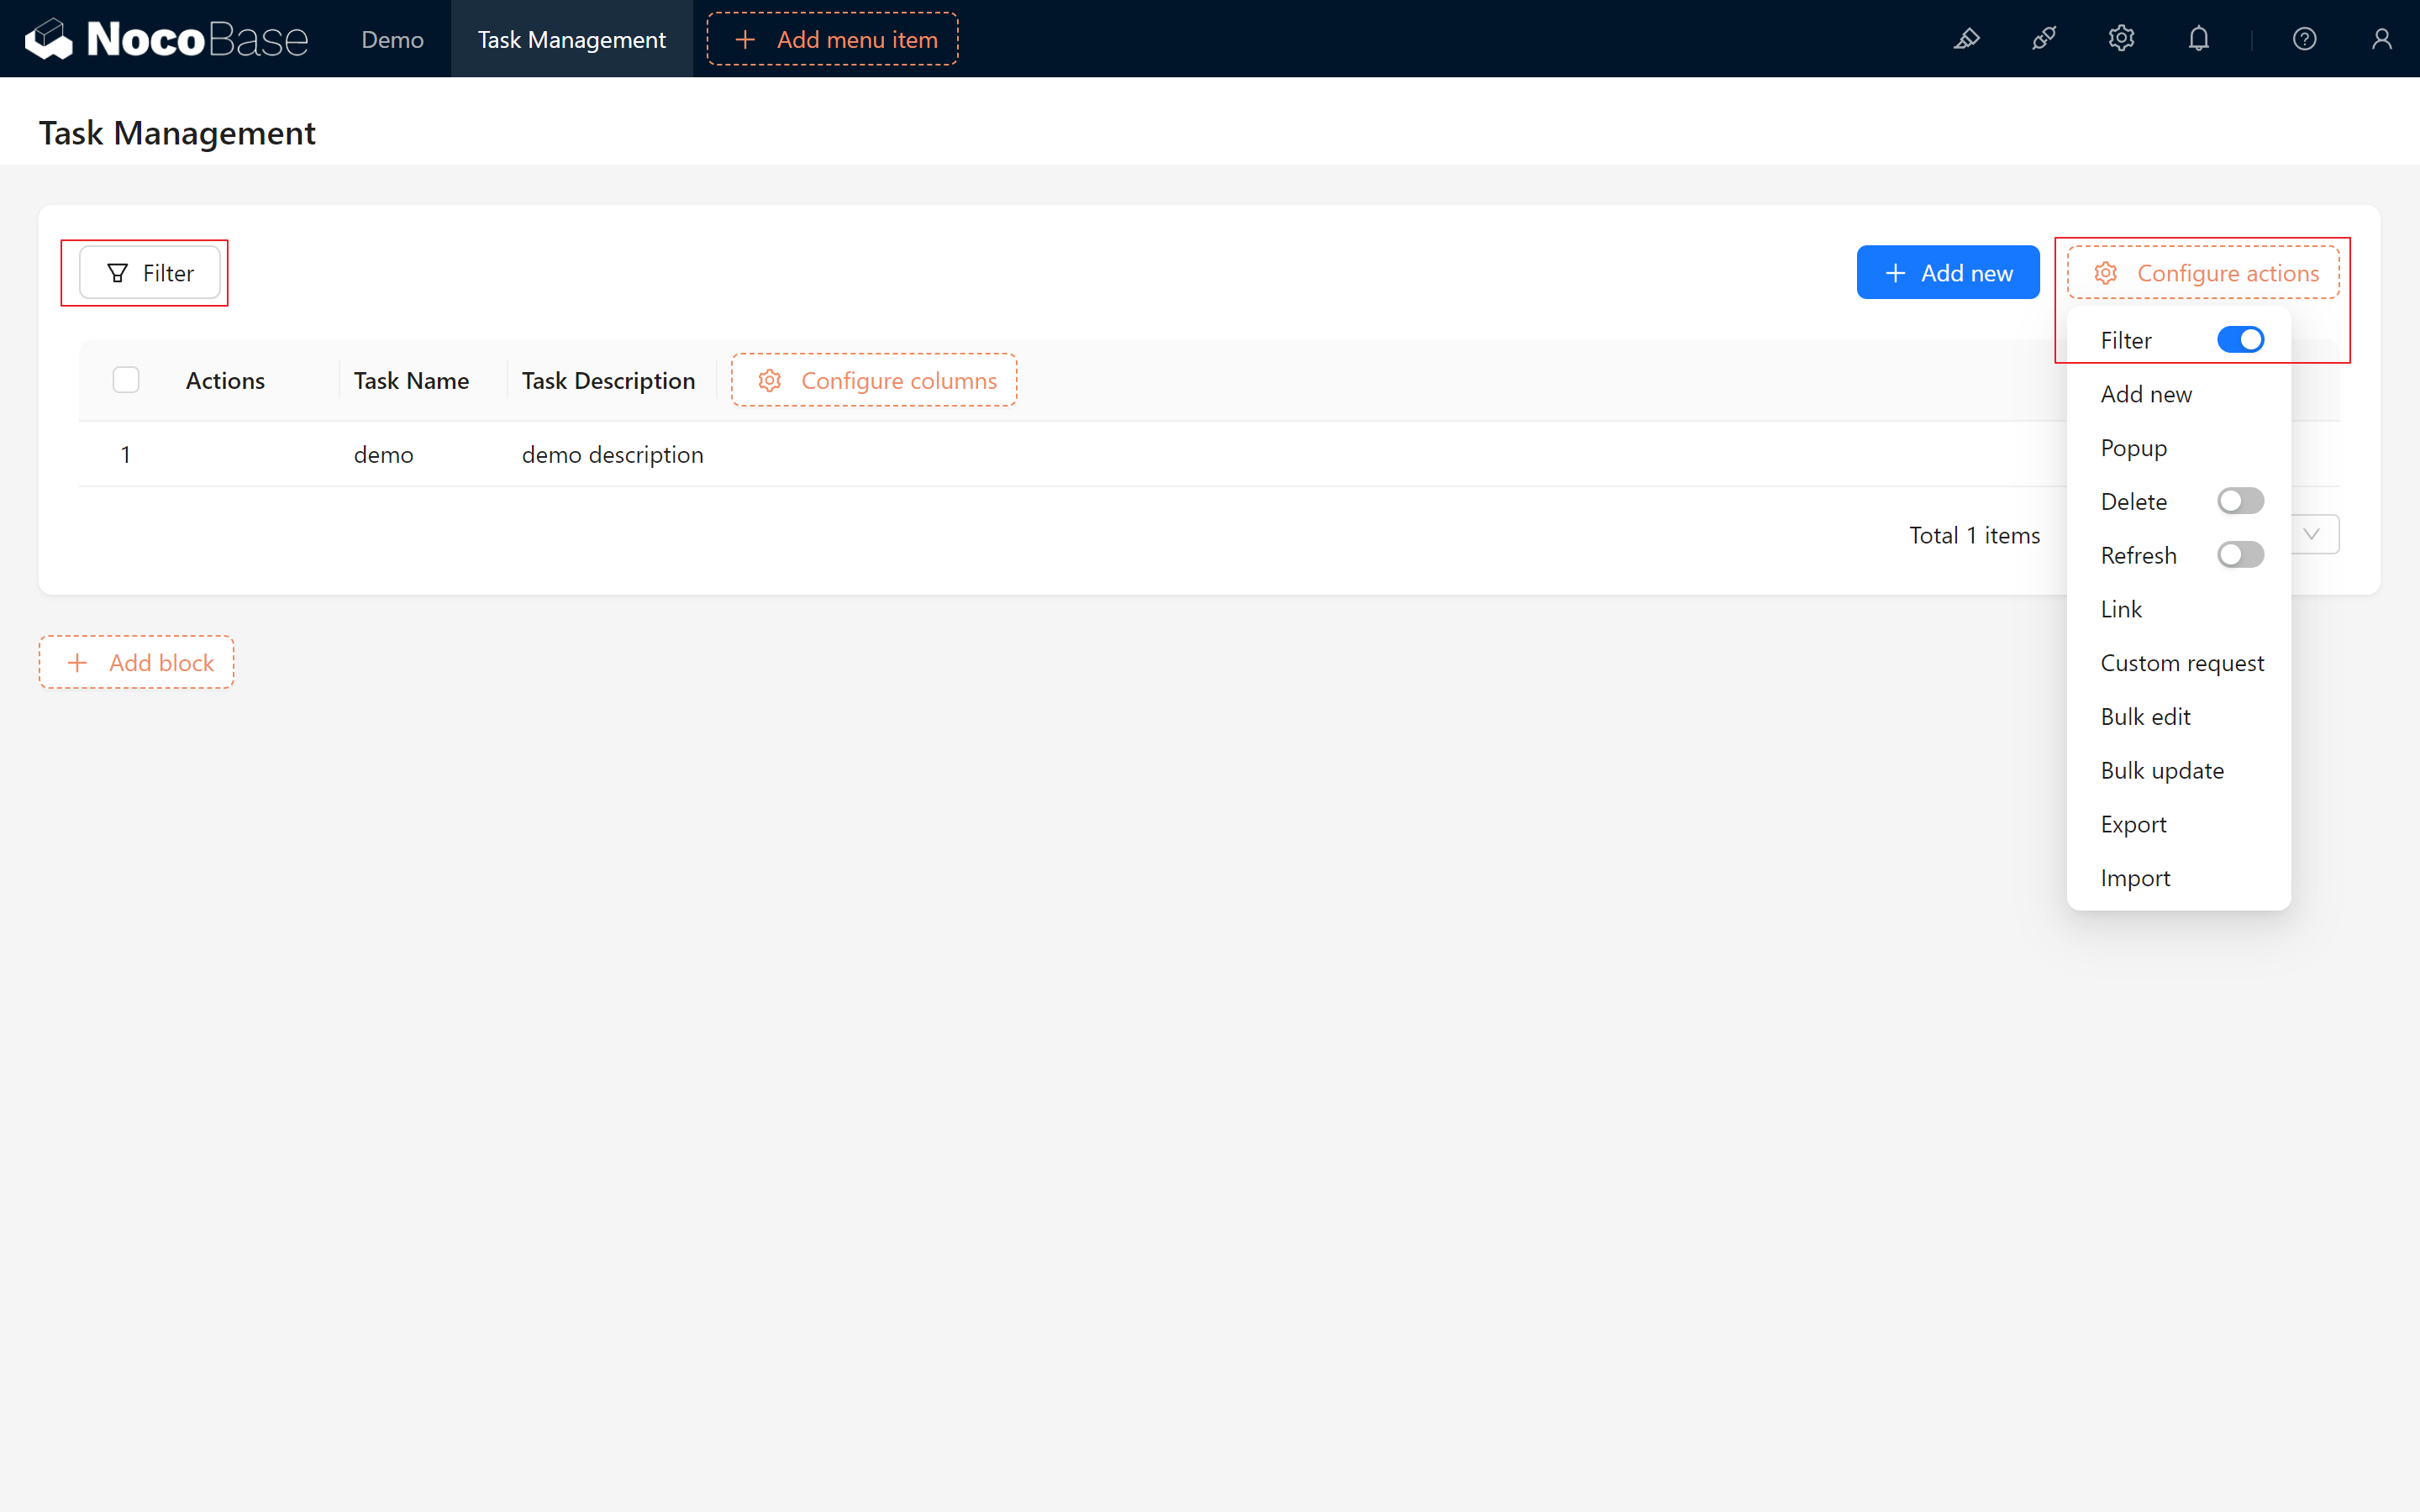
- Click on “Configure Actions” at the top right, select Add action, and you’ll see an empty pop-up container.
- Next, add a form block > select Current Collection.
- Display the Task Name and Description fields, configure the submit action, and complete the form submission!
-
Enter Data:
- Enter a test task, click submit, and success! Task data has been added.
- Enter a test task, click submit, and success! Task data has been added.
Exciting time! You successfully entered the first task data, wasn't that easy?
3.5 Task Filtering – Quickly Locate Tasks
As tasks increase, how can you find specific ones quickly? Here’s where Filter Actions come into play. In NocoBase, you can easily locate tasks by setting filter conditions.
3.5.1 Enabling Filter Actions
First, we need to enable filter actions:
- Hover over “Configure actions” and click the Filter Switch.
3.5.2 Using Filter Conditions
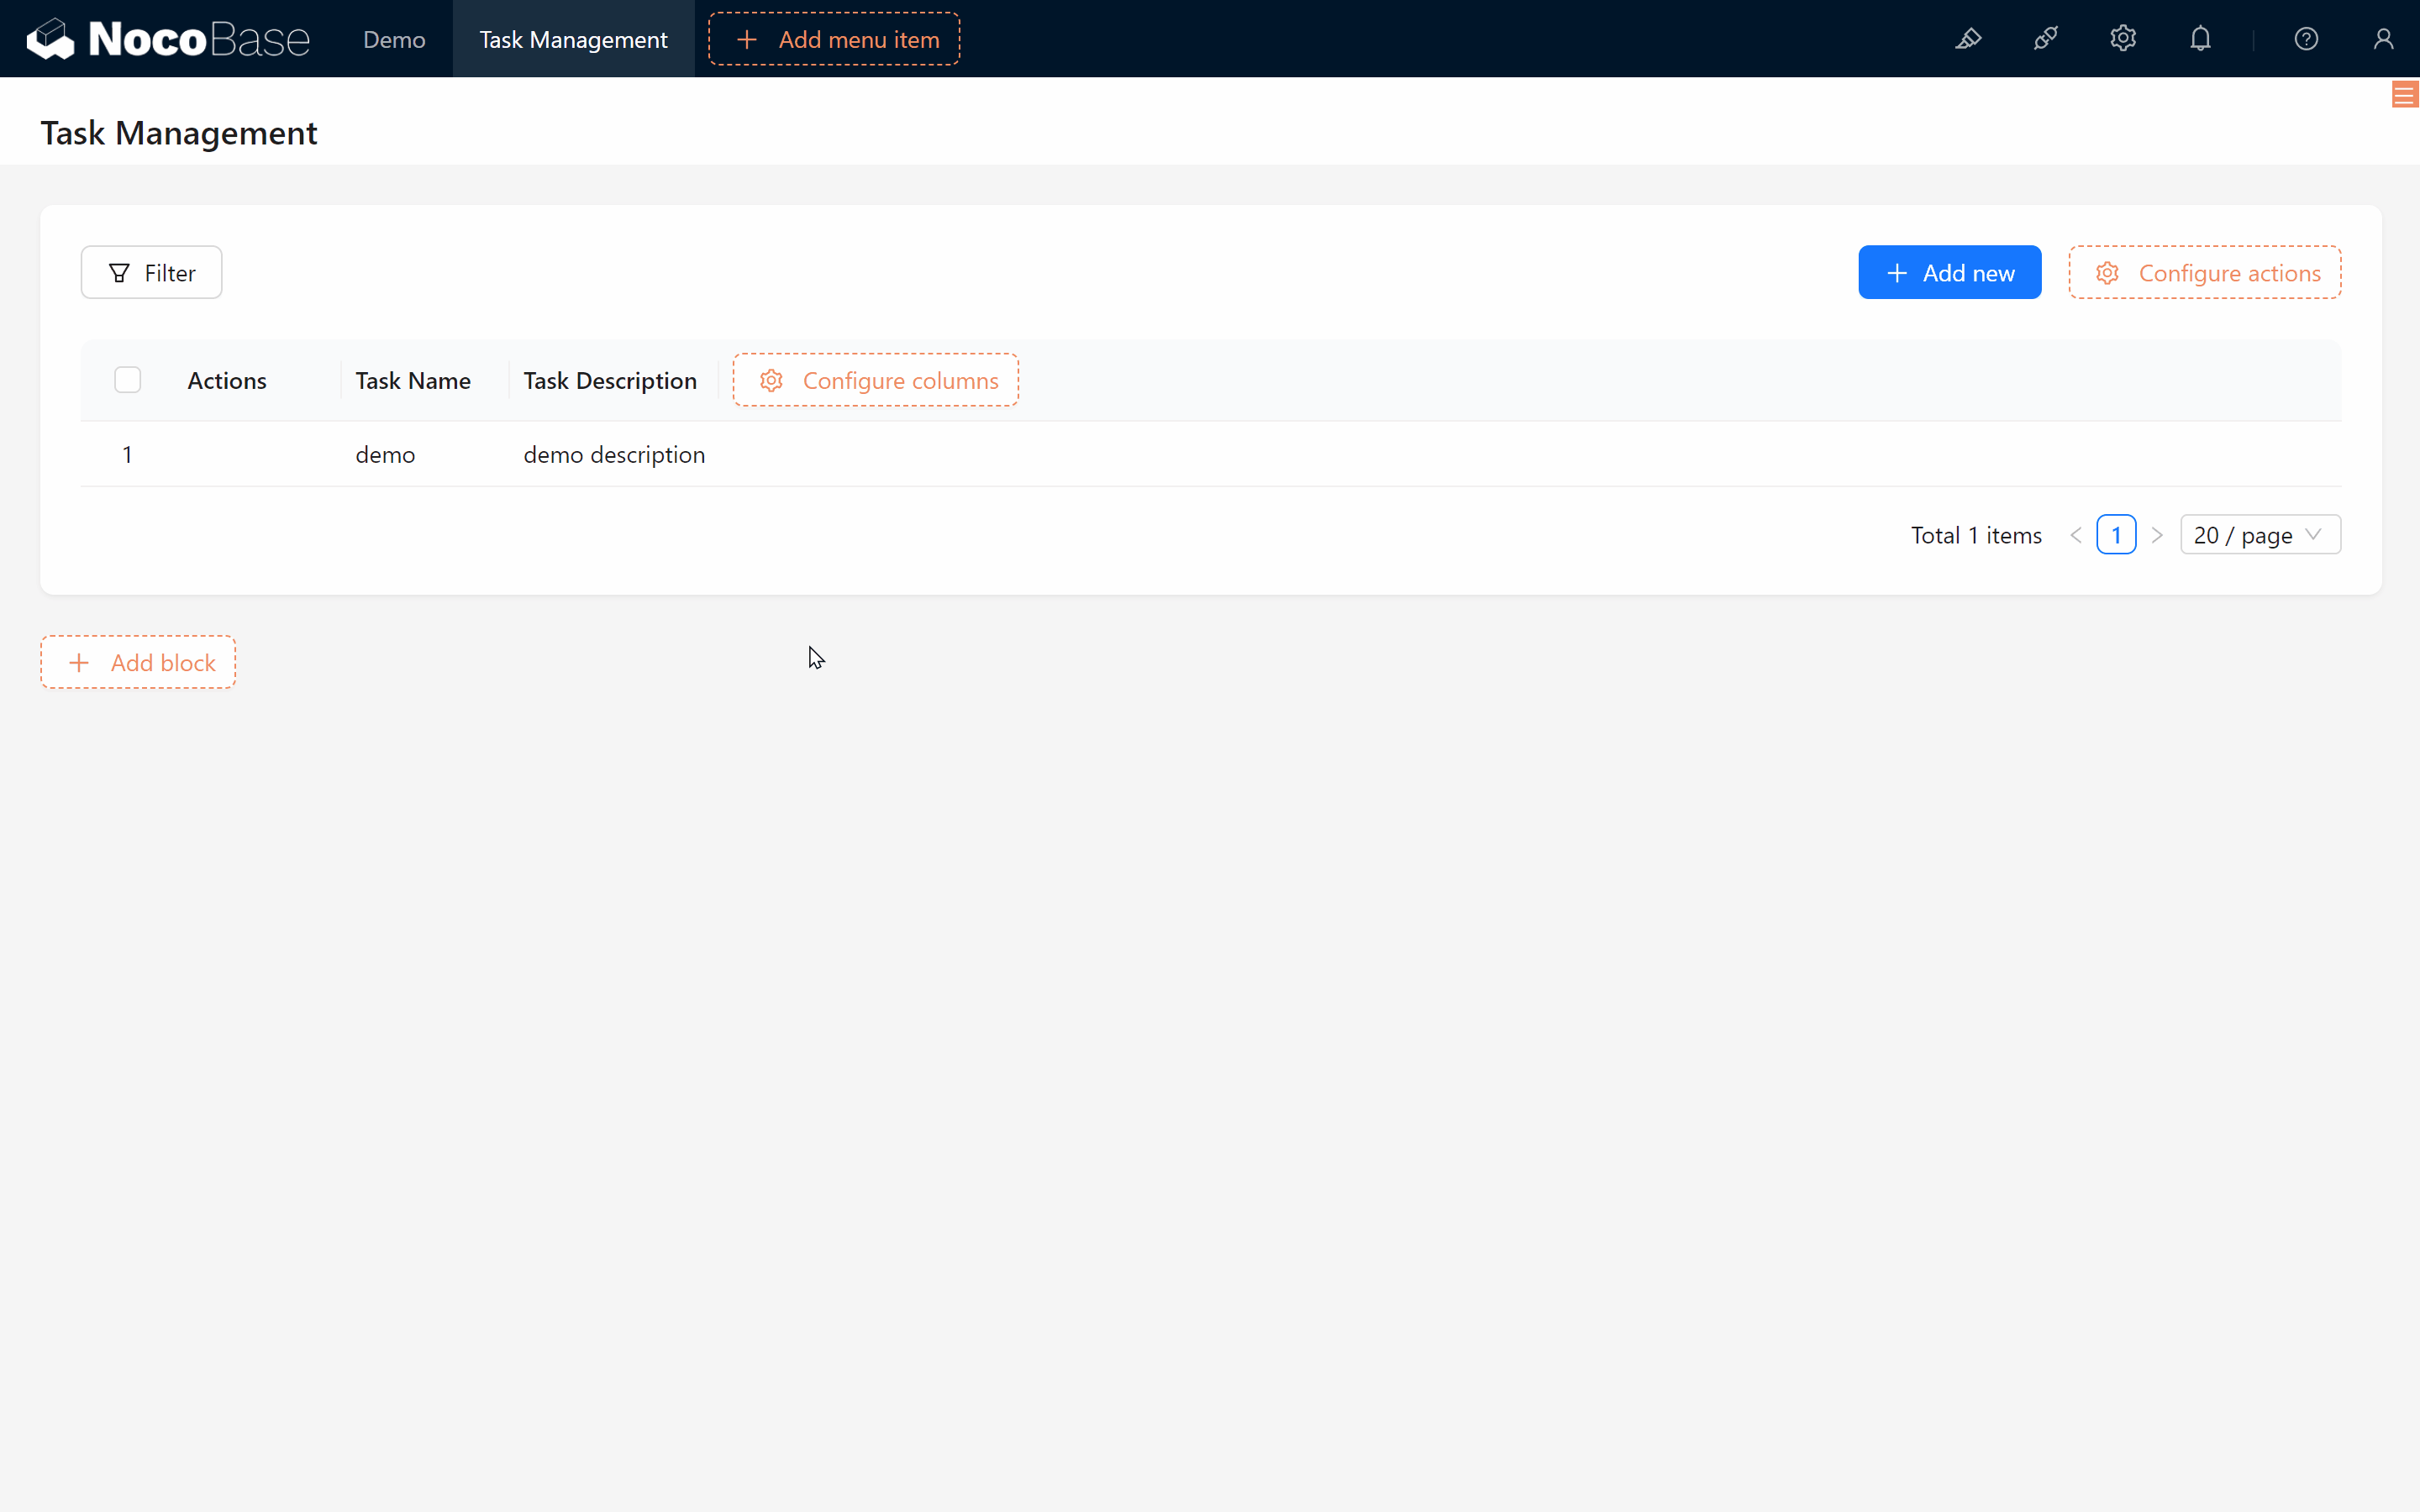
Once enabled, the filter button appears on the page. Now, let’s test the filter by searching for tasks by Task Name:
- In the filter panel, select Task Name, and enter your query.
- Click “Submit” to see if the task list correctly displays the filtered results.
3.5.3 Disabling Filter Actions
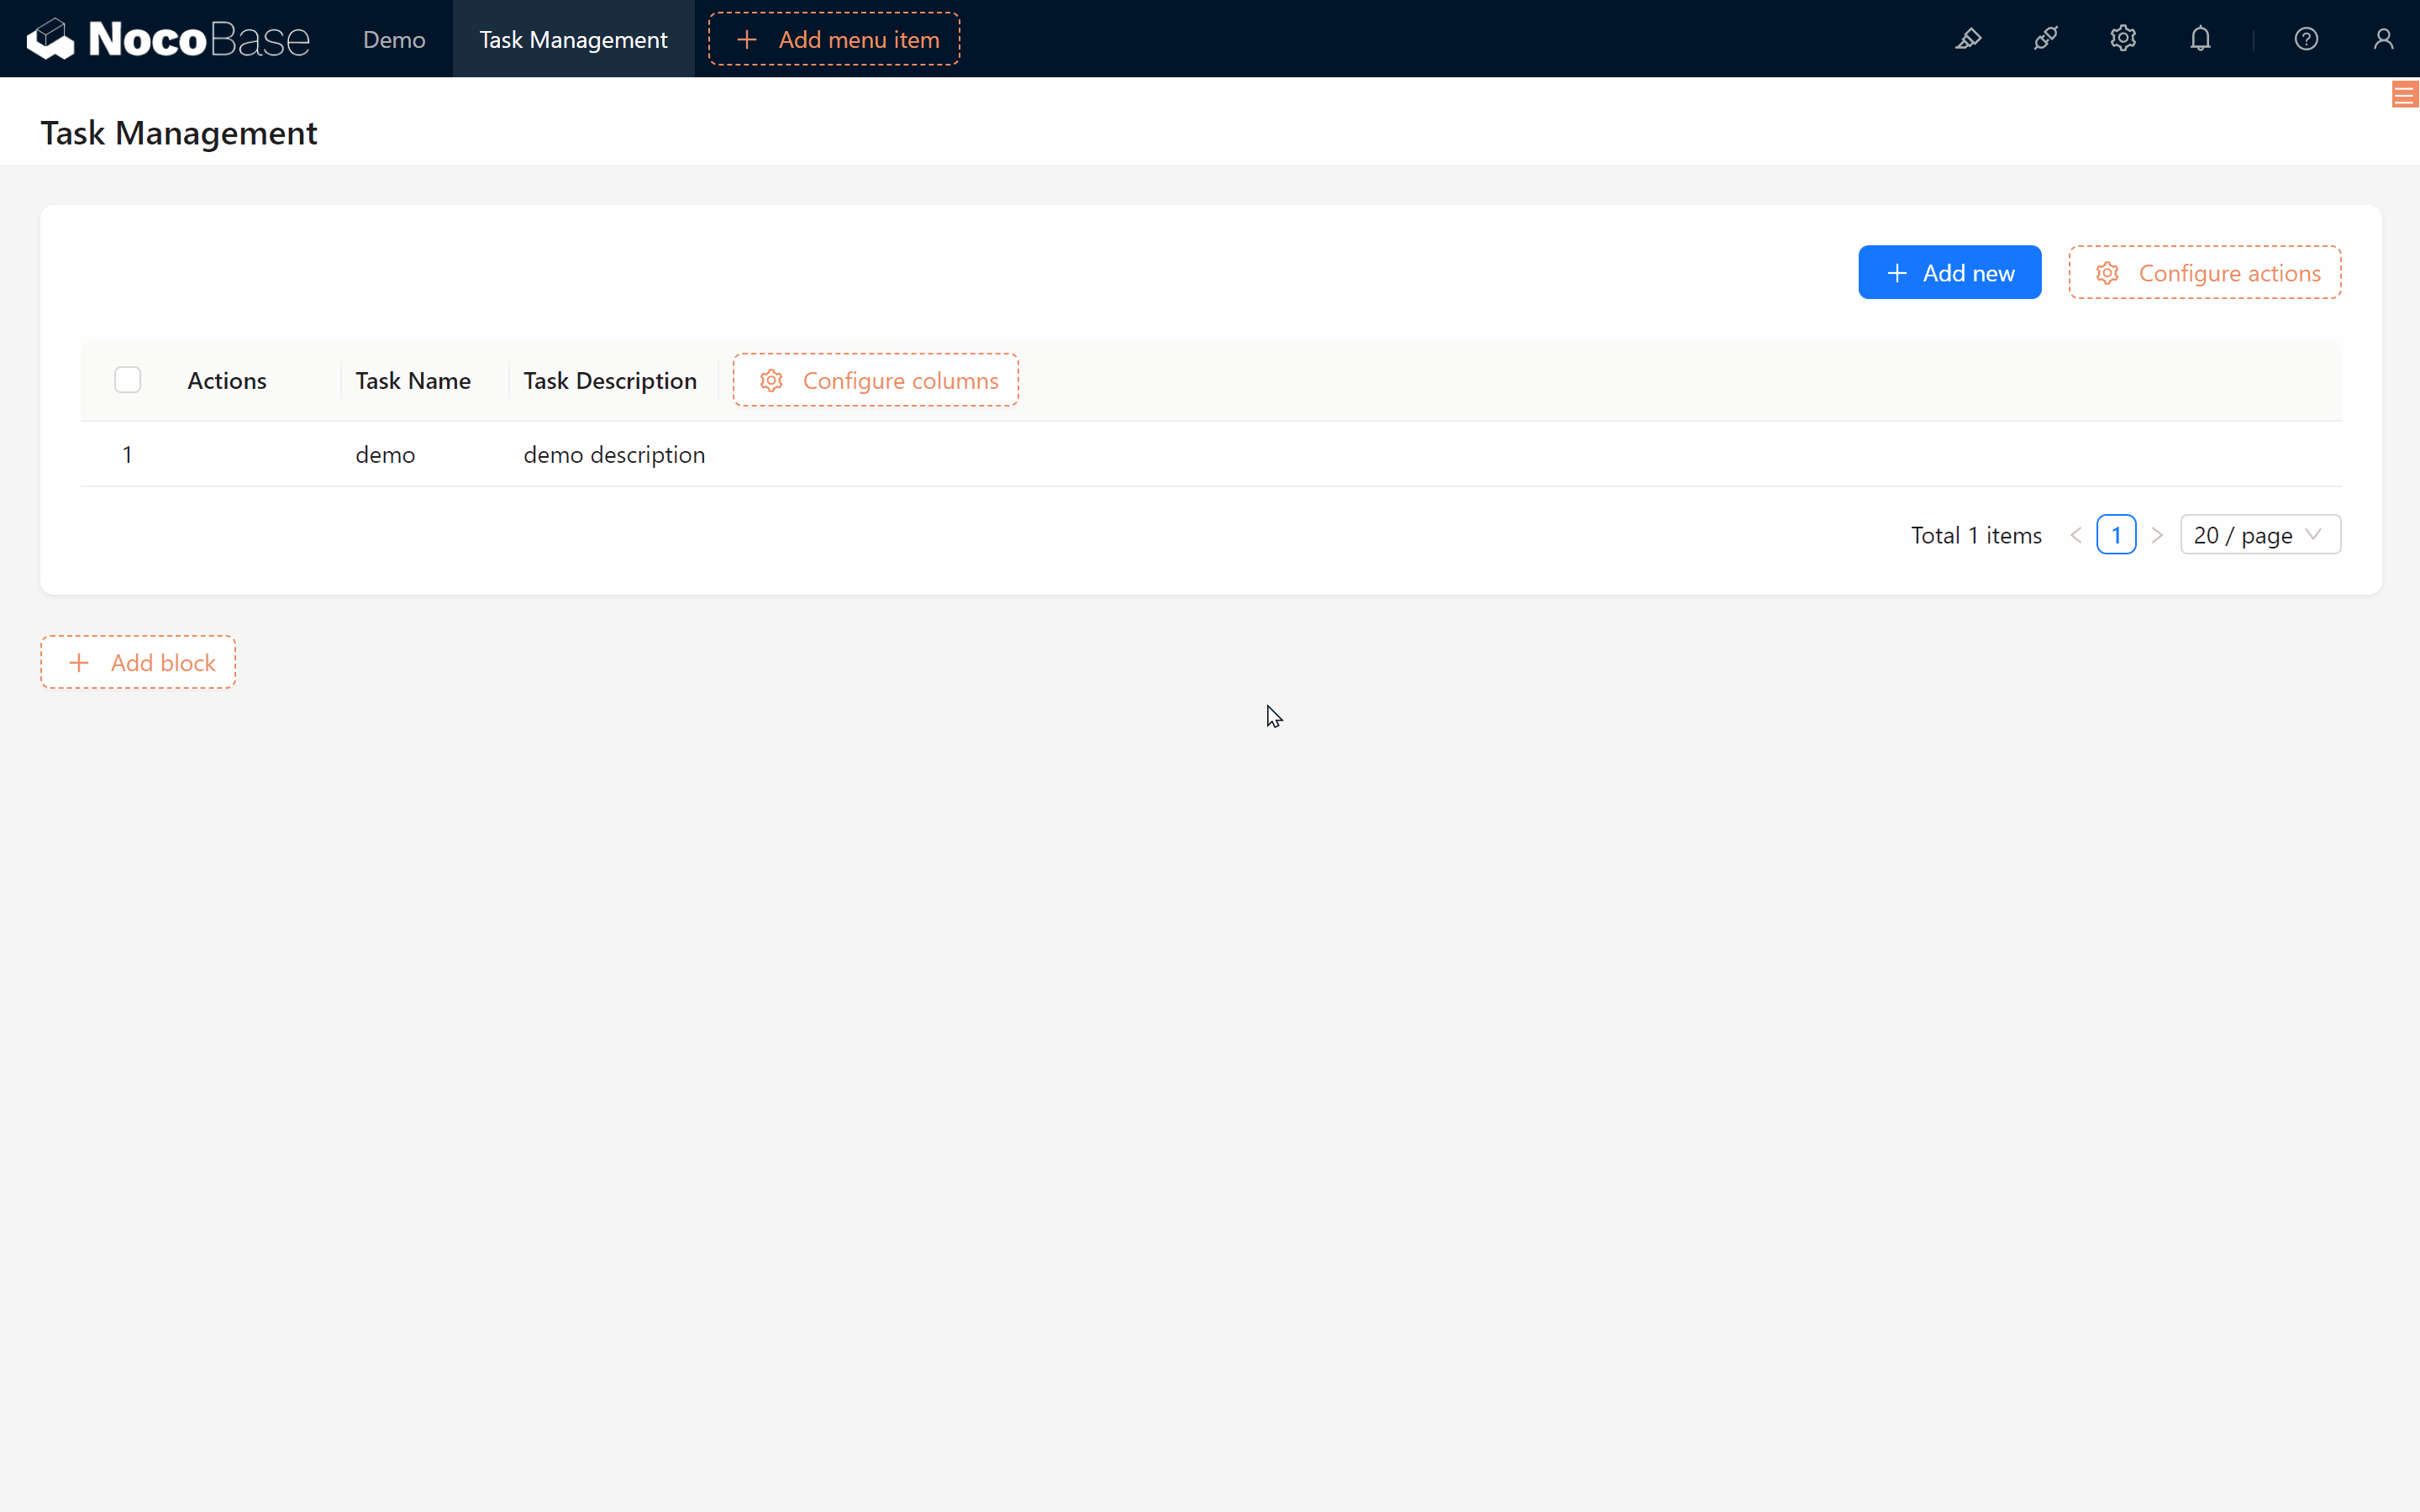
If you no longer need the filter, simply toggle it off:
- Reset Filter Conditions to ensure no active filters, then click “Reset.”
- Toggle Filter off again to hide it.

3.6 Task Editing and Deletion
In addition to adding and viewing tasks, we also need to be able to Edit and Delete them. Since you’re familiar with adding blocks, fields, and actions, these will be straightforward:
-
Edit Task:
- Add an Edit action in the task list configuration. Click Edit > Add Form (Edit) Block > Choose fields to edit.
-
Delete Task:
- Similarly, enable the Delete action in the configuration, and the delete button appears. Click Delete > Confirm to remove the task from the list.
- Similarly, enable the Delete action in the configuration, and the delete button appears. Click Delete > Confirm to remove the task from the list.
Fantastic! You’ve now implemented Create, Read, Update, and Delete (CRUD) functionalities for tasks.
Challenge Task
As you become more proficient with NocoBase, here’s a little challenge: add a task status and allow attachments.
Hints:
- Add to your Task Collection:
- Status field, a dropdown with options: Not Started, In Progress, Pending Review, Completed, Cancelled, Archived.
- Attachment field.
-
Display the Status and Attachment fields in the Task Collection and the Add and Edit forms.
Have any ideas yet? Don’t worry, the next chapter (Chapter 4: Task and Comment Plugins) will reveal the answer. Let’s stay tuned!
Continue Exploring
Don’t hesitate to consult the NocoBase Documentation or join the NocoBase Community if you have any questions!