

Chapter 1: Getting Started — Build a Working System in 5 Minutes
Welcome to the NocoBase 2.0 beginner tutorial!
In this series, we'll build a minimal IT HelpDesk system from scratch using NocoBase. The entire system needs only 2 data tables and zero lines of code — yet it will support ticket submission, category management, change tracking, access control, and even a data dashboard.
Ready? Let's go!
1.1 What Is NocoBase
Have you ever been in one of these situations?
- Your team needs an internal system, but off-the-shelf software never quite fits
- Hiring developers for a custom build is too expensive and too slow, and requirements keep changing
- You're using spreadsheets as a workaround, but the data keeps getting messier
NocoBase was built to solve this problem. It's an open-source, highly extensible AI-powered no-code development platform. You can build your own business systems through configuration and drag-and-drop — no coding required.
Compared to other no-code tools, NocoBase has a few core principles:
- Data model driven: Define your data structure first, then use blocks to display data, then actions to process it — UI and data are fully decoupled
- WYSIWYG: Pages are your canvas. Click anywhere to edit, as intuitive as building a Notion page
- Everything is a plugin: All features are plugins, similar to WordPress — install what you need
- AI built into your workflow: Built-in AI employees that can perform analysis, translation, data entry, and more
- Open source + self-hosted: Core code is fully open source, all data stays on your own server
1.2 Installing NocoBase
NocoBase supports multiple installation methods. We'll go with the simplest: Docker.
Prerequisites
You need Docker and Docker Compose installed on your machine, with the Docker service running. Windows, Mac, and Linux are all supported.
Step 1: Download the Configuration File
Open your terminal (PowerShell on Windows, Terminal on Mac) and run:
Other databases? Replace
postgresin the URL withmysqlormariadb. You can also choose different versions:latest(stable),beta(testing), oralpha(development). See the official installation docs for details.
Database Download URL PostgreSQL (recommended) https://static-docs.nocobase.com/docker-compose/en/beta-postgres.ymlMySQL https://static-docs.nocobase.com/docker-compose/en/beta-mysql.ymlMariaDB https://static-docs.nocobase.com/docker-compose/en/beta-mariadb.yml
Step 2: Start It Up
When you see this line in the output, you're good to go:

Step 3: Log In
Open your browser and go to http://localhost:13000. Log in with the default credentials:
- Email:
admin@nocobase.com - Password:
admin123
Remember to change the default password after your first login.
1.3 Getting to Know the Interface
After logging in, you'll see a clean initial interface. Don't worry about it being empty — let's first understand two key concepts.
UI Editor Mode vs Usage Mode
NocoBase has two interface modes:
| Mode | Description | Who Uses It |
|---|---|---|
| Usage Mode | The everyday interface for regular users | Everyone |
| UI Editor Mode | The design mode for building and tweaking the interface | Admins |
To switch: click the "UI Editor" button in the top-right corner (a highlighter pen icon).
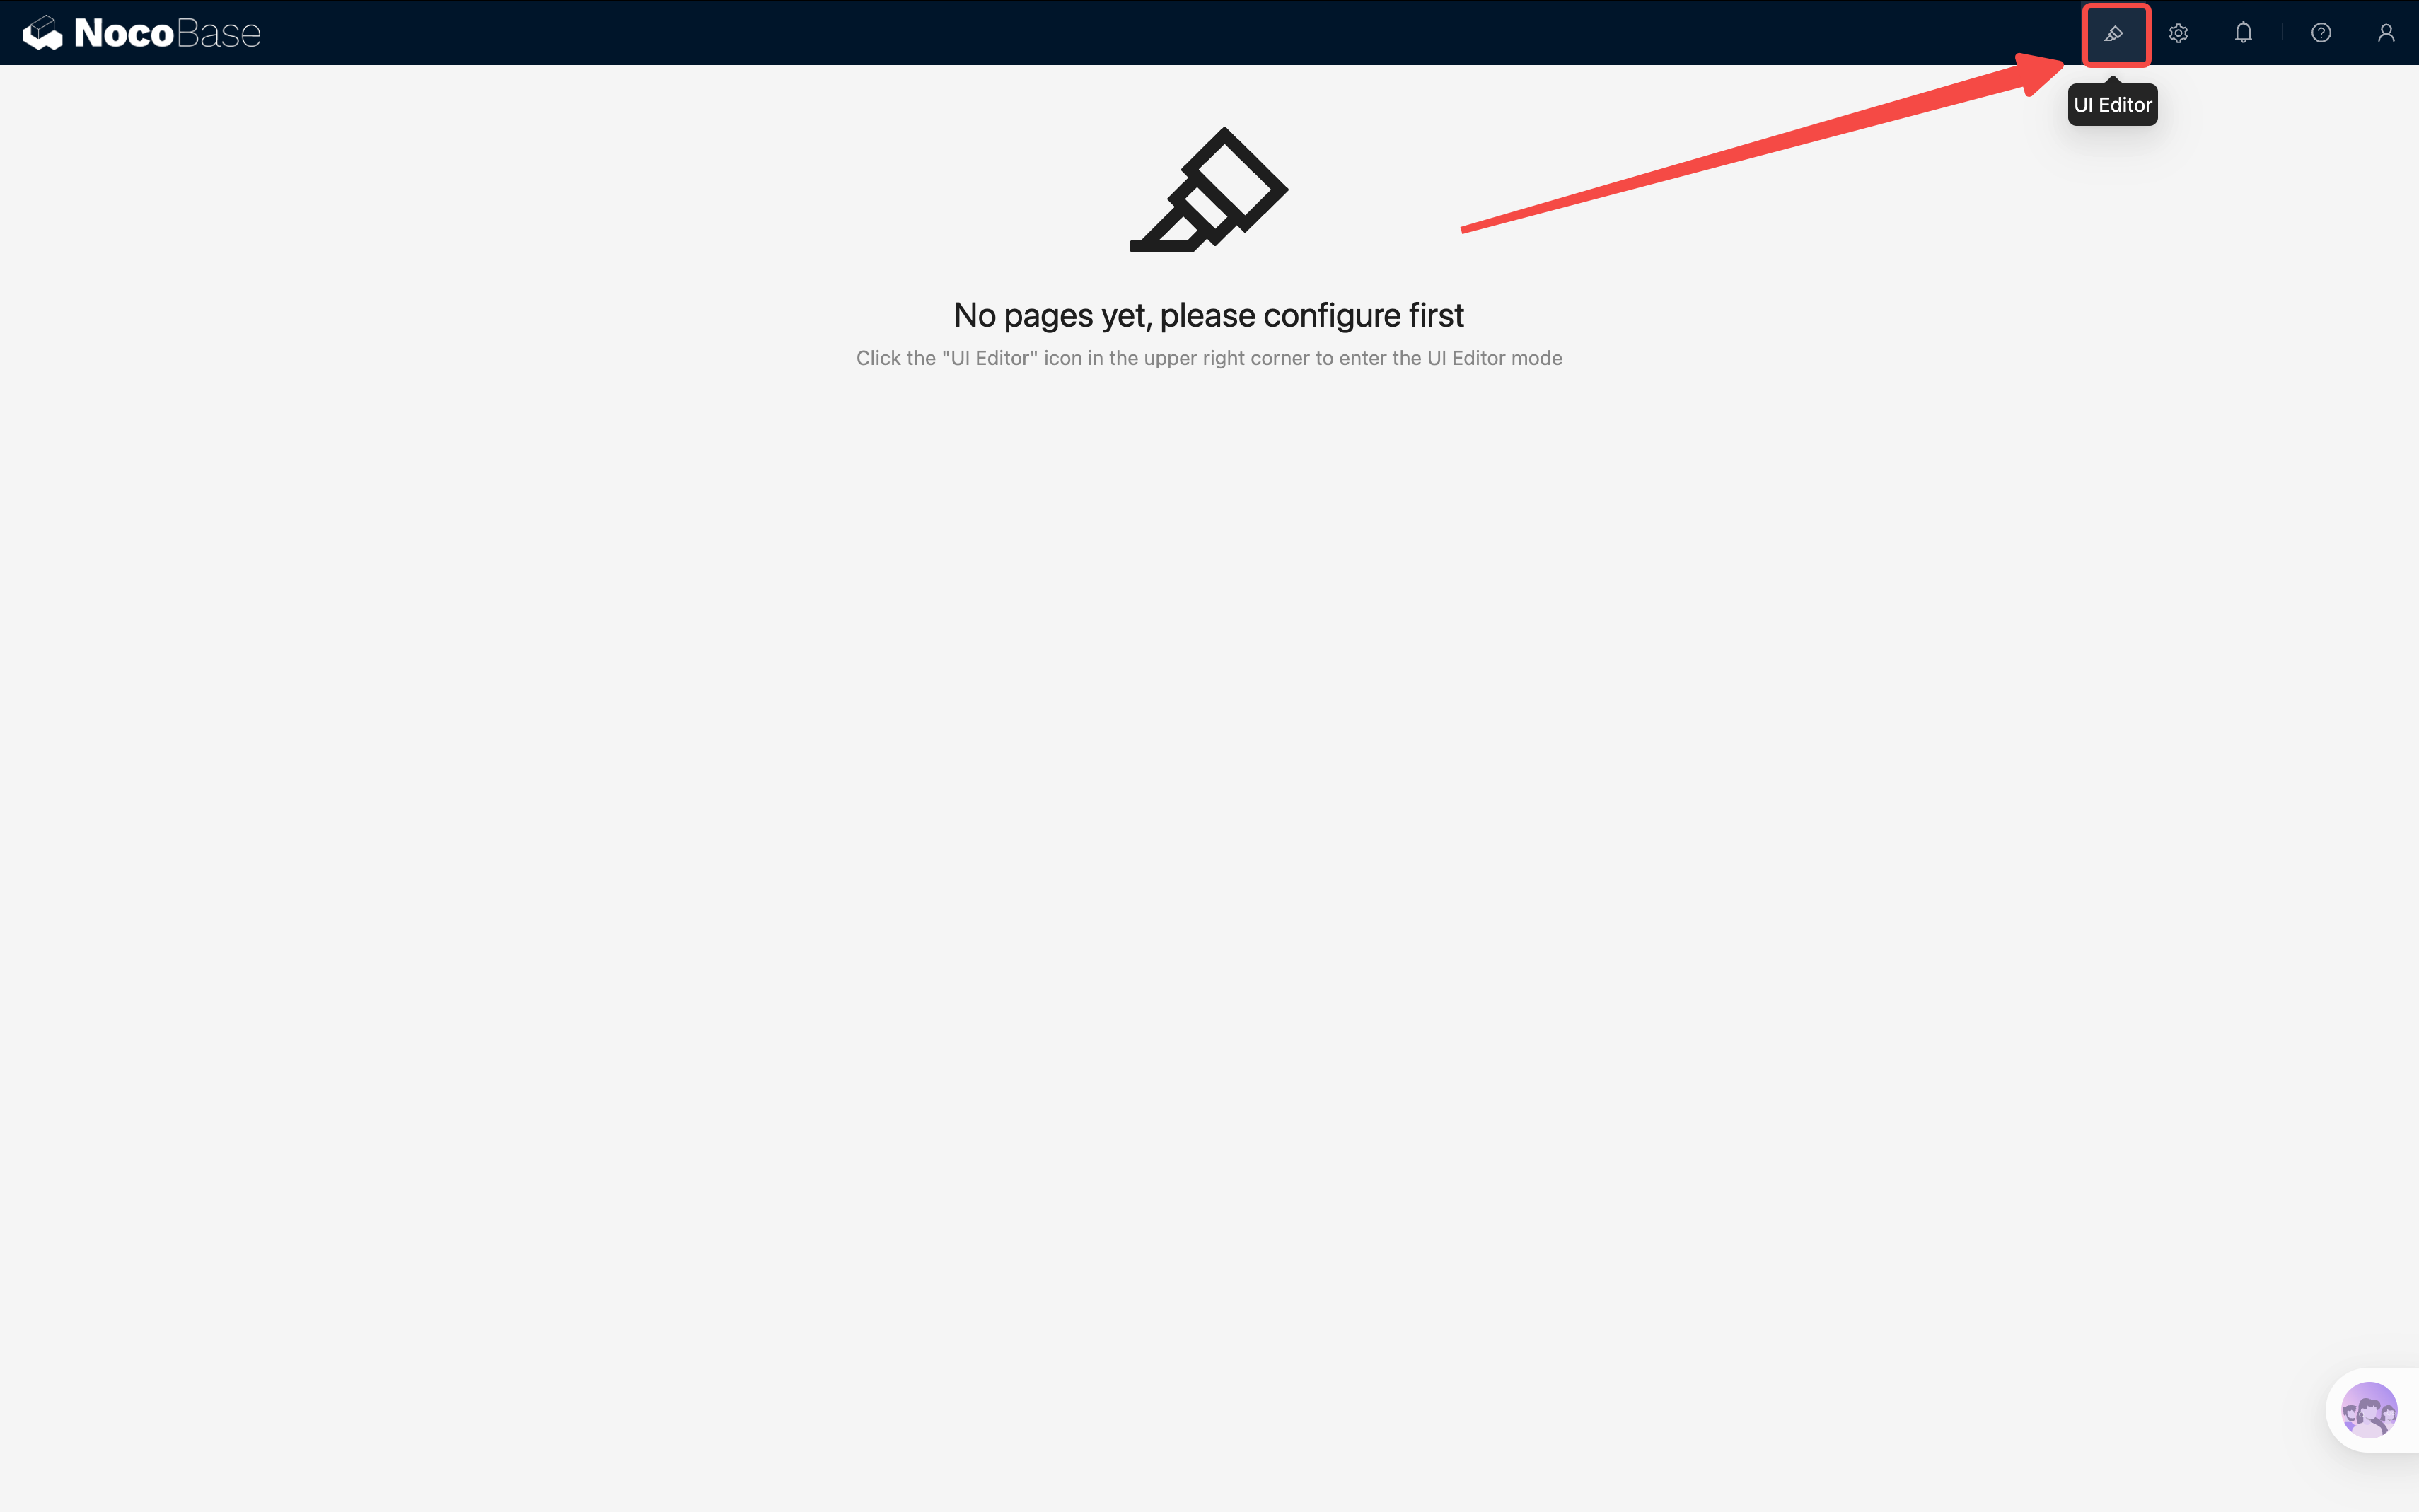
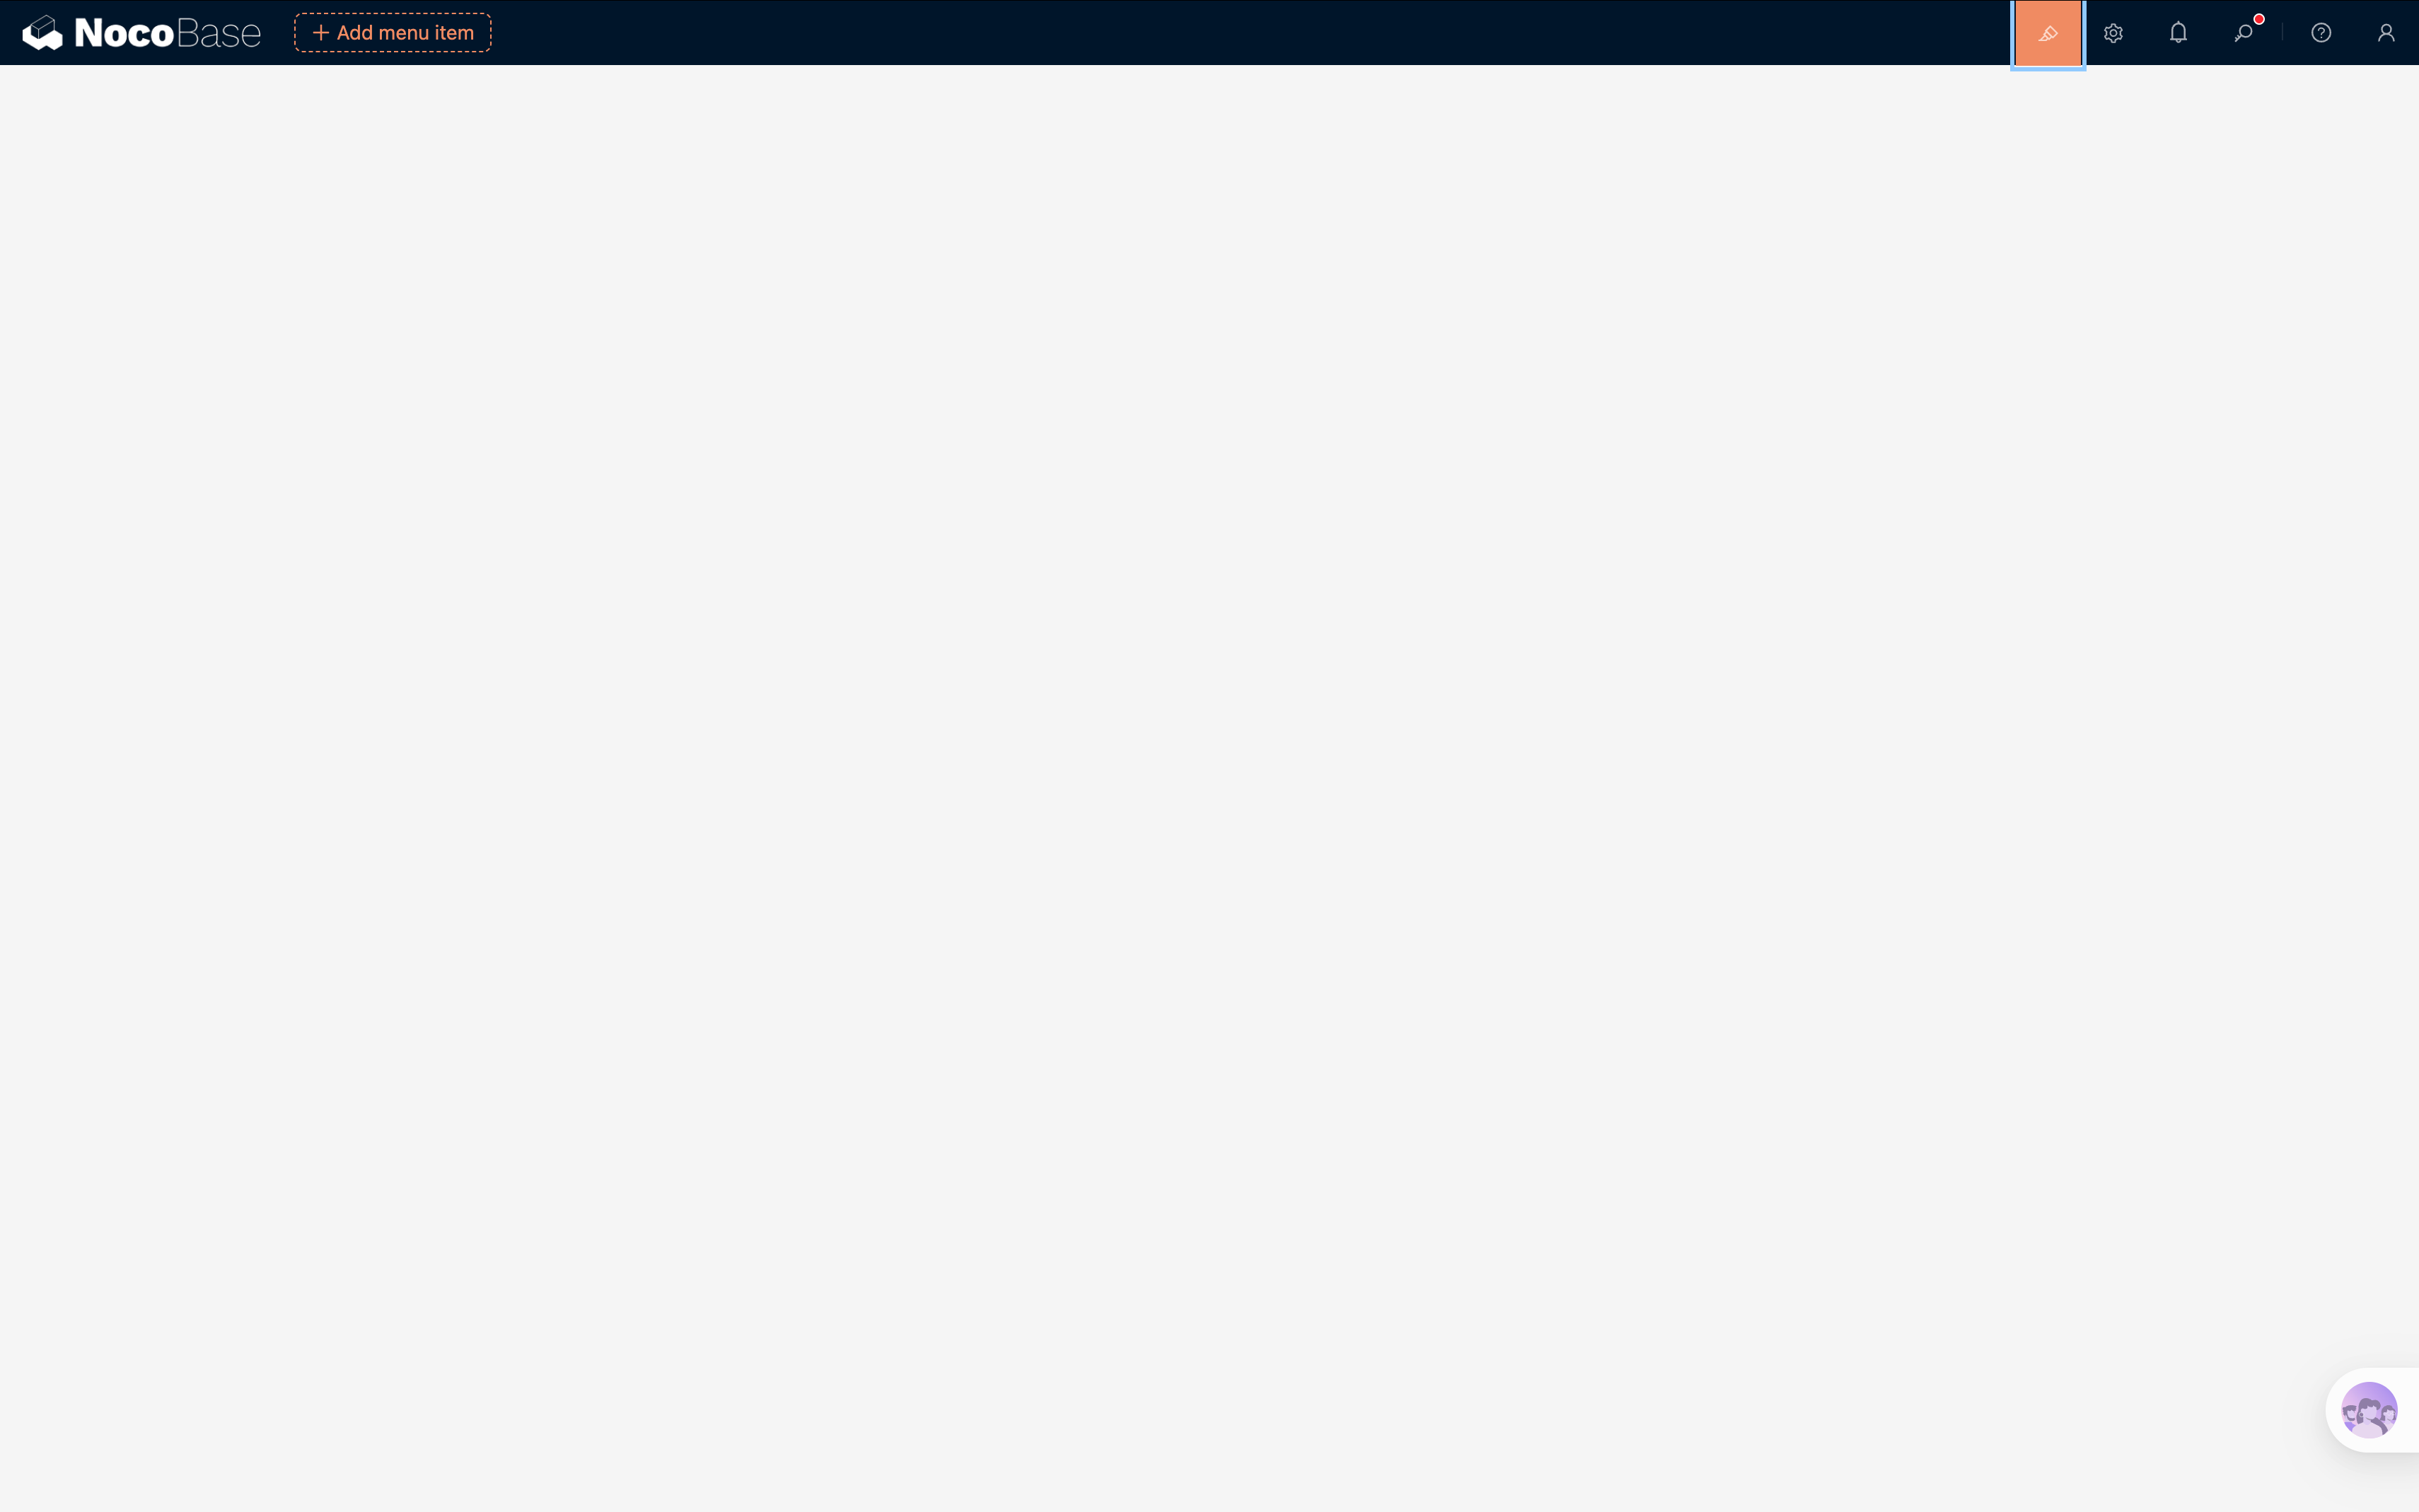
When you enable UI Editor mode, you'll notice orange highlight borders appearing around many elements on the page — this means they're configurable. Each configurable element shows a small icon in its top-right corner; click it to access its settings.
Here's what it looks like on a demo system:
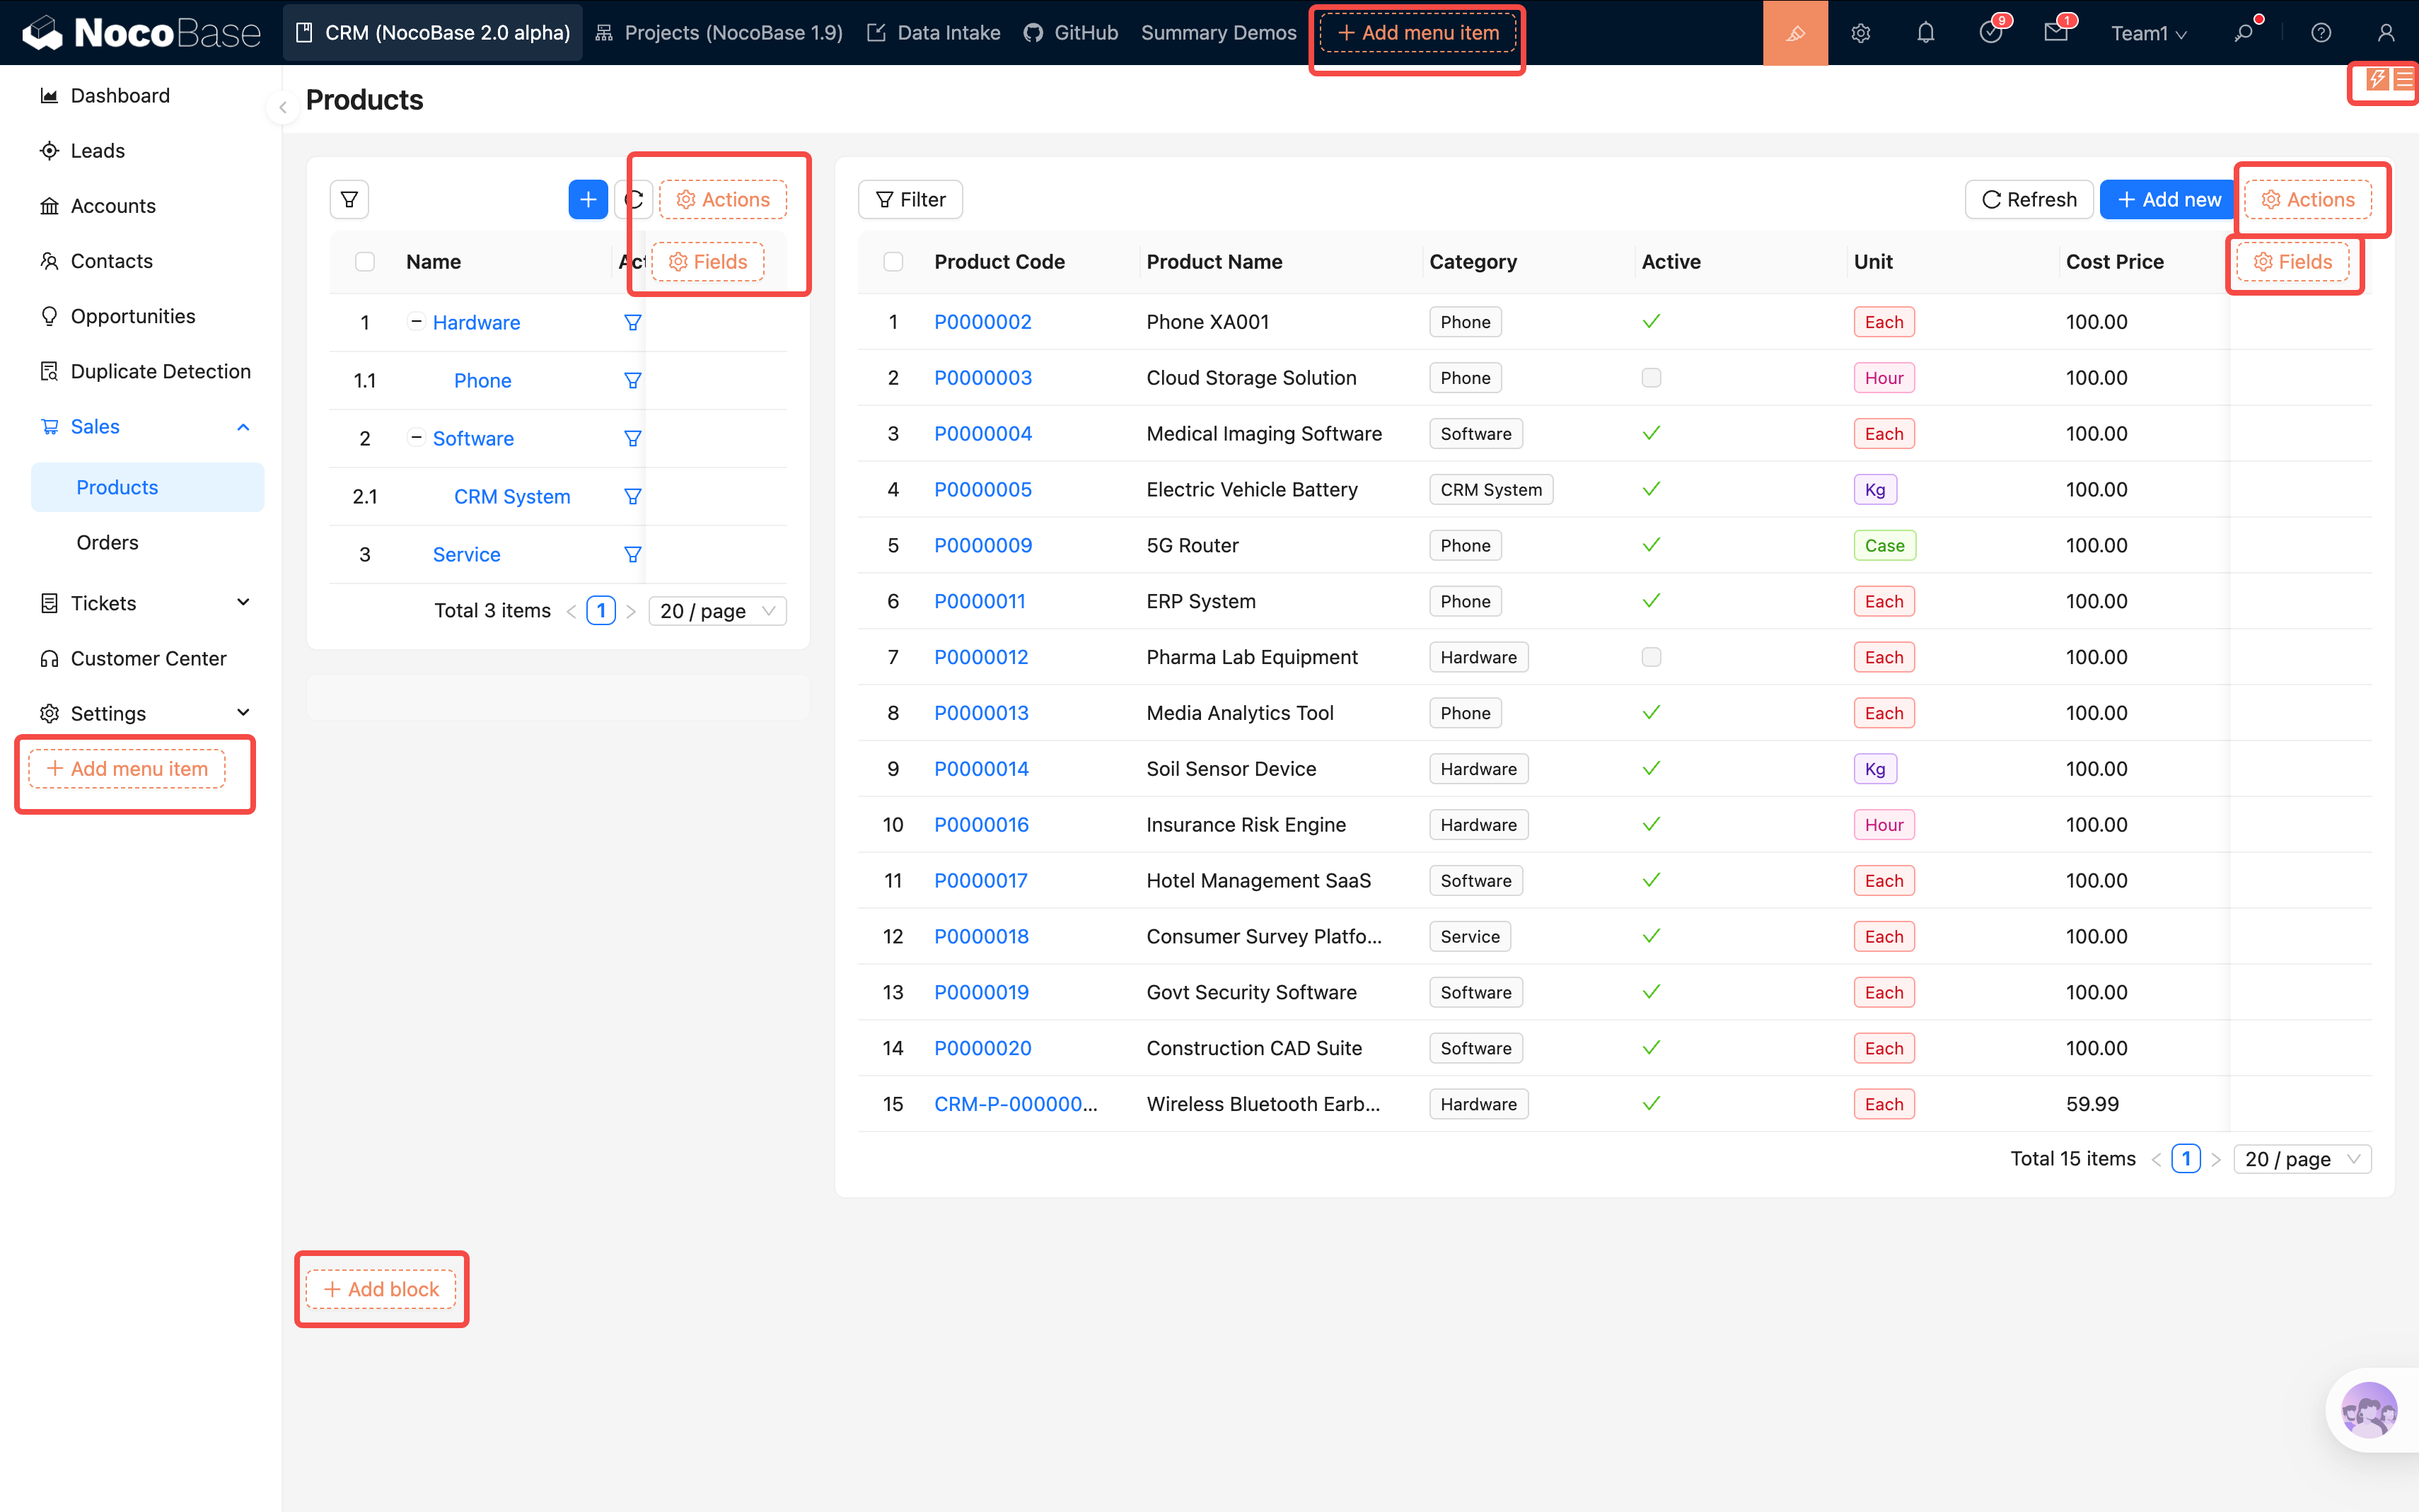
As shown above: menus, table action bars, and the bottom of the page all show orange indicators. Click them to create or configure elements.
Remember this pattern: In NocoBase, whenever you want to modify something on the page, enter UI Editor mode, find the small icon in its top-right corner, and click it.
Basic Interface Layout
The NocoBase interface is composed of three areas:
- Top Navigation Bar: Houses top-level menus for switching between modules
- Left Sidebar (groups): If using group menus, this shows second-level navigation to organize page hierarchy
- Content Area: The main body of the page, where you place various Blocks to display and interact with data
It's still empty for now — but starting from the next chapter, we'll fill it up.
1.4 What We're Going to Build
Over the course of this tutorial, we'll build an IT HelpDesk system step by step. It will support:
- ✅ Ticket submission: Users fill in title, description, category, and priority
- ✅ Ticket list: Filter by status or category at a glance
- ✅ Access control: Regular users see only their own tickets; admins see everything
- ✅ Dashboard: Real-time statistics on ticket distribution and trends
- ✅ Audit log (built-in)
The entire system needs just 2 data tables:
| Table | Purpose | Custom Fields |
|---|---|---|
| Categories | Ticket categories (e.g., Network Issue, Software Bug) | 2 |
| Tickets | The core table — each row is one ticket | 7-8 |
That's right, just 2 tables. Common capabilities like users, permissions, file management, departments, email, and audit logs are all provided by built-in NocoBase plugins — no need to reinvent the wheel. We only need to focus on our business data.
Summary
In this chapter we:
- Learned what NocoBase is — an open-source no-code platform
- Installed and started NocoBase with Docker in one step
- Understood the two interface modes (UI Editor / Usage) and the basic layout
- Previewed the HelpDesk system we're going to build
Next chapter: We'll get hands-on — enter the Data Source Manager and create our first data table. This is the skeleton of the entire system and NocoBase's most fundamental capability.
See you in Chapter 2!