

Chapter 10: Dashboard Filters & Conditions
In this chapter, we will guide you step by step through the next part of creating a task dashboard. If you have any questions, feel free to consult the forums at any time.
Let’s start this exploration journey by reviewing the content from the previous chapter!
10.1 Reveal the Previous Chapter's Solutions
10.1.1 Status and Links
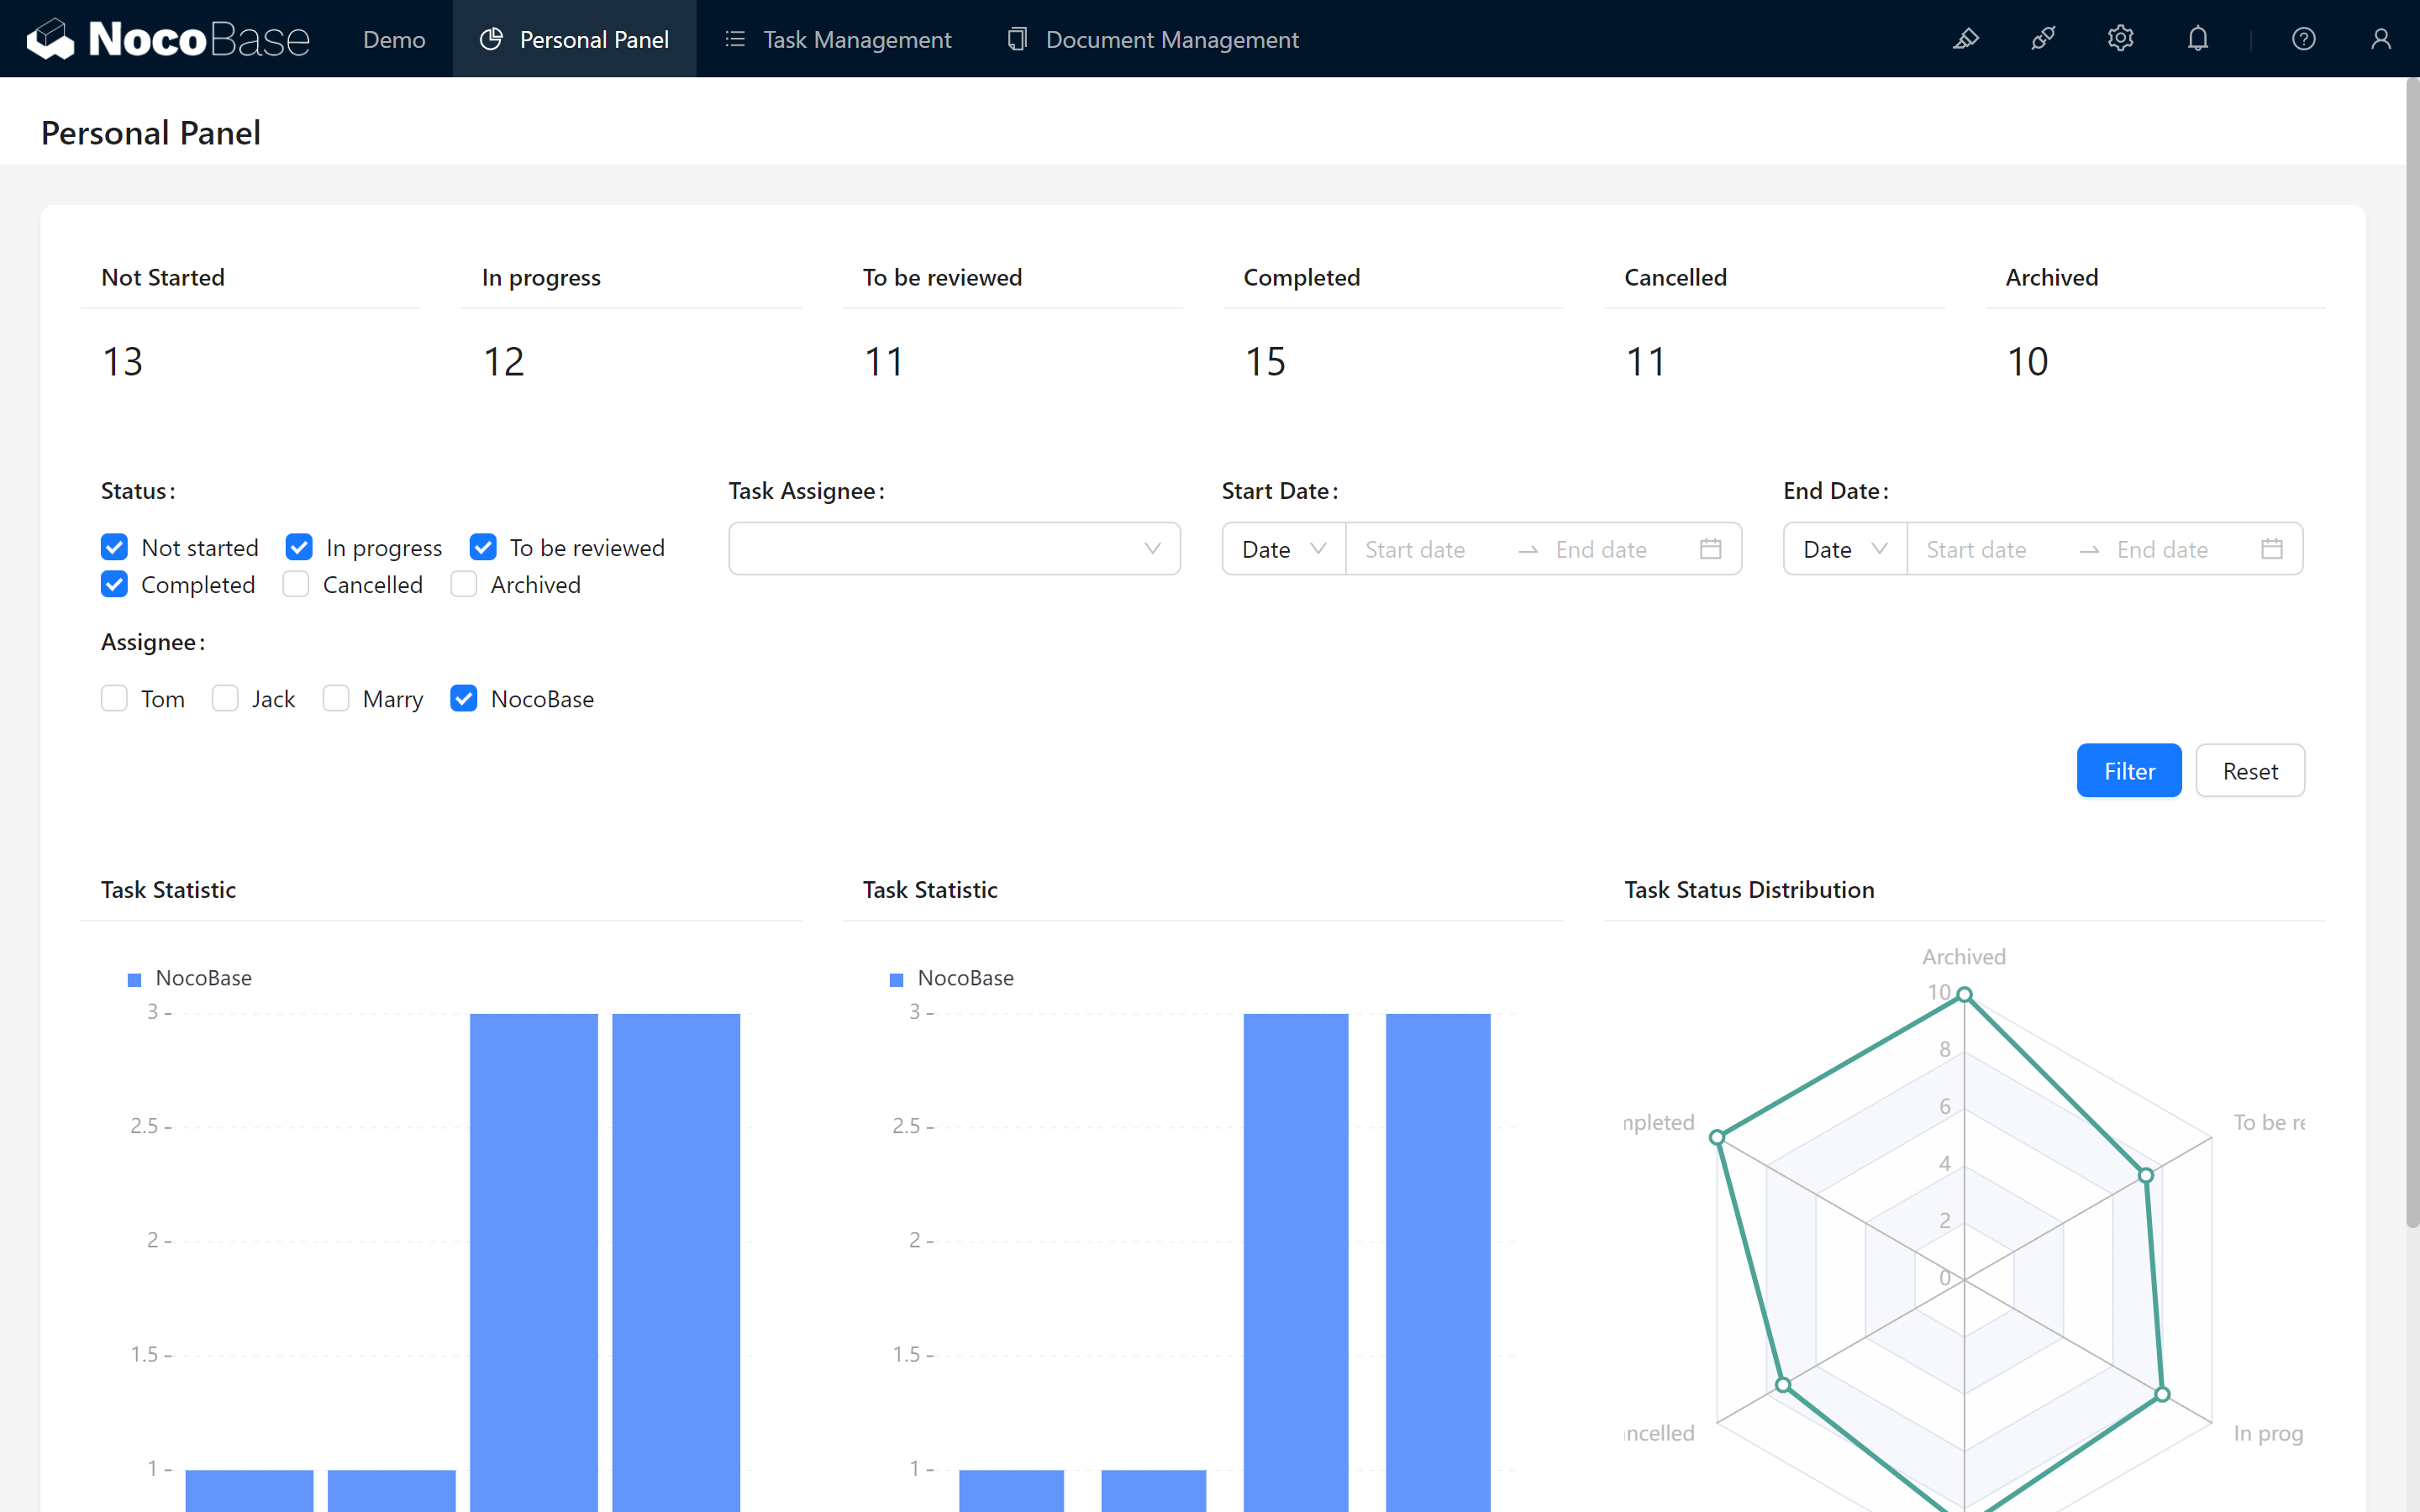
First, we need to add navigation links for data in different statuses to enable quick access. Below is the link structure for each status:
(Assume the base link is http://xxxxxxx/admin/hliu6s5tp9xhliu6s5tp9x)
Mystery Solved
| Status | Link |
|---|---|
| Not started | hliu6s5tp9xhliu6s5tp9x?task_status=Not started |
| In progress | hliu6s5tp9xhliu6s5tp9x?task_status=In progress |
| To be reviewed | hliu6s5tp9xhliu6s5tp9x?task_status=To be reviewed |
| Completed | hliu6s5tp9xhliu6s5tp9x?task_status=Completed |
| Cancelled | hliu6s5tp9xhliu6s5tp9x?task_status=Cancelled |
| Archived | hliu6s5tp9xhliu6s5tp9x?task_status=Archived |
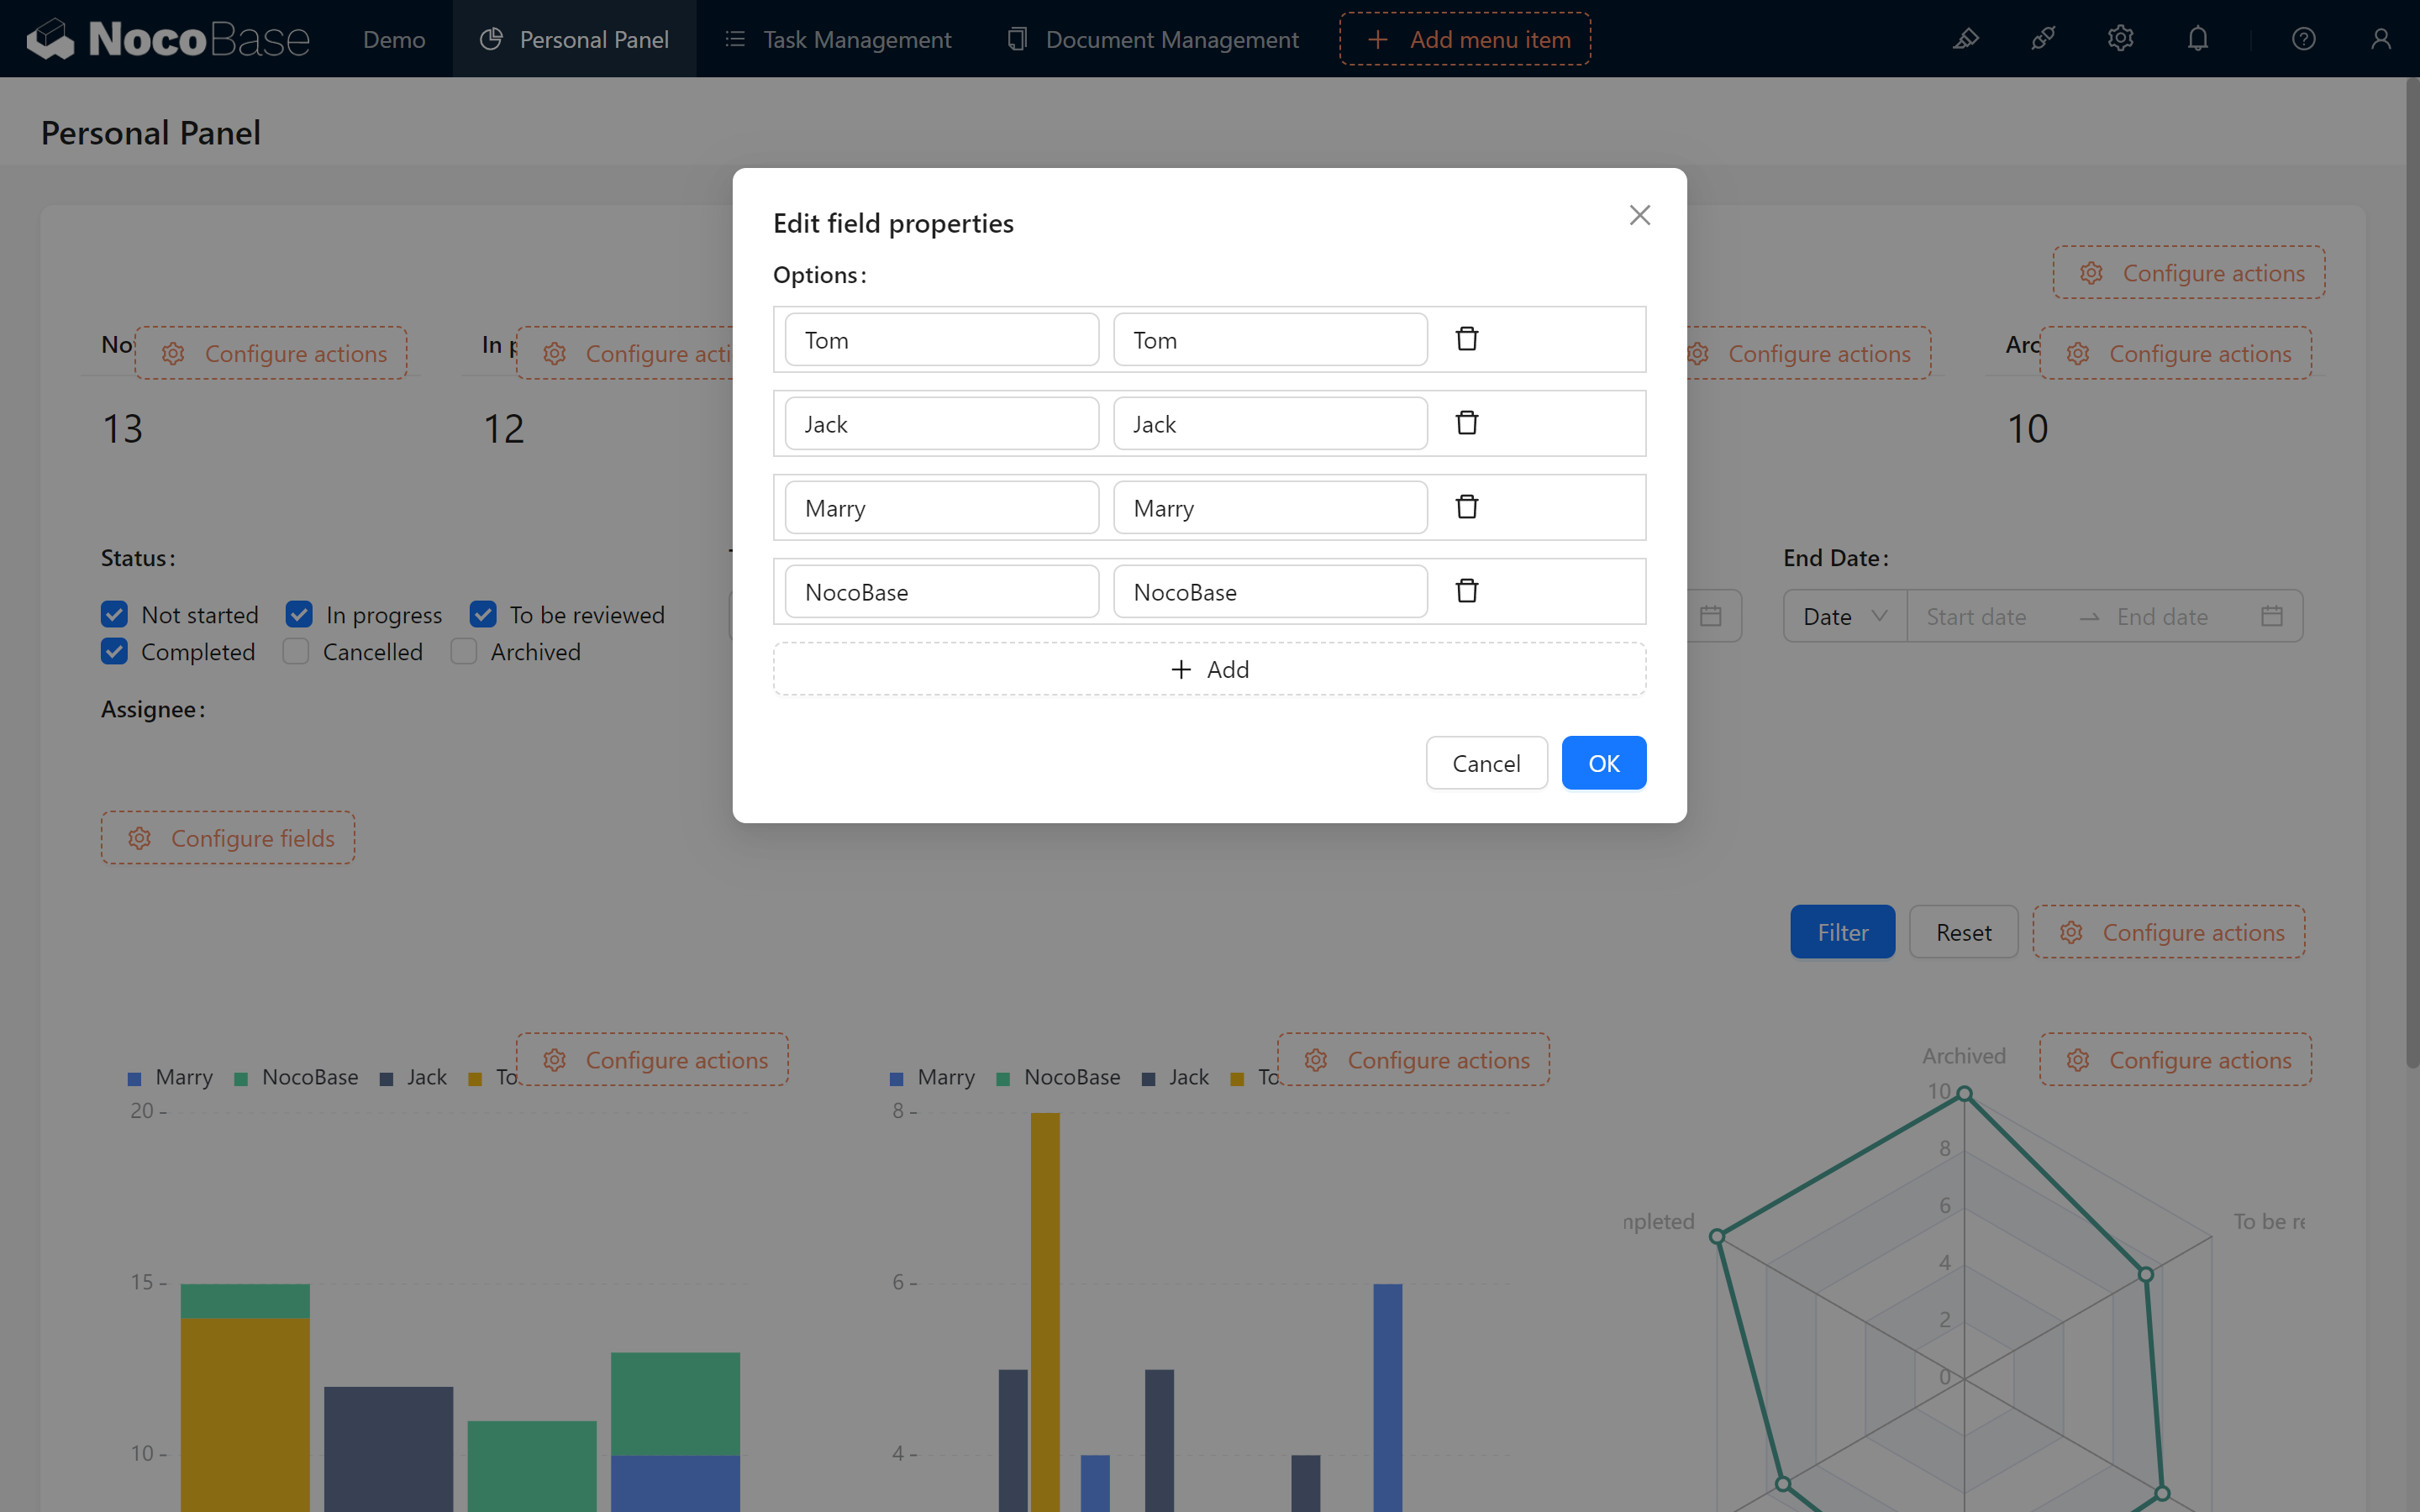
10.1.2 Adding a Multi-Select Option for Assignee
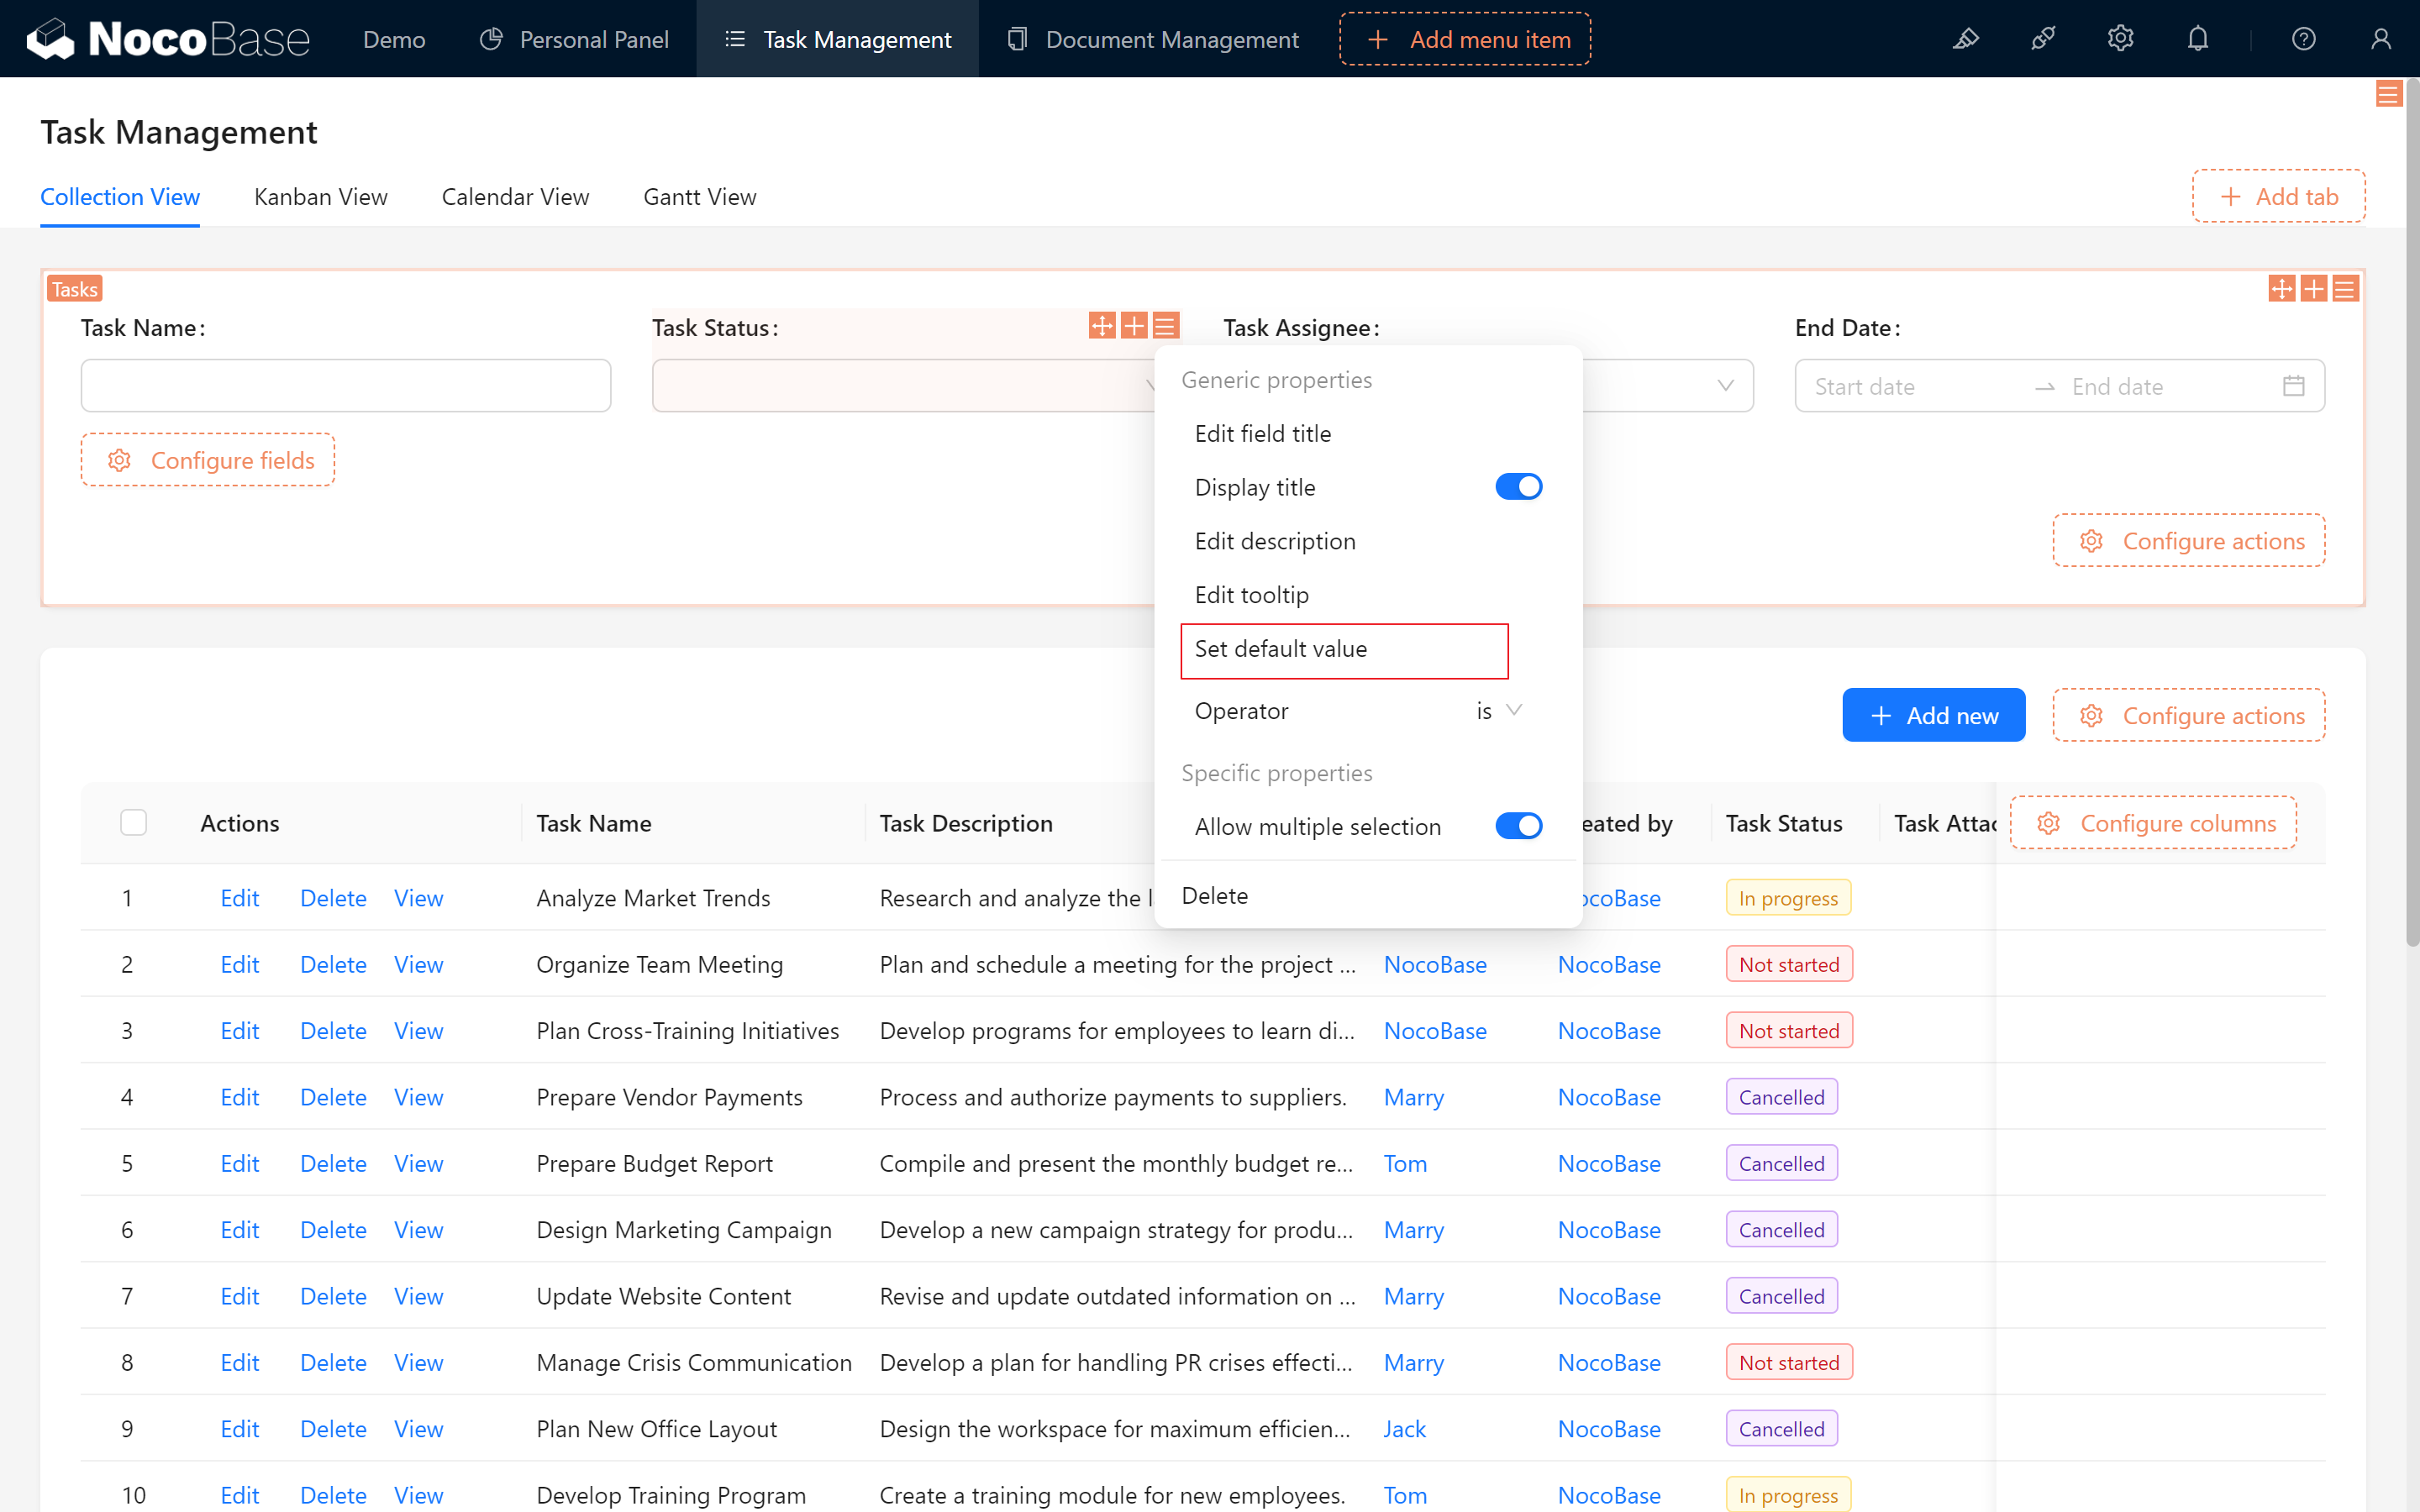
- Create a Custom Fields: Add a "Assignee" field of type "multi-select," and populate it with members’ nicknames (or usernames) to facilitate quick assignment of tasks.
- Configure the Report: Set up “Task Assignee / Nickname (Username)- contains - Current Filter / Assignee” as a filter condition to quickly locate tasks associated with the selected assignee.
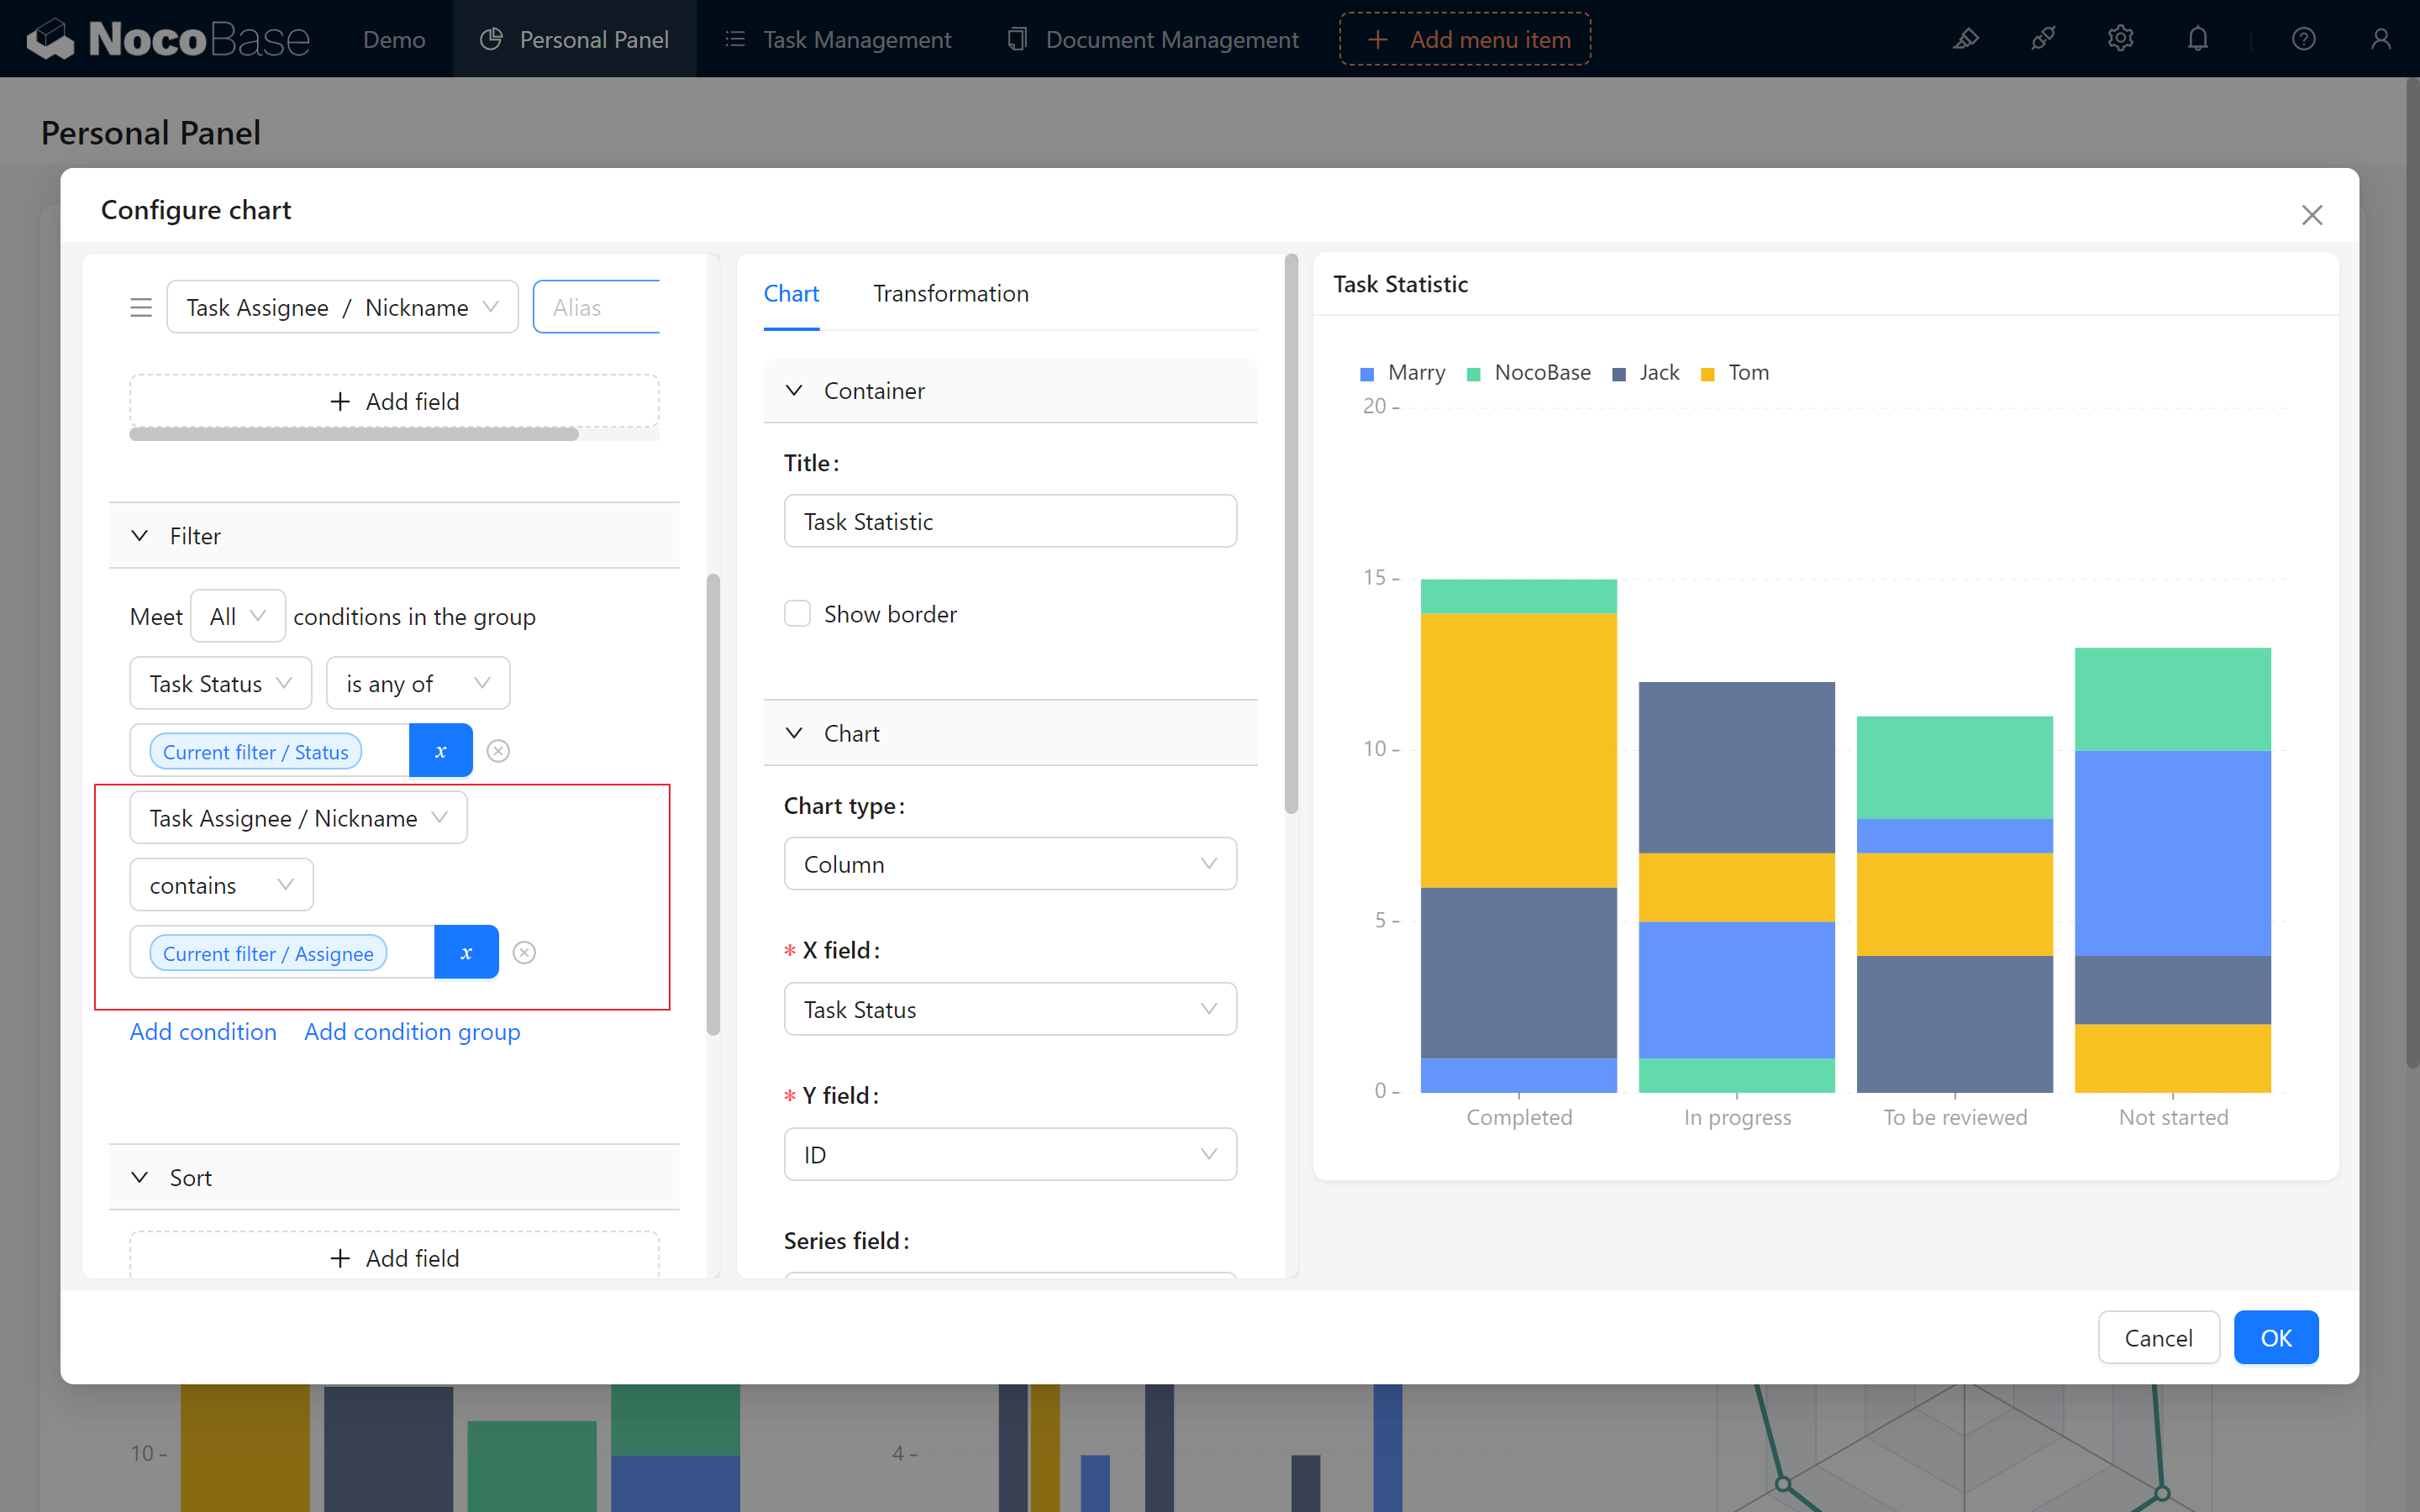
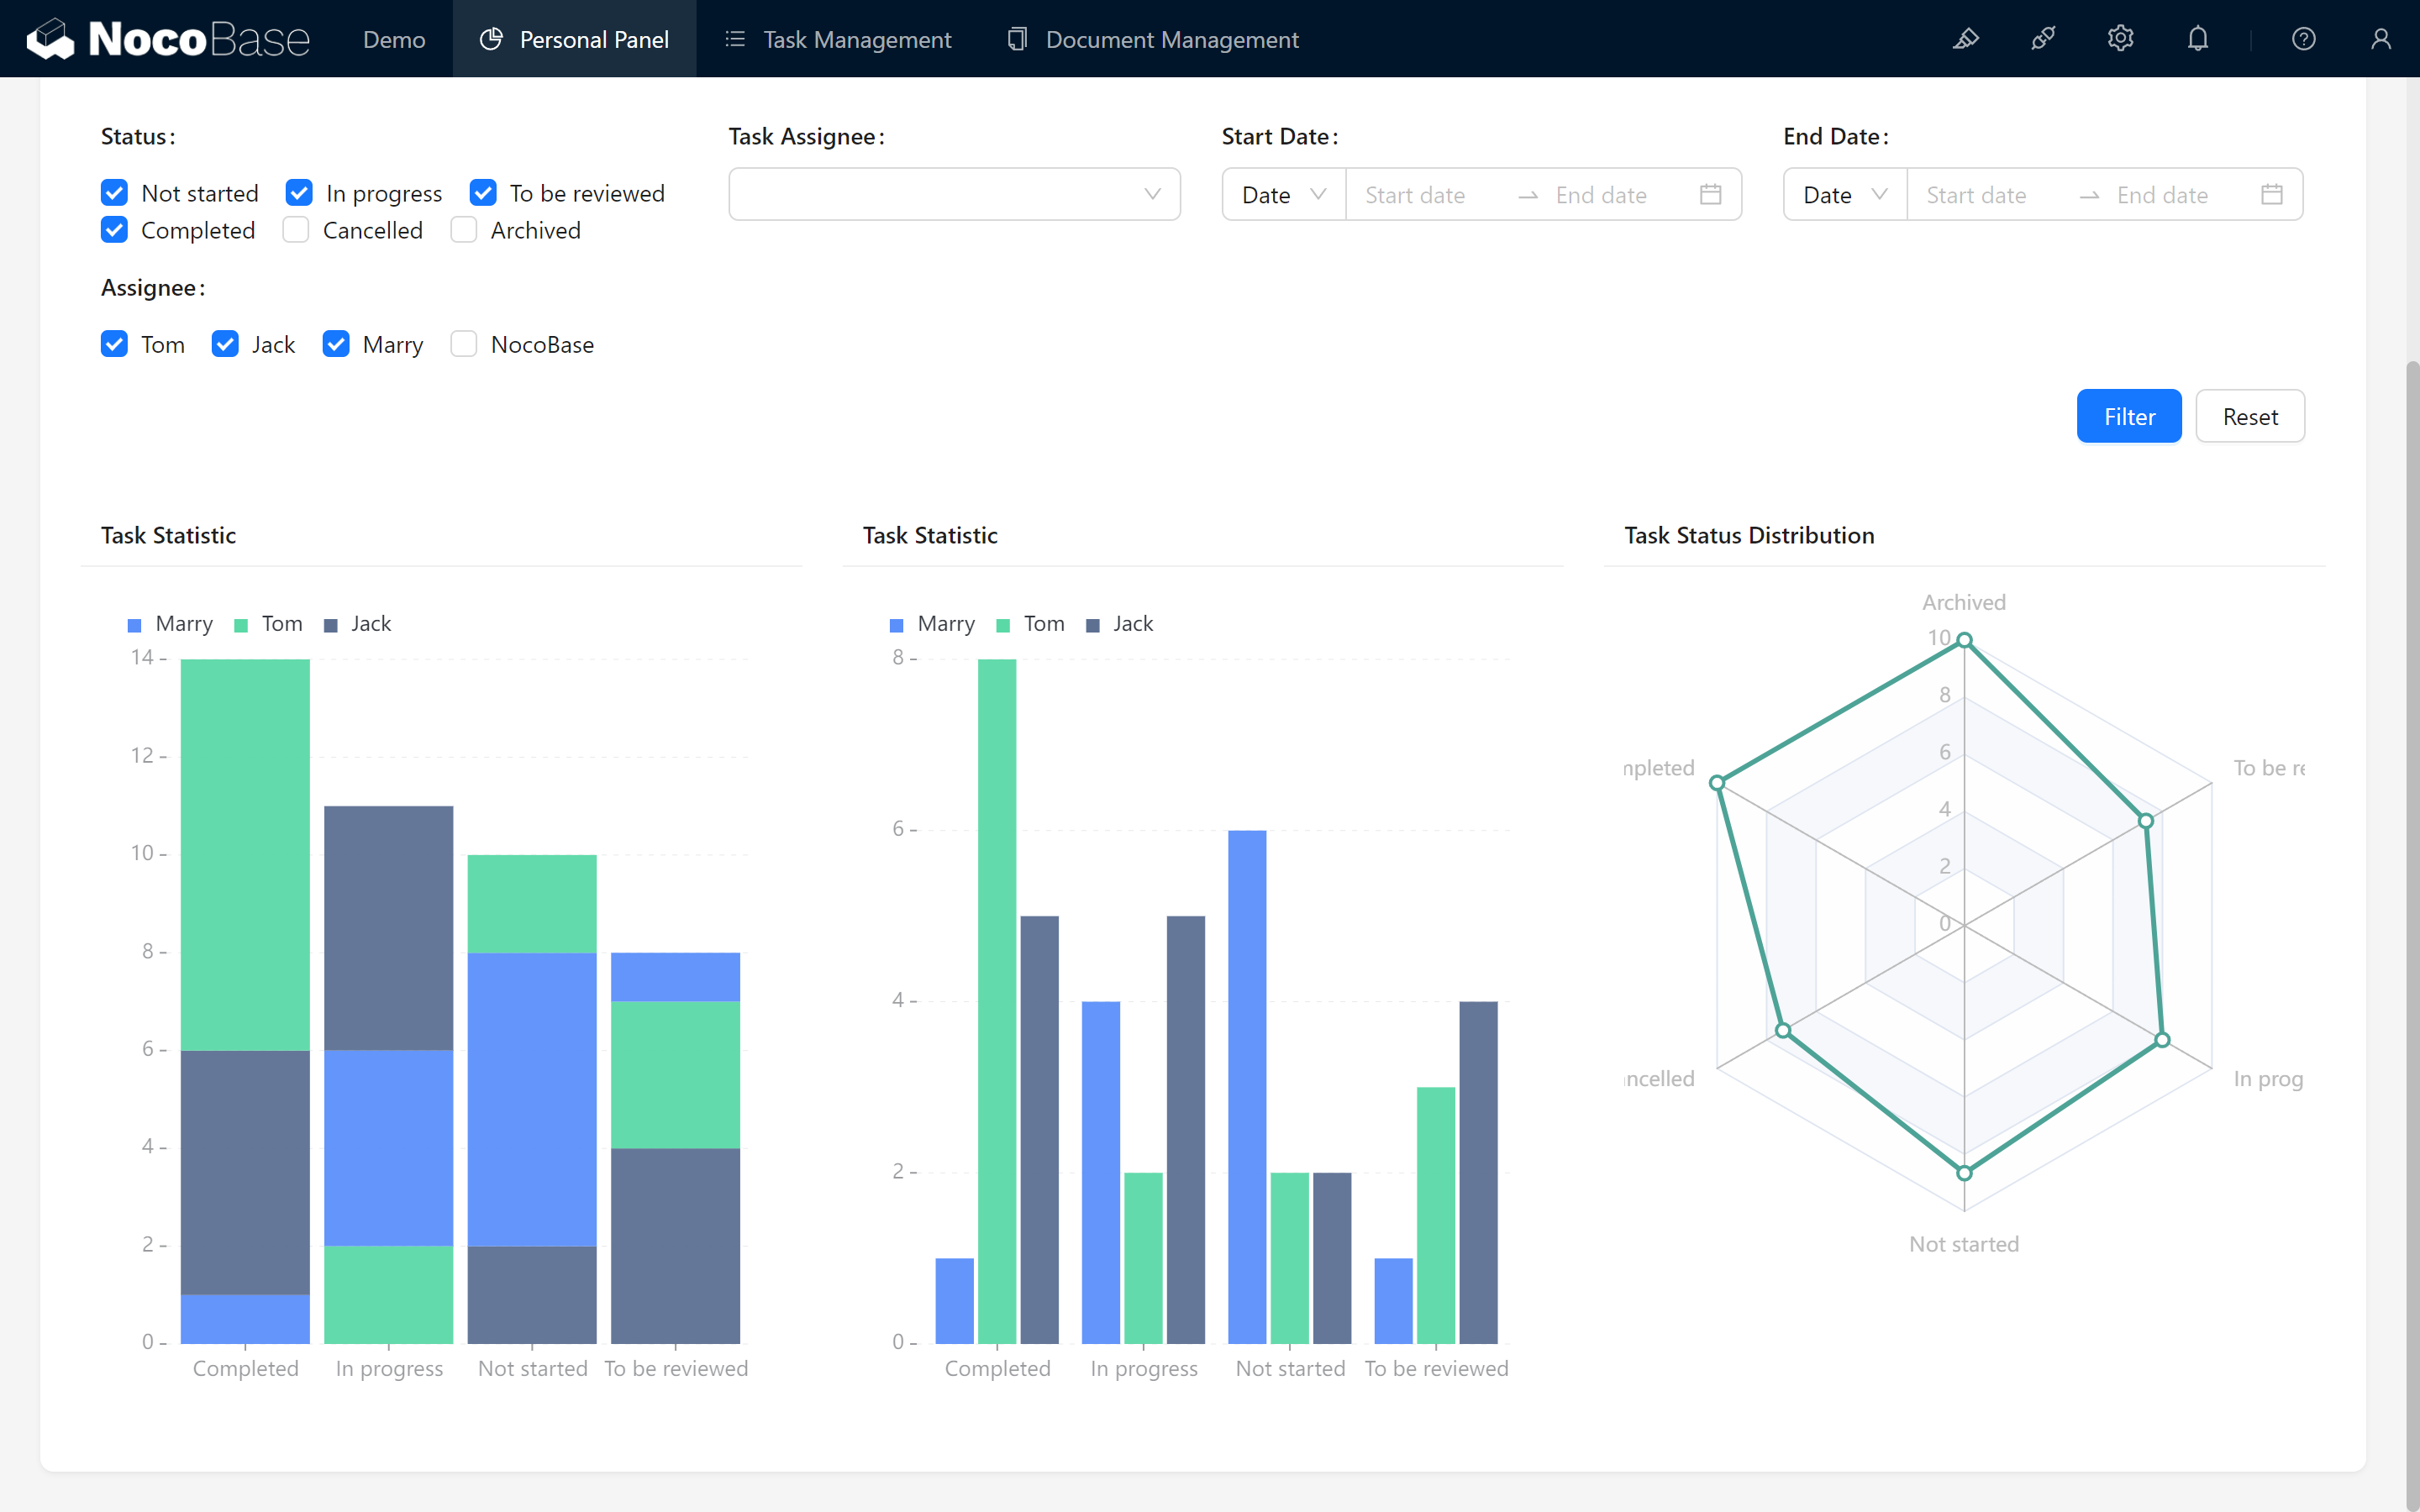
Perform several filter tests to confirm proper functionality.
10.2 Associating the Dashboard with Users
Content can be displayed based on different users. Here’s how to do it:
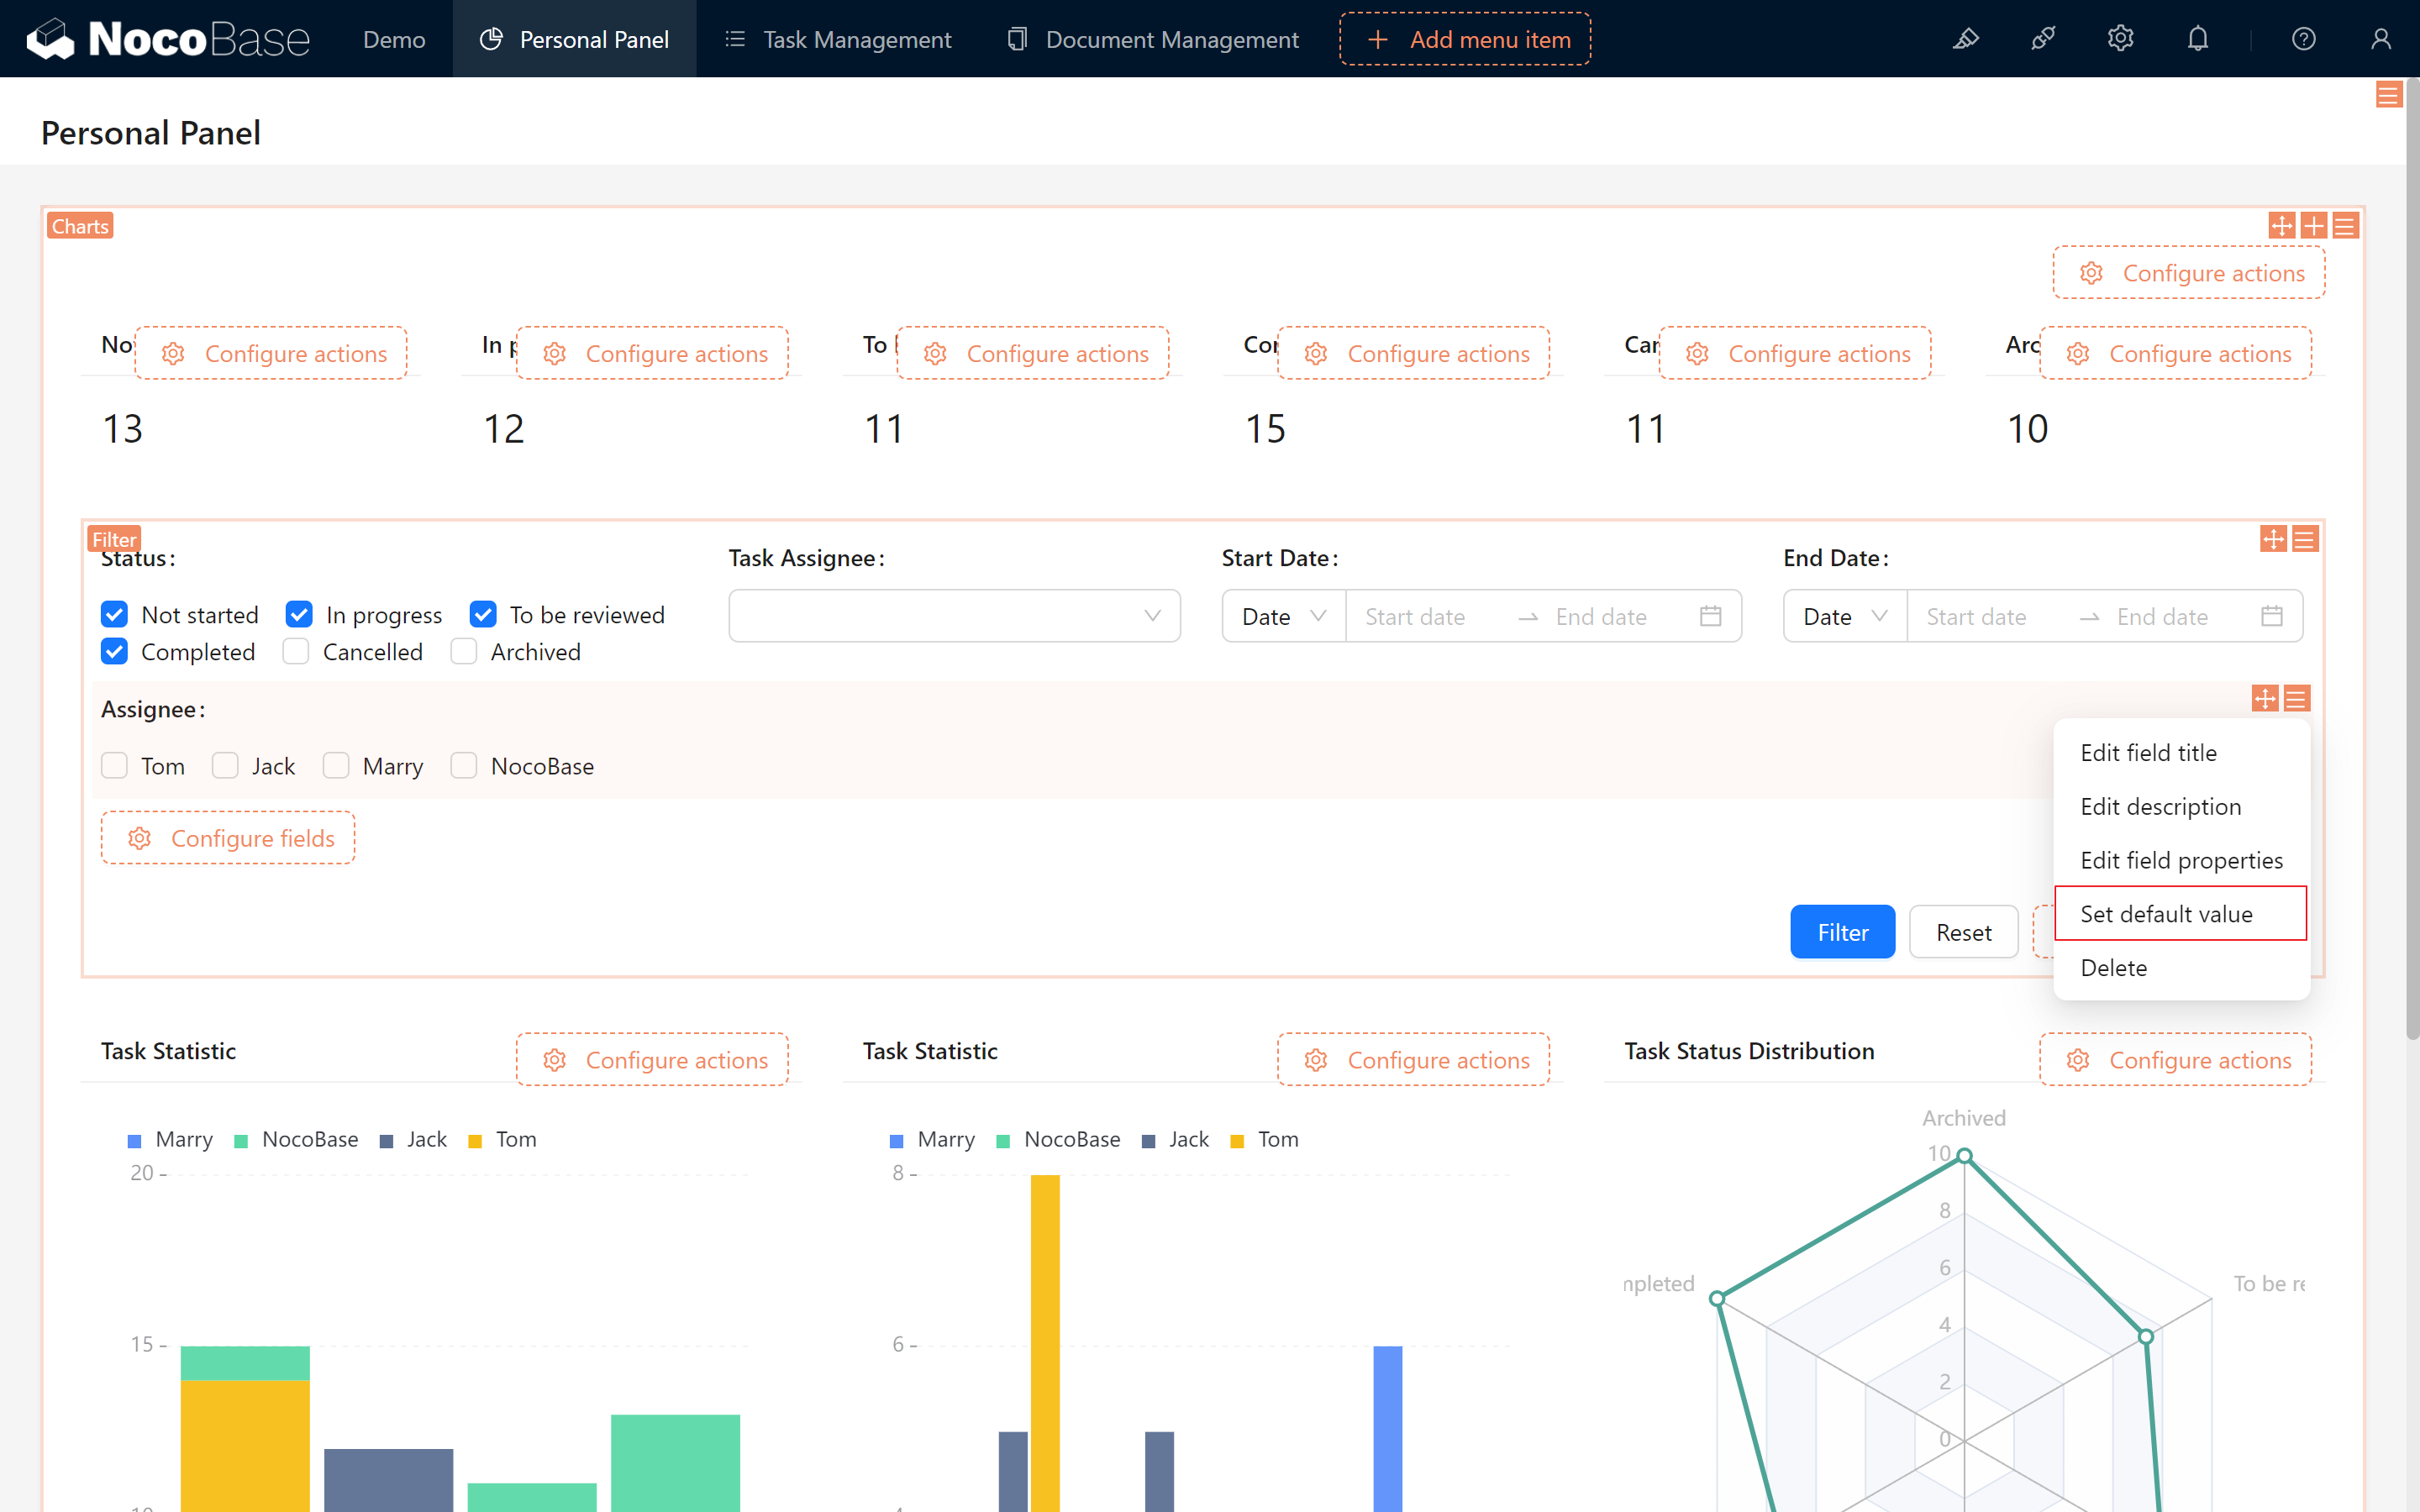
- Set the Default Value of the "Assignee" Field to "Current User/Nickname (Username)": This allows the system to automatically display tasks related to the current user, improving operational efficiency.
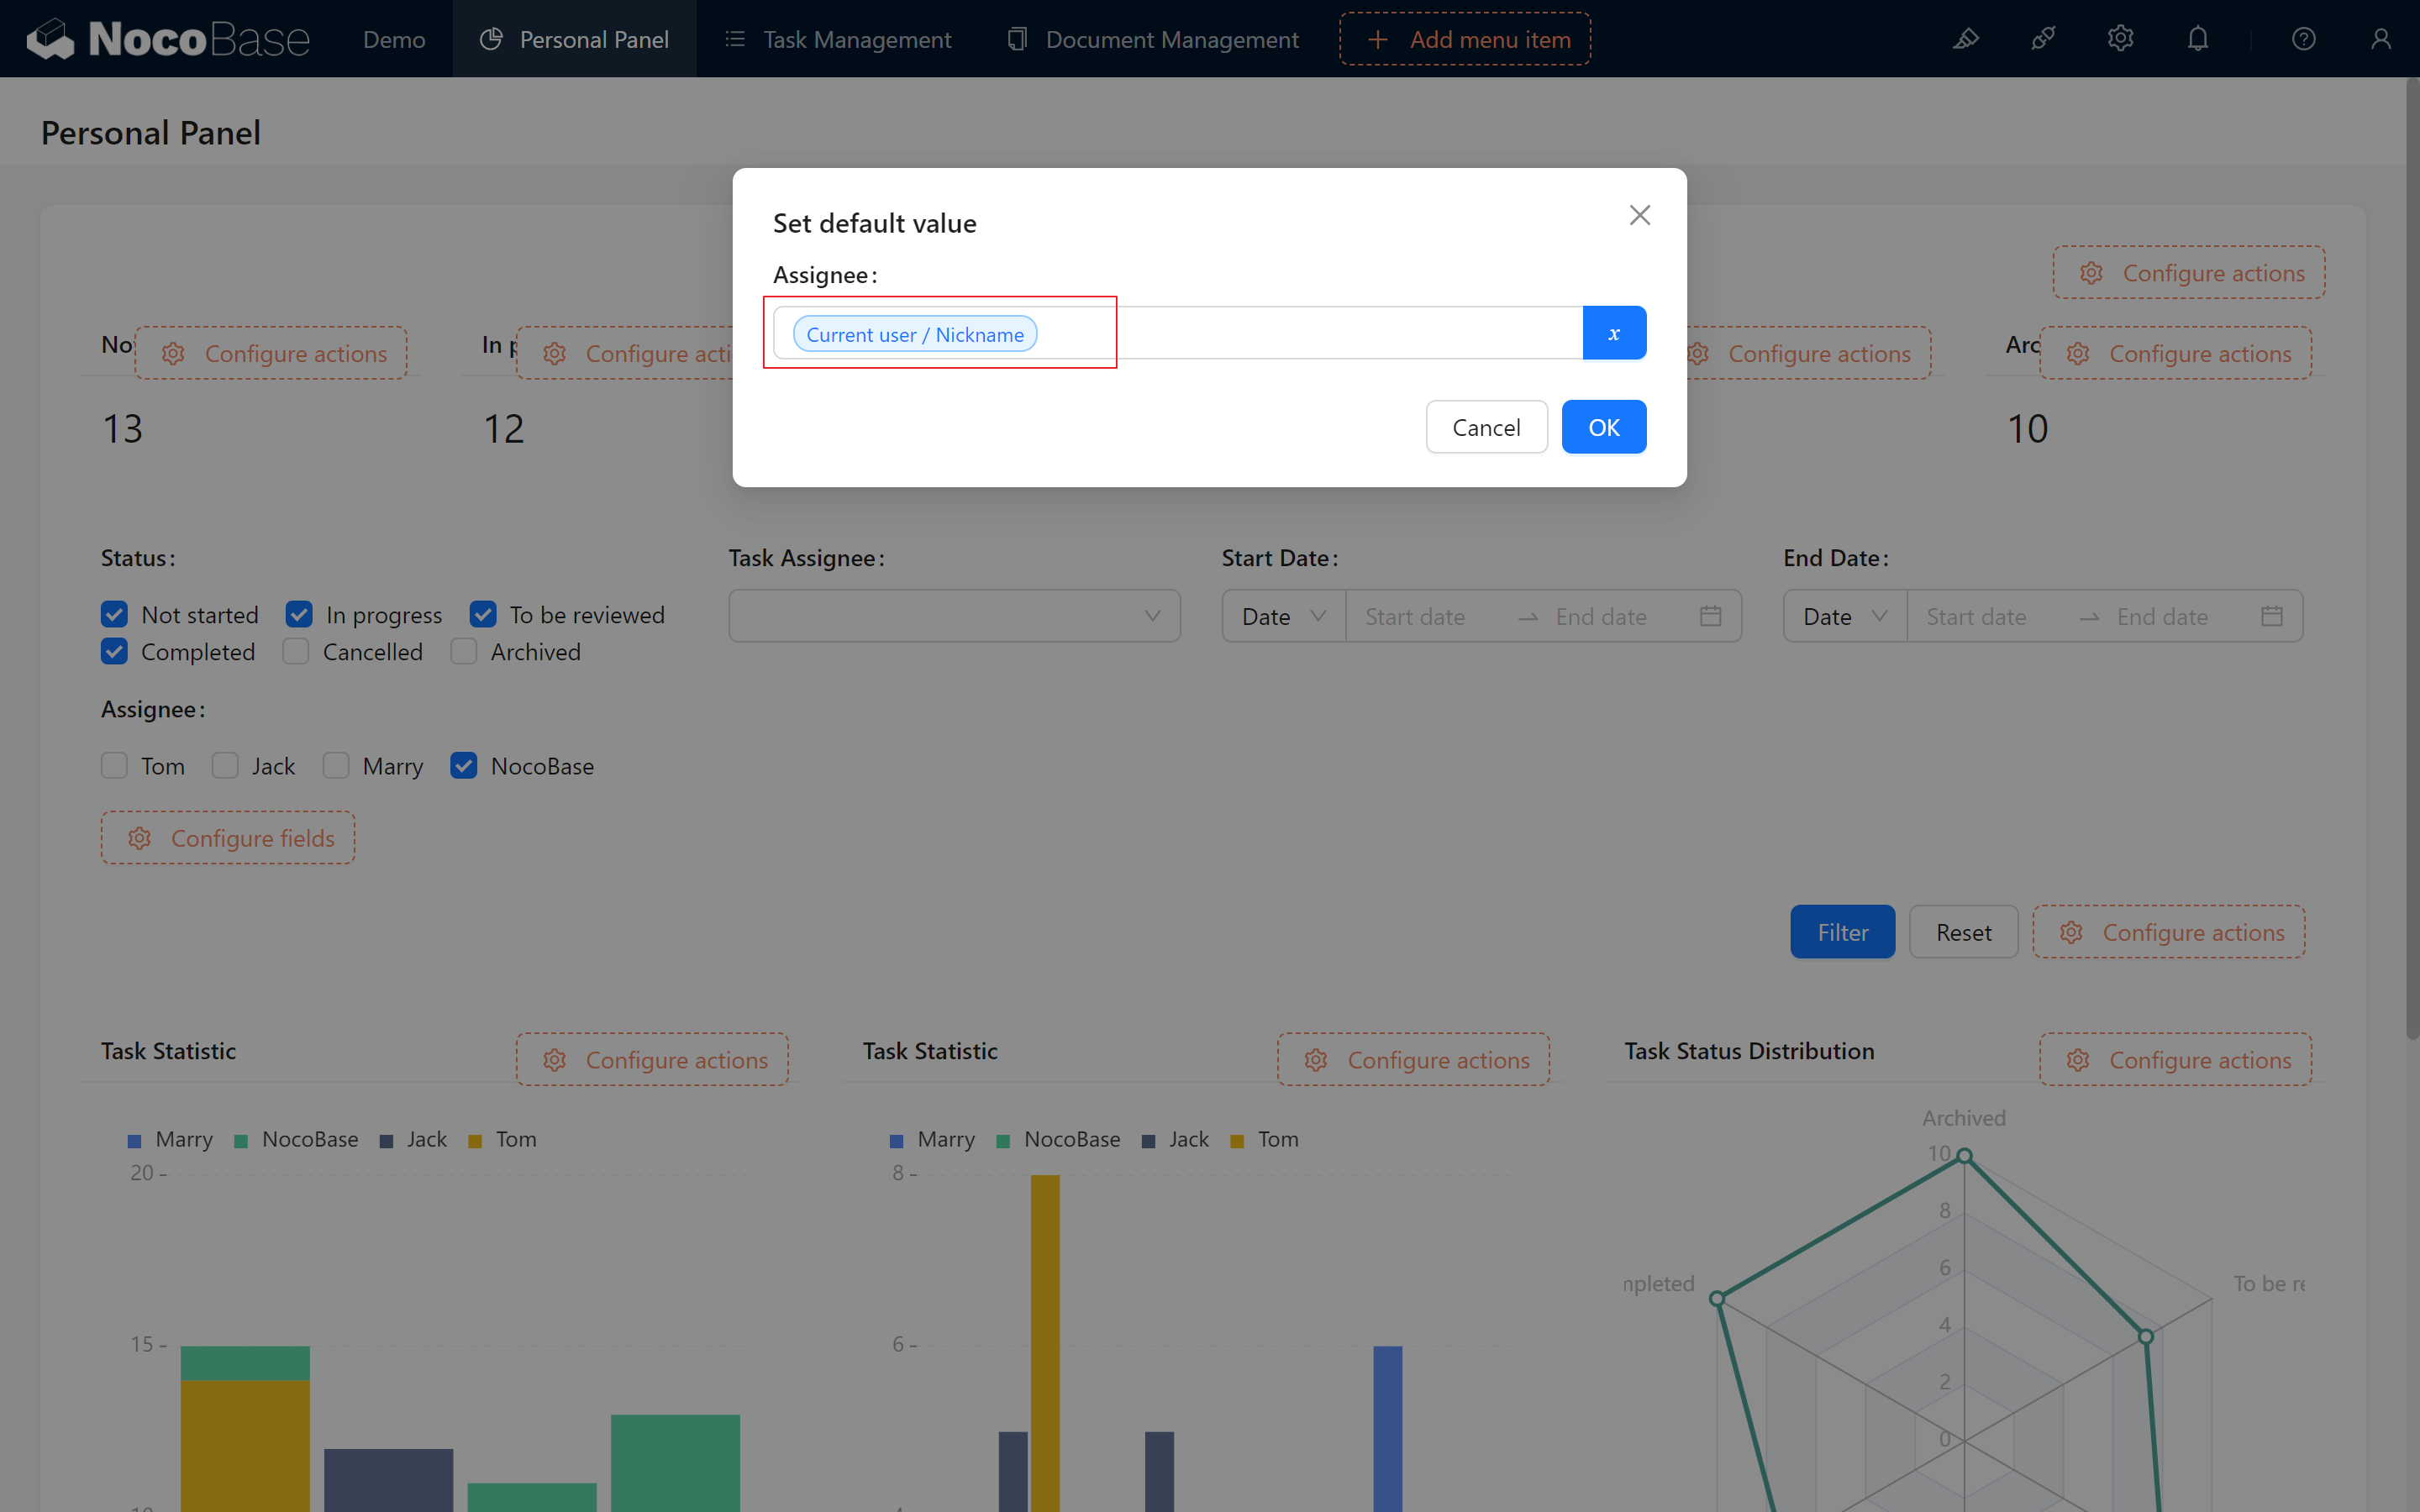
- After Refreshing the Page: The dashboard will automatically load data associated with the currently logged-in user. (Don’t forget to add user filter conditions to the relevant charts.)
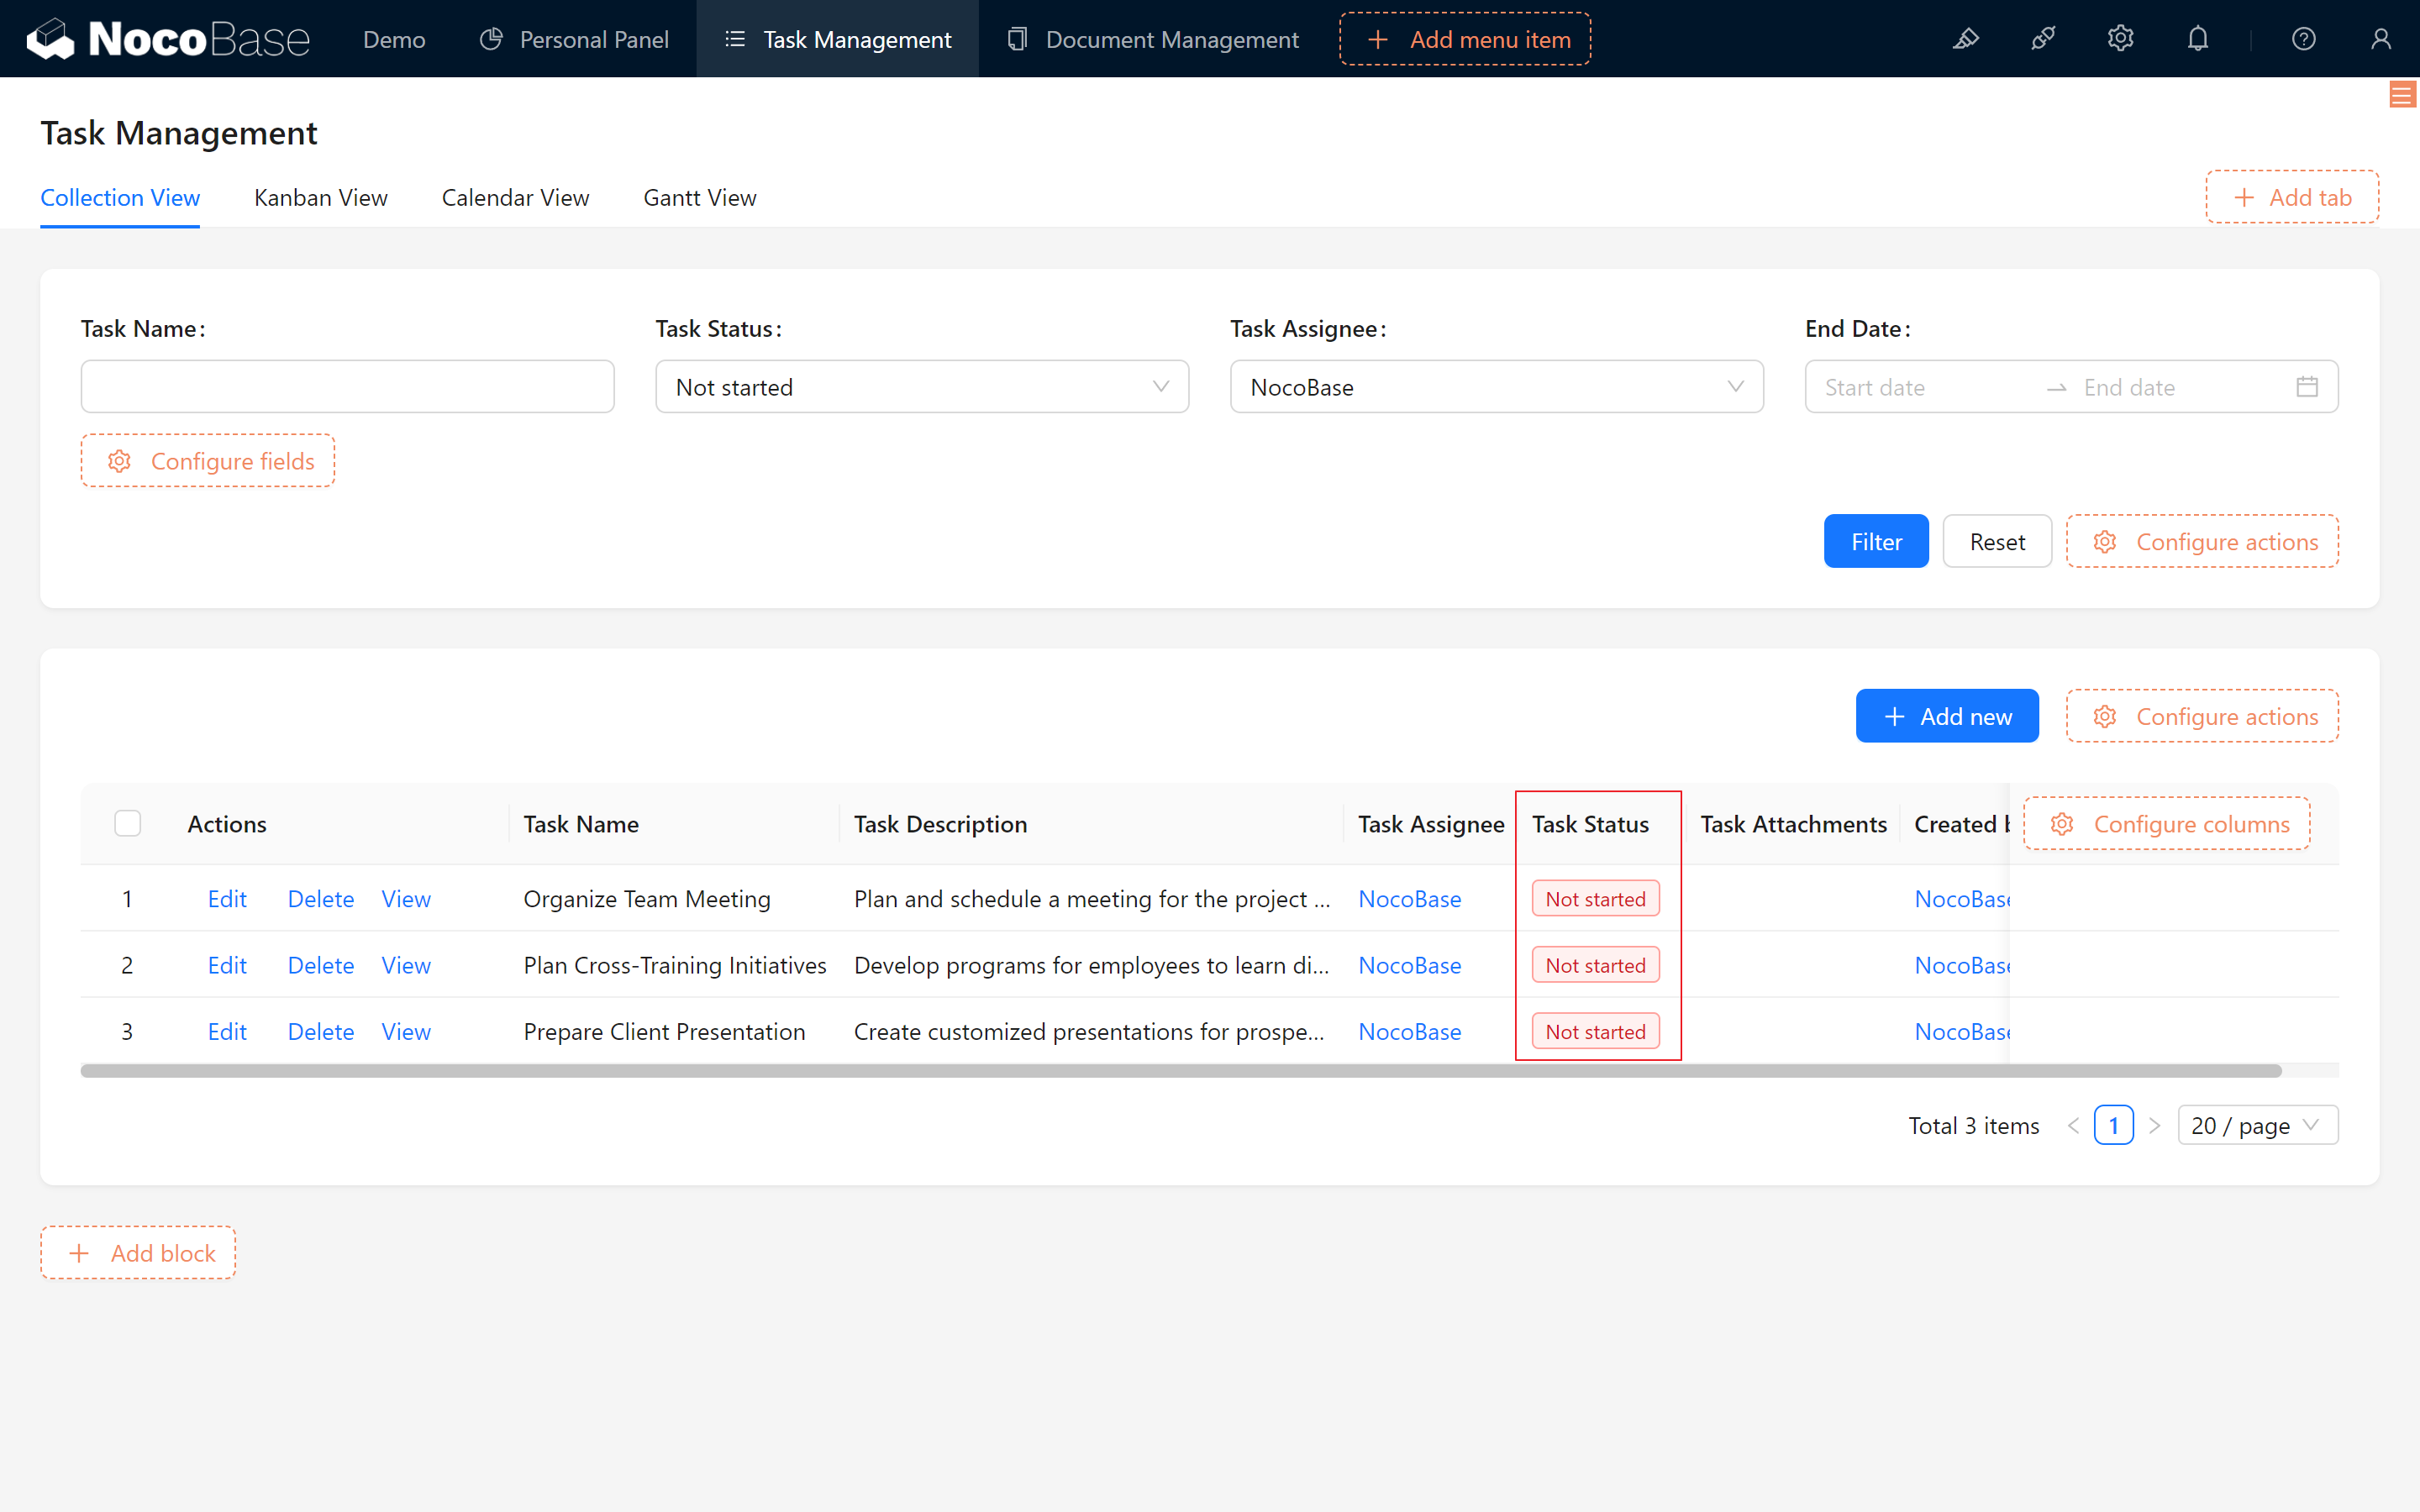
10.3 Redesigning Task Filtering
Some users may notice a design flaw: When filtering by status directly in the table block's "Set the Data Scope," tasks are prematurely restricted to a specific status. When attempting to filter by a different status later, the data appears empty!
Here’s how to resolve this by changing the filtering approach:
- Remove the Data Filtering Method: Prevent status data from being locked into a specific range, allowing for flexible filtering needs.
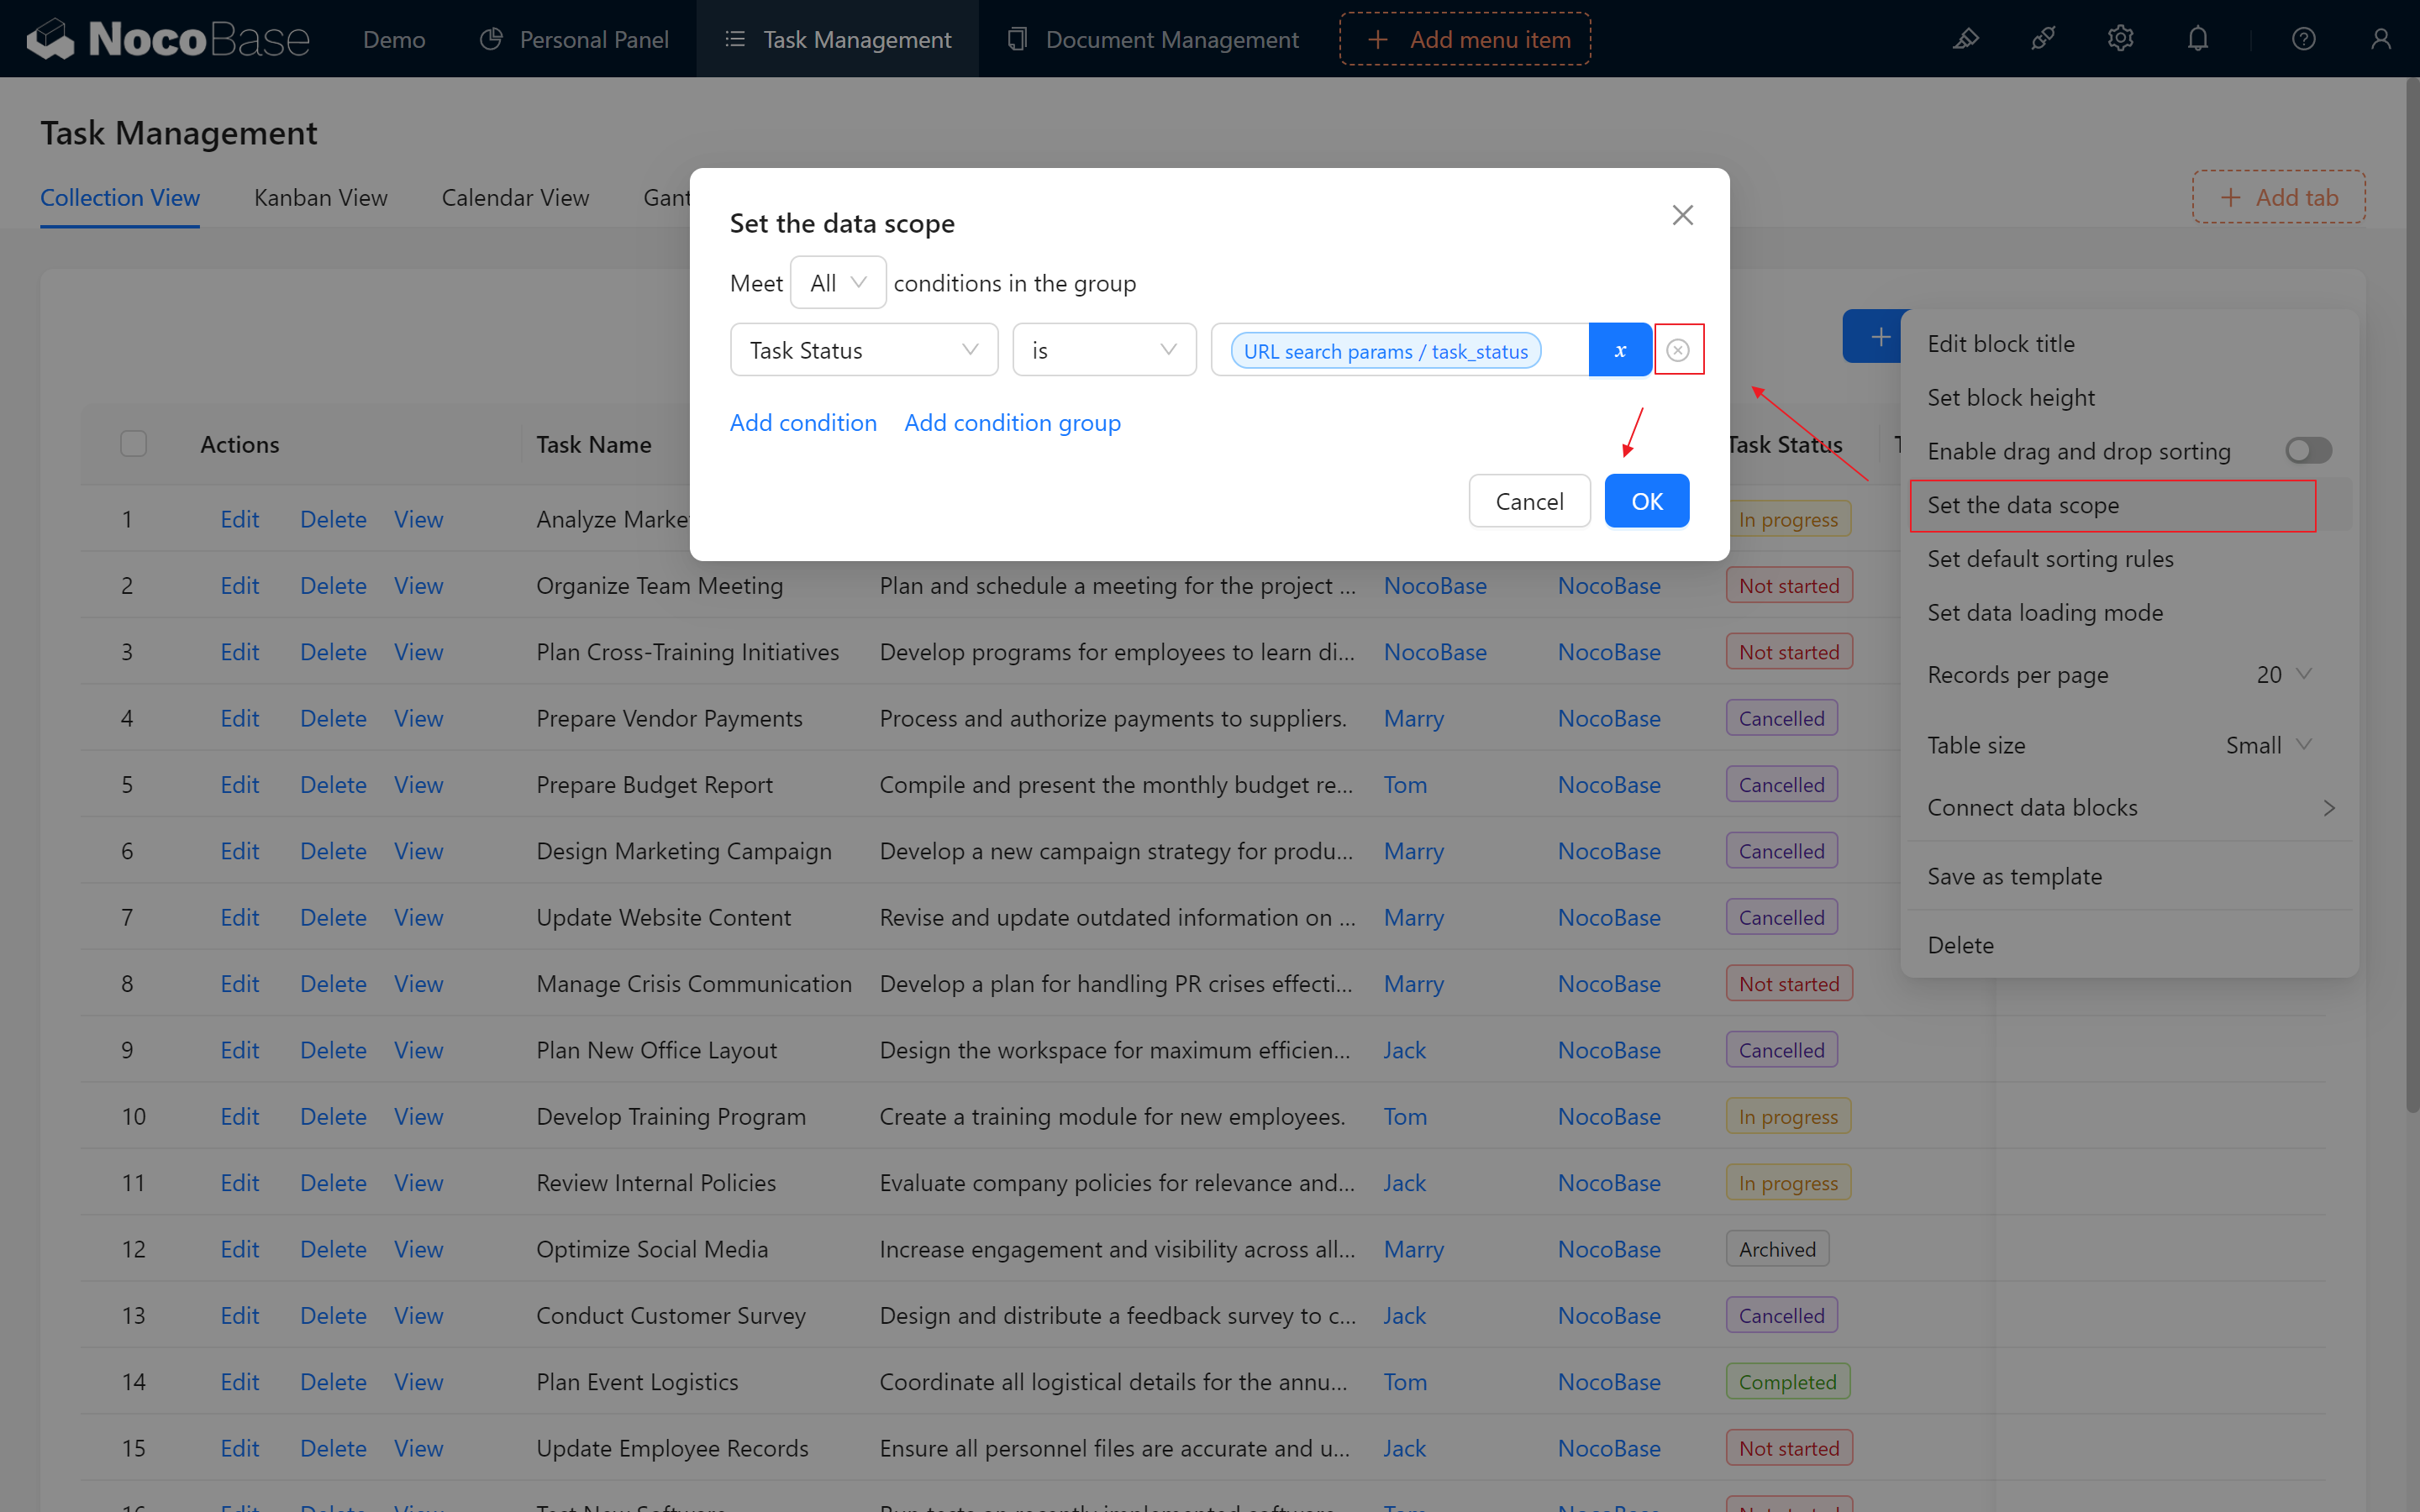
- Configure Default Values in the Filtering Form Block:
Do you remember our configured Filter blocks?
Create a form block for task table filtering block and configure status and other necessary fields to populate variables from the URL. (Ensure it connects to the task table block that needs filtering.)
- Set the default value of the status field to
URL search params/task_status.

- Test the New Filtering Functionality: Dynamically switch status filters as needed.

- Optional: To focus each user on their tasks, set the default value of the "Assignee" field to "Current User."
10.4 News, Notifications, and Information Highlights
Let’s enhance the document library to display essential information on the dashboard.
In long-term document management, diverse requirements often emerge as the volume of materials grows:
- News: Highlight project updates, achievements, and milestones.
- Temporary announcements/reminders.
10.4.1 Hot Information (News)
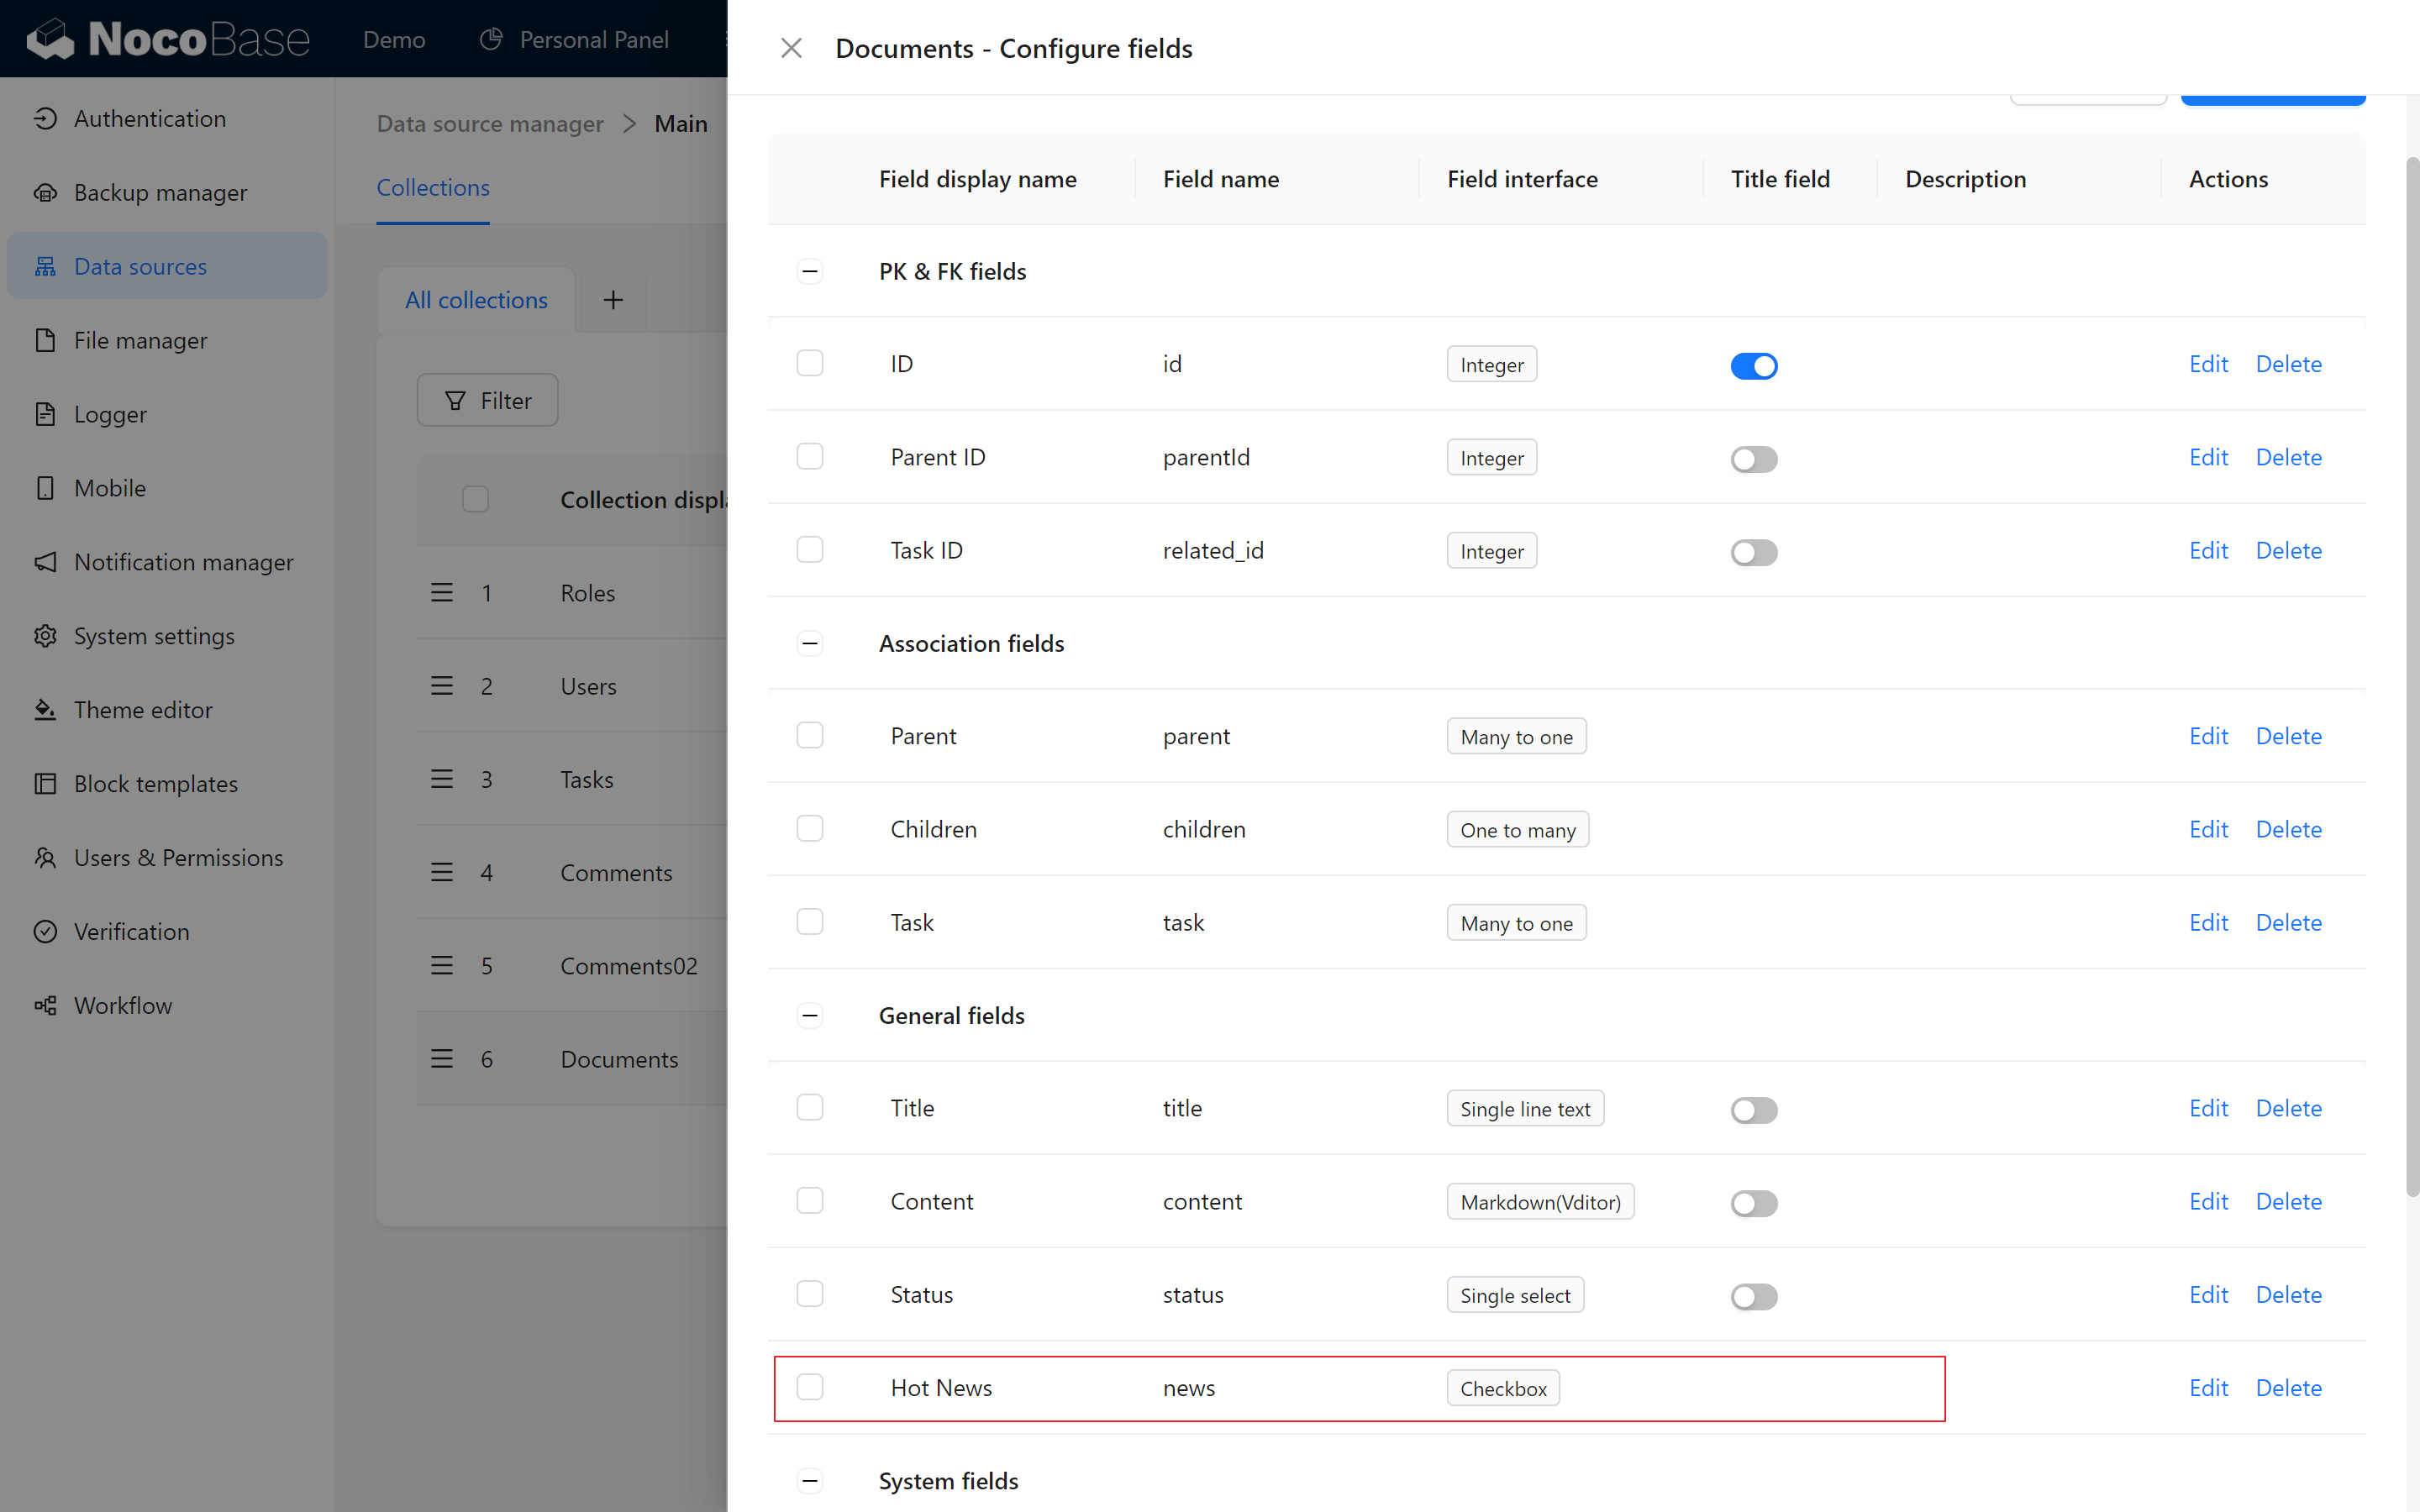
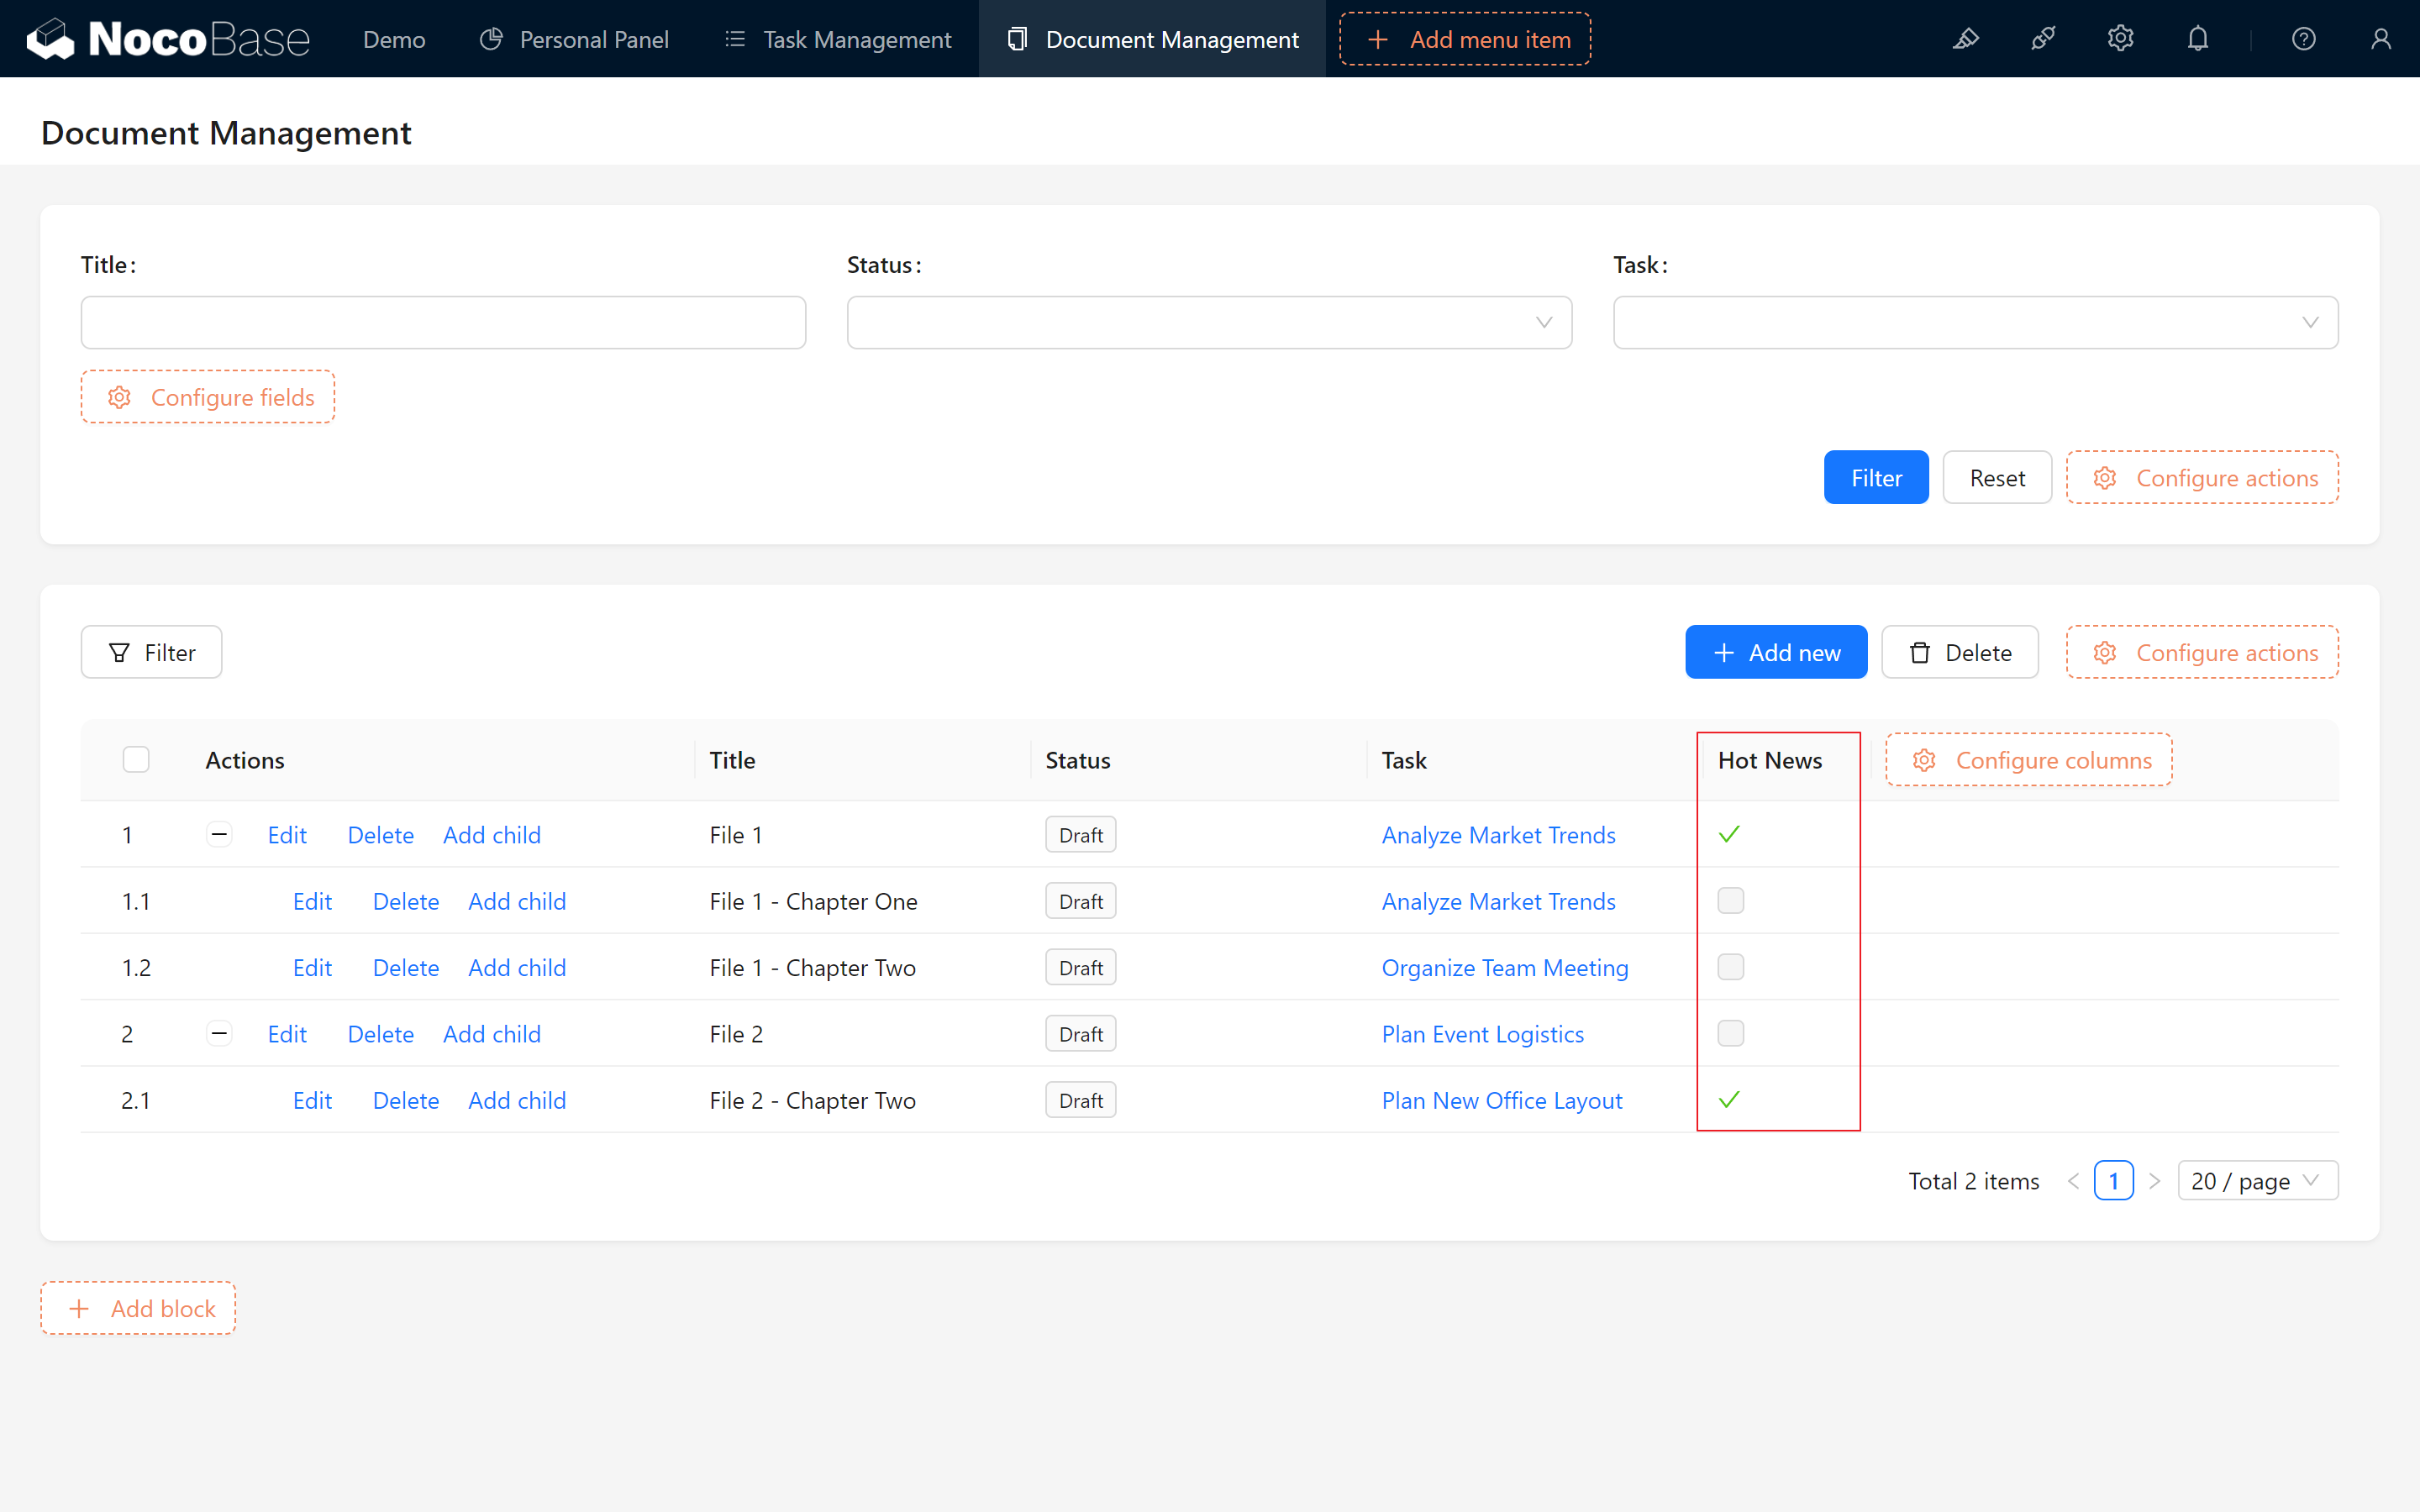
- Add a "Hot Information" Field: Add a checkbox field named "Hot Information" in the document table to mark whether the document is significant news.
- Add and Select Document Information: Choose a document and enable the "Hot Information" checkbox in the edit form.
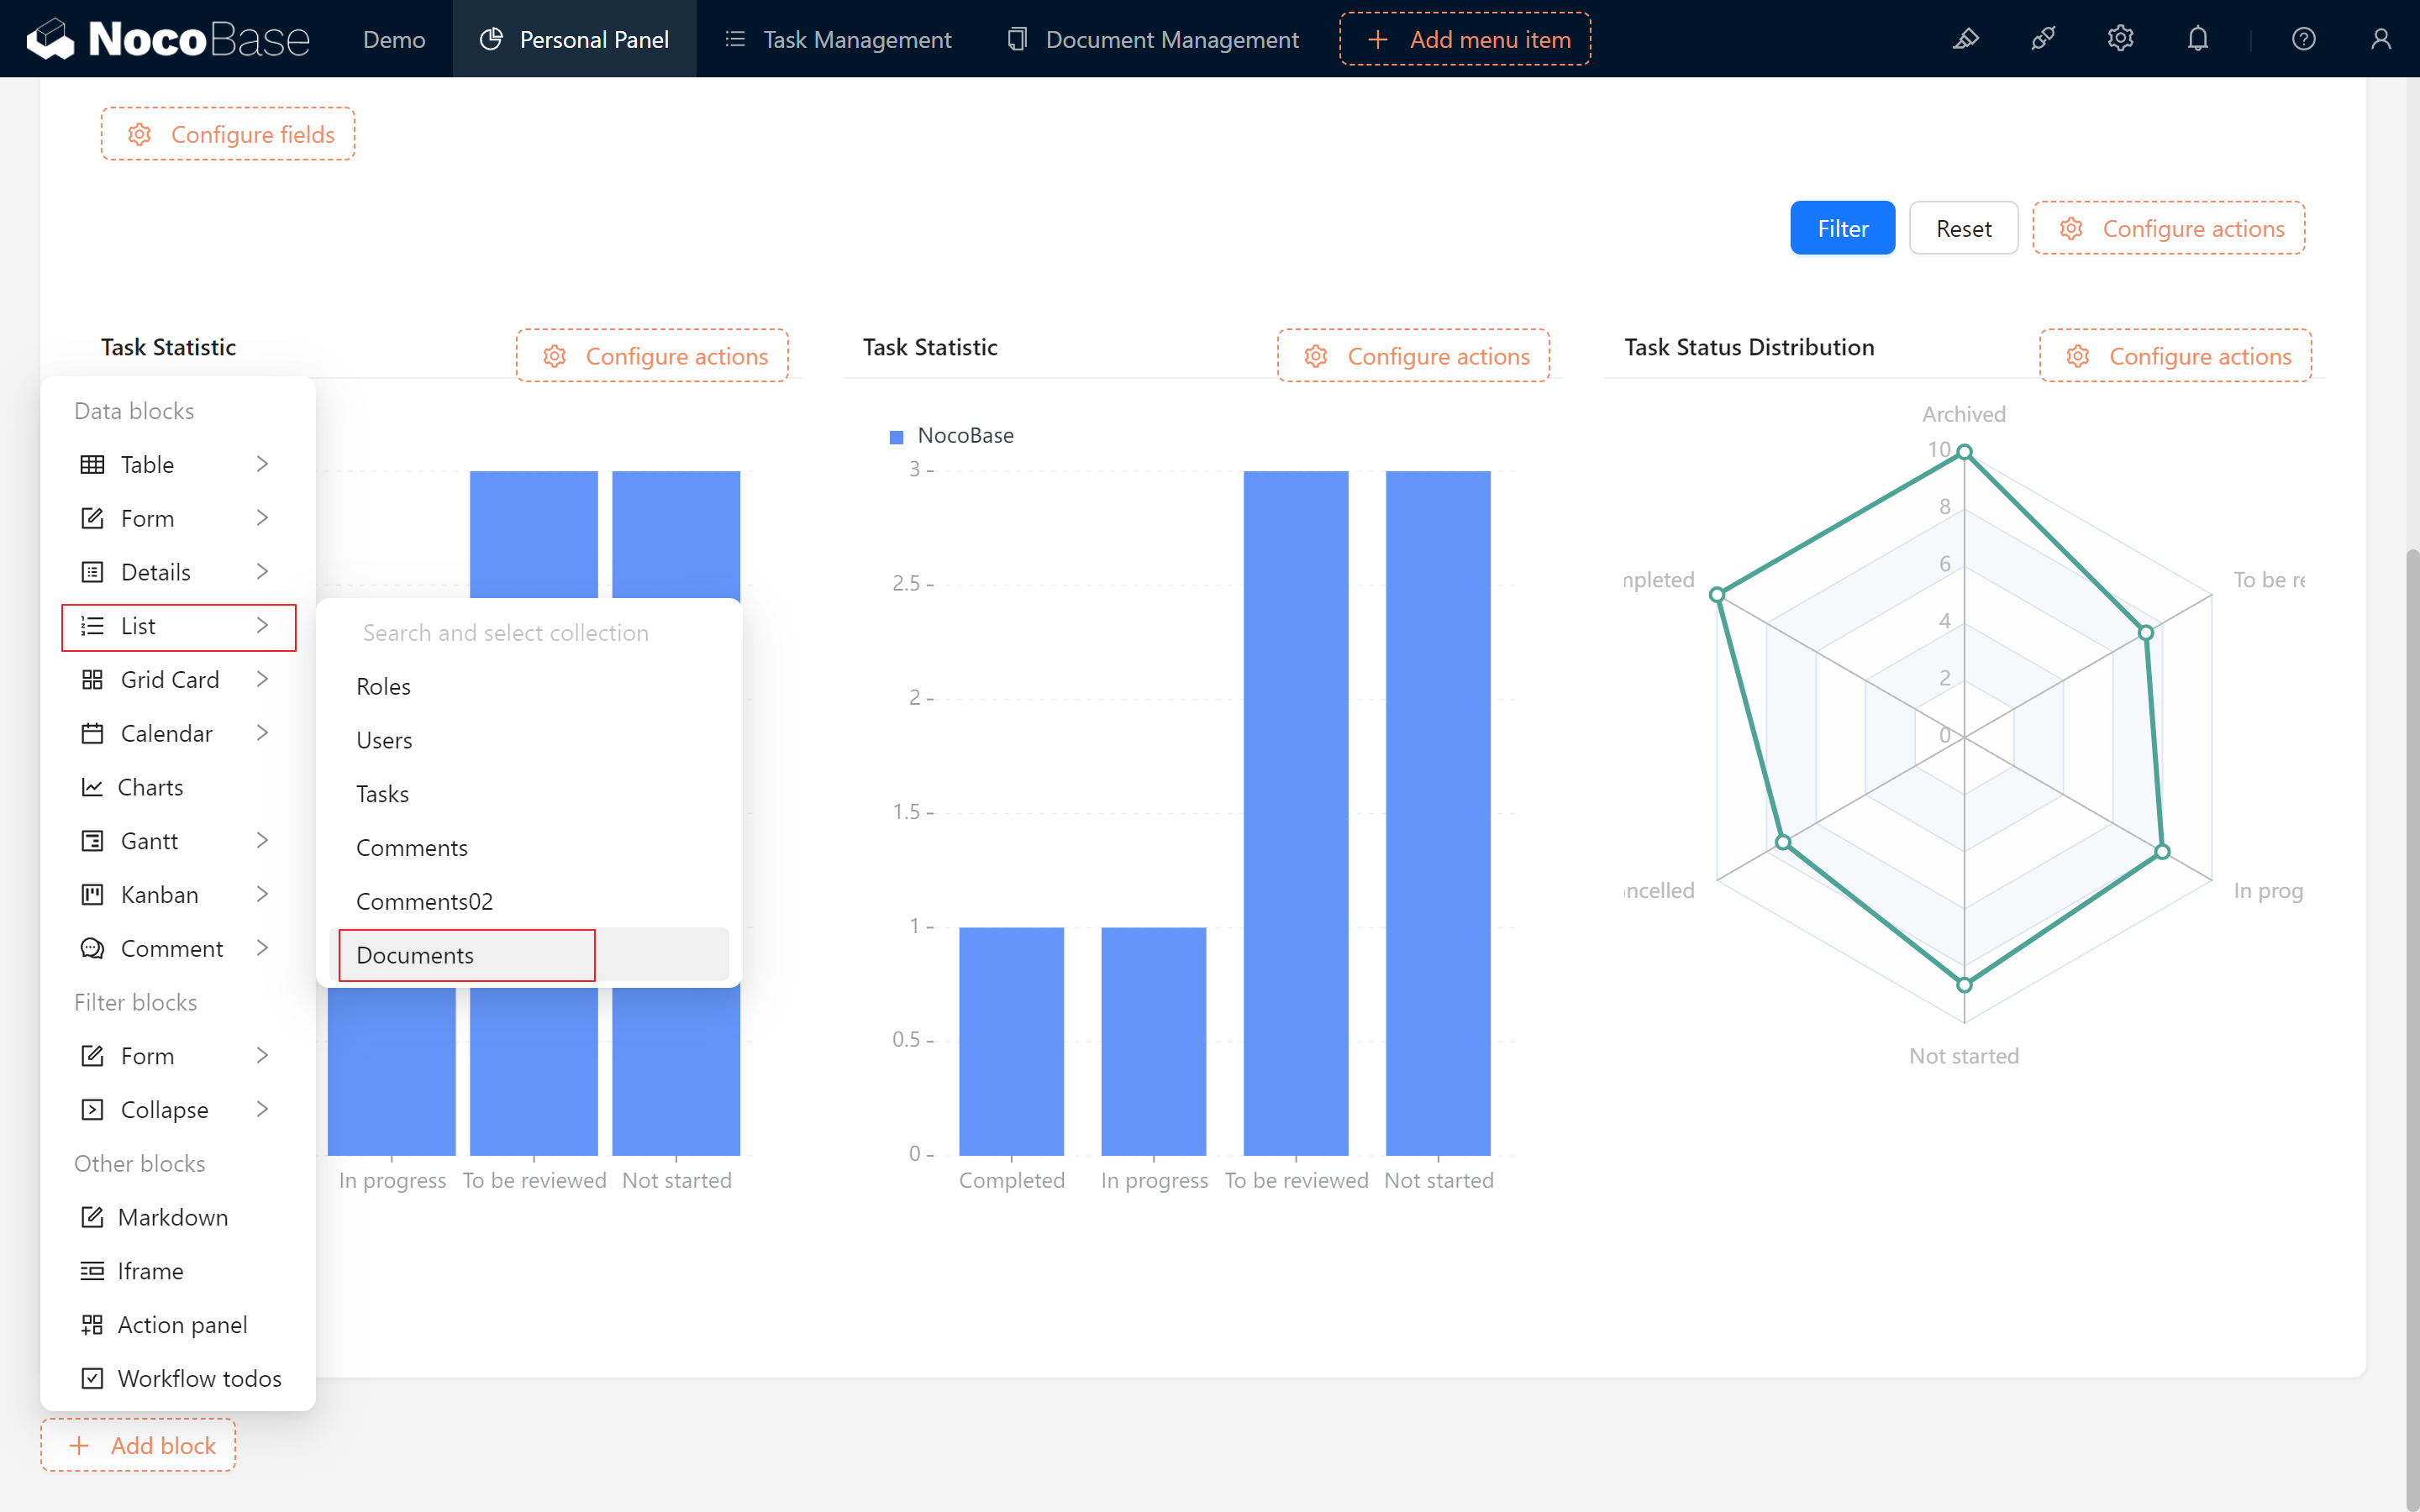
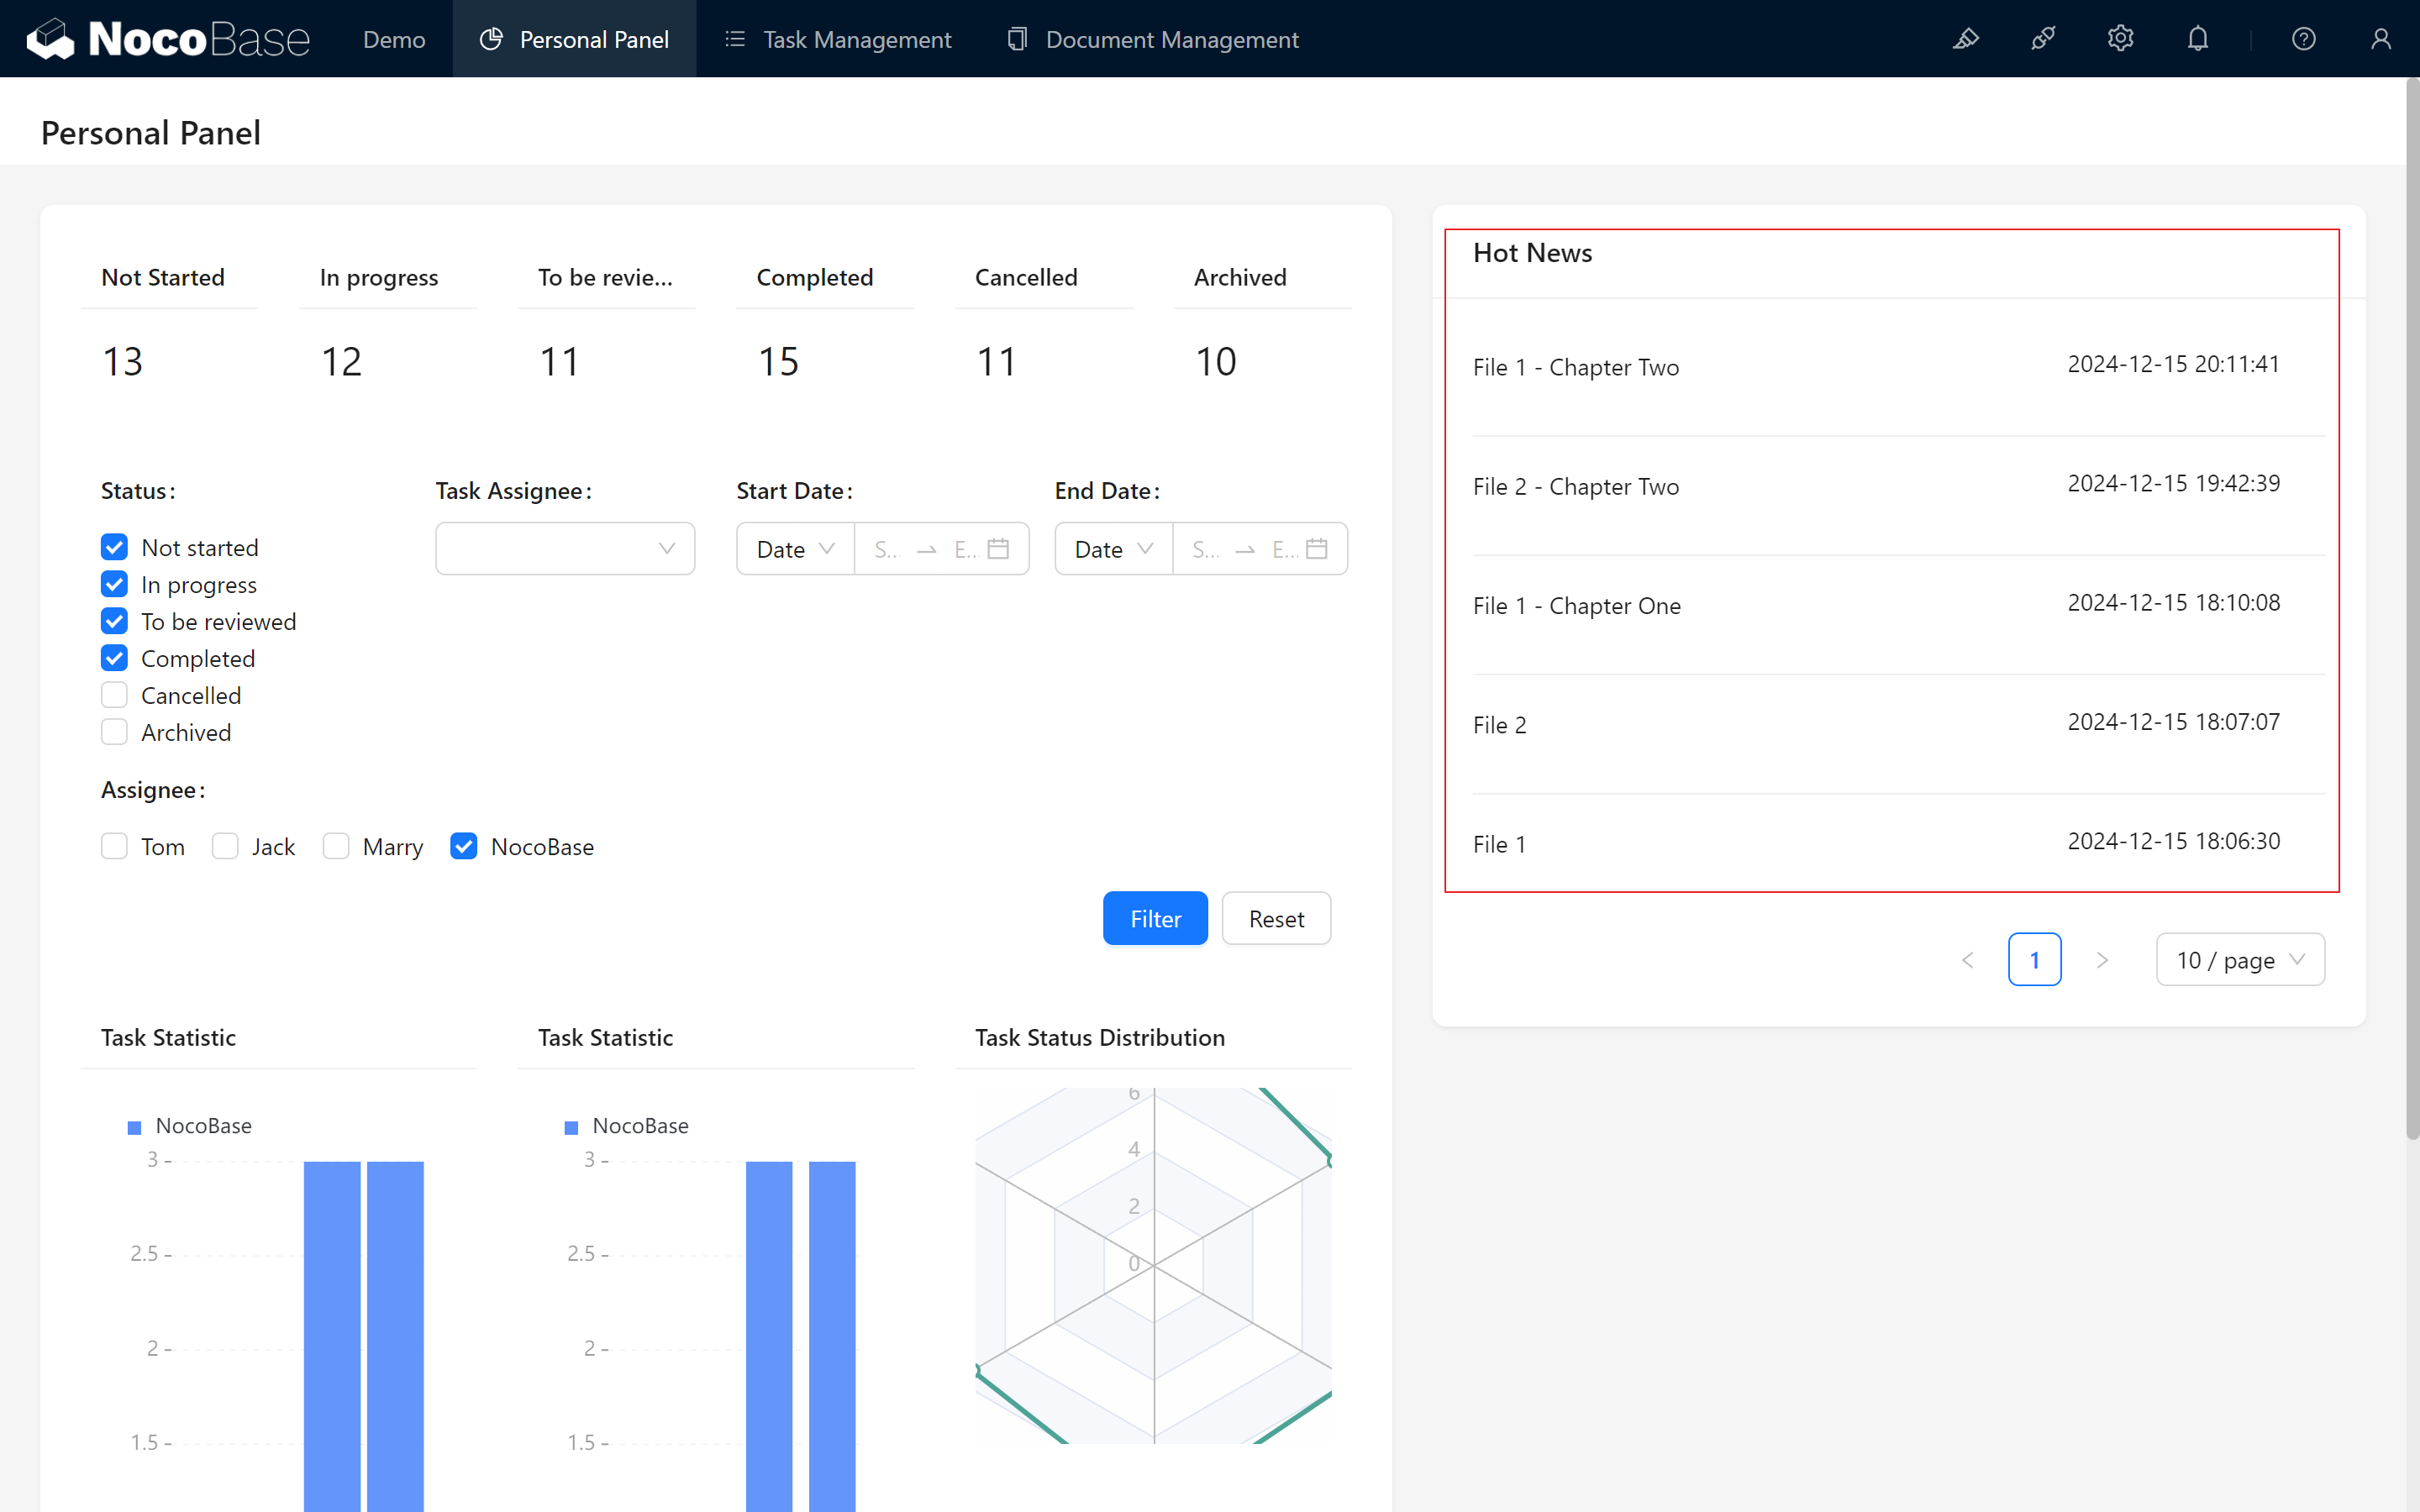
- Create a "List" Block: Go back to the dashboard and create a "List" block to display the document table.
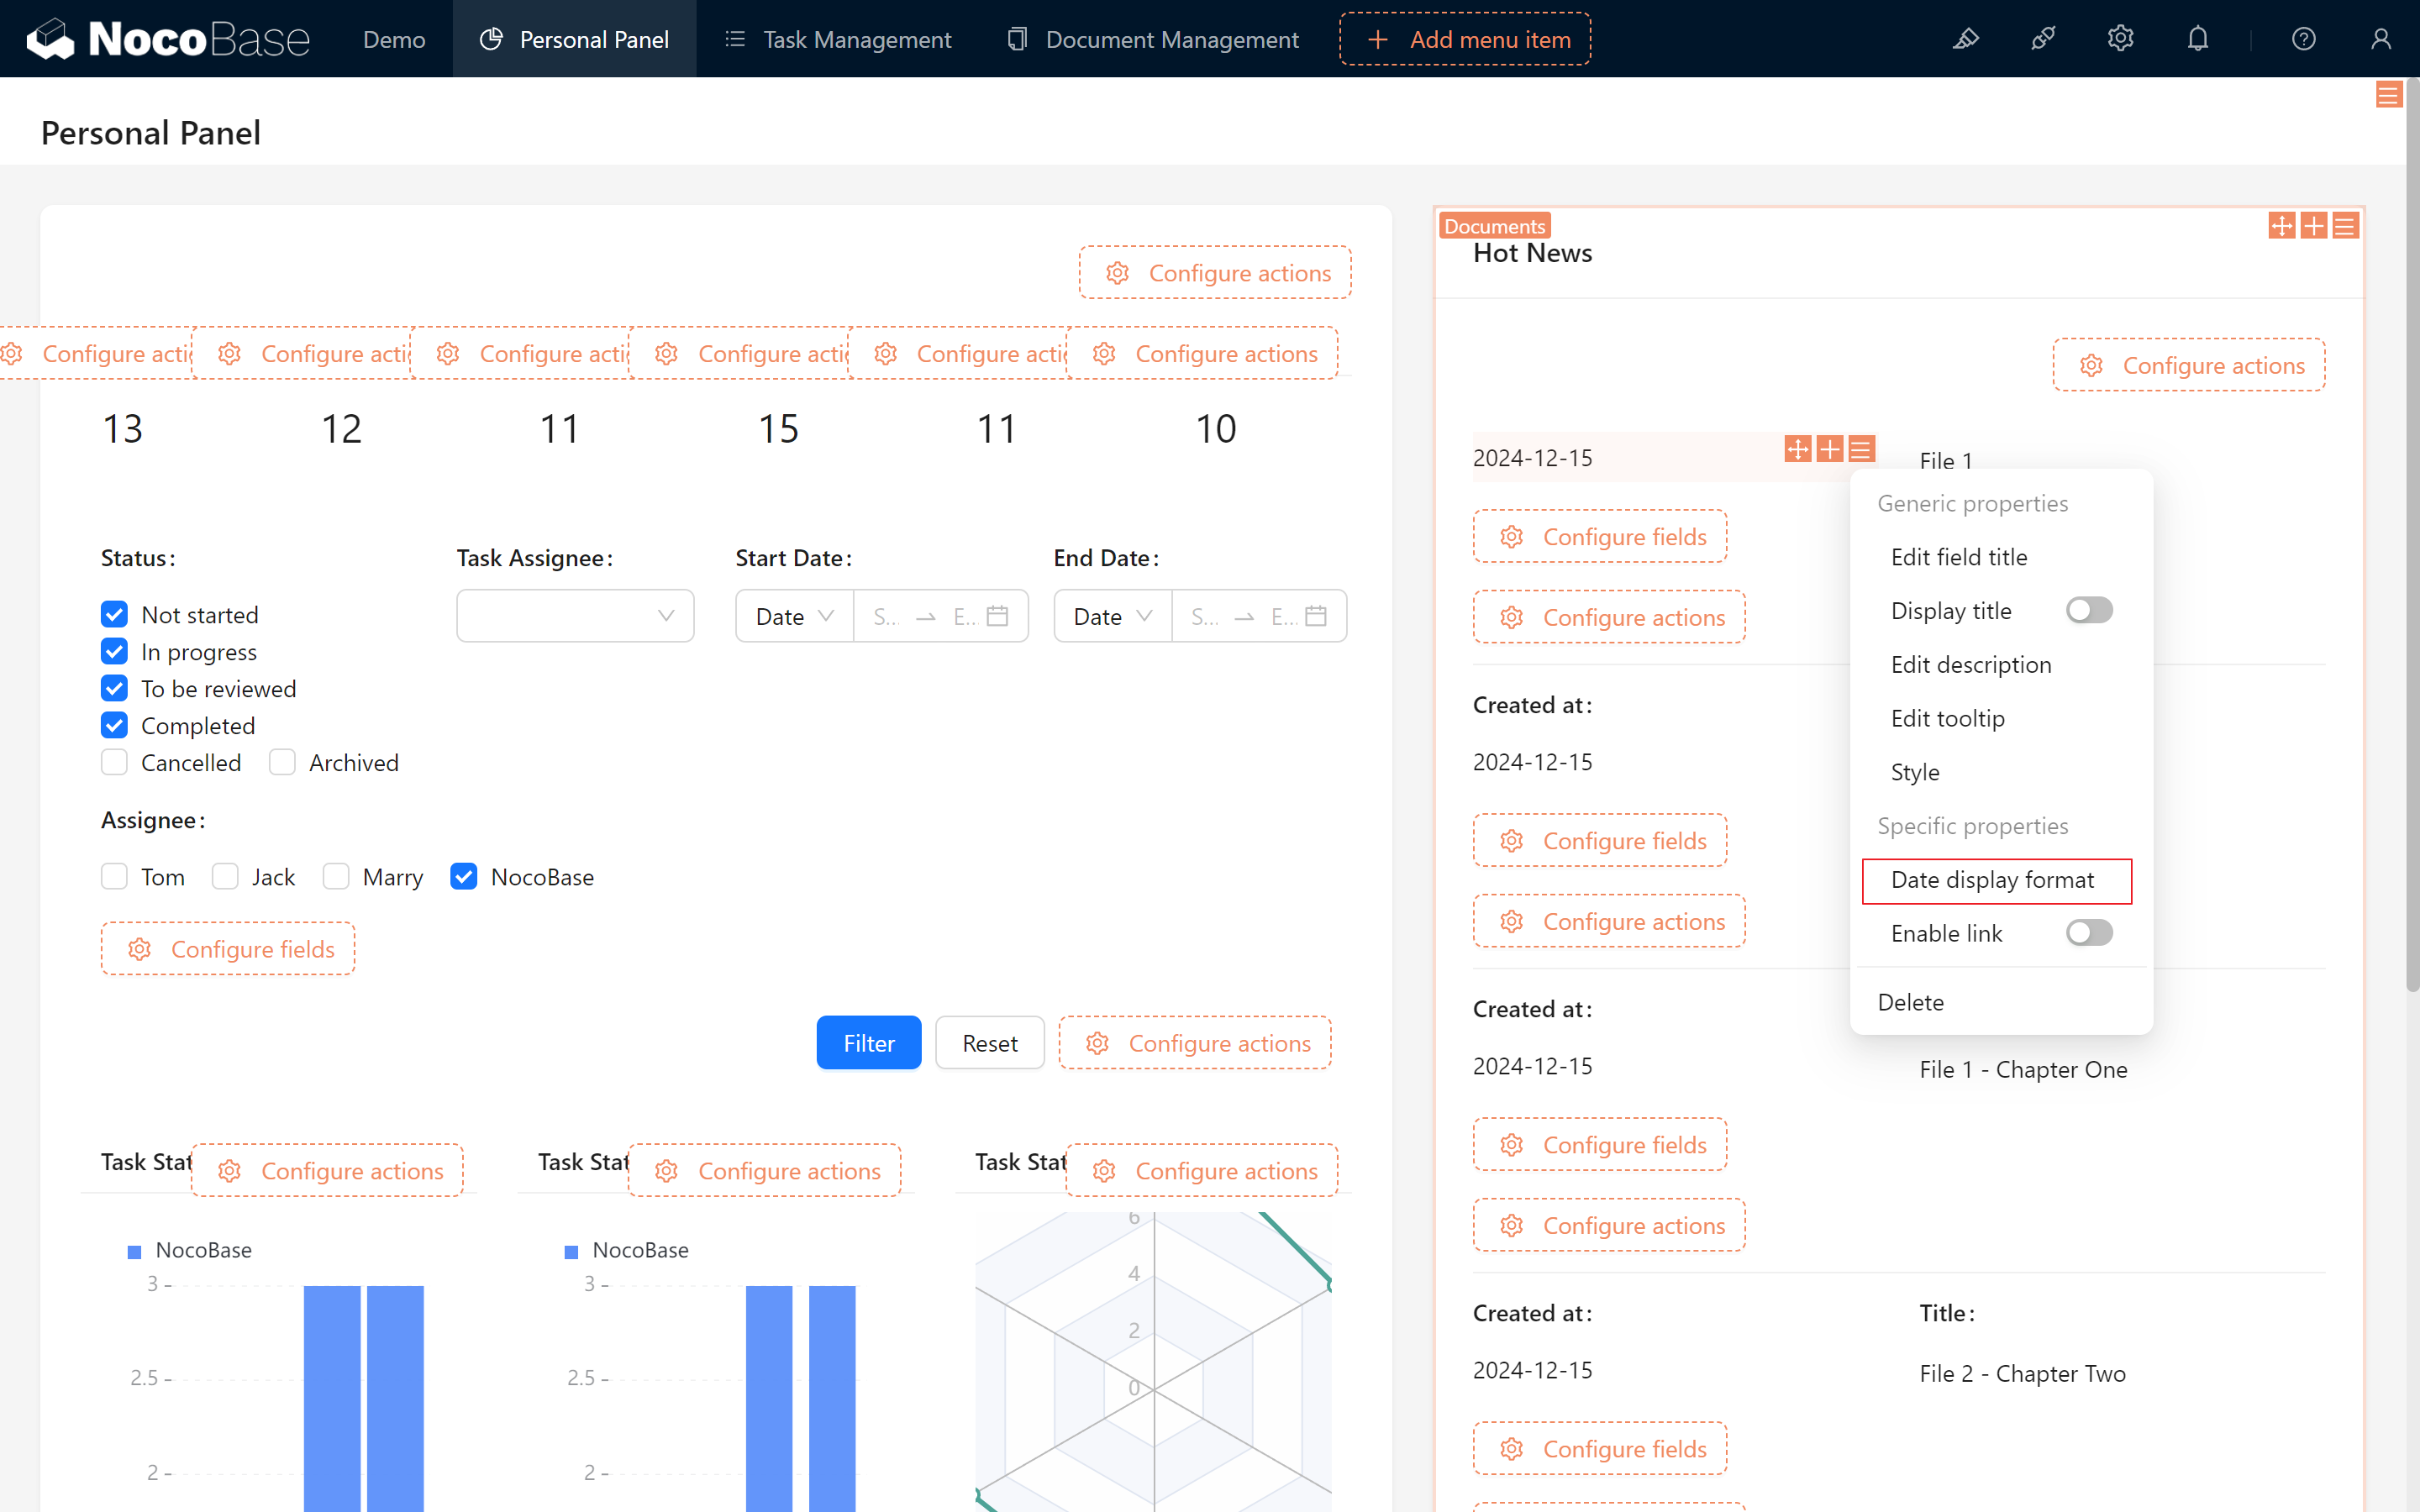
Drag it to the right, showing "Creation Date" and "Title." Adjust field widths and disable "Show Title."
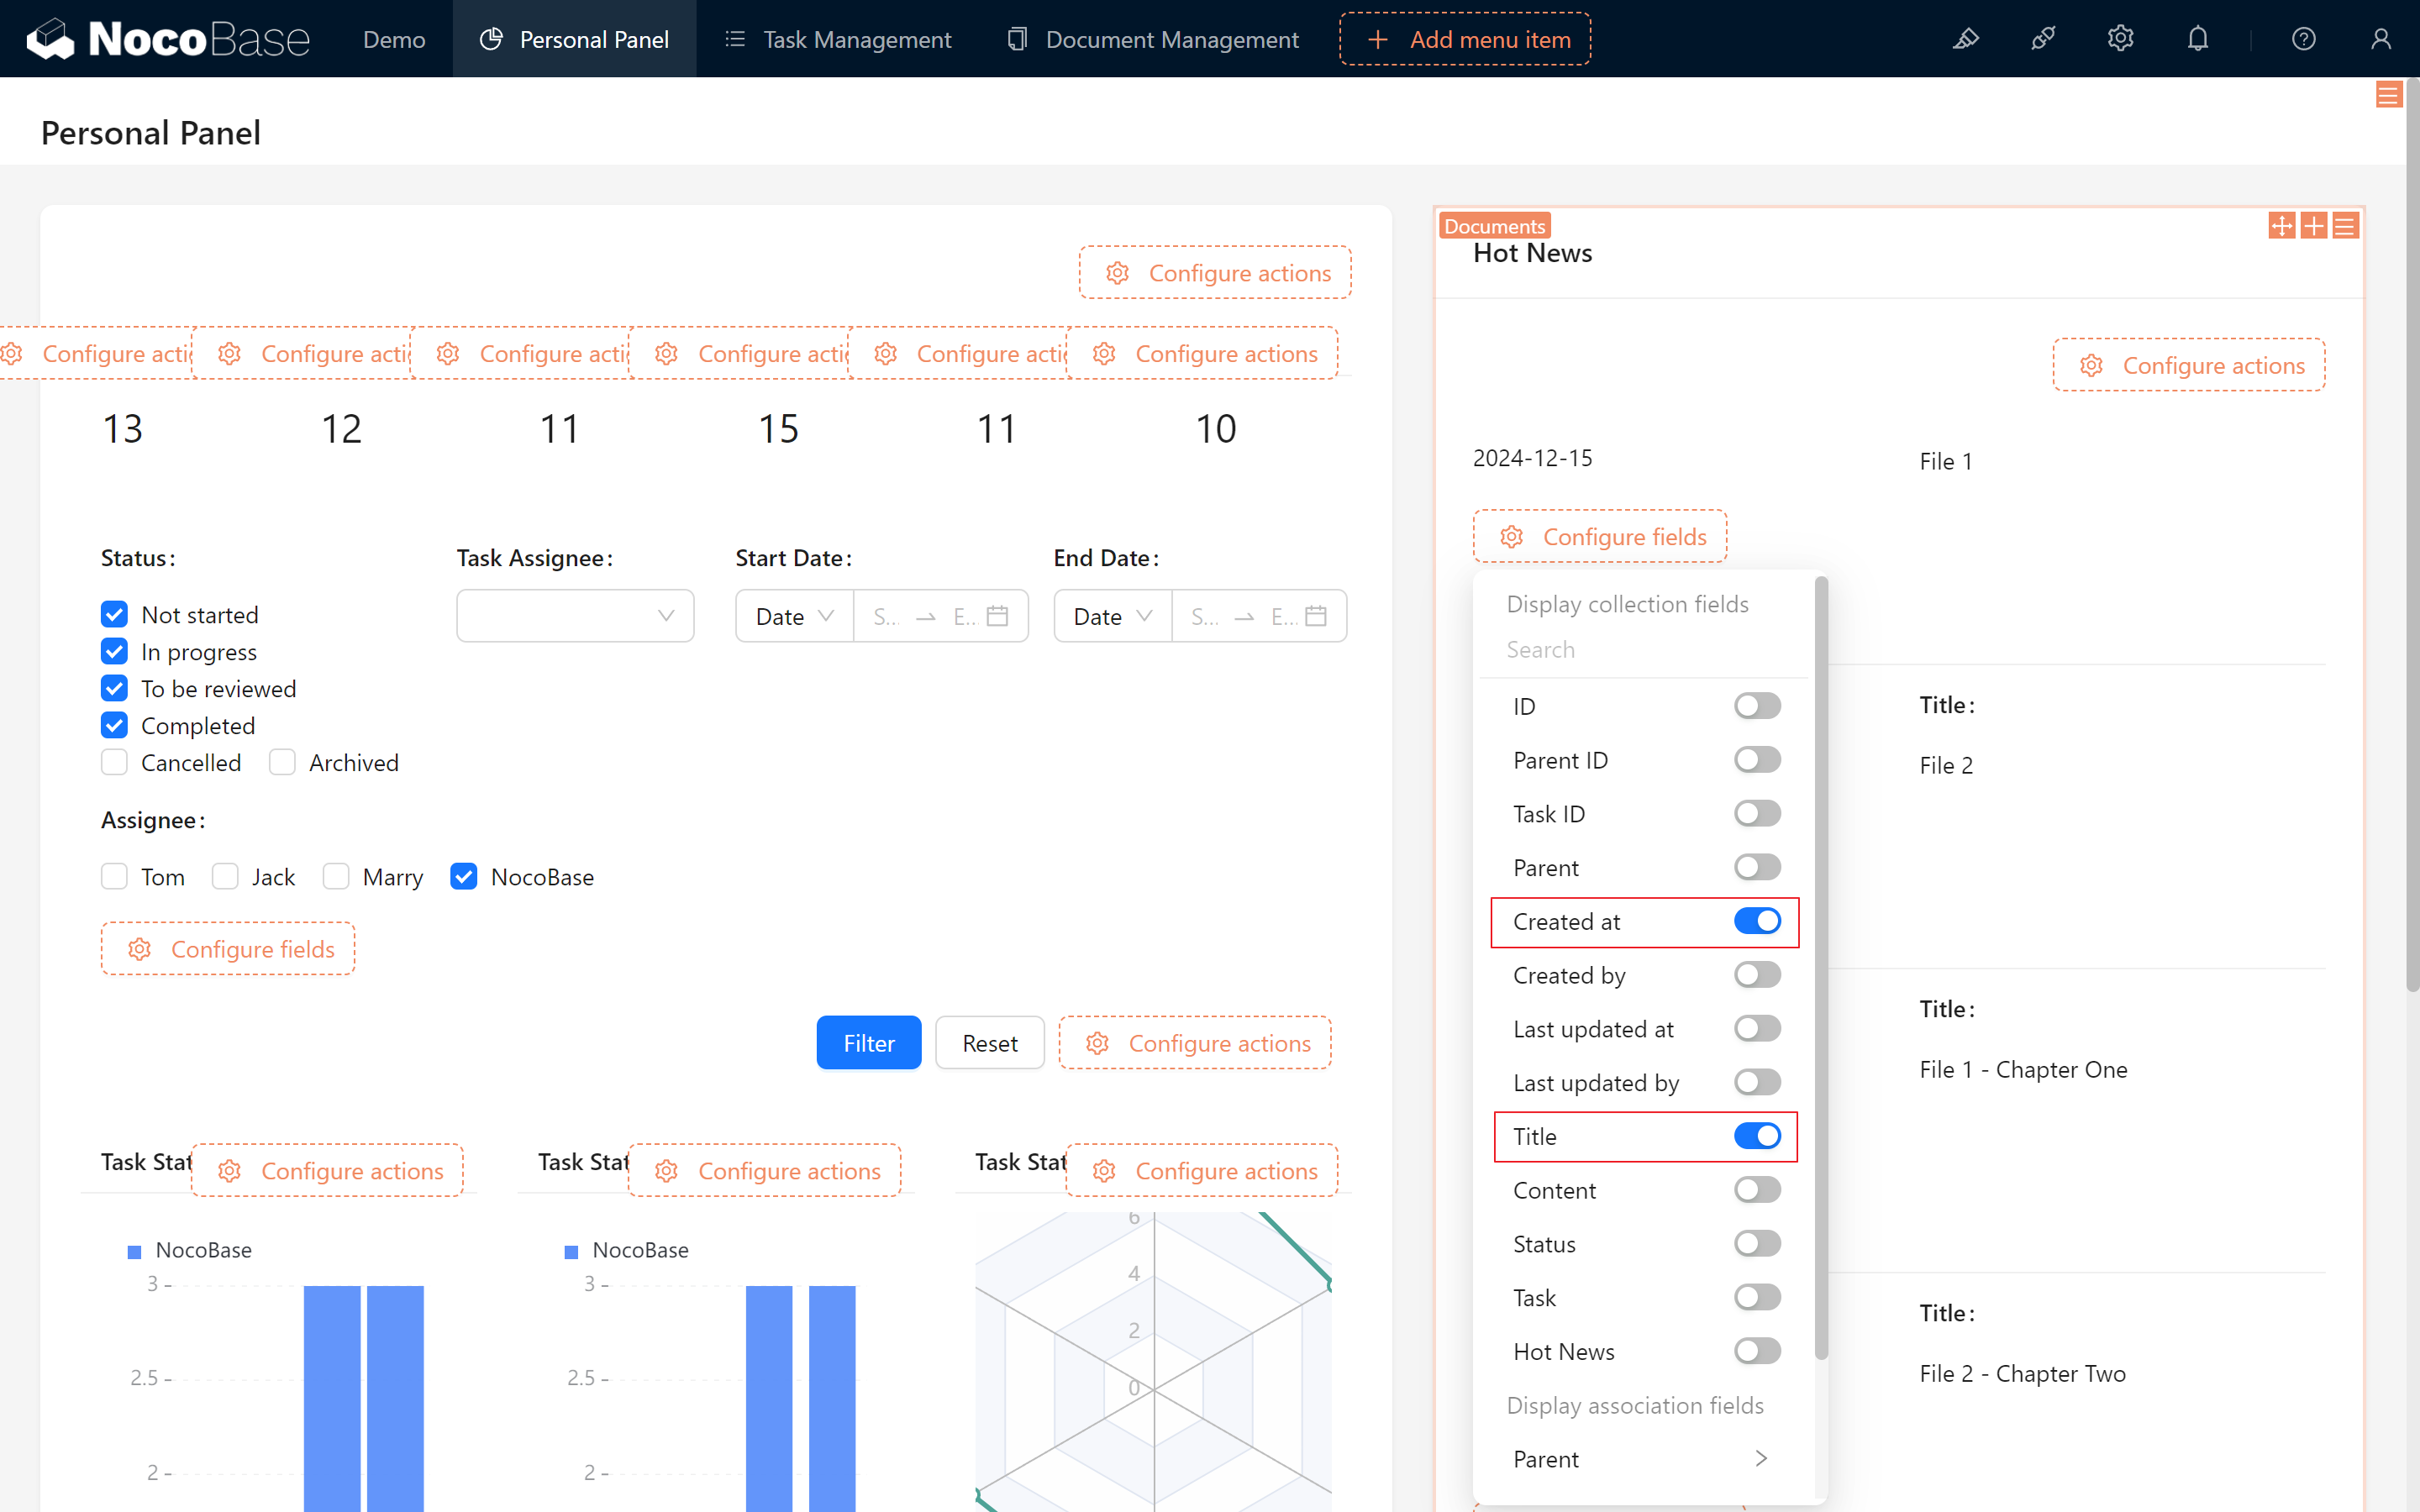
- Display Hot Information:
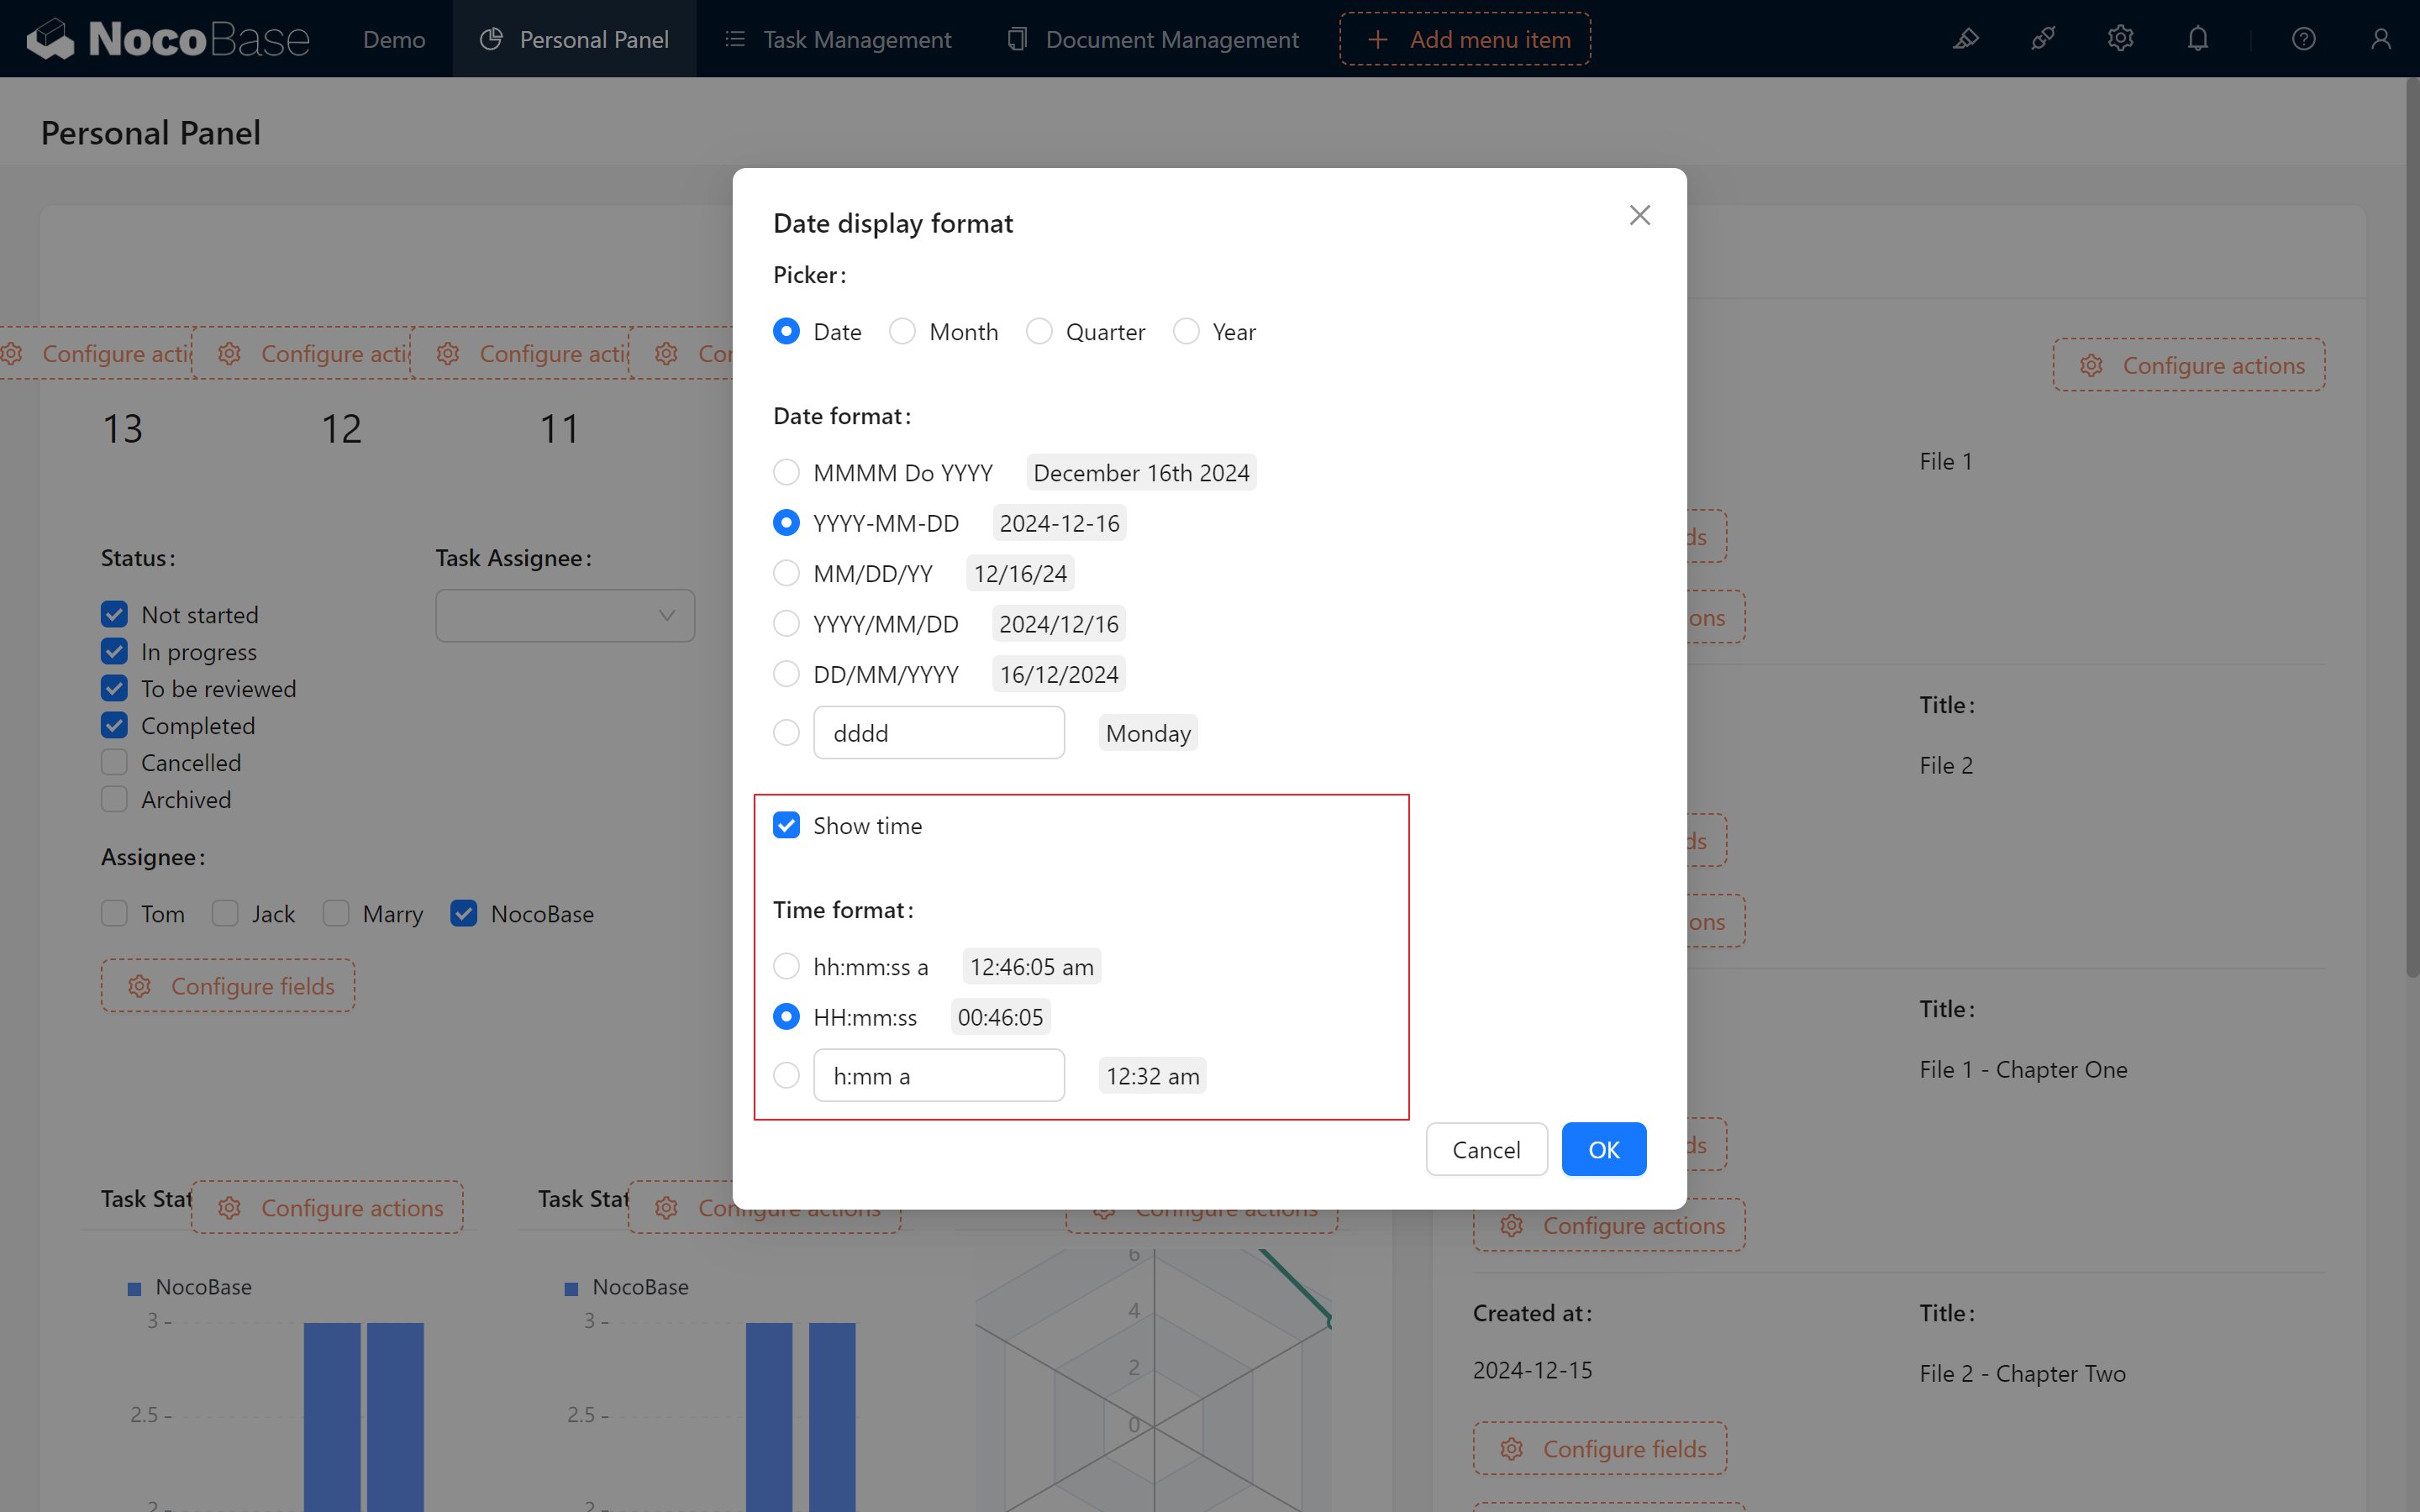
In order to reflect real-time, we can show the time at the same time.
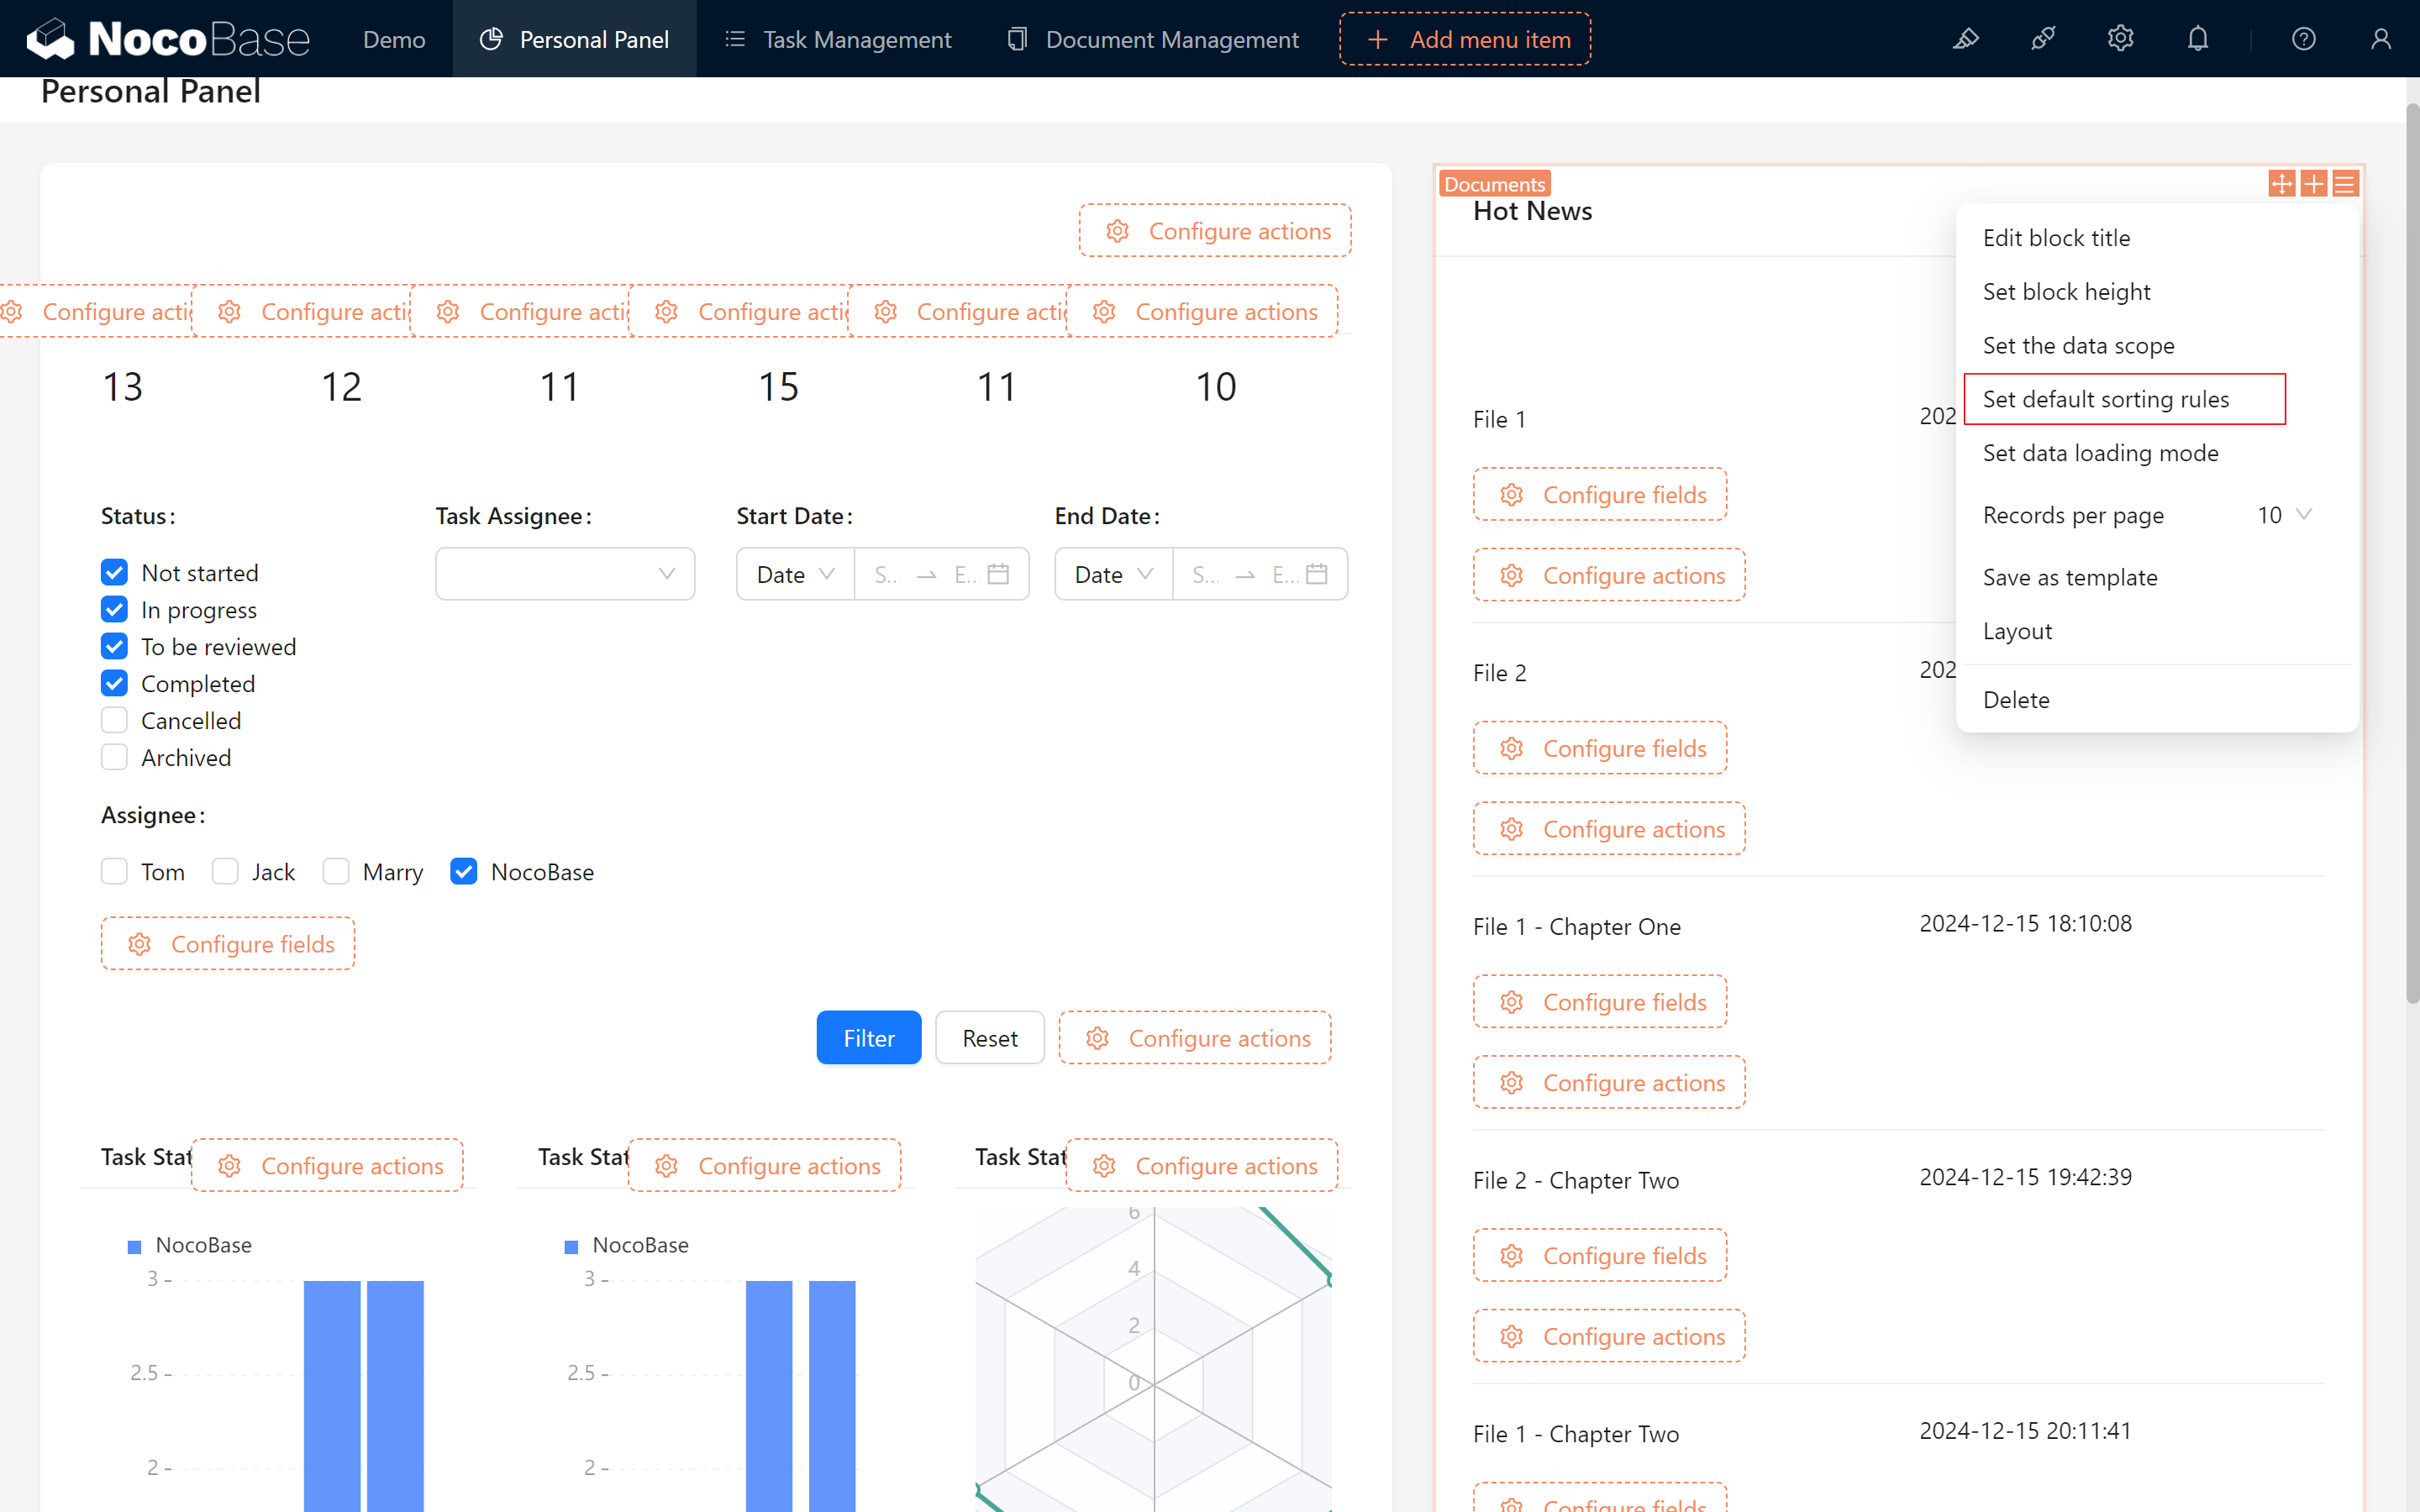
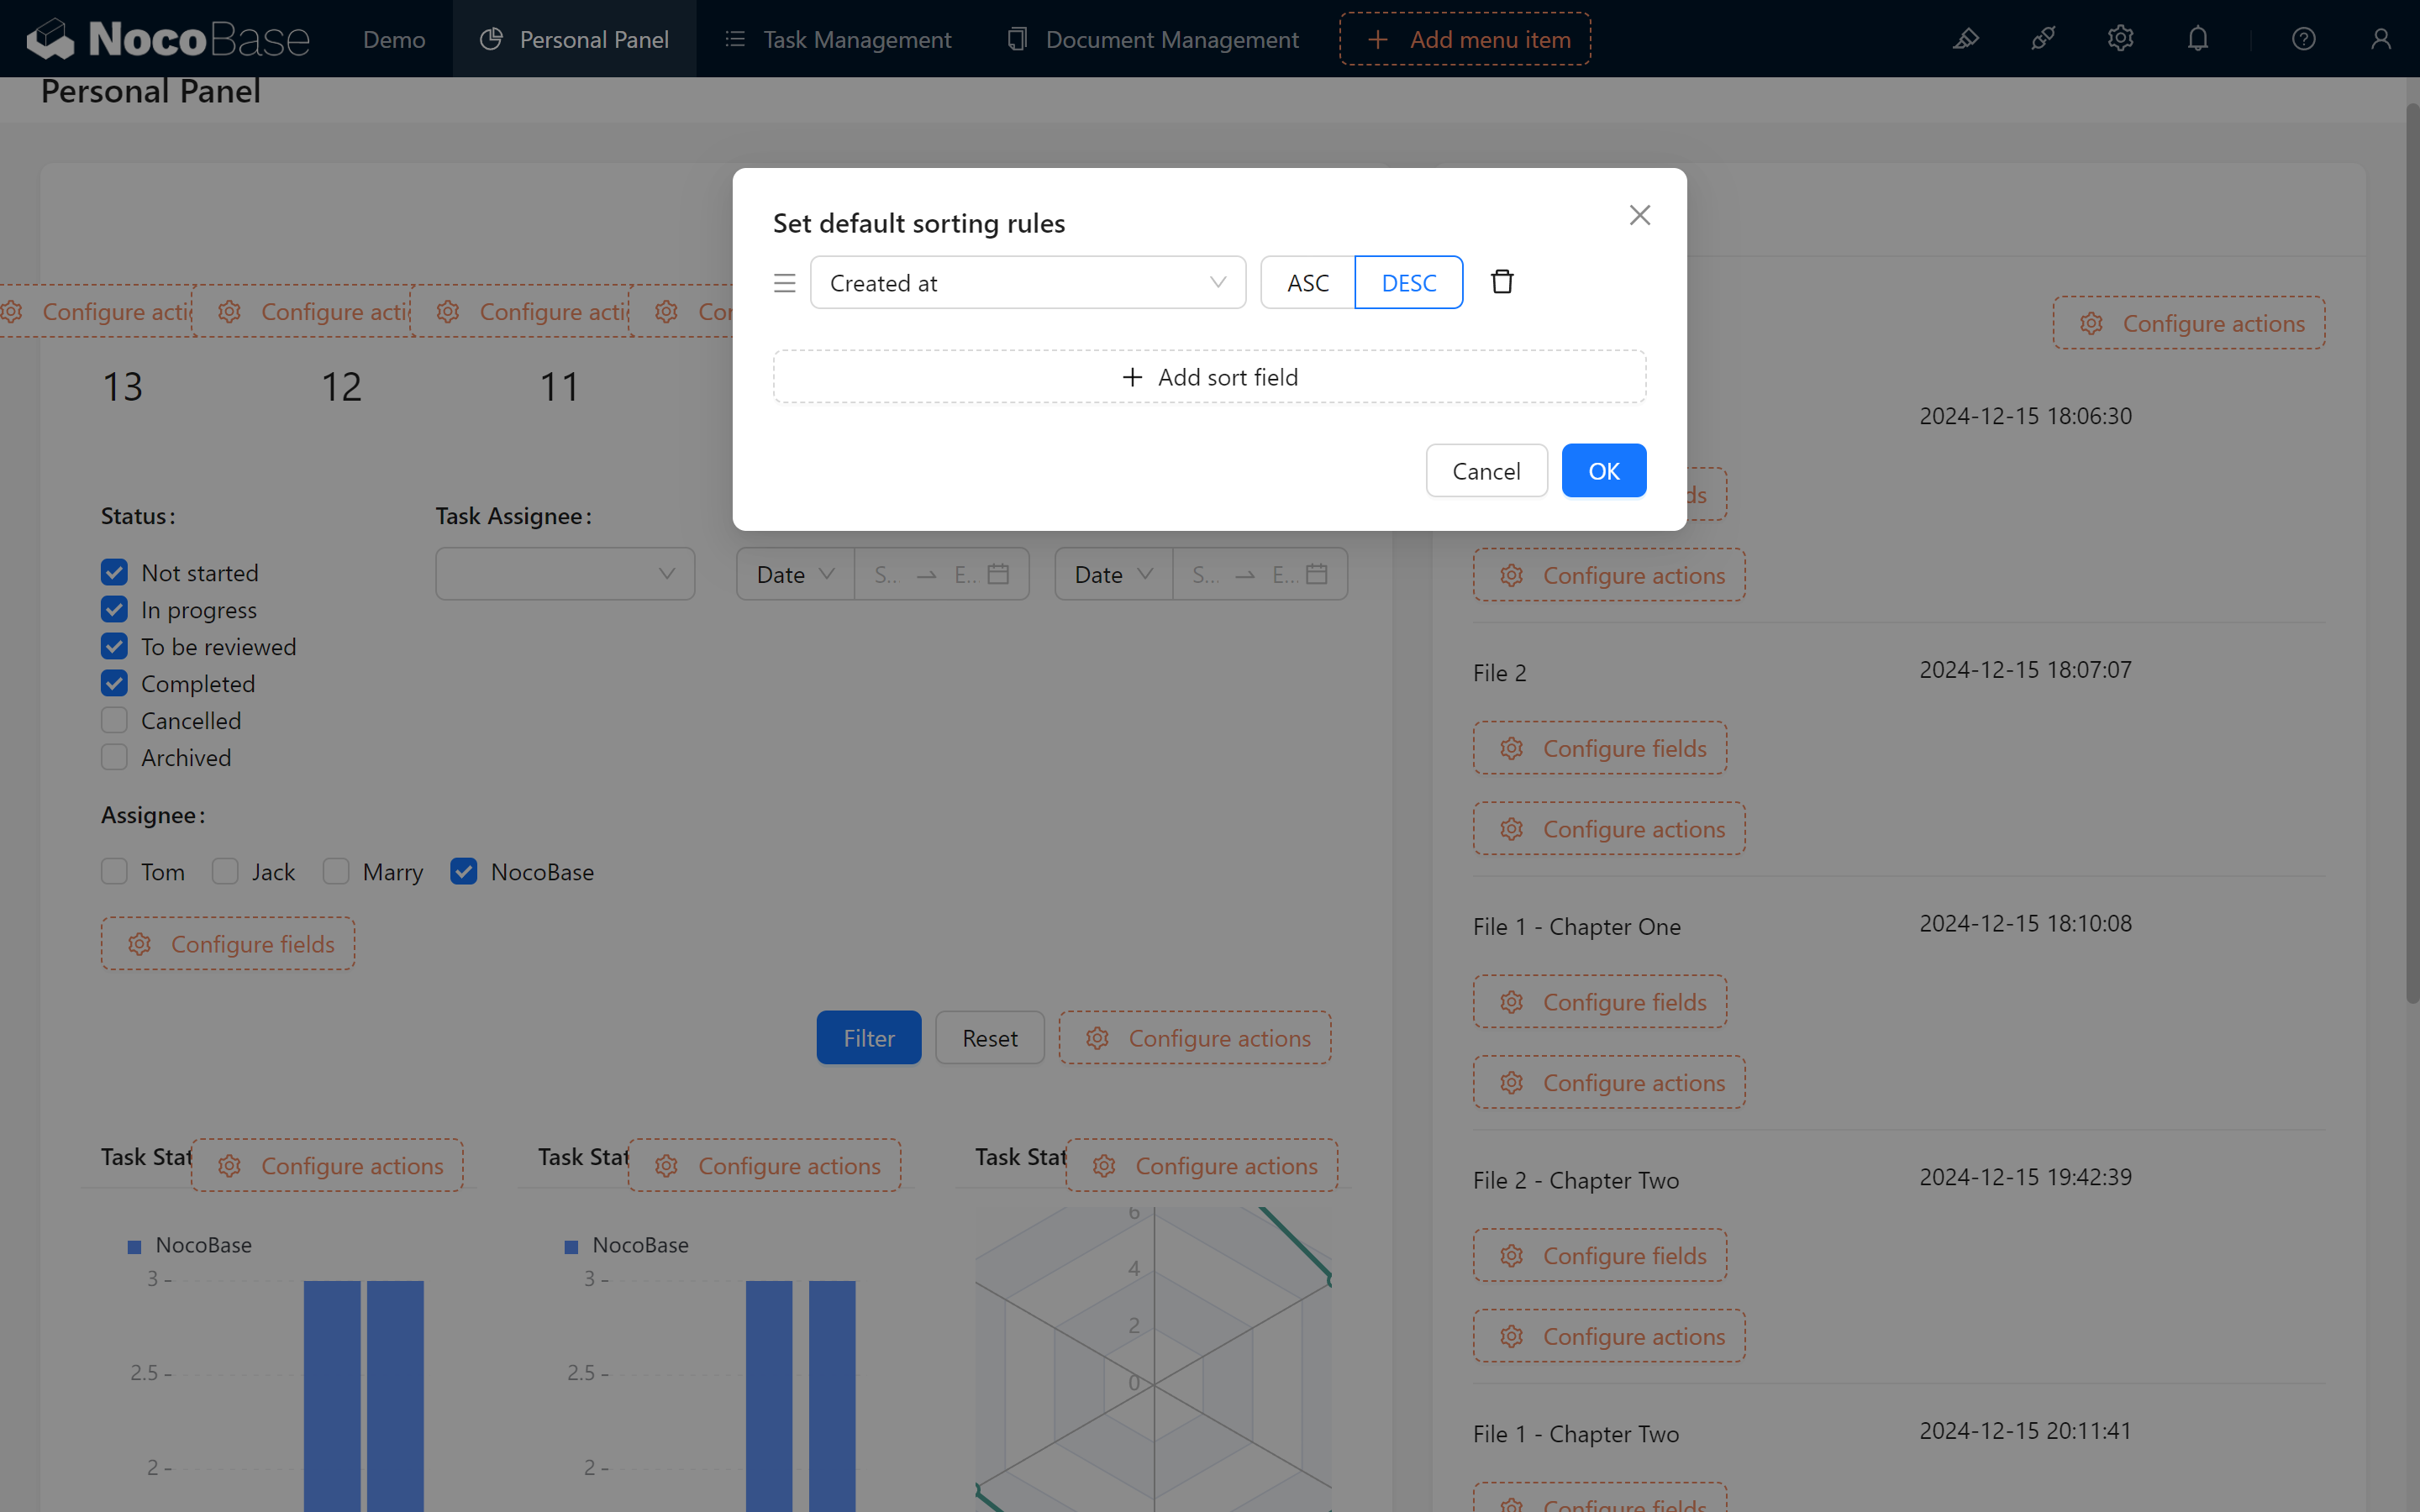
Arrange in descending order by creation date to showcase the latest news.
A simple hot information section is now ready, allowing team members to keep up with critical project progress!
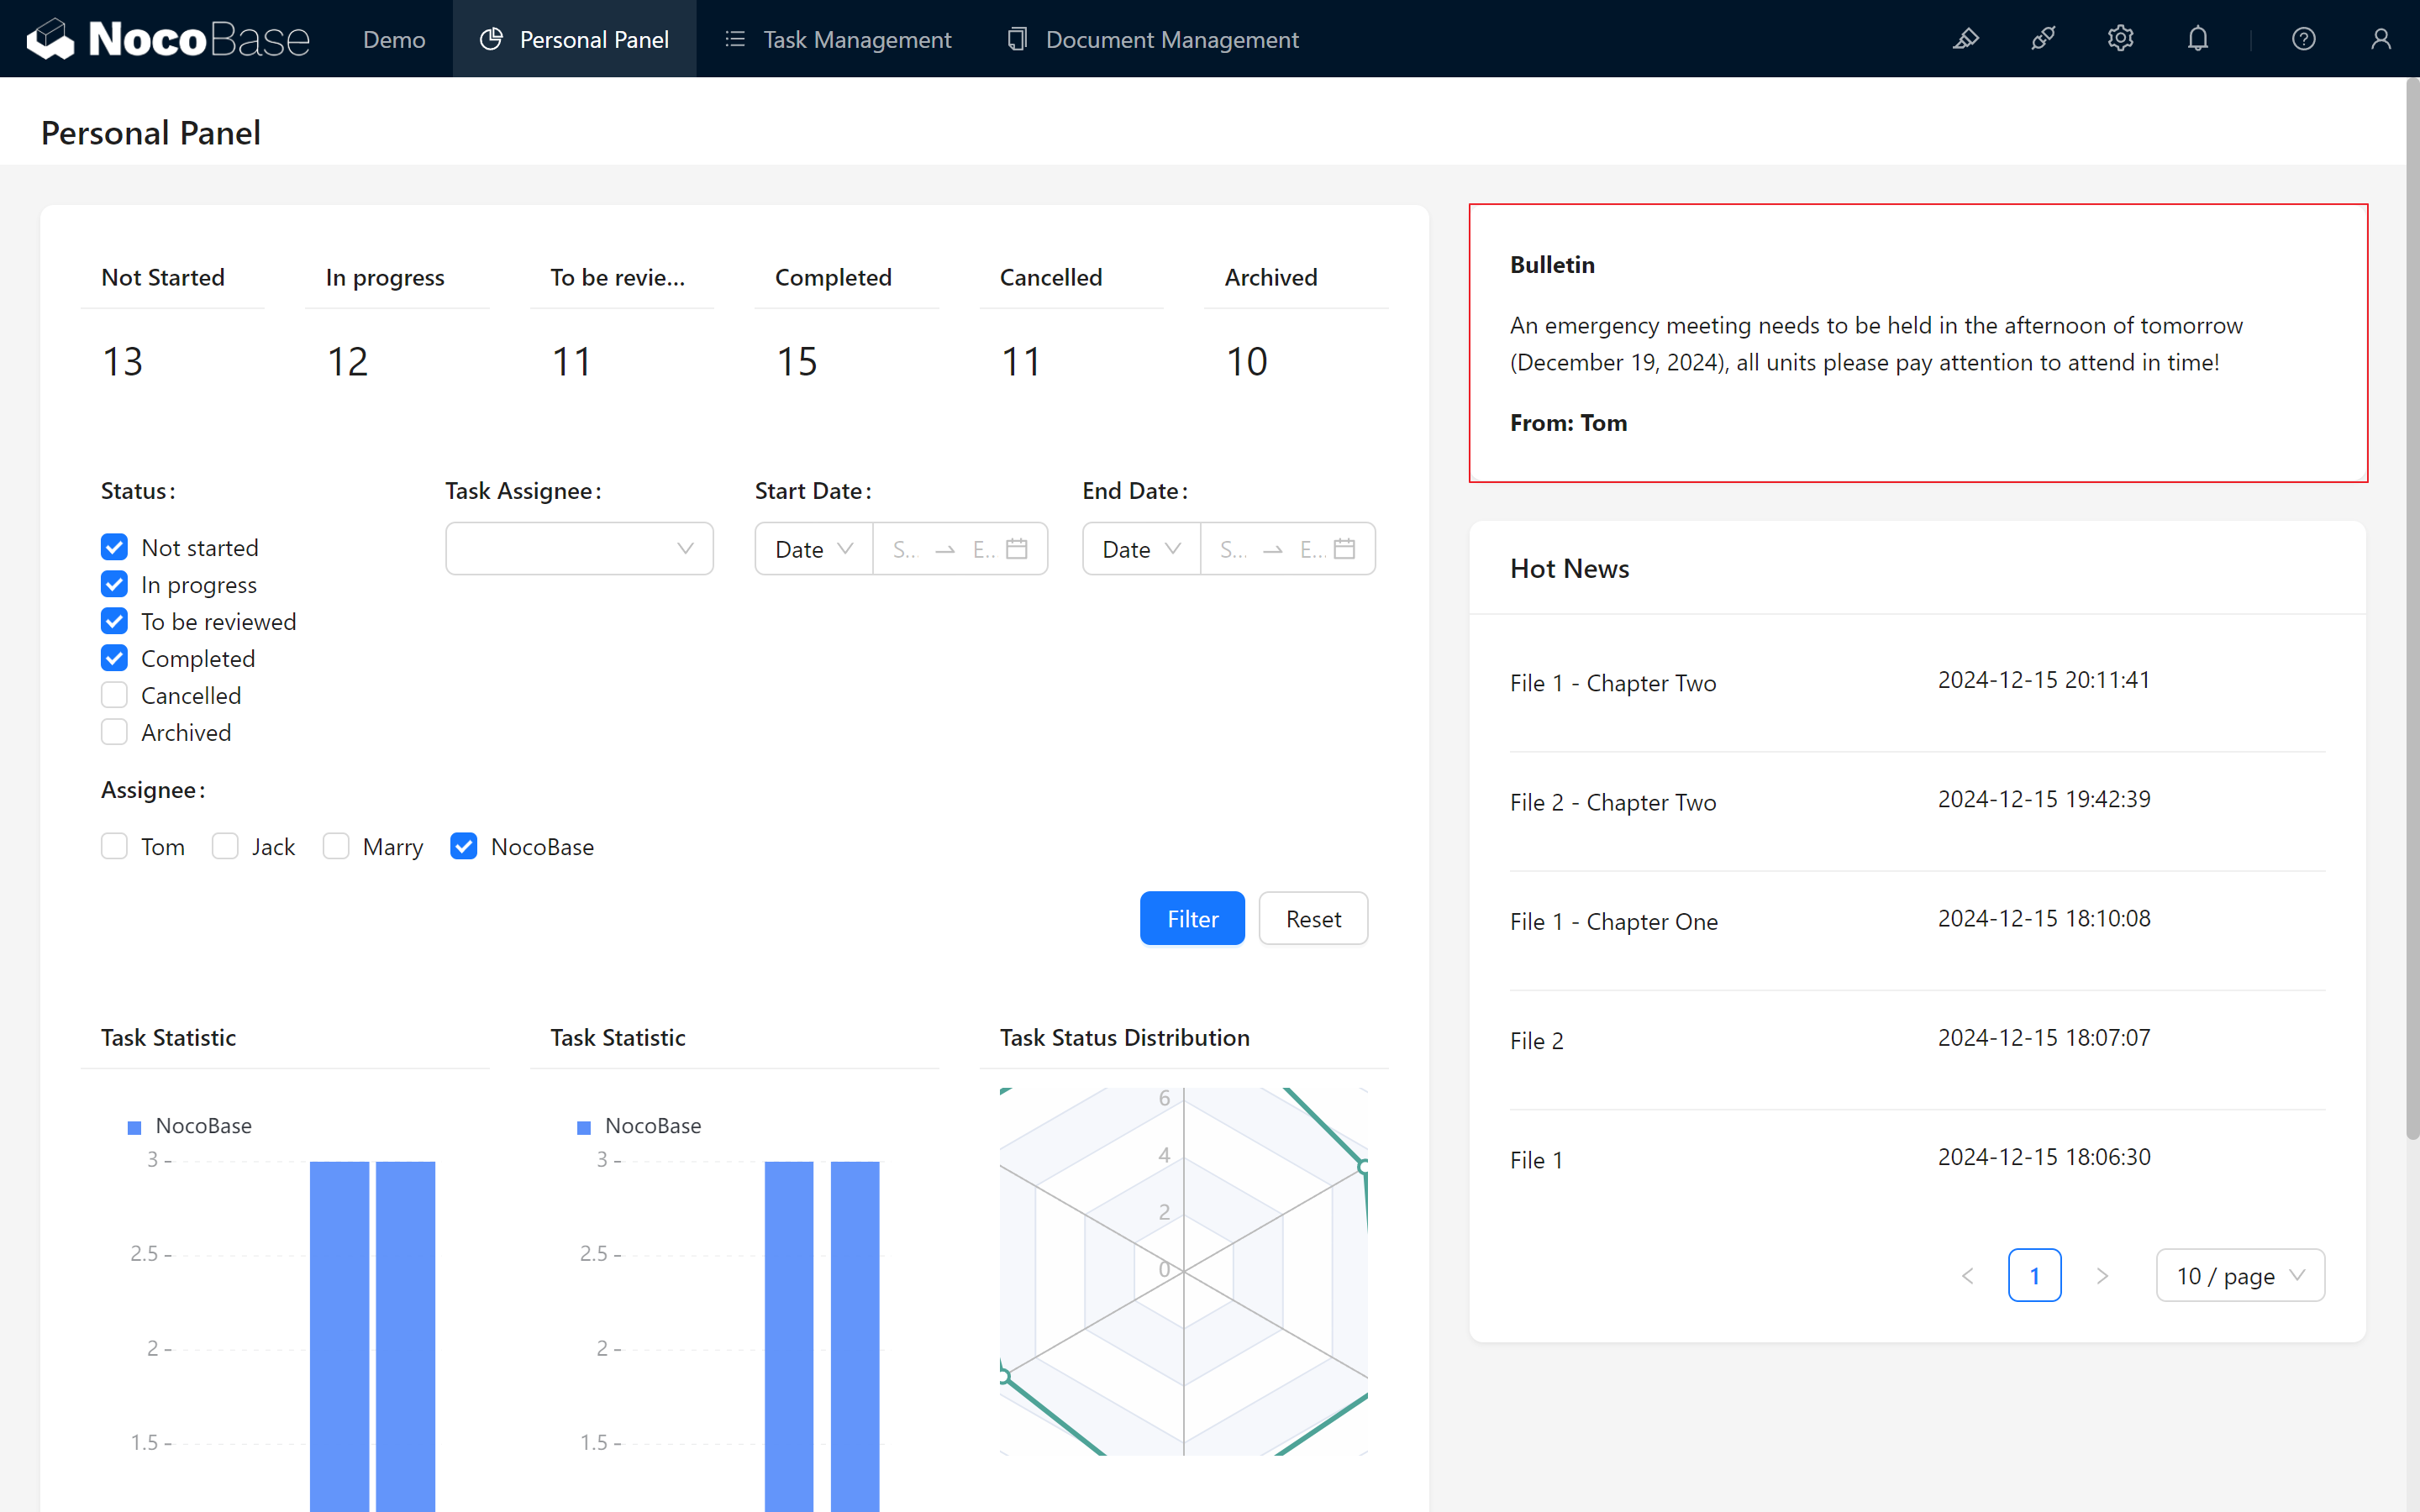
10.4.2 Announcements Notification
The next step involves creating a straightforward announcement feature. This temporary notification doesn’t require long-term display or project tracking—it’s just for reminders or alerts about temporary matters.
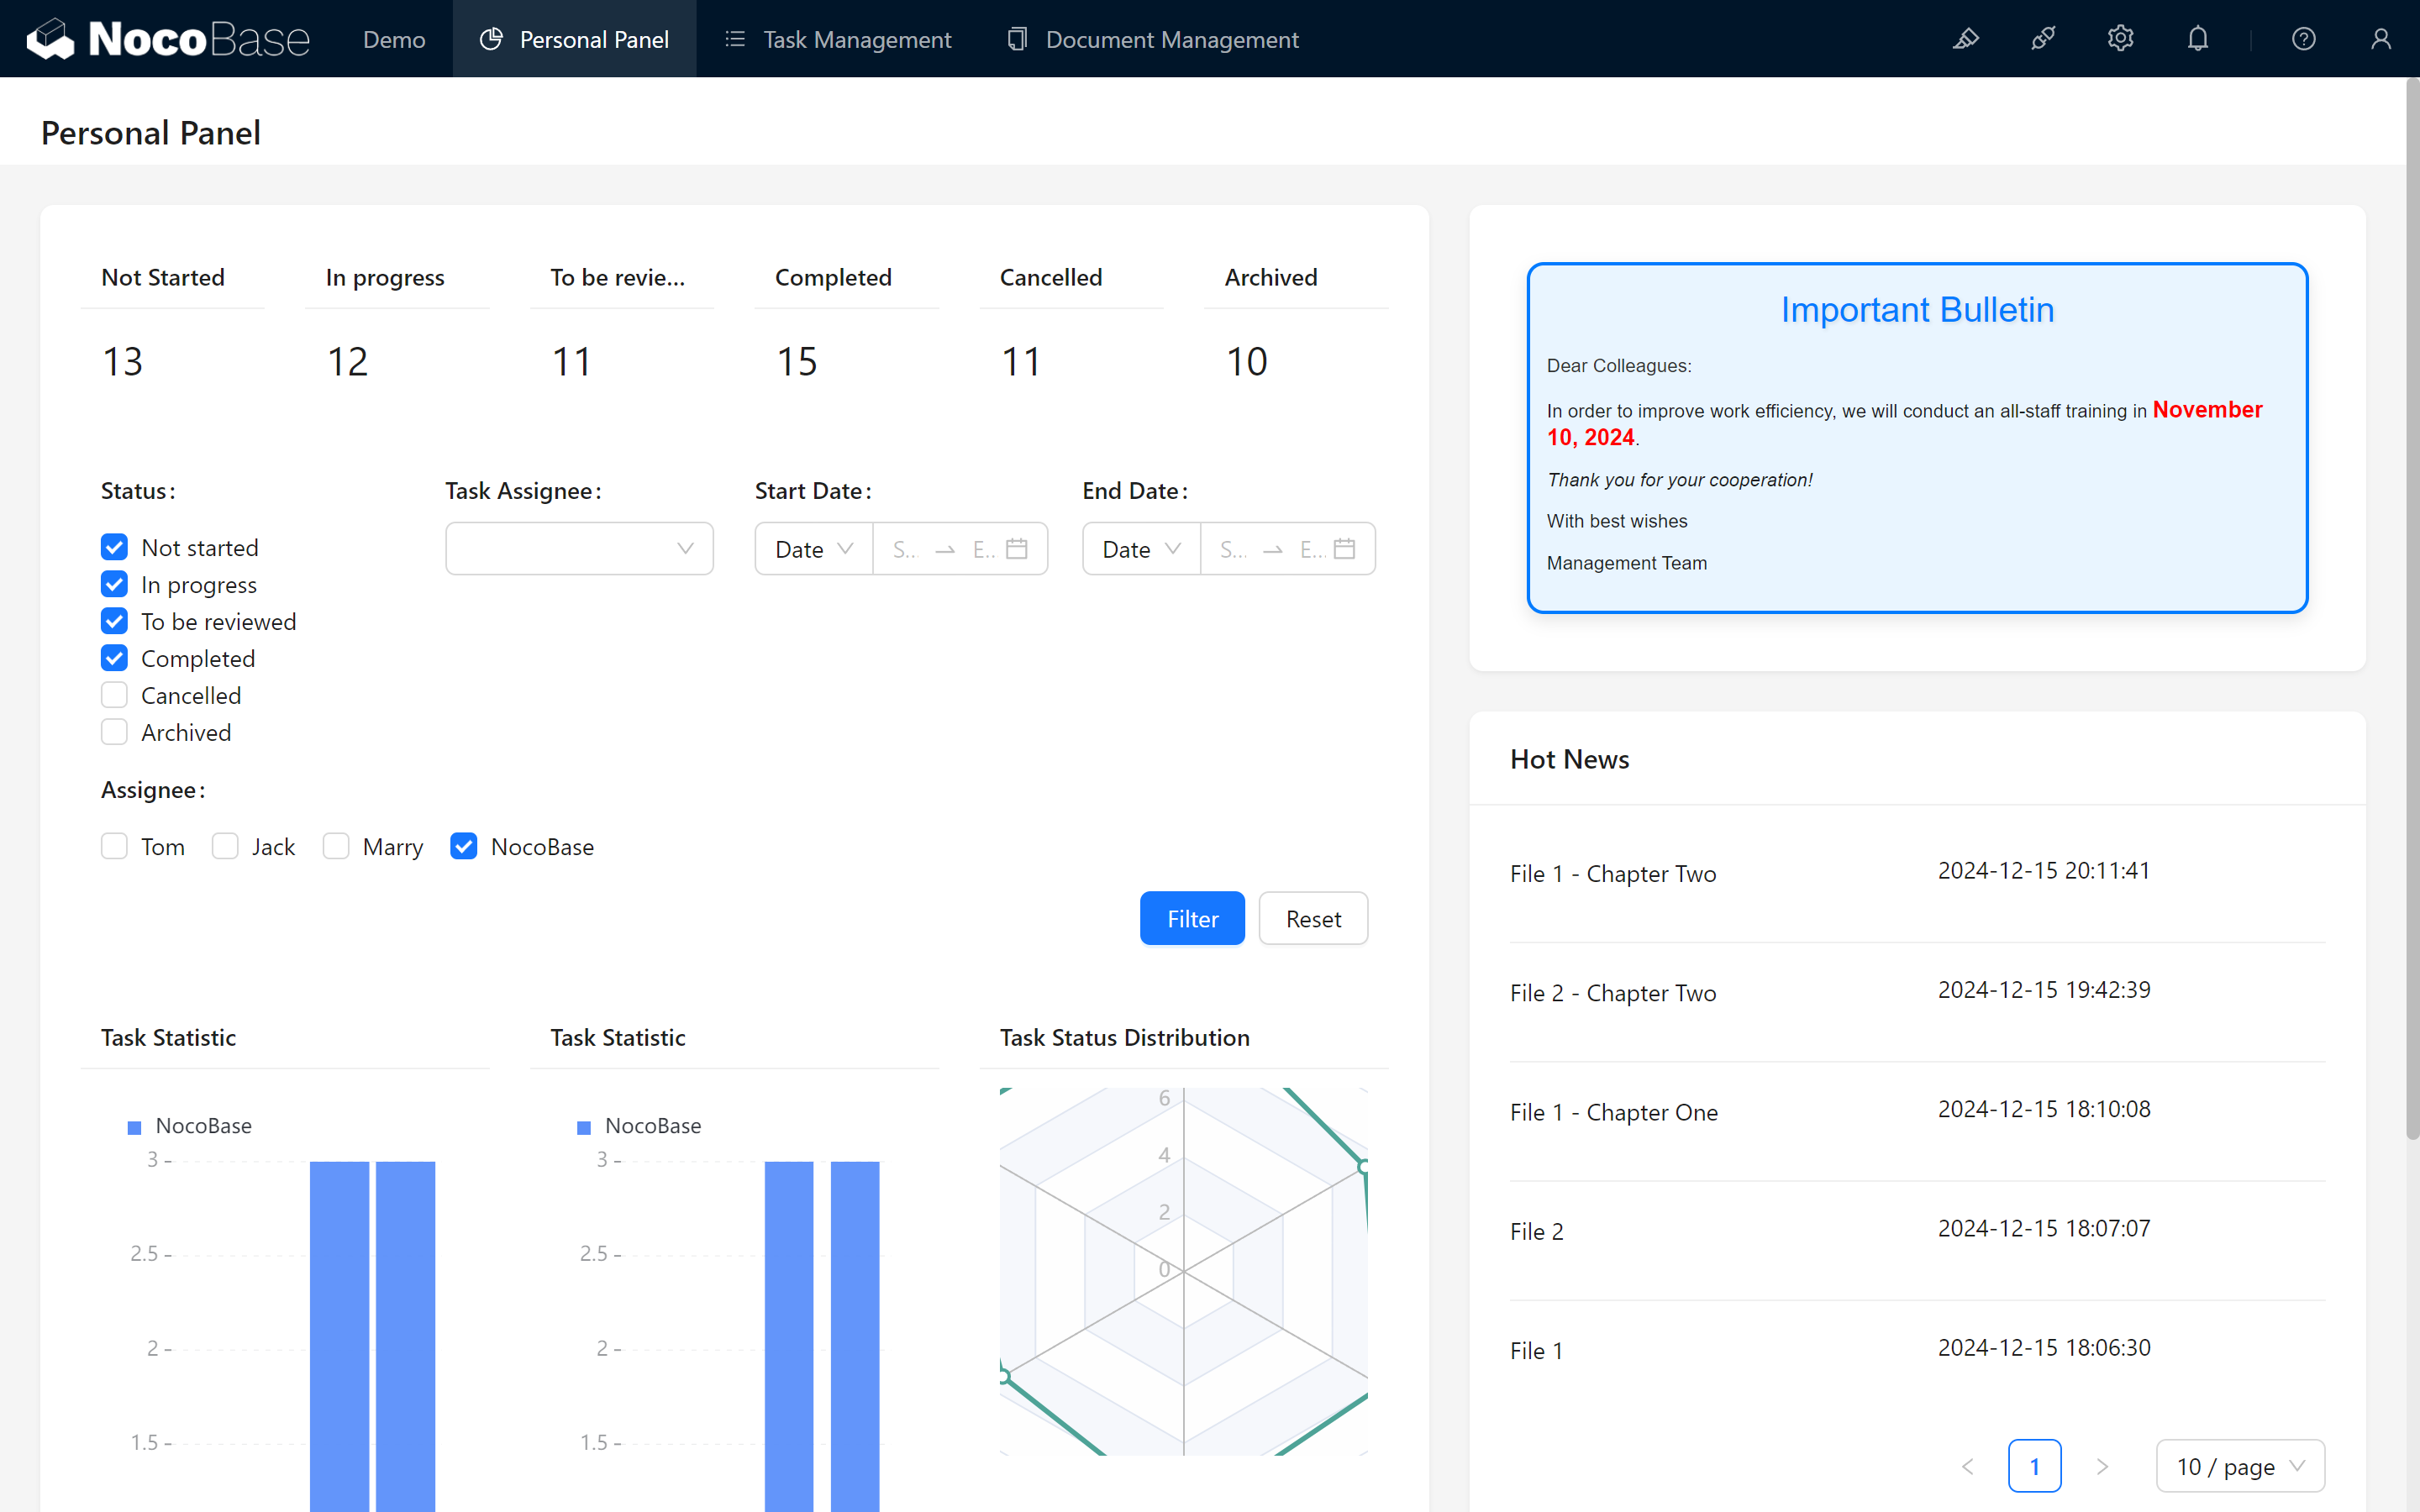
- Create a Markdown Block: Use Markdown syntax to add announcement content to any area of the dashboard.
For practical use of Markdown, you can refer to our official Demo, official documentation, or the “Lightweight Documentation” tutorial.
As an simple example, based on the HTML language written "A gorgeoAus announcement" to demonstrate the power of the Markdown block.
- Sample code:
10.5 Summary
By following the configuration steps above, we successfully created a personalized dashboard that enables team members to efficiently manage tasks, monitor project progress, and promptly receive announcements and notifications.
From status filtering and Assignee settings to hot information display, these features aim to optimize user experience and enhance system convenience and flexibility.
With our personalized dashboard now ready, we invite you to explore and adapt it to your unique needs, let us step into next chapter!
Keep exploring and creating endless possibilities! If you encounter any issues along the way, don’t forget to check the NocoBase Documentation or join the NocoBase Community for discussions and support.